Pinecone Crafts: How to Clean Cones, Then 14 Ideas Sorted by What You Do to the Cone


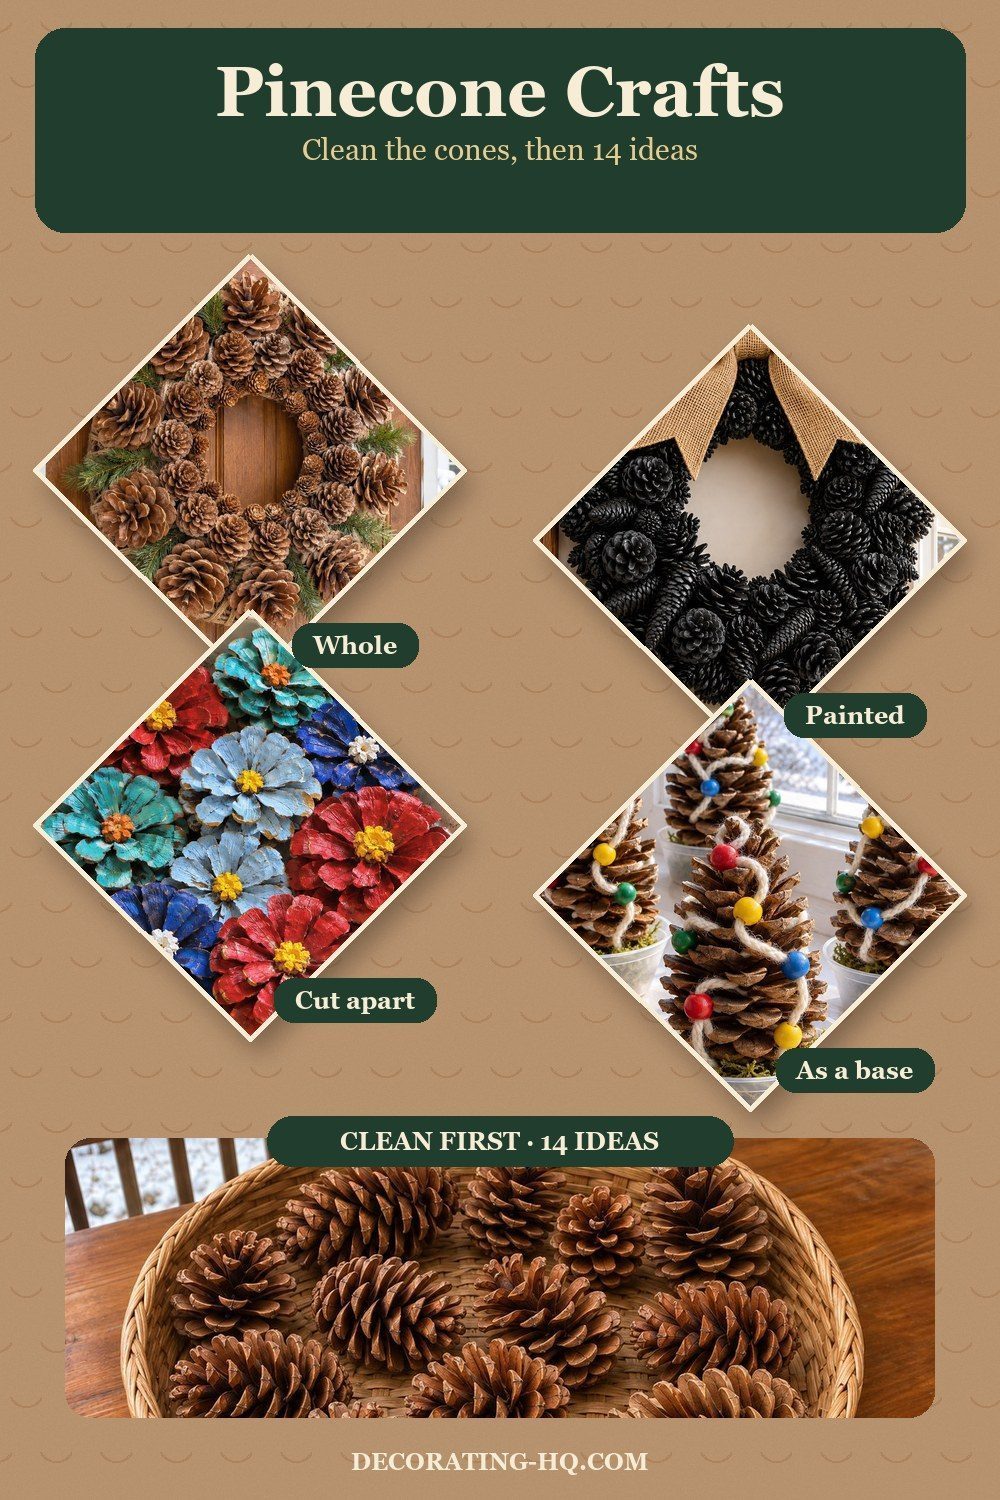
Clean and dry gathered cones before starting pinecone crafts, then choose what to do with them: keep them whole, change their finish, cut them into flowers, or use their shape as a base. A tray centerpiece is the easiest place to start because the cones simply sit around a vase. These 14 pine cone crafts range from natural garlands to little beaded trees, with the cleaning work done before paint, ribbon, or glue comes out.
Clean the cones first
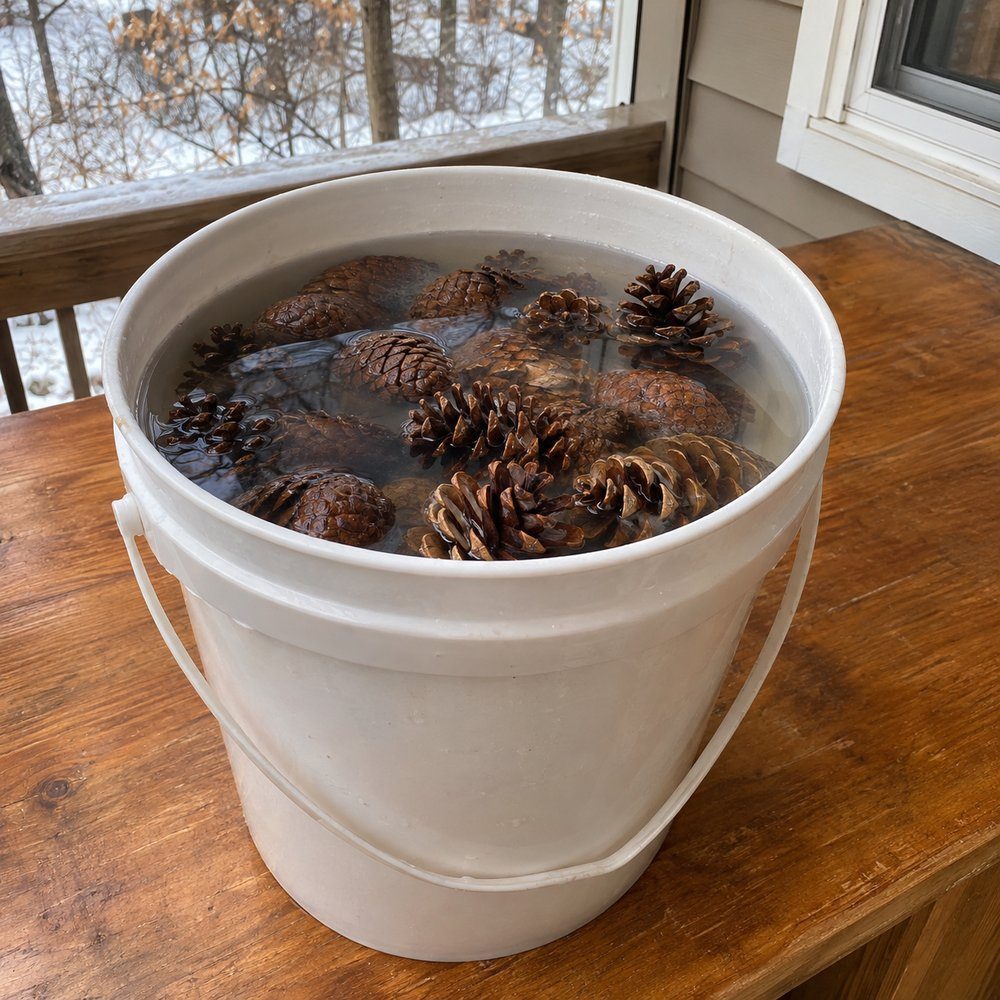
For how to clean pine cones, begin by brushing away needles, loose dirt, and broken pieces. Chloe Crabtree's soak uses 2 parts water to 1 part white vinegar for 20 minutes; submerge the cones, then lift them out. Method from Chloe Crabtree, Celebrate & Decorate.
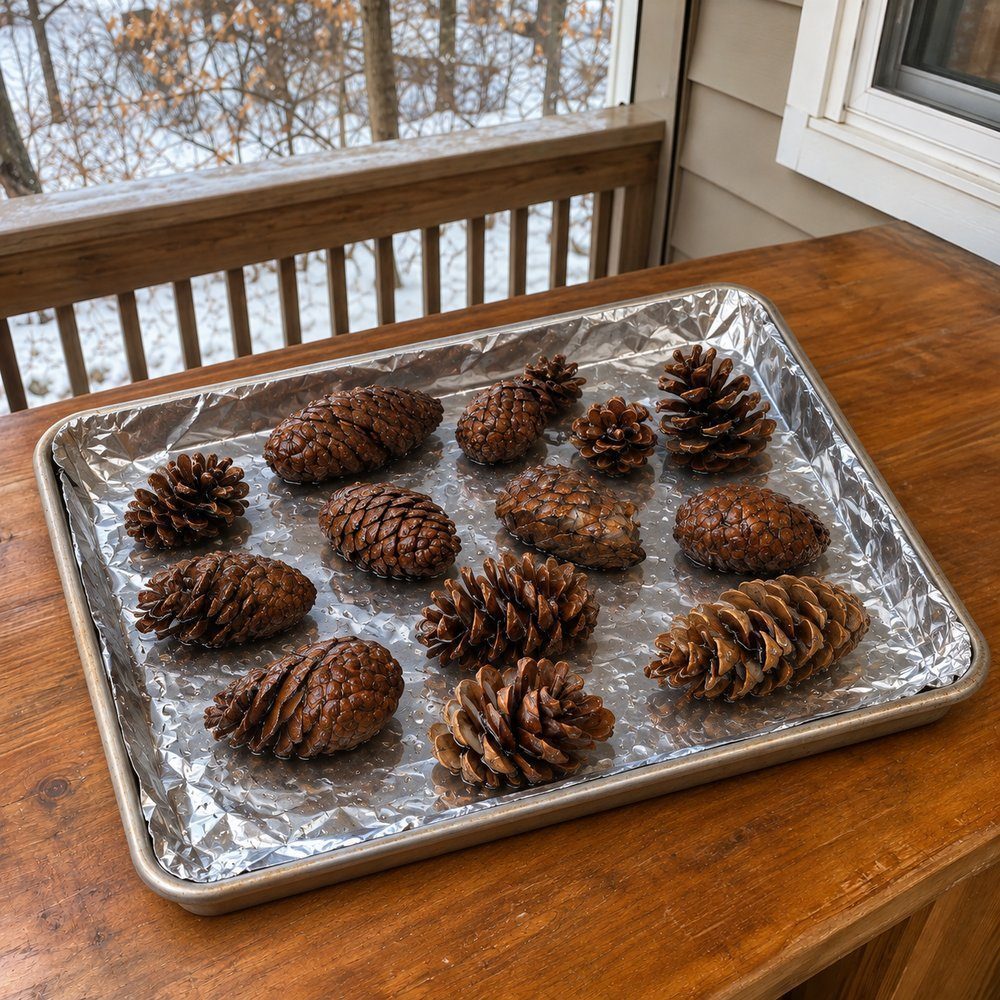
For oven drying, follow Laura Radniecki's method: rinse and drain the cones, arrange them on a foil-lined baking sheet, and bake at 200°F [93°C] for 2 hours or longer, turning every 30 minutes until dry and open. Stay nearby and watch for scorching: cones can burn, creating a fire risk, and excessive heat makes them brittle. Let them cool before crafting. Wet cones close their scales and reopen as they dry as described by Laura Radniecki.
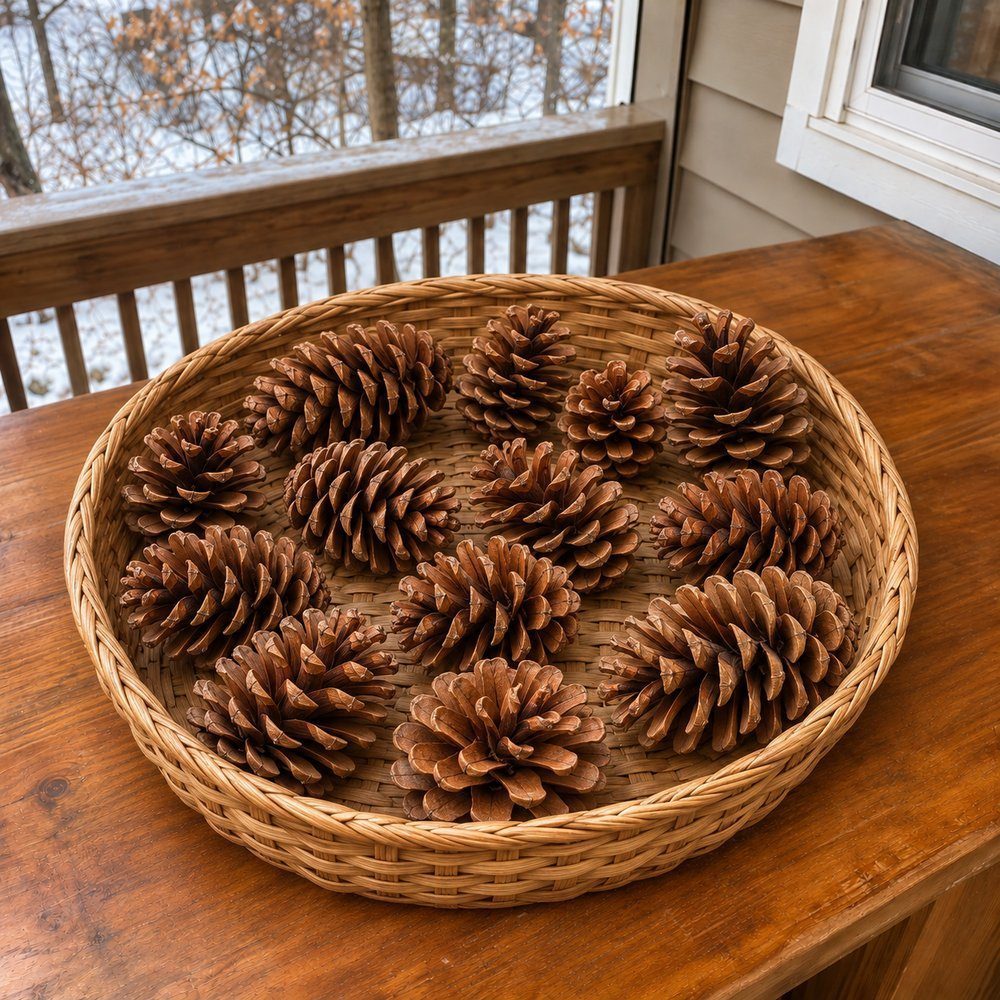
Whole cones
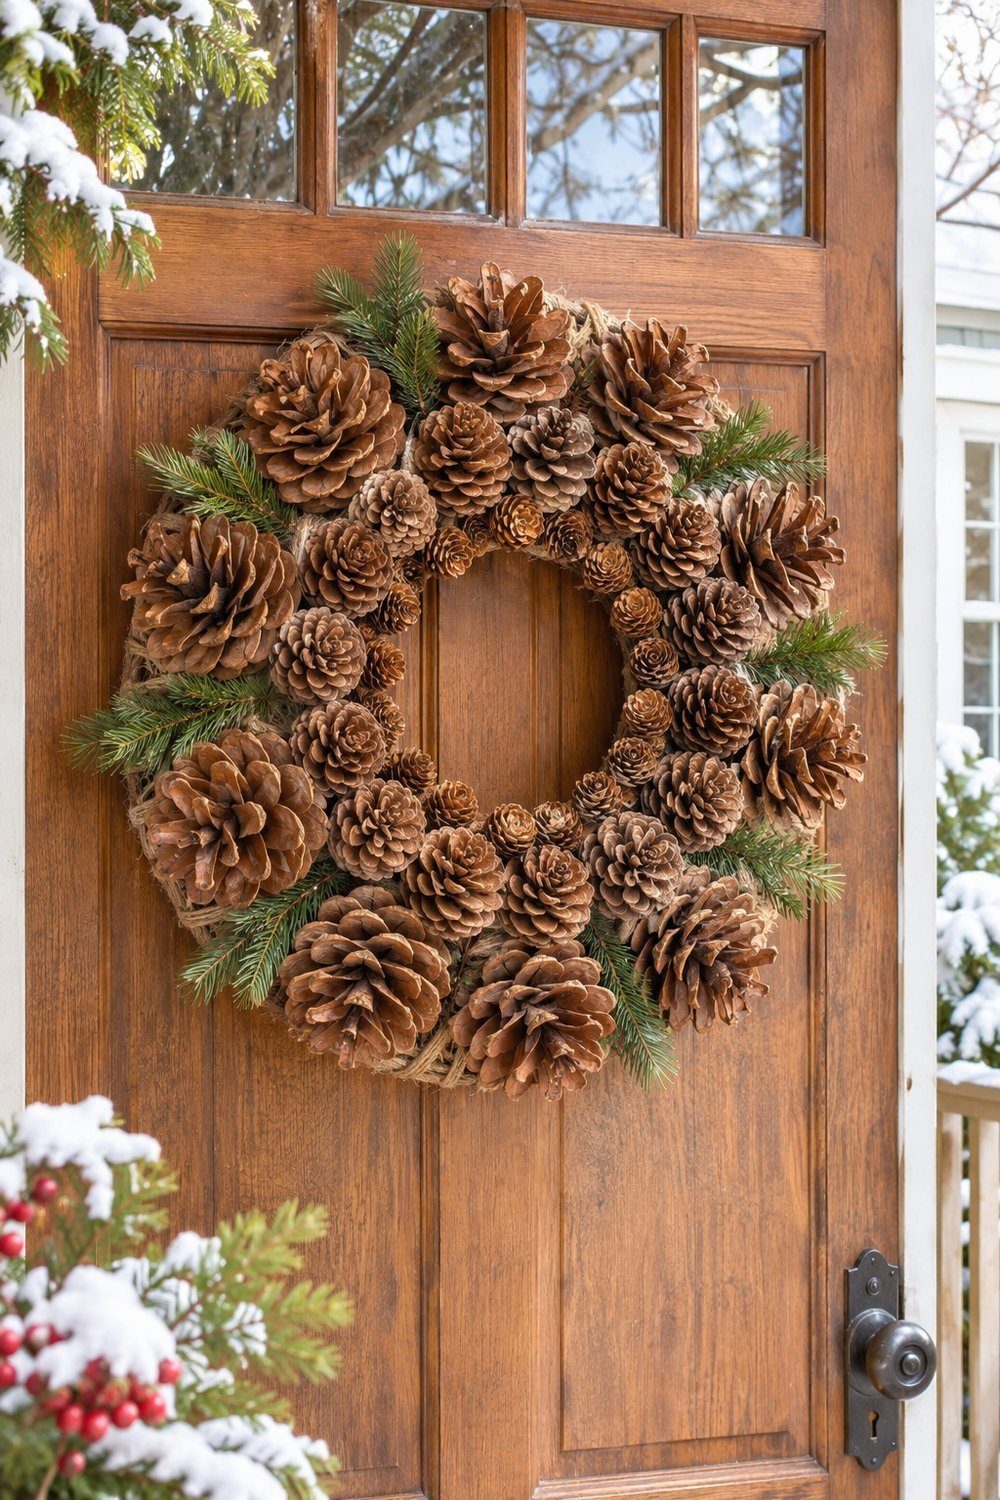
Natural pinecone wreath. Gather 60–75 cones, a 14-inch [36 cm] wire wreath form, jute twine, and hot glue. Wrap the frame in twine so the glue has something to grip. Work from large cones around the outside to medium cones in the middle and small ones inside. Tuck greenery into the gaps for a December door decoration. A Piece Of Rainbow
Simple twine garland. Cut twine with extra length for hanging loops, then lay out clean cones 3–4 inches [8–10 cm] apart. Glue each cone's flat bottom to the twine, leaving the pointed end hanging downward. Press the cord with a craft stick to keep fingers clear of hot glue, and let each joint harden before lifting the strand. Laura Radniecki
Tray centerpiece. Set a glass vase in a tray with raised sides, place a candle inside the glass, and surround the vase with loose natural cones. Andrea Green, Keeper of the Home
Ribbon and greenery ornaments. Keep a large cone natural, an option in Dru's tutorial, and glue greenery and berries onto its broad end. Fold a 5–6-inch [13–15 cm] ribbon into a hanging loop and glue the ends over the greenery. Add a separate ribbon bow above the cone, fluff its loops, and hang it with the point facing down. Dru, Polka Dot Poplars
Painted, bleached or snow-tipped
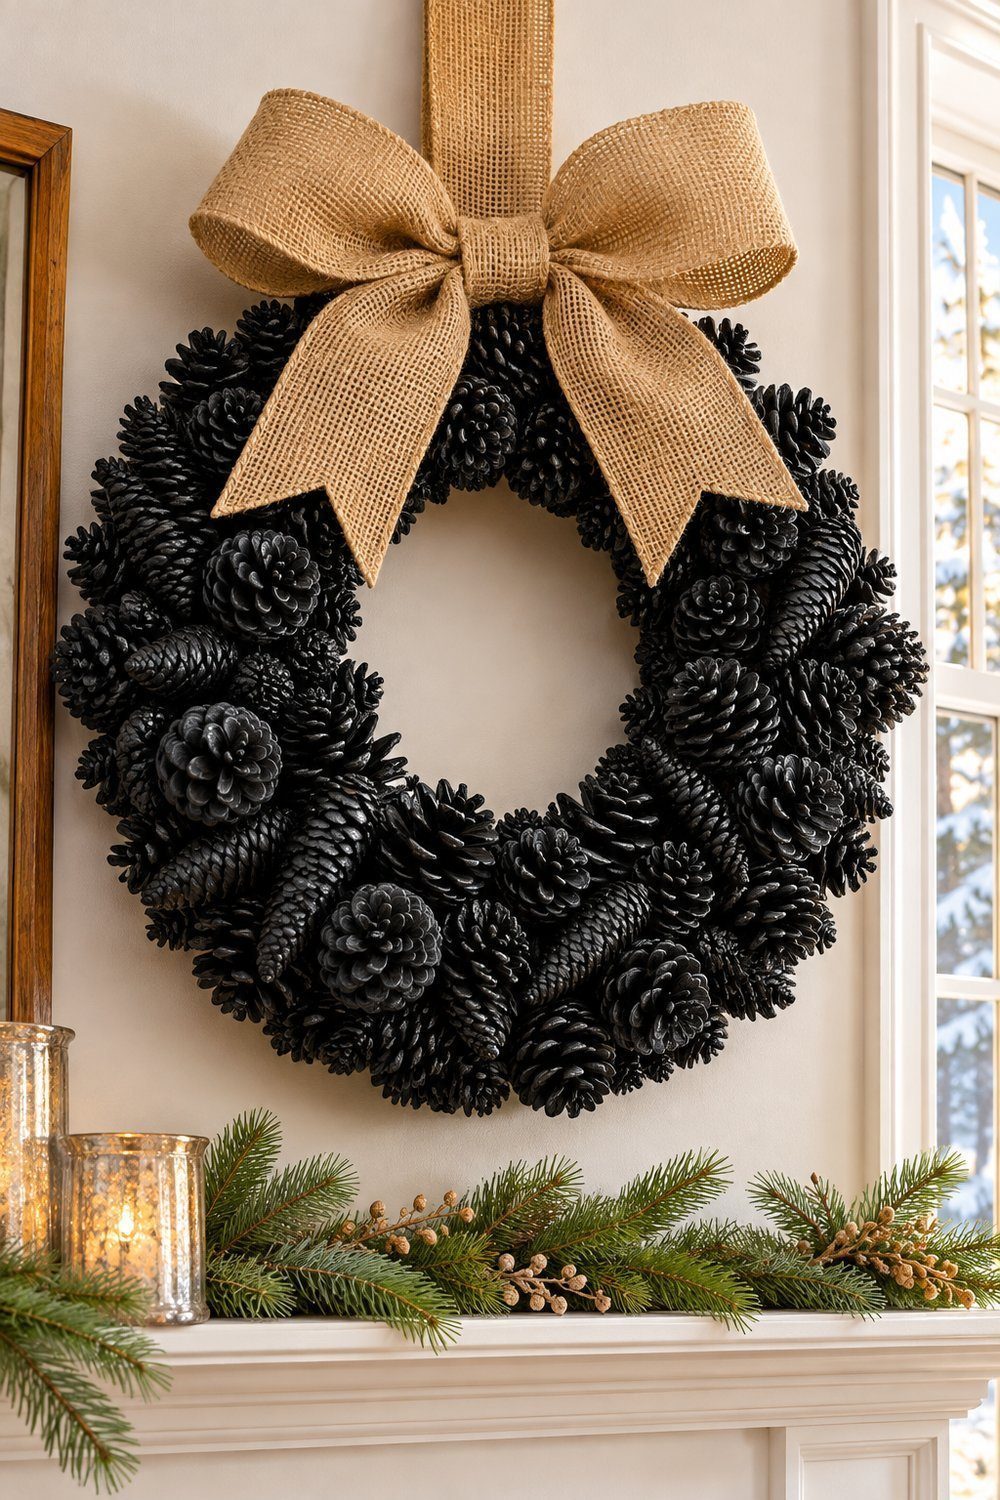
Black satin wreath. For a darker finish, attach assorted cones to a wire frame with 6–8-inch [15–20 cm] lengths of floral wire. Fill gaps with smaller cones and reinforce the arrangement with hot glue. Outdoors, apply the source's 2–3 coats of black satin spray paint, followed by 2 coats of clear glaze. Finish with a wide burlap hanger. Amanda Davis, Crafts by Amanda
Salt-frosted cones. For 4 cones, mix 1½ tablespoons [22 mL] each of white glue and white acrylic paint. Separately combine 2 teaspoons [10 mL] Epsom salt with at least 1 teaspoon [5 mL] each of white and silver glitter. Roll cones in the paint mixture, then the sparkling coating, and dry for at least 1½ hours. Debbie Chapman, One Little Project
Faux bleached cones. Use off-white chalk paint and water in a 1:1 ratio for a pale wash. Wearing gloves, dip and turn each cone in the mixture, let excess paint drip off, and place it on parchment. Rotate after 1 hour and again an hour later; the source allows 2–4 hours for drying. Holly, Pink Fortitude
Crystal icicle cones. Paint the cones white or use spray snow, then let that layer dry. Work in sections with spray adhesive and sprinkle crystal vase filler over the sticky surfaces. Shake off loose pieces over a paper plate so they can be reused. The coating takes a few minutes, plus drying time. Jenn Lifford, Clean and Scentsible
For a moving demonstration of pinecone Christmas crafts, watch Licia and Jolana of Arte Green make a pinecone Christmas centerpiece. Their video brings cones together with holly and fir sprigs, offering another way to see how natural materials build a festive table arrangement.

Cut apart: scales and flowers
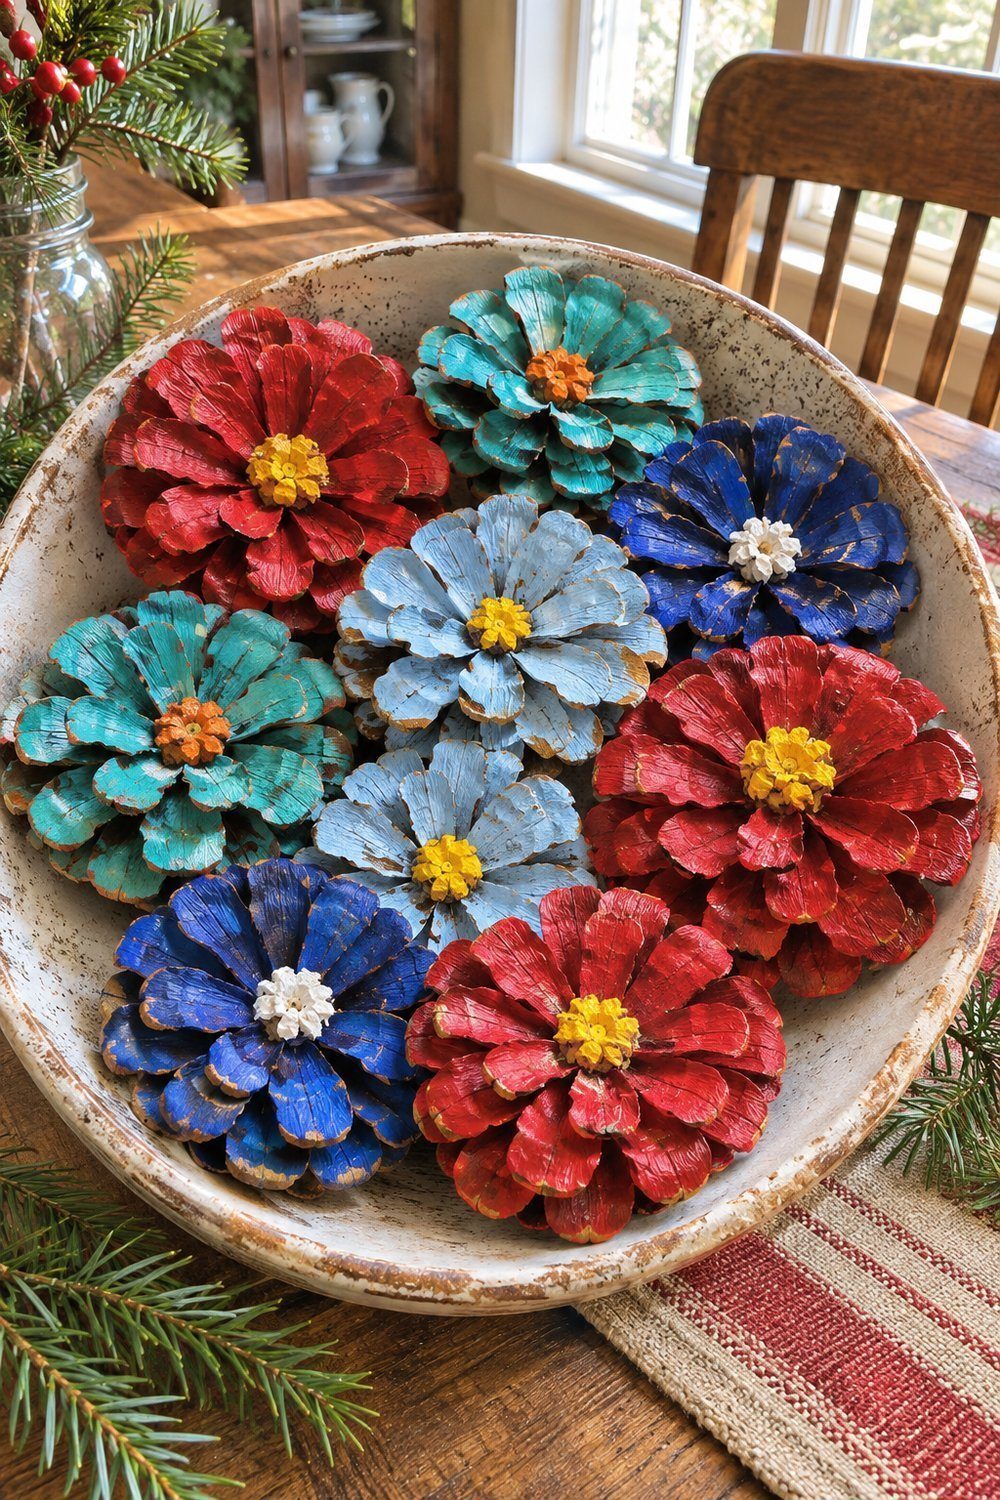
Cut-bottom zinnias. Remove about two-thirds of each cone and keep the broad bottom as the flower. Jane's method secures cones in a vise for cutting with a grinder; use eye protection and good ventilation for that tool work. Spray-paint the cut flowers, let them dry, then add a little craft paint to the centers. Gather them in a bowl or on a wreath. Jane, Cottage at the Crossroads
Trimmed roses and tiny buds. Start with dry, open cones and scissors. Christine de Beer cuts roughly halfway through each cone, then rounds individual scales to soften the outline into a rose. Save the pointed tops as little buds instead of discarding them. This approach leaves the natural brown surface visible, so the shape and layered scales provide the decoration. Christine de Beer, My Creative Workbook
Layered scale flowers. Pull scales free with pliers and brush them with white milk paint. Glue 7 large scales around a metal washer, add 5 smaller scales above them, and finish with a wooden bead center. Make 5 flowers for a 14½-inch [37 cm] embroidery hoop, clustering them over its closure with faux leaves. Lisa Cestkowski, Wisconsin Magpie
Cones as a base
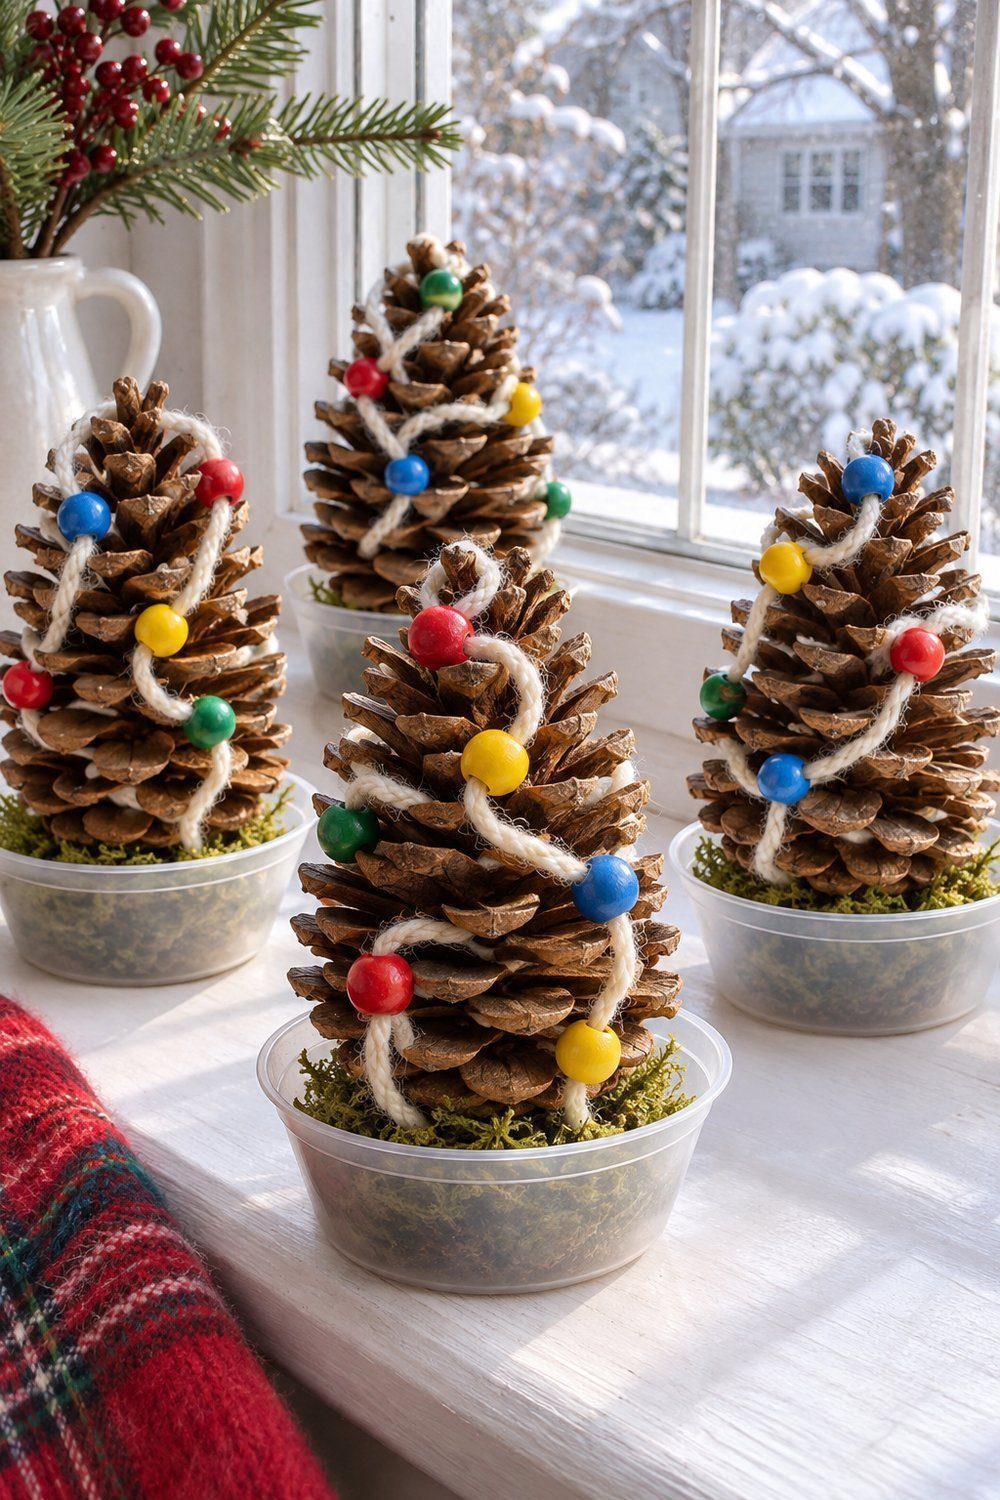
Beaded miniature trees. Use 6 cones about 3 inches [8 cm] tall, wool yarn, wooden beads, an embroidery needle, and empty plastic bowls. Thread 10–14 beads onto a knotted length of yarn, then wind it up and down a cone so the beads resemble ornaments. Cut the bowls into small pots. Keep the loose beads away from children under 3. Natalie Kramer, Handmade Charlotte
Felt woodland owls. Cut felt into an eyebrow shape, 2 eye circles, 2 wings, and a little beak. Glue the face pieces and googly eyes together, then attach the face and wings to a cone. Fold a 12-inch [30 cm] pipe cleaner into feet and glue underneath. An adult should handle the hot glue while children choose the felt colors. Debbie Chapman, One Little Project
Wax-dipped fire starters. Allow 2 pounds [0.9 kg] of paraffin and 2 hours, including cooling. Melt wax over hot water in a double boiler, remove from heat, dip cones with tongs, and cool them on waxed paper. Because paraffin is highly flammable, keep it off direct heat and open flames, attend it throughout heating, and store cooled starters away from fireplaces. Carol Taylor, Canadian Living
More pinecone crafts
Browse these wreaths, flowers, miniature trees, and woodland characters for more ways to use the cones in your basket.


Continue decorating with Christmas cloche ideas and Christmas decorations to make at home.