DIY Painted Stone Decorations: Turn Nature Into Art
Whether you're a seasoned artist or just starting your journey into the world of handmade décor, painted stone decorations offer a deeply satisfying blend of nature and creativity.
These tactile, timeless objects are more than just rocks with color—they're miniature canvases that capture imagination, personality, and purpose.
There’s something profound about holding a smooth stone in your palm, feeling its weight, then transforming it into something whimsical, beautiful or meaningful.
DIY Painted Stone Decorations
Before you begin, gather these essentials:
Basic Supplies
- Smooth river rocks or beach stones
- Acrylic paints (matte or glossy)
- Fine-tipped paintbrushes
- Pencil and eraser
- Paint pens (for detail work)
- Cup of water
- Paper towels or cloth
Optional (But Recommended)
- Mod Podge or clear varnish for sealing
- Paint palette
- Stencils or masking tape
- Chalk pencil (for sketching on dark stones)
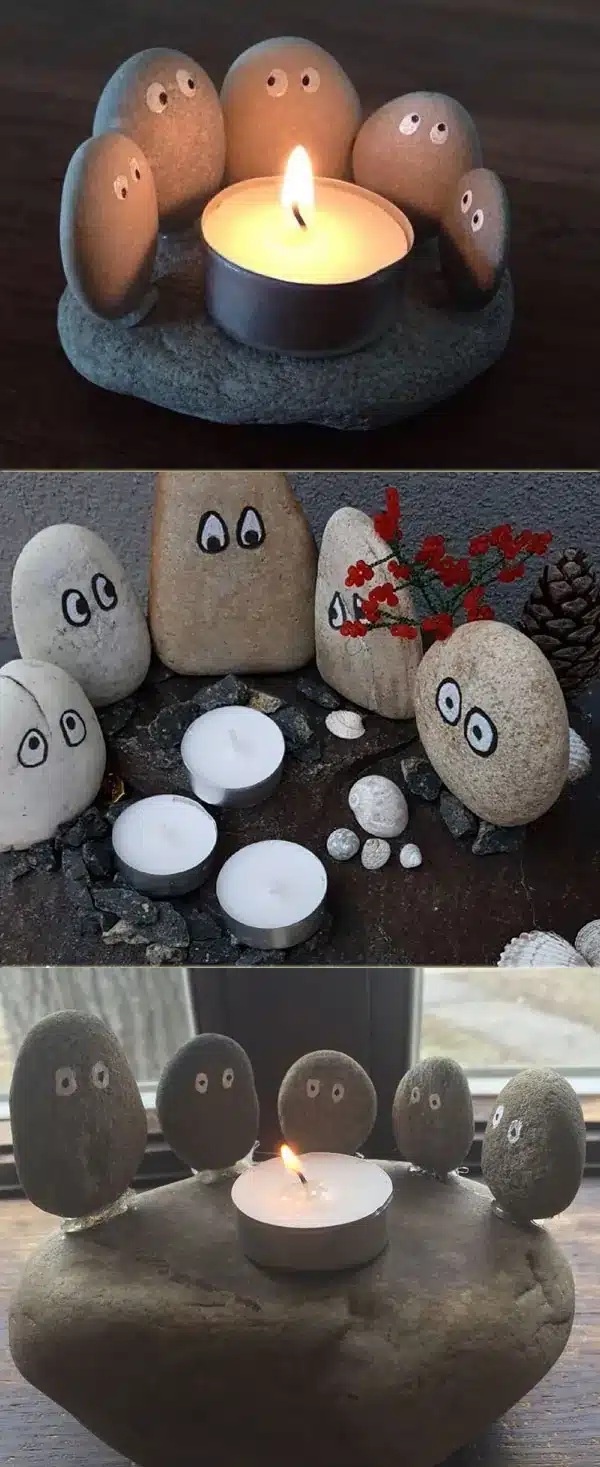
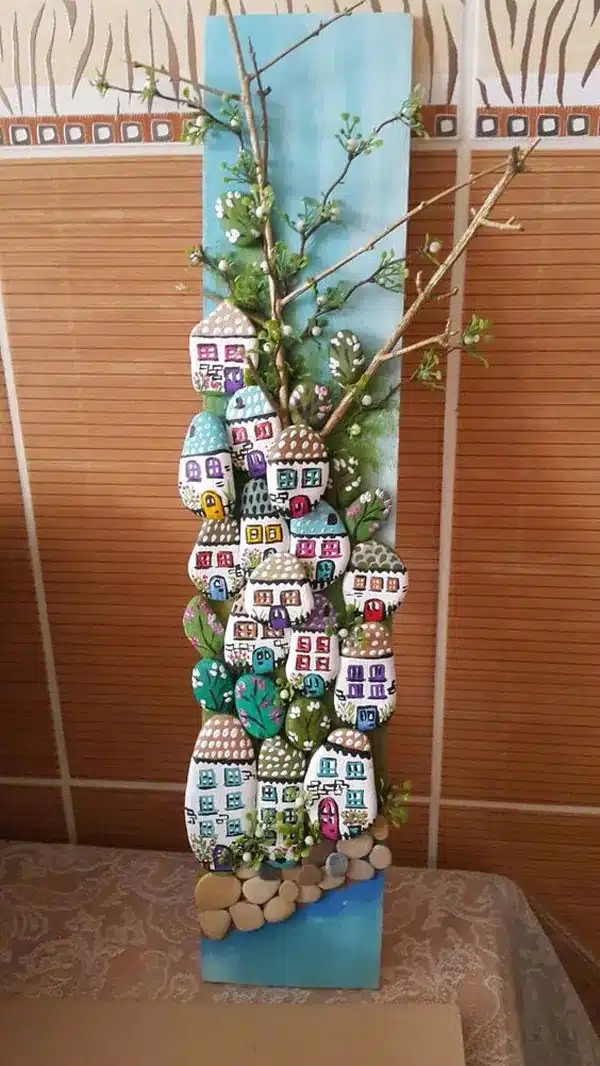
Via: instagram.com
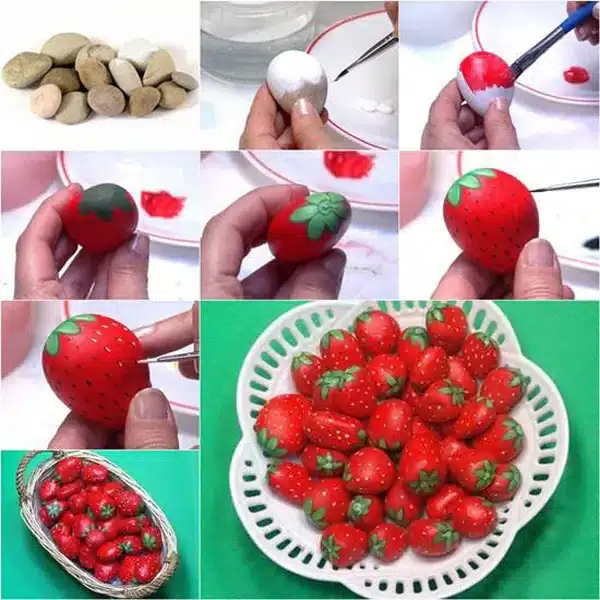
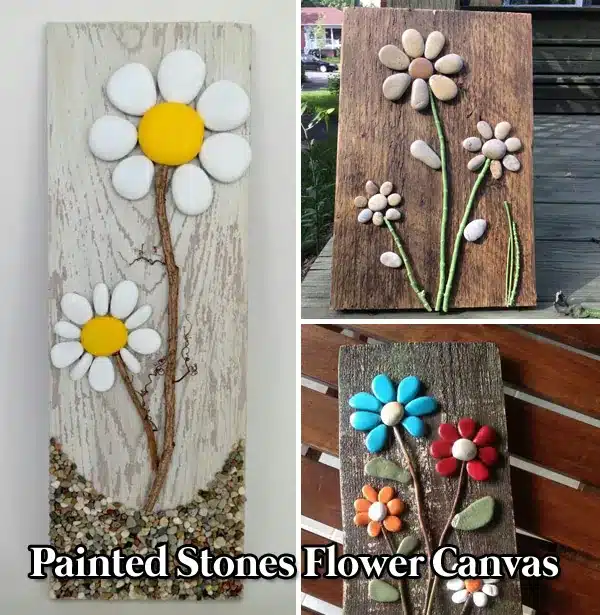
Tutorial: paneamoreecreativita.it
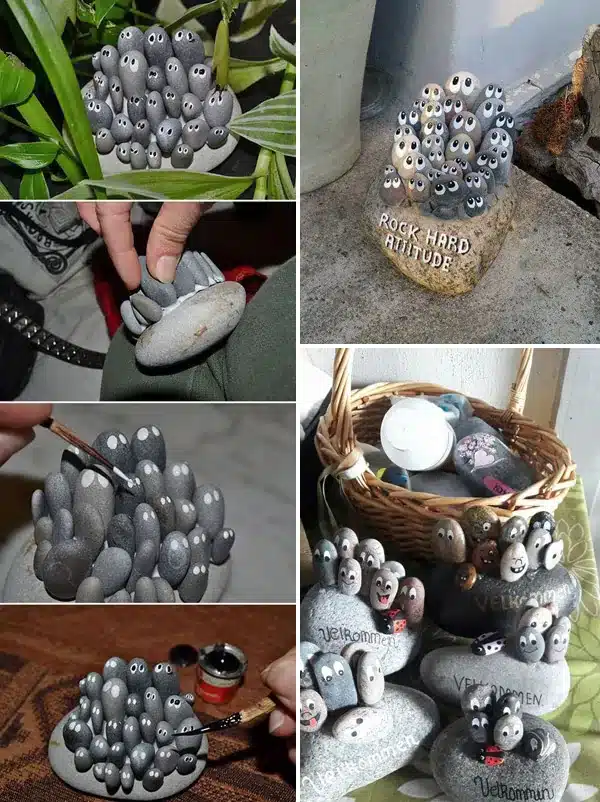
Tutorial: instructables.com
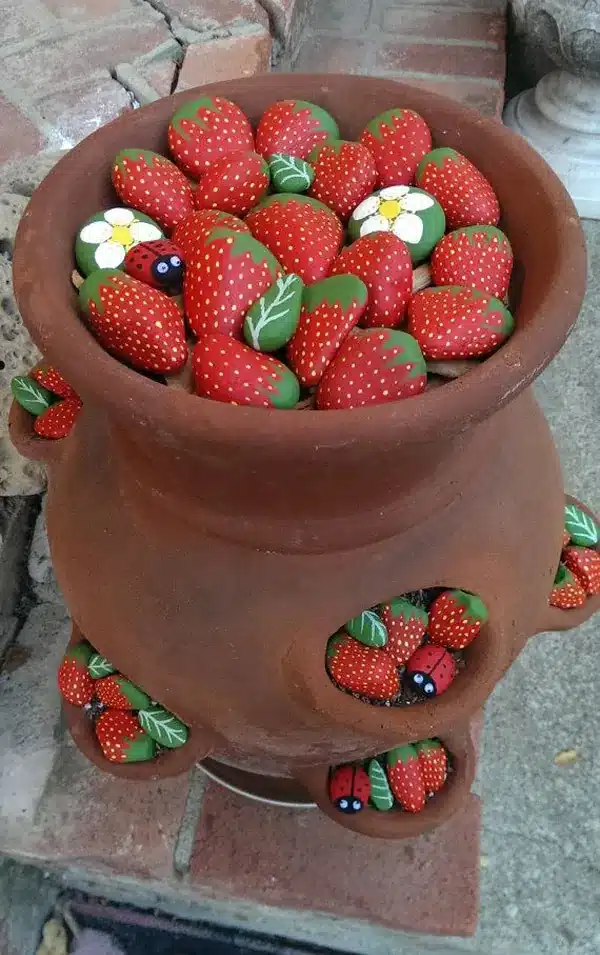
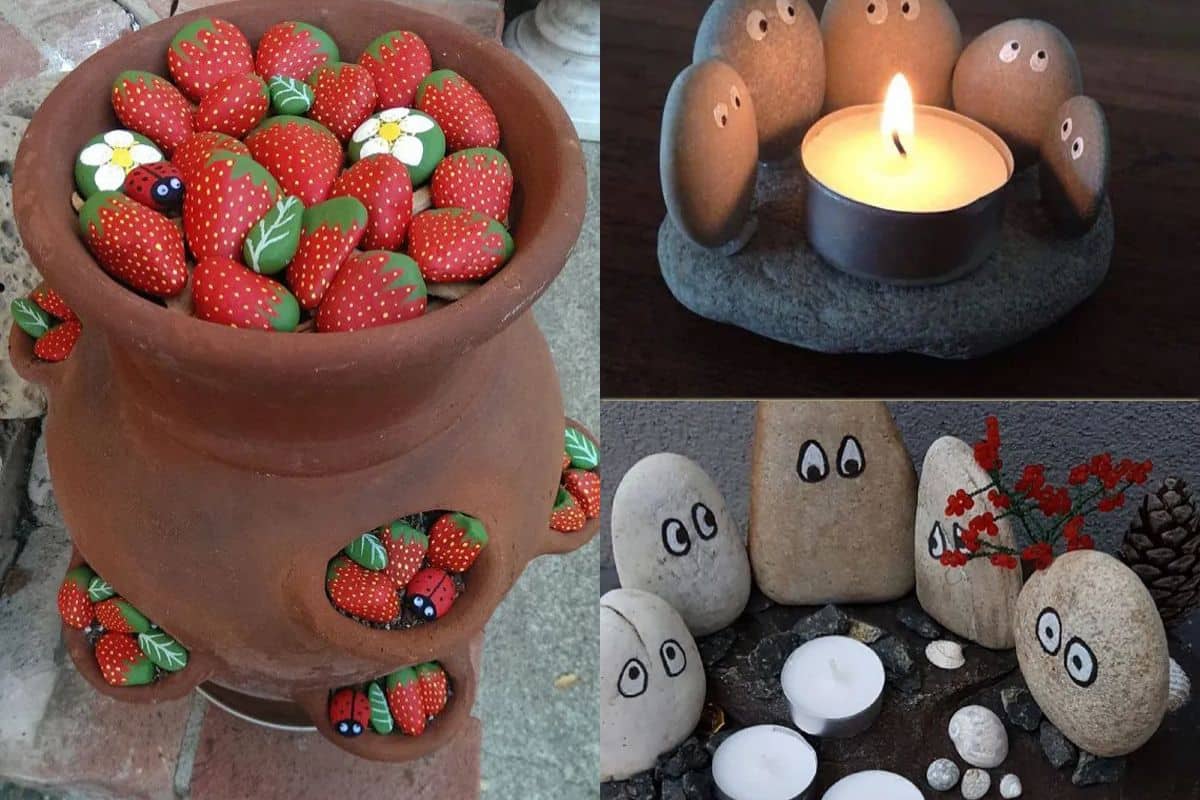
Via: www.woohome.com
Via: www.woohome.com
Step-by-Step Guide: From Stone to Statement
1. Choose the Right Stone
Not all stones are created equal. Look for:
- Flat surfaces
- Smooth texture
- No cracks or rough pits
Wash your stones and let them dry completely before painting. Dirt or oils will interfere with adhesion.
2. Prime Your Canvas
Though optional, a coat of white acrylic gesso or primer helps your colors pop—especially if the stone is dark. Let it dry fully.
3. Sketch Your Design
Use a light pencil or chalk pencil to outline your artwork. Popular designs include:
- Animals
- Mandalas
- Inspirational quotes
- Flowers and leaves
- Abstract patterns
Don’t be afraid to freestyle—some of the best designs come from instinct, not planning.
4. Paint Your Base Colors
Apply larger areas of color first with flat brushes. Let each layer dry before adding detail to avoid smudging.
5. Add Details & Outlines
Use:
- Fine brushes for small shapes
- Paint markers for lettering or outlines
- Dots, lines, and swirls for texture
Pro tip: Use a toothpick or bobby pin for perfect dots in mandala designs.
6. Seal Your Masterpiece
Protect your work from fading, chipping, or moisture using:
- Mod Podge (for indoor)
- Clear acrylic spray (for outdoor)
Let sealant dry for at least 24 hours in a dust-free space.
10 Creative Painted Stone Ideas to Try
Here are imaginative concepts that go beyond the ordinary:
- Galaxy Stones Paint nebulas, stars, and comets for a cosmic vibe.
- Kindness Rocks Add uplifting quotes like “You matter” or “Breathe” and leave them in public spaces.
- Cactus Garden Rocks Paint green cacti with flowers and place them in pots for a zero-maintenance garden.
- Mosaic-Inspired Stones Use geometric designs and jewel tones to mimic glass mosaics.
- Mini Portraits Draw tiny cartoon versions of your pets or family members.
- Nature Scenes Mountains, forests, oceans—capture the outdoors on a palm-sized canvas.
- Seasonal Decor Pumpkins in October, snowflakes in December, hearts in February…
- Word Stones Use a different stone for each word of a poem or phrase, forming a path or grouping.
- Insect & Animal Faces Bees, frogs, owls—kids especially love these!
- Chakra Healing Stones Paint symbols for each chakra and use in meditation.
DIY Painted Stones for Kids
Painting stones with children encourages:
- Fine motor skills
- Color theory learning
- Emotional expression
- Storytelling and imagination
Keep it simple:
- Animal faces
- Smileys
- Alphabet letters
- Footprint/handprint stones
- "My first painted rock" memory keepsakes
Discover how to create stunning DIY painted stone decorations with our complete guide.

