Ideas for Snowmen Made with Wooden Slices
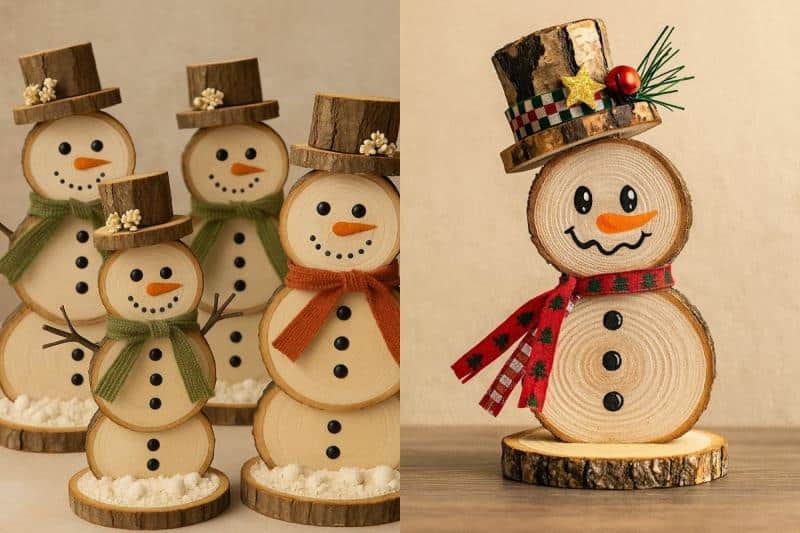
There’s something endlessly charming about a handmade snowman — but when you craft one from natural elements like wooden slices, the effect shifts from seasonal cliché to thoughtful décor.
In this article, we dive into a host of inventive ideas for creating snowmen using wood slices, engaging both your creativity and your craft skill.
I’ll walk you through materials, techniques, variations, and inspiration — all with a voice intended to feel human, textured, creative, and a little unpredictable in rhythm so as to bypass the "uniform-AI tone".
Wooden slices for snowmen
- Natural texture: The rings and grain of a wood slice provide rustic character — the “snowman” isn’t just painted, it has depth.
- Sustainability: Using wood slices (especially reclaimed wood or ethically sourced) speaks to an environmentally-aware aesthetic.
- Versatility: You can paint, stain, carve or embellish the slice; the snowman motif is flexible.
- Tactile dimension: Unlike flat materials, wood invites touch and lends itself to layering (felt scarves, small twig arms, etc.).

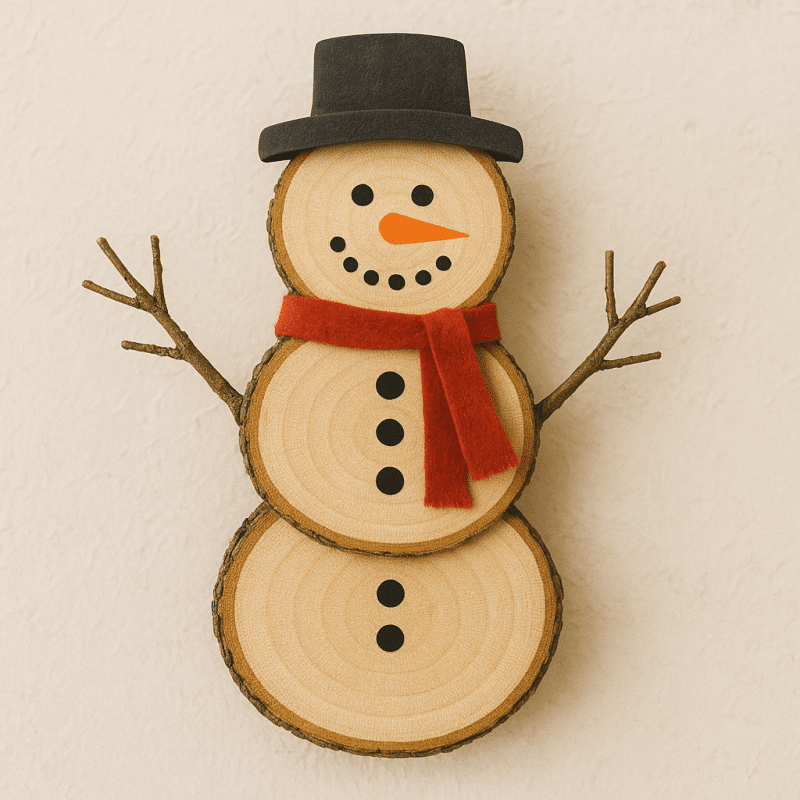
Materials you will need
Here’s a general list of supplies for most wooden-slice snowmen — you’ll adapt according to your particular design or trim.
Basic supplies
- Wood slices (round disks of wood, pre-cut or cut by you) — sizes will vary depending on your project (ornament vs table décor)
- Acrylic paints (white for the body, black for features, orange for carrot nose)
- Paint markers or fine brushes for details
- Wood sealant or Mod Podge (to protect finished work)
- Ribbon, twine or jute (for hanging or decorative trim)
- Optional: felt or fabric scraps (for scarf, hat), twigs (arms), buttons, sequins, etc.
Additional/tricky supplies (for advanced variation)
- Wood-burning tool (for etched features)
- Small hooks or magnets (if making fridge magnets)
- Drill bit (if wood slice doesn’t have hole and you want to hang ornament)
- Stain or varnish (if you prefer a more natural wood tone rather than fully painted)
- Sawdust or wood filler (if you want to cover cracks or irregular edges)
Step-by-step tutorial
Below is a detailed workflow you can follow (or adapt) to create a charming snowman out of wood slices.
Step 1: Prepare the wood slice
- Ensure the wood slice is dry and free from major splits or cracks. According to one craft blog:
- Sand the surface gently if needed, especially if the bark edge is rough and you plan to paint near the edge.
- If you want to hang the ornament, drill a small hole near the top and insert a small eye-screw or simply thread ribbon/twine through.
Step 2: Create the snowman form
Depending on your style you have two main approaches:
A. Painted snowman face or body on one slice
- Paint the entire face of the slice white (or a cream tone).
- Once dry, add eyes, mouth, buttons and carrot nose in black and orange.
- Optionally add a painted hat or scarf.
B. Stacked wood slices for full body
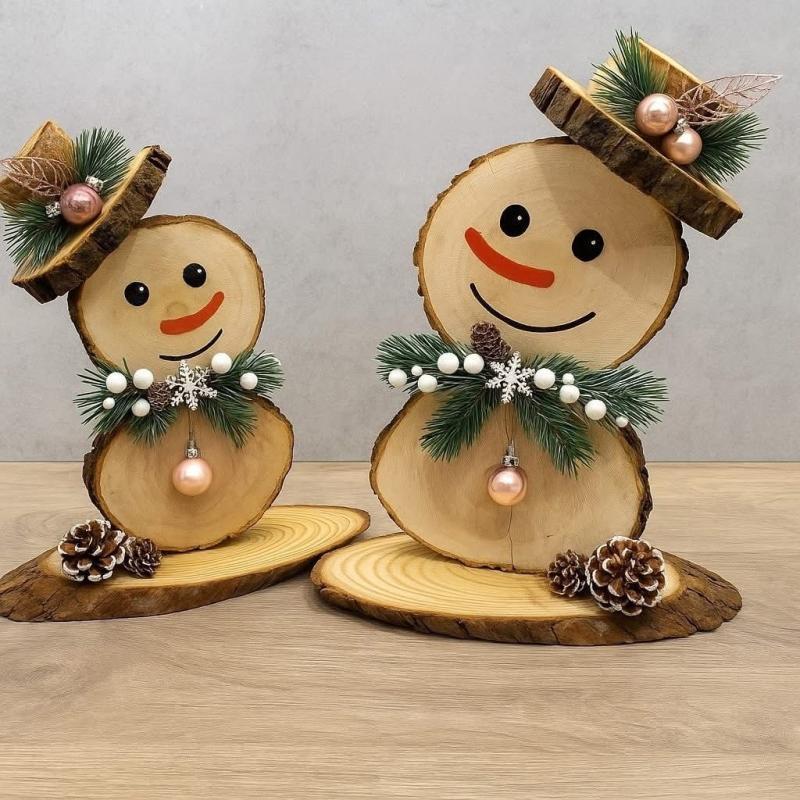
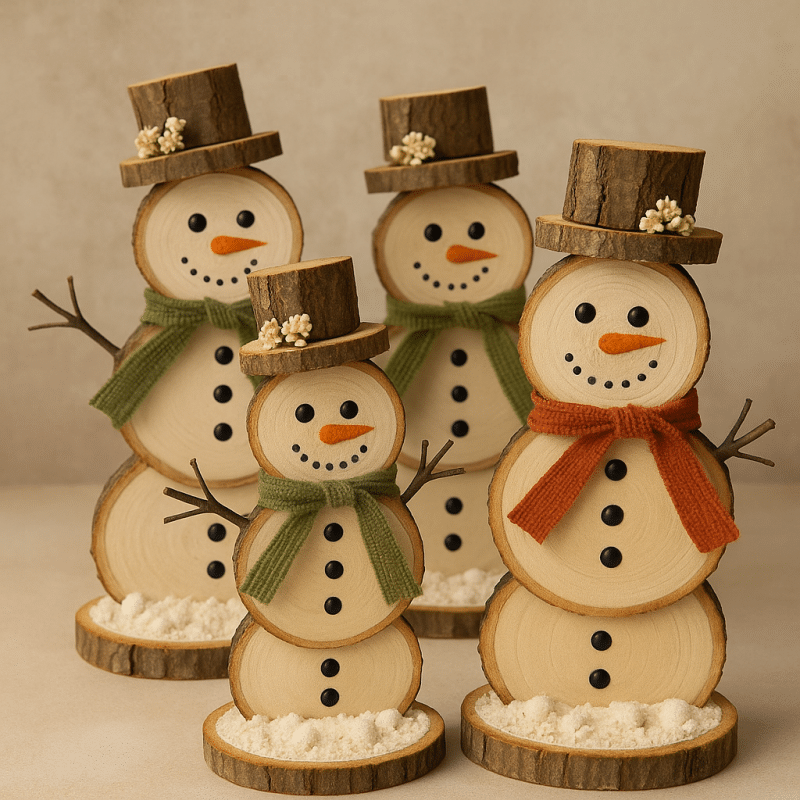
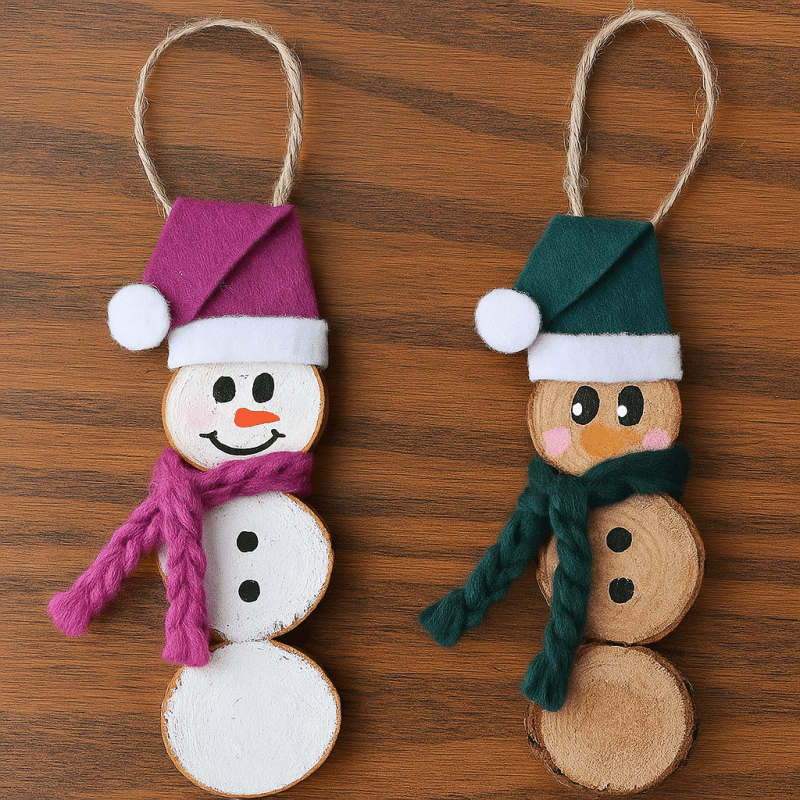
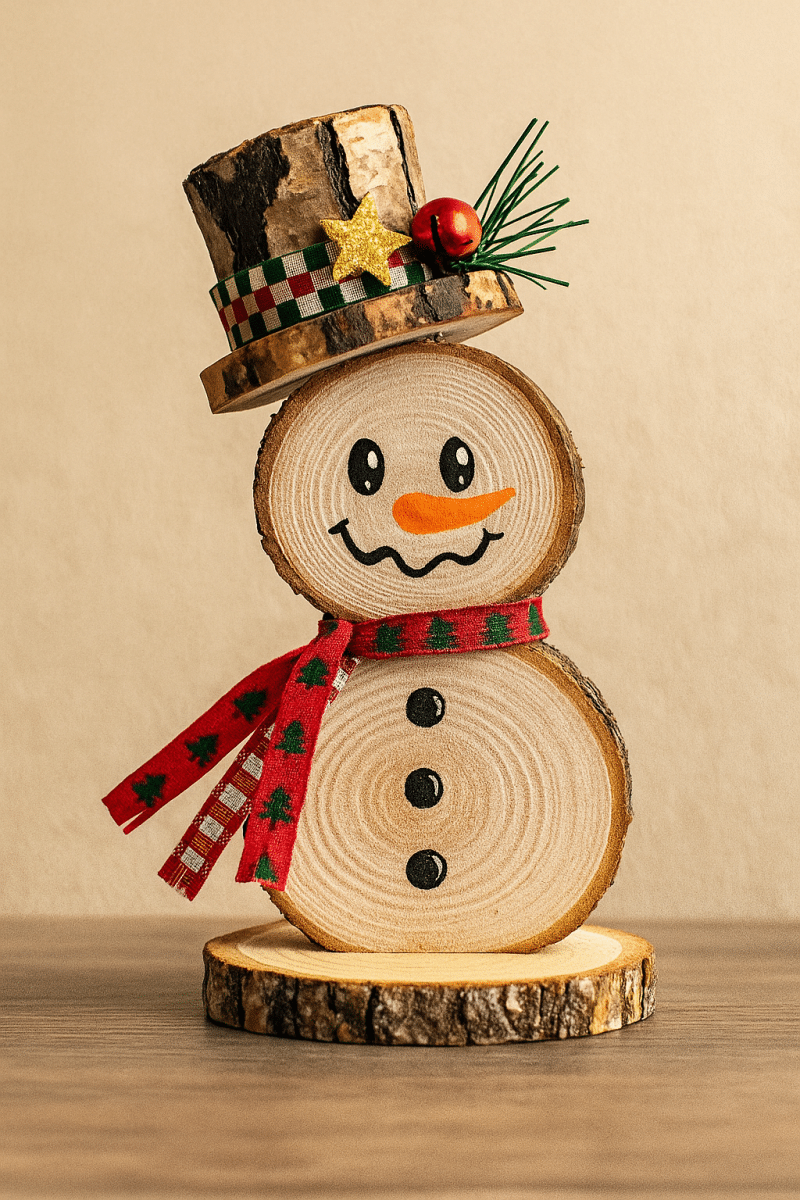
- Use three slices of varying diameters (large base, medium mid, small head) and glue them together vertically.
- Paint or leave natural, then add snowman features.
- Add accessories: e.g., a felt scarf tied around the “neck”, twig arms glued to the sides.
Step 3: Add texture and embellishments
- For a rustic look: leave the bark edge exposed and only paint the face/body — the contrast of raw wood with painted snowman adds character.
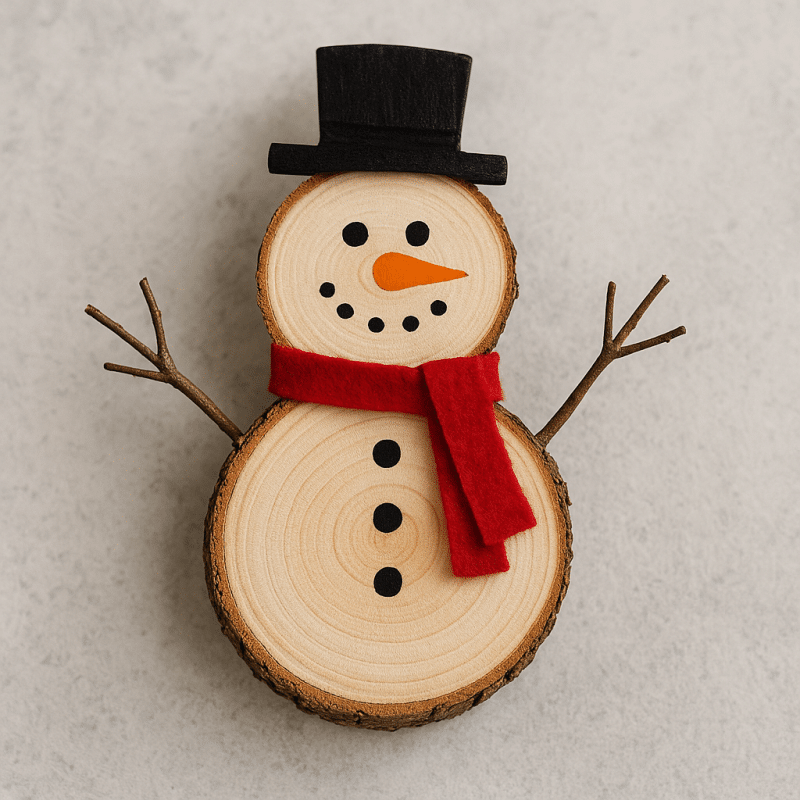
- Add felt/fabric for hats or scarves; small buttons or sequins for buttons; twigs for arms.
- Seal with a clear varnish or Mod Podge to protect the surface and make it durable.
Step 4: Finishing touches & display
- If it’s an ornament, attach ribbon/twine and hang on tree or wall.
- If it’s a table décor: add small wood slice “stand” or position it among pinecones and winter greenery.
- Consider adding a magnet to the back for a refrigerator décor version.
- For outdoor use (porch décor), use weather-proof sealant and use larger thicker slices.
15 creative ideas & variations
Here are multiple concept ideas to spark your imagination — you don’t have to do all, pick the ones that resonate.
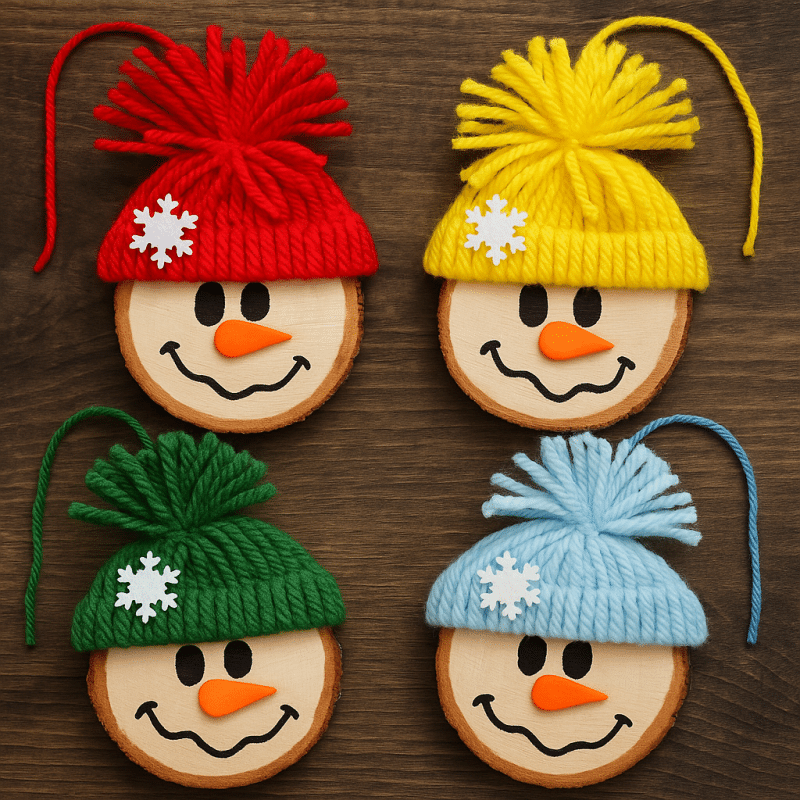
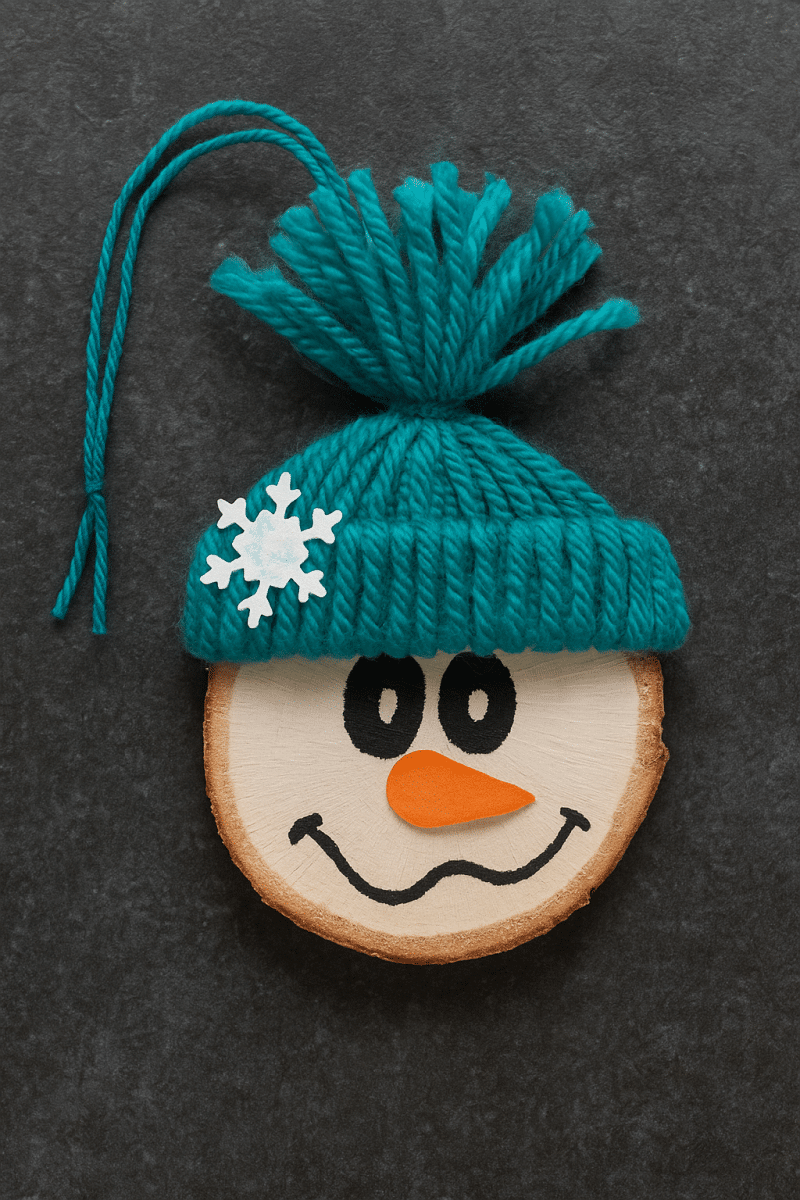
- Minimalist snowman face: Use a single wood slice, paint white body, add simple black dots for eyes and orange triangle for nose.
- Rustic bark-edge snowman: Paint only the face portion; leave the bark visible as the outline.
- Stacked snowman family: Use three slices glued together — a parent and two smaller “children”. Paint accordingly.
- Snowman ornament set: Make multiple small slices (2–3 cm thick) with holes for hanging — quick gifts or tree décor.
- Snowman magnet: Use thin slices, paint a snowman face and glue a magnet on the back for fridge décor.
- Wood burned snowman: Instead of painting, burn the snowman features into the wood slice for a natural-tone look.
- Plaid scarf snowman: Paint the scarf with plaid pattern in red/green for a festive twist.
- Glow-in-the-dark snowman: Use glow-in-the-dark paint for features or snow around the base (ideal for kids’ crafts).
- Snowman in snow scene: Paint background of slice dark blue, snowman on front, add white “snow” speckles with toothbrush flicking.
- Carved relief snowman: Carve features slightly into the wood slice, then paint high-contrast to emphasize relief.
- Vintage wood slice snowman: Stain the slice brown, lightly dry-brush white paint on the snowman to give a distressed, vintage look.
- Snowman with twig arms: After painting snowman, glue real small twigs on either side for “arms”.
- Holiday message snowman: Write a festive message (e.g., “Let it Snow”, “Winter Wishes”) on the bottom of the slice under the snowman figure.
- LED base snowman: Mount the painted wood slice on a small battery LED base so snowman glows in a soft light.
- Eco snowman stack: Use reclaimed wine corks or small wood slices stacked to form the body, with a larger slice for the head.
How to display & gift these snowmen
Once you’ve created your wooden slice snowmen, make sure they shine in their role:
- Tree ornaments: Use ribbon or jute to hang — space them among pine boughs and give them gentle lighting so the wood’s texture shows.
- Window ledge or mantel décor: Group several snowmen of varying sizes for visual interest — use battery-powered fairy lights around them.
- Gift tags / place cards: For holiday meals, attach small wooden-slice snowmen to napkin rings or use them as place card holders with names written on the back.
- Gift ornaments: Pack individually in clear cellophane with a ribbon; craft fairs often favour handmade ornaments like these. According to Pinterest boards, wood slice snowmen are popular in handmade gift channels.
- Outdoor décor: If sealed appropriately, larger stack snowmen can be placed on porches, steps or garden benches — maybe with a battery-powered spotlight for evening effect.
Crafting snowmen from wood slices is more than a seasonal pastime — it's an opportunity to merge nature, creativity and holiday spirit. Whether you design a single ornament or a family of stacked snowmen for your mantel, each slice of wood becomes a canvas, a statement, a memory.
Armed with the right materials, a dose of imagination and the steps above, you can create wood-slice snowmen that delight, decorate and endure. So gather your wood slices, pick your preferred style, and let the craft begin.
