Mini Christmas Tree Made of Pinecones: A Stunning DIY Holiday Craft Anyone Can Create
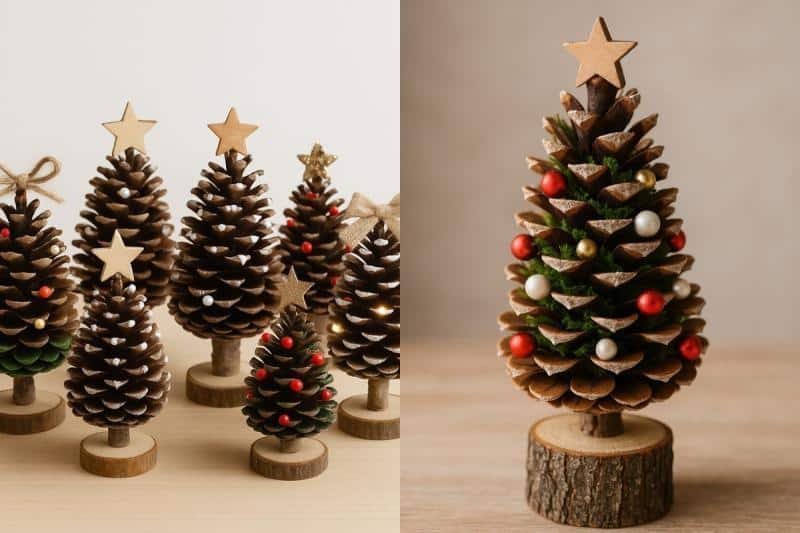
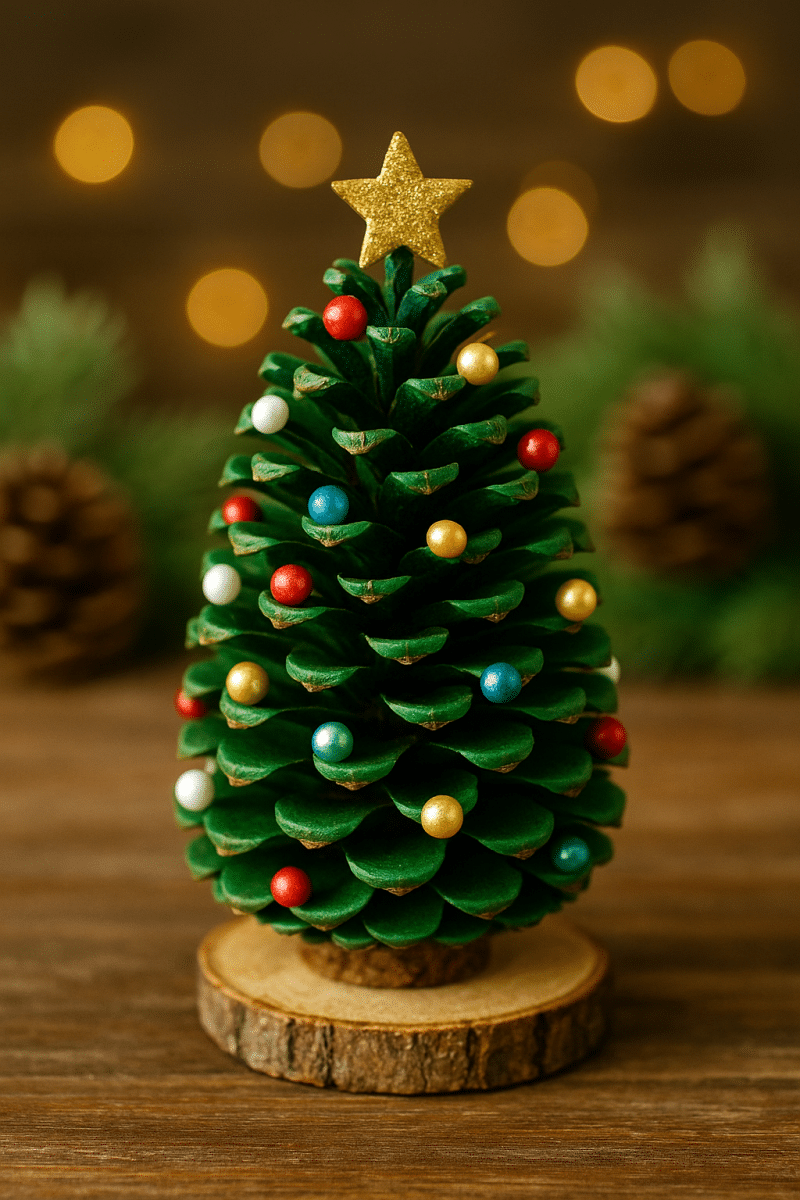
There’s something unmistakably enchanting about the mini Christmas tree made of pinecones. It embodies winter’s quiet charm—earthy textures, deep woodland tones, and the nostalgic whisper of cold air and warm lights. Despite its understated simplicity, a pinecone tree carries a rustic elegance that feels hand-touched and deeply personal.
This guide goes far beyond the surface. Instead of generic instructions, you’ll find layered techniques, subtle creative twists, and natural variations that make every pinecone tree a one-of-a-kind piece.
Whether you're decorating a table center, crafting a gift, or searching for a sustainable holiday project, this is the ultimate long-form resource.
- Pinecones Make the Perfect Mini Christmas Trees
- A. Classic Rustic Forest Tree
- B. Snow-Kissed Winter Tree
- C. Modern Metallic Tree
- D. Woodland Fairy Tree
- E. Scandinavian Minimalist
- Materials You’ll Need
- Step 1: Create a Stable Base
- Step 2: Sort Your Pinecones by Size
- Step 3: Glue the Pinecones Around the Base
- Step 4: Shape the Tree Top
- Step 5: Paint, Frost, or Decorate
- Creative Variations
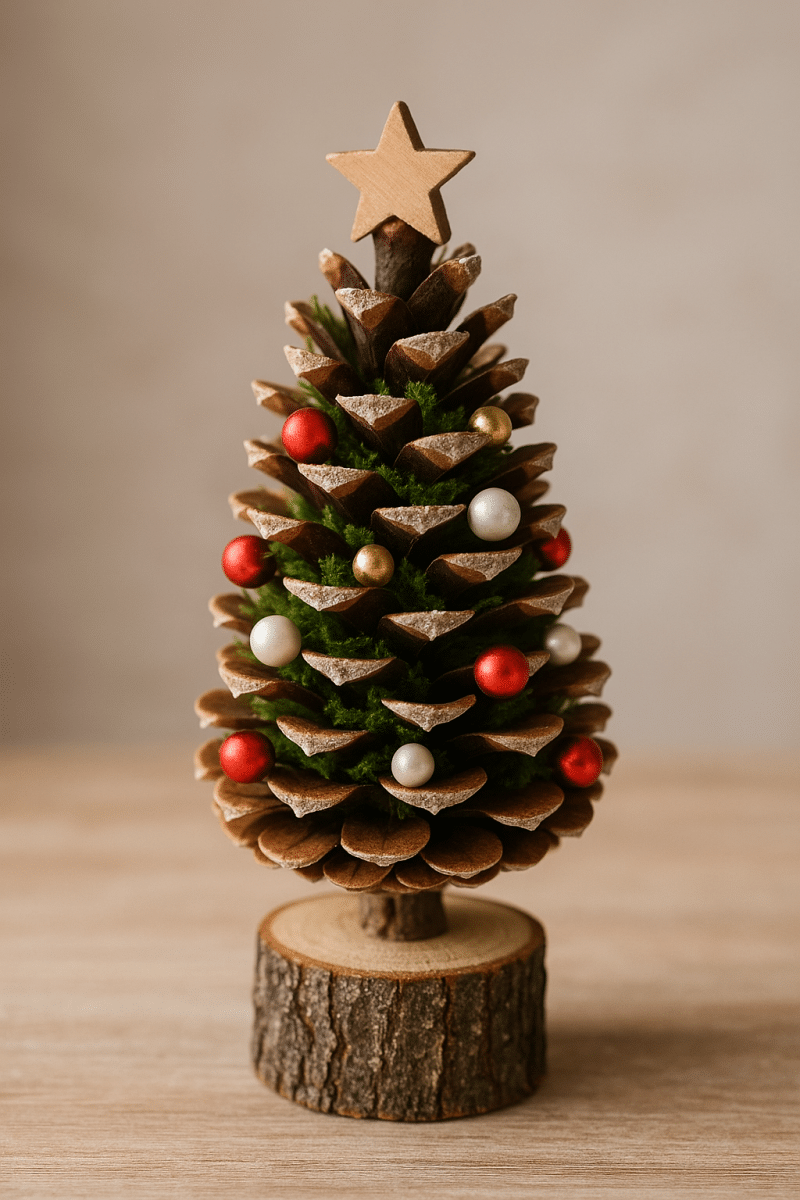
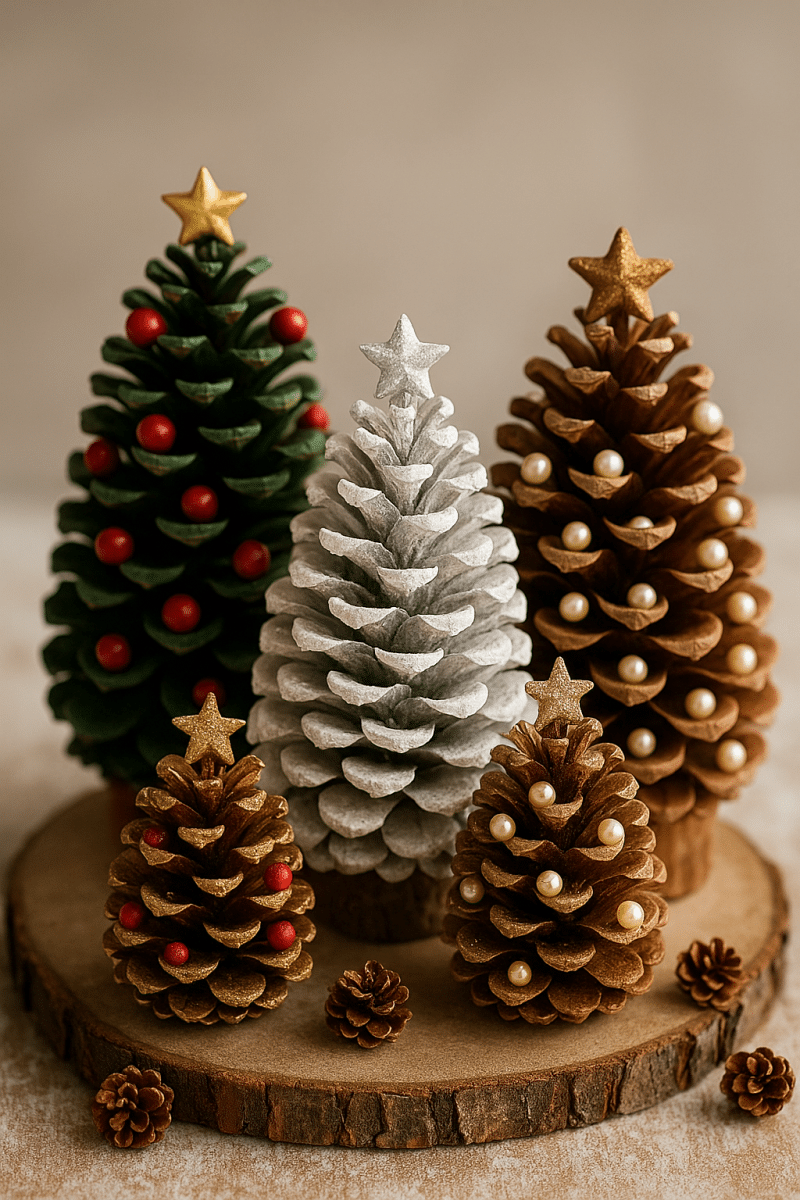
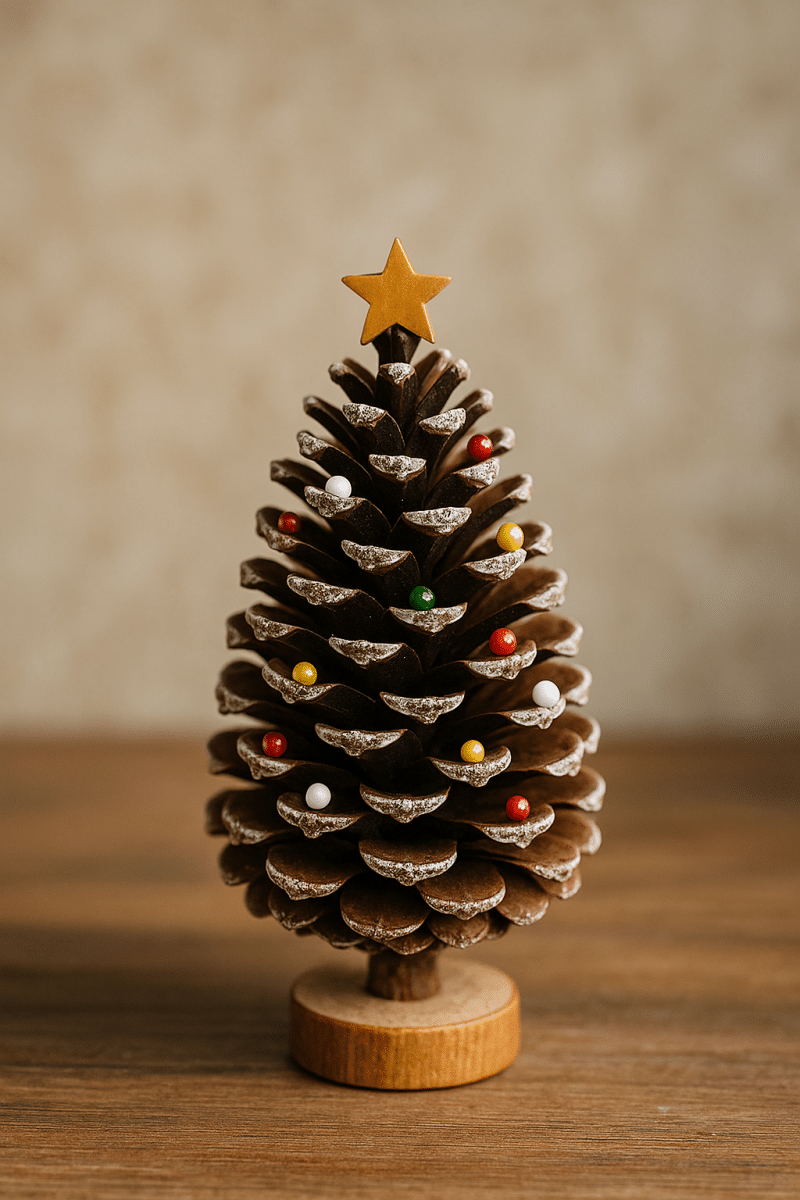
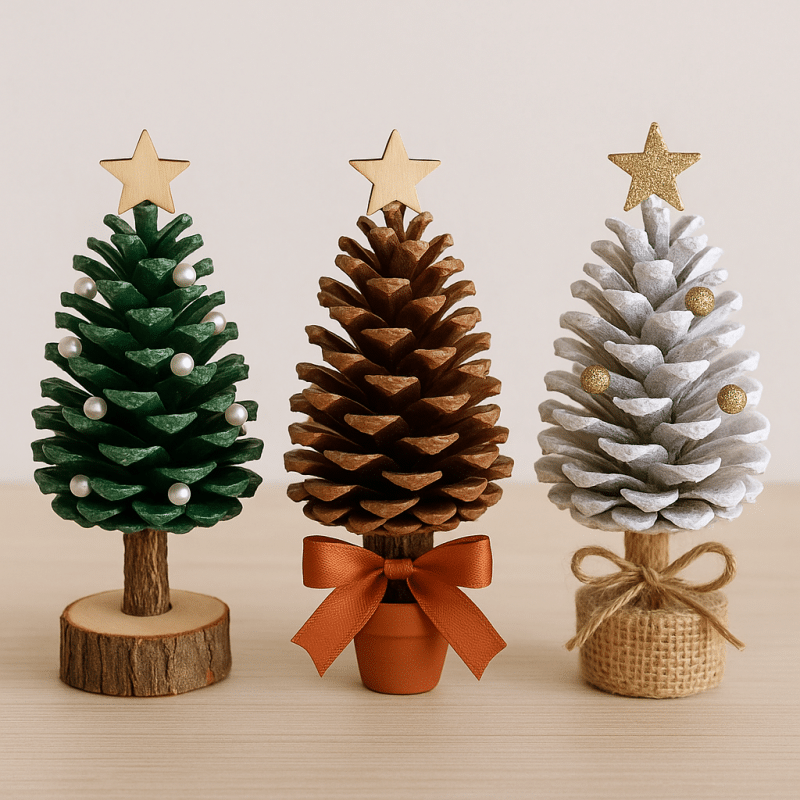
Pinecones Make the Perfect Mini Christmas Trees
Pinecones are nature’s sculptures—already layered, symmetrical, and reminiscent of a tree’s silhouette. Collect enough of them, arrange them thoughtfully, and you have a natural masterpiece.
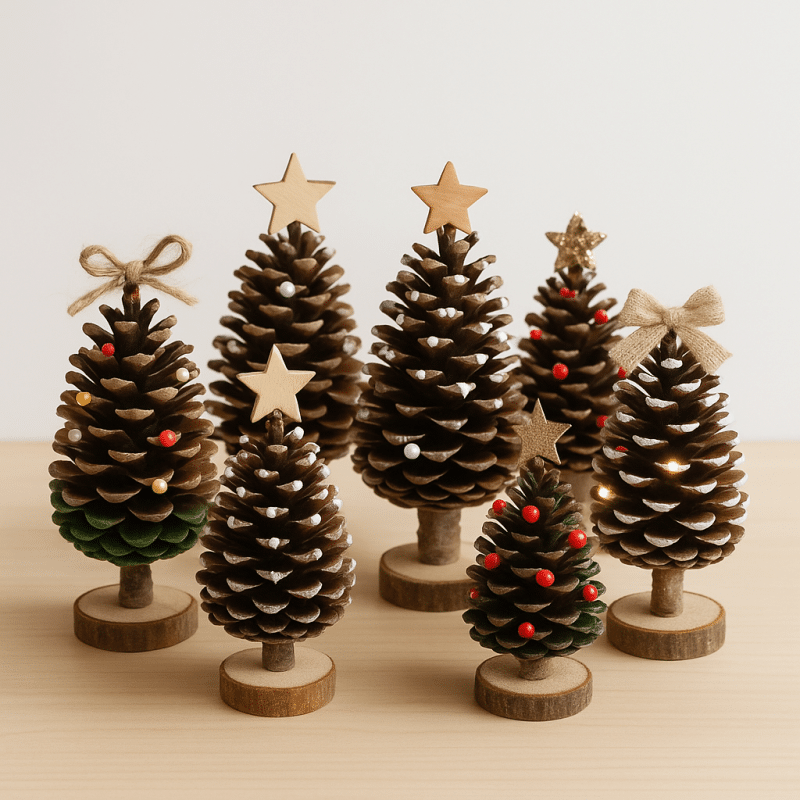
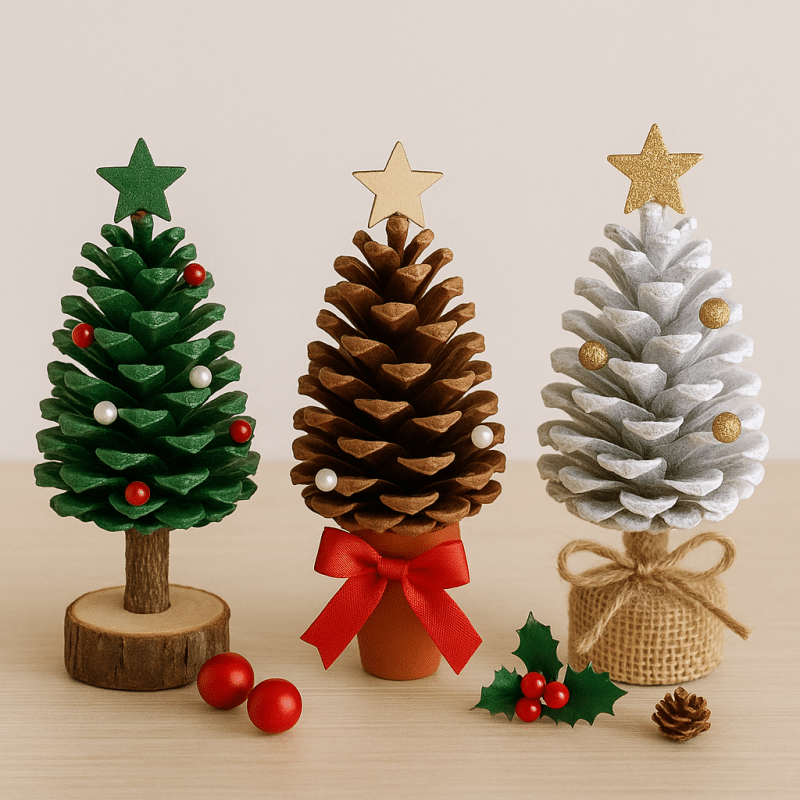
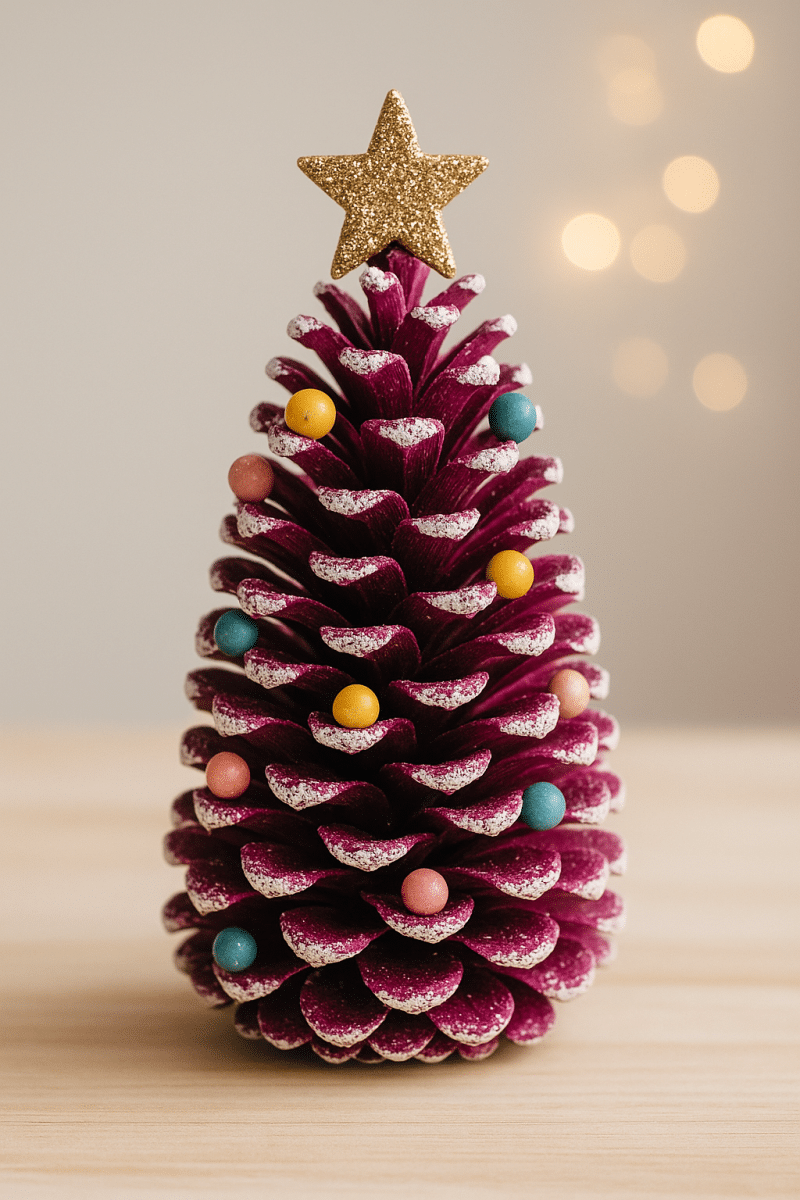

1. Preparing Pinecones for Crafting (The Overlooked Essential Step)
Many people skip this step, and it makes all the difference in the final finish.
1. Gather pinecones that are:
- Fully opened
- Dry
- Free from sap
- Roughly similar in size (for a balanced tree)
2. Clean them properly
- Remove dirt and debris with an old brush.
- Bake them in the oven (95ºC / 200ºF) for 20–30 minutes to kill insects and fully open the scales.
- Let them cool before handling or painting.
3. Optional pre-coat
Lightly spray with matte clear varnish to reduce flaking.
2. Choosing a Style for Your Pinecone Tree
Before gluing anything, choose the aesthetic direction. Each style changes the look, feel, and even the arrangement.
A. Classic Rustic Forest Tree
- Natural brown cones
- Burlap base
- Minimalistic finishing
B. Snow-Kissed Winter Tree
- White dry-brushed tips
- Light glitter frost
- Wooden disc stand
C. Modern Metallic Tree
- Gold, silver, bronze, or copper paint
- Clean geometric silhouette
- Black marble base
D. Woodland Fairy Tree
- Moss accents
- Mini mushrooms
- Twine-wrapped base
- Monochrome palette
- Soft-matte finish
- No glitter, no embellishments
3. How to Build the Mini Pinecone Christmas Tree (Step-by-Step Guide)
This is the core process, though your creativity will steer the details.
Materials You’ll Need
- 20–50 pinecones (depending on size)
- Hot glue gun
- Cardboard, foam cone, or wooden base
- Acrylic paint (optional)
- Mini decorations (optional)
- Scissors
- Twine, moss, or ribbon
Step 1: Create a Stable Base
You can use:
- A wood slice (rustic look)
- A foam cone (easy assembly)
- A rolled cardboard cone (budget-friendly)
- A small terracotta pot (elegant and weighted)
To make a simple cone base:
- Roll a piece of cardstock into a cone.
- Tape the seam.
- Trim the bottom so it sits flat.
This will act as the skeleton for your pinecone arrangement.
Step 2: Sort Your Pinecones by Size
A visually appealing tree starts with structure.
- Largest pinecones → bottom
- Medium pinecones → middle
- Smallest pinecones → top
If you don’t have small ones, trim larger cones with clippers to create smaller segments.
Step 3: Glue the Pinecones Around the Base
This step transforms raw material into a recognizable mini tree.
- Start at the bottom rim of your cone.
- Place pinecones pointing outward, angled slightly upward.
- Work around the base in a complete circular row.
- Move upward row by row, ensuring the cones are tightly spaced.
- Rotate the cone constantly to avoid uneven shapes.
Step 4: Shape the Tree Top
This part requires finesse.
Options include:
- A single tiny pinecone as the “crown”
- A cluster of trimmed pinecone tips
- A small wooden star
- A hand-shaped clay topper
The key is proportion. A top that’s too large disrupts the balance.
Step 5: Paint, Frost, or Decorate
Now, the creative burst.
Painting Techniques
Dry brushing Perfect for a snowy or rustic effect.
Full spray coating Ideal for metallic, matte, or modern styles.
Partial accenting Adds highlights only to the outer scales.
Decoration Options
- Mini LED lights
- Twine bows
- Faux berries
- Moss patches
- Ribbon spirals
- Wood beads
- Cinnamon sticks
- Mini ornaments
- Glitter (in moderation)
Even the most beautiful tree needs the right setting.
Best display locations:
- Fireplace mantels
- Dining table centerpieces
- Sideboard holiday arrangements
- Bookshelves
- Coffee table vignettes
- Entryway consoles
Pro styling tip
Use height variation. Combine your pinecone tree with:
- Candles
- Wood slices
- Winter greenery
- Lanterns
- Fabric textures (linen, wool, jute)
Creating a layered winter scene enhances the natural charm of pinecone décor.
Creative Variations
If you want something truly unique:
1. Rainbow Pinecone Tree
- Each cone painted a different color
- Great for kids or playful interiors
2. Vintage Glam Tree
- Champagne gold
- Pearl accents
- Victorian lace ribbon
3. Nordic White Tree
- Entire tree painted matte white
- Minimalism at its finest
4. Forest Spirit Tree
- Add twigs, dried berries, bark
- Heavy woodland fantasy vibes
5. Candle-Base Pinecone Tree
- Built around a flameless LED candle
- Glows from within
Create a beautiful mini Christmas tree made of pinecones with this in-depth DIY guide. Learn pro techniques, styling ideas, and step-by-step instructions to craft natural, eco-friendly holiday décor that stands out.
