Amazing Christmas Angel Ornaments Making From EVA Foam
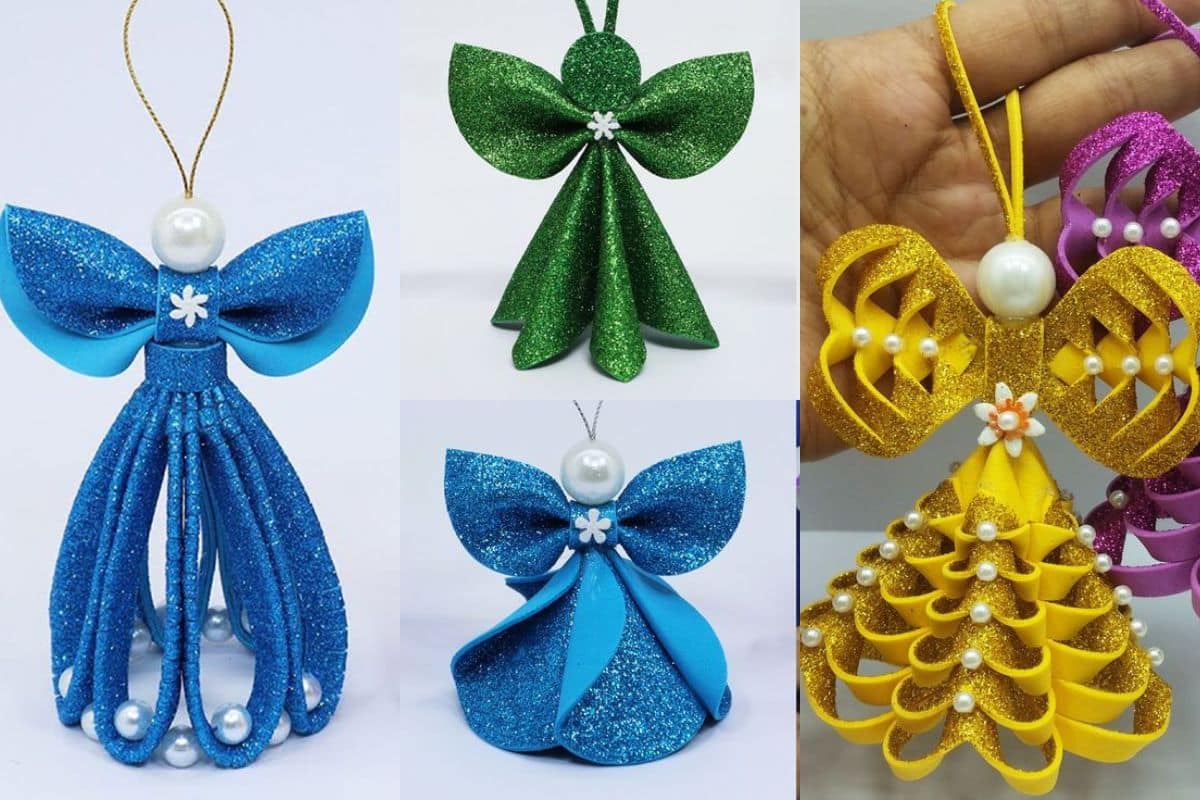
The holiday season is upon us, and there’s no better way to add a personal touch to your Christmas decorations than with Christmas angel ornaments made from EVA foam. These charming ornaments not only bring a magical touch to your tree but are also easy to make, cost-effective, and fun to personalize.
Whether you're a DIY enthusiast or just starting with craft projects, creating angel ornaments using EVA foam is a fantastic way to get into the holiday spirit.
In this article, we’ll walk you through the steps to create stunning angel ornaments that will shine on your tree this Christmas.
Christmas Angel Ornaments Making From EVA Foam
https://youtu.be/ZoUU9dhxZJs?si=j4N1TyKRyQdgOuey
Materials You Will Need
Before diving into the crafting process, make sure you have the following materials ready:
- EVA Foam Sheets: Choose colors like white, gold, silver, and pastel shades to create a variety of angel designs.
- Scissors or Craft Knife: For cutting the foam into different shapes.
- Hot Glue Gun and Glue Sticks: To assemble the pieces.
- Markers or Paint: To add facial features, designs, or accents.
- Ribbon or String: For hanging the ornaments on the tree.
- Embellishments: You can use glitter, sequins, beads, or small fabric pieces for added decoration.
- Templates or Stencils: To help cut the foam into specific shapes (optional).
Pro Tip: If you’re making several angel ornaments, you can create a simple template or download a printable one to save time and ensure consistency across your designs.
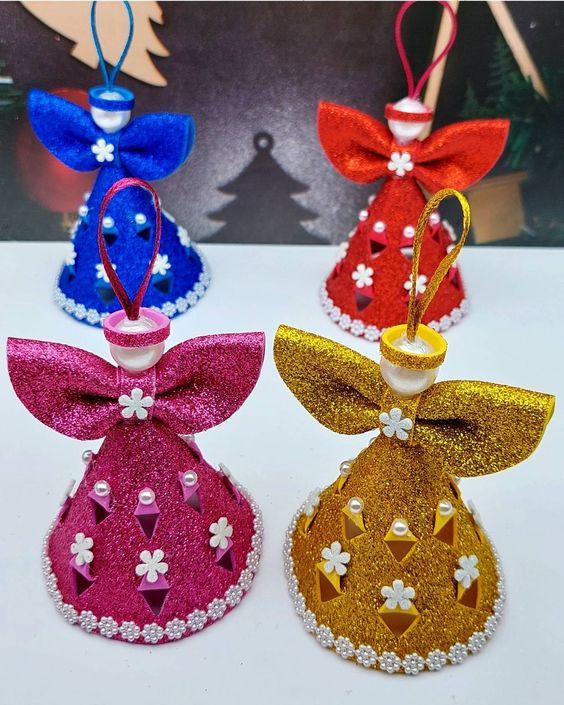
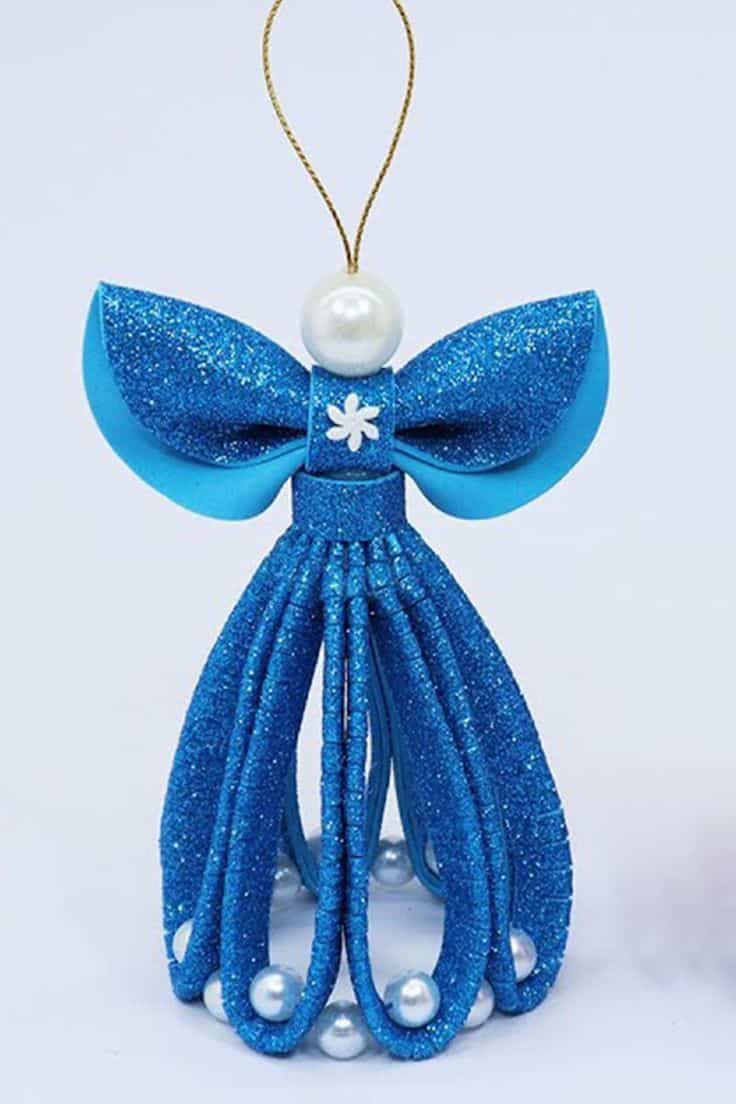
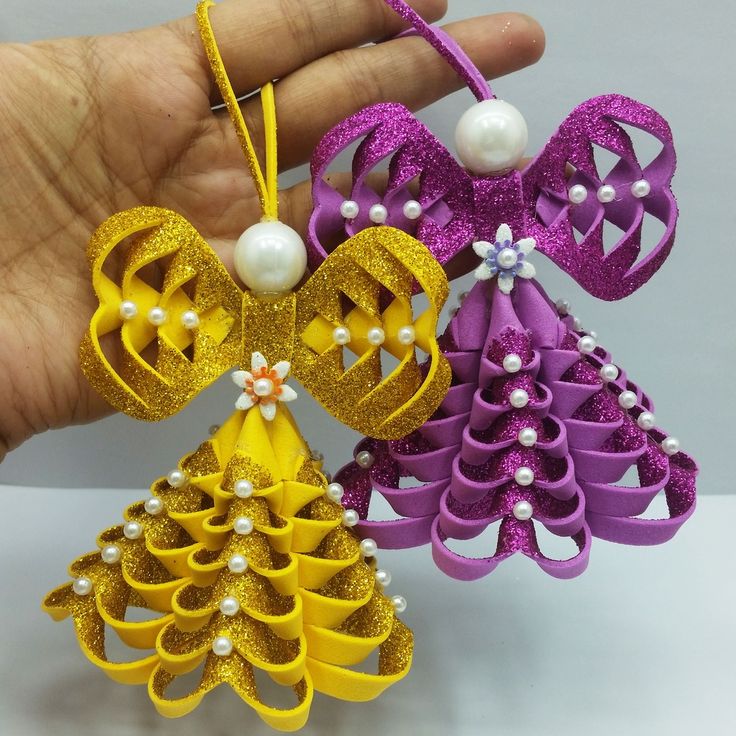
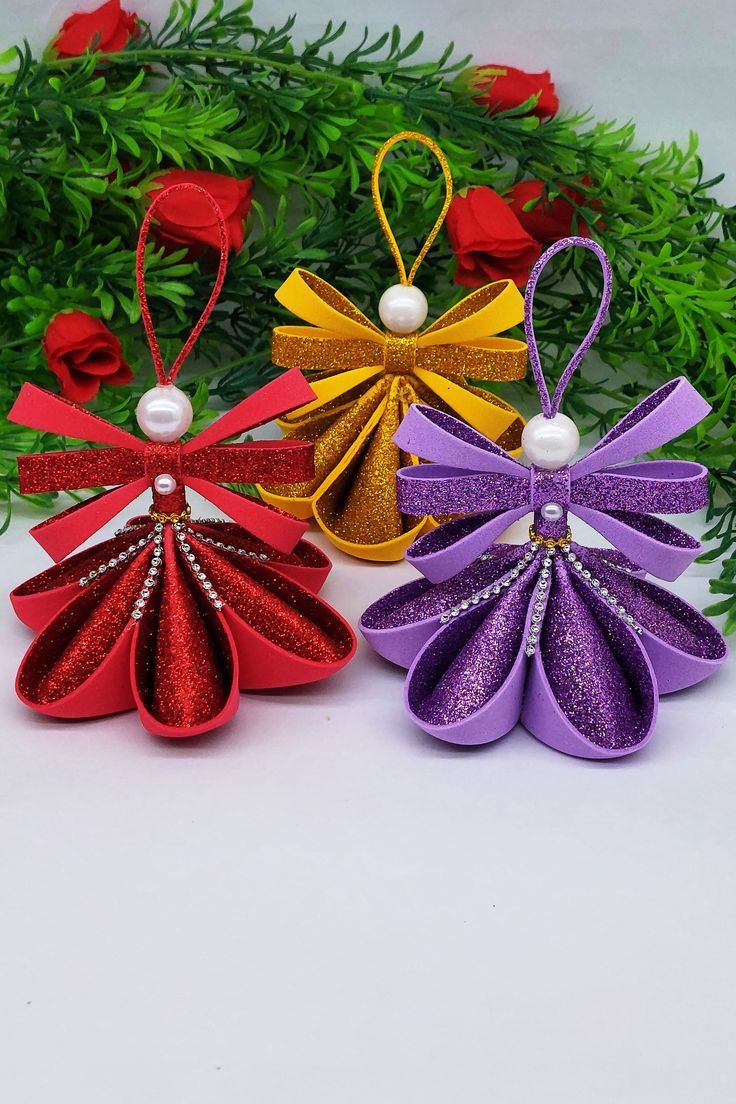
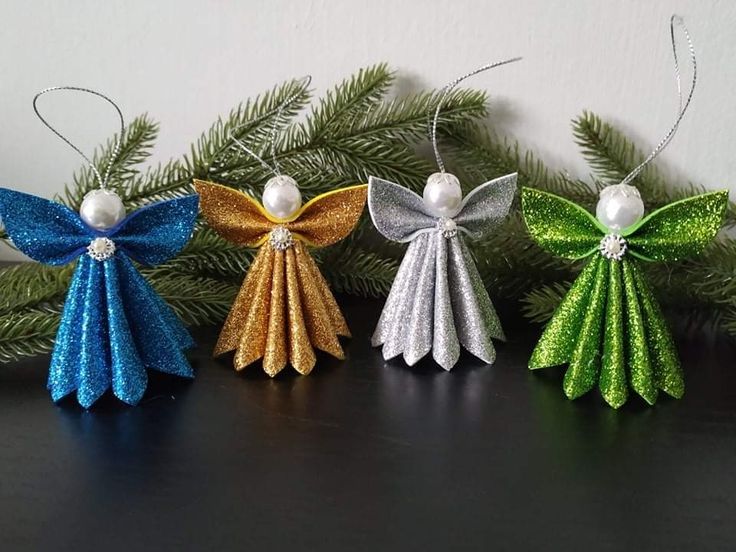
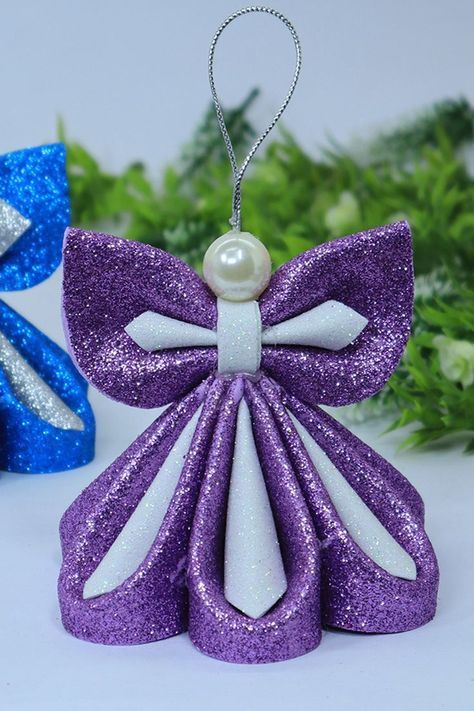
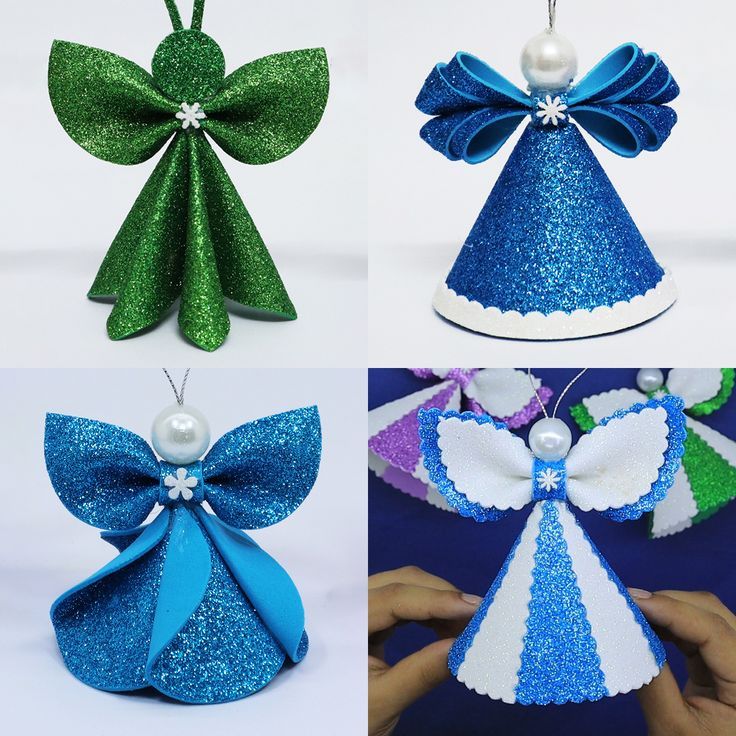
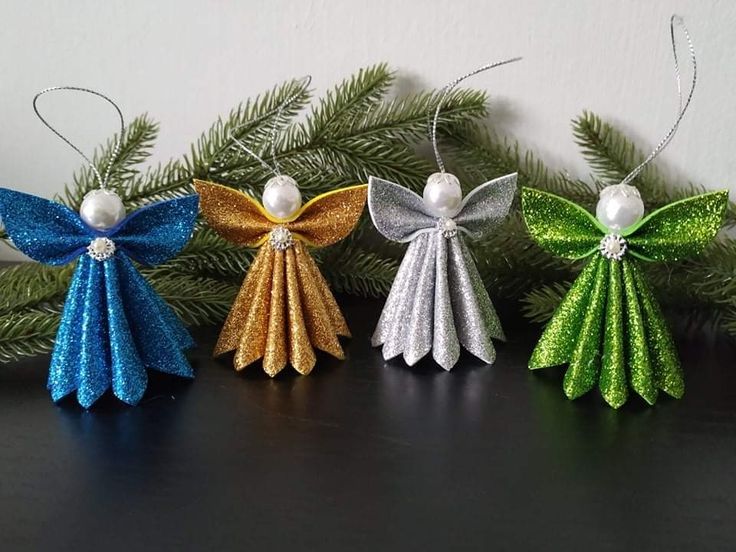
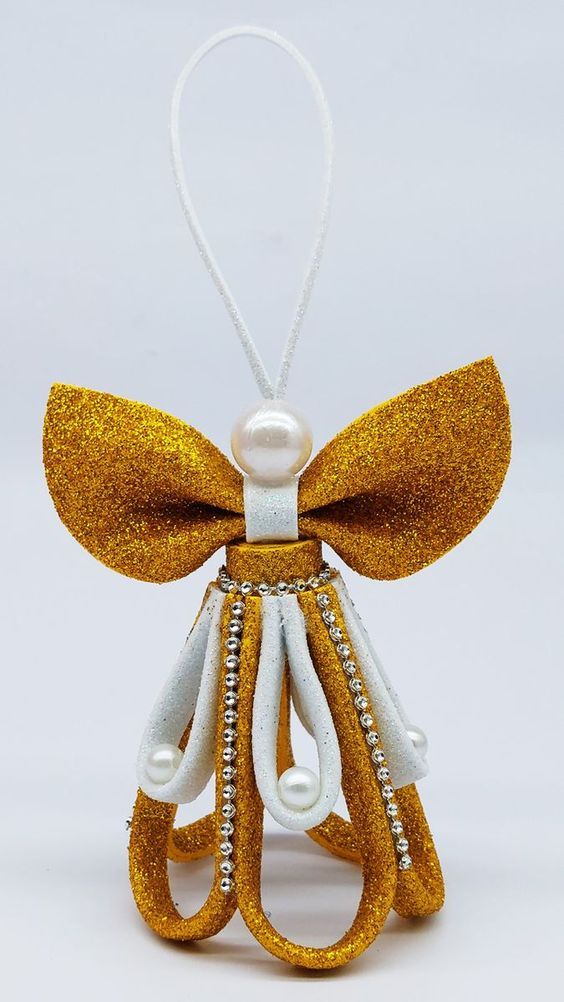
Step-by-Step Guide: How to Make Christmas Angel Ornaments from EVA Foam
Step 1: Prepare Your Templates
Start by drawing or printing templates for the different parts of the angel ornament: the wings, body, head, and halo. You can create simple shapes like ovals, circles, and triangles for these elements. If you’re using a printable template, simply cut out the pieces and trace them onto the EVA foam sheet.
- Head: Cut out a small circle for the angel’s face.
- Body: A slightly larger oval or rectangle will serve as the body of the angel.
- Wings: You can create wings using an oval or heart-shaped design and then split them in half to form the shape of angel wings.
- Halo: Cut a small circular piece of foam for the halo.
Step 2: Cut the EVA Foam Pieces
Once you have your templates, carefully cut the pieces out of your EVA foam sheets. Use sharp scissors or a craft knife to ensure clean cuts. If you’re using multiple colors for your design, cut each part separately and set them aside.
- Body: Choose a color for the body—white, beige, or even gold for a more festive look.
- Wings: Consider using a lighter shade like pale yellow or white for the wings to create a soft, angelic look.
- Halo: Use a shiny gold or silver foam to make the halo stand out.
Step 3: Assemble the Angel Ornament
Now that all your parts are ready, it’s time to start assembling the angel:
- Attach the Head to the Body: Use hot glue to attach the head piece to the top of the body. Make sure they’re aligned properly to form a nice angel shape.
- Glue the Wings: Attach the wings to the back of the body. Position them on either side of the body to create the signature angel wing look.
- Add the Halo: Place the halo above the head and secure it in place with glue.
Step 4: Add Details
Now that your angel is taking shape, it’s time to add the finishing touches:
- Facial Features: Use a fine-tipped marker or paint to add eyes, a nose, and a smiling mouth to the angel's face. You can also paint rosy cheeks or add small details to make it more festive.
- Decorative Elements: Add glitter, sequins, or beads to the wings, body, or halo for extra sparkle. You can also use fabric ribbons to create a flowy dress or a bow around the neck for a more detailed look.
- Finishing Touch: To make sure the angel is ready to hang, attach a small loop of ribbon or string at the top of the halo. This will allow you to hang your ornament on the Christmas tree.
Creative Tip: Try using metallic foam or incorporating patterns like stars, snowflakes, or swirls for a more intricate and festive angel design.
Variations and Creative Ideas for Angel Ornaments
1. Miniature Angels for a Garland
Instead of individual ornaments, you can create a beautiful angel garland by making several small angel ornaments and stringing them together. This makes for a wonderful decoration for your mantelpiece or along a staircase railing.
2. Angel Ornaments with Personalization
For a more personal touch, customize the angels with names, dates, or special messages. You can use a permanent marker to write messages like "Merry Christmas" or "Peace and Love" on the angel’s body or wings.
3. Angel With a Ribbon Dress
For a more elaborate design, add a flowing ribbon dress to the angel. You can glue ribbons around the body to mimic a gown, creating a graceful and elegant effect.
4. Glitter and Sparkle
Add an extra layer of holiday magic by covering the angel’s wings or halo with glitter. This not only gives the ornament an ethereal, shimmering quality but also catches the light beautifully when hung on your tree.
Conclusion
Making Christmas angel ornaments from EVA foam is a fun, creative, and meaningful way to add a personal touch to your holiday decorations. With just a few basic materials, you can craft beautiful and unique angel ornaments that will bring a magical glow to your Christmas tree.
Whether you keep them for yourself or gift them to loved ones, these handmade angels will surely become cherished keepsakes for years to come.
