Christmas Ornaments Made with Plastic Bottles: Eco-Friendly and Creative DIY Ideas
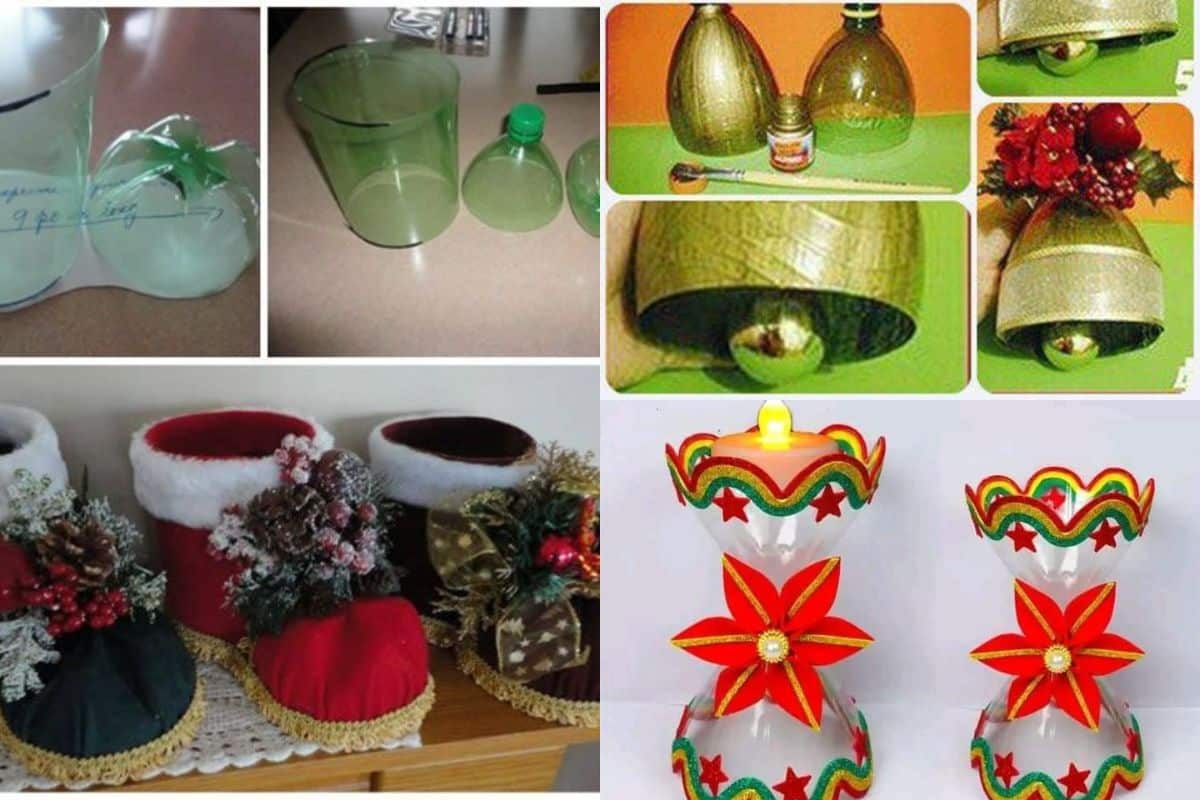
Transforming plastic bottles into stunning Christmas ornaments is an eco-friendly and budget-friendly way to celebrate the holiday season. By reusing everyday materials, you can create beautiful, customized decorations while reducing waste.
These unique ornaments not only add a personal touch to your Christmas tree but also showcase your creativity and commitment to sustainability.
In this article, we’ll explore a variety of ideas to craft Christmas ornaments made with plastic bottles, step-by-step guides, and tips to elevate your DIY decor.
Why Use Plastic Bottles for Christmas Ornaments?
1. Eco-Friendly Choice
Repurposing plastic bottles helps reduce waste and promotes sustainability during the festive season.
2. Affordable Crafting
Plastic bottles are readily available, making this a cost-effective DIY option.
3. Versatility
Plastic bottles can be cut, painted, and shaped into various designs, from snowflakes to bells.
4. Family Fun
This project is perfect for involving kids, turning crafting into a fun holiday activity.

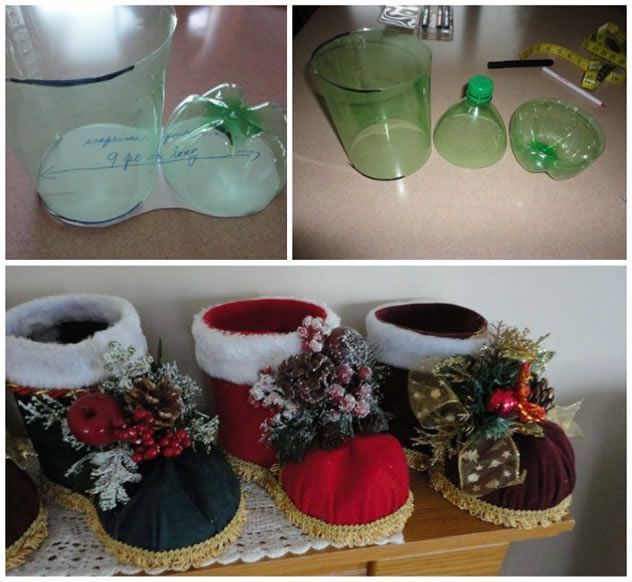
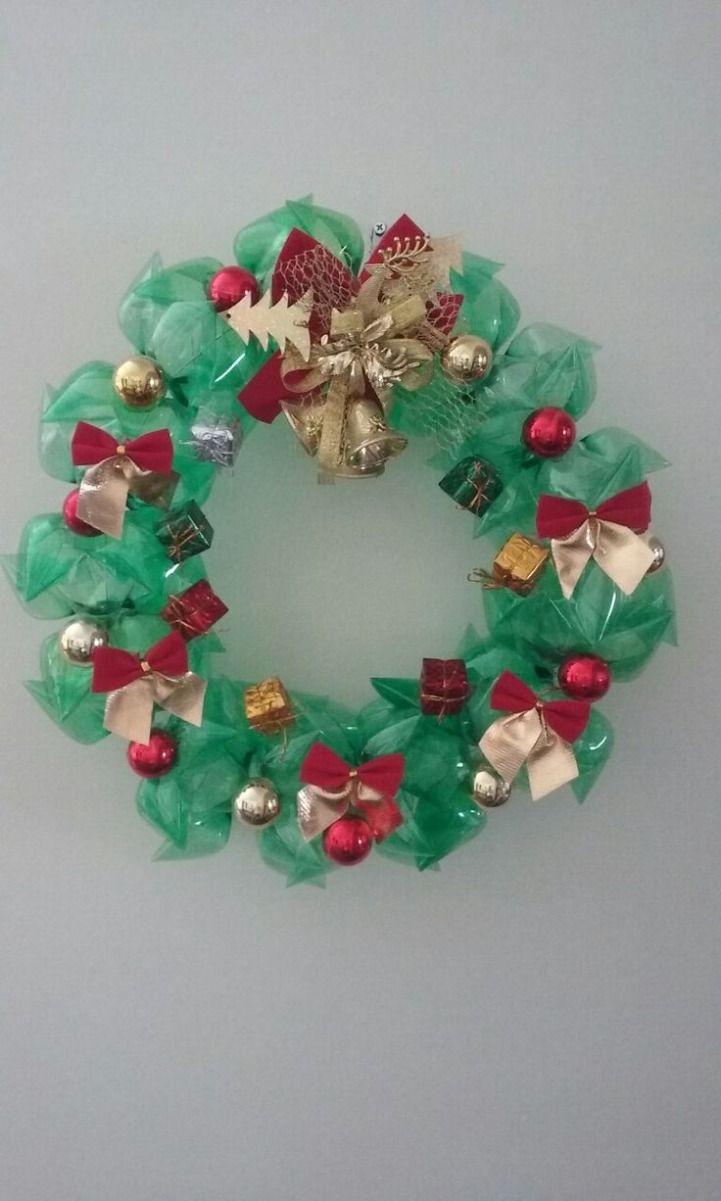
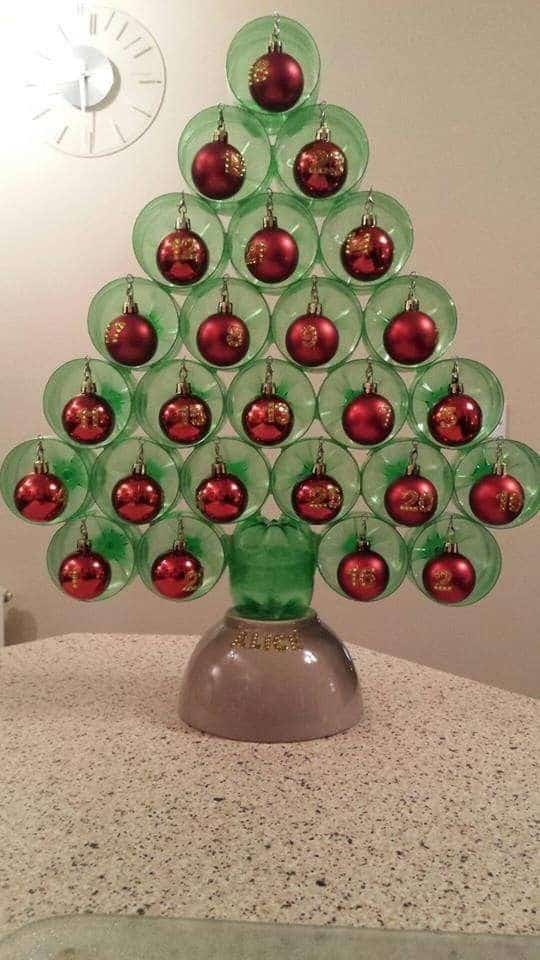
Materials Needed
Before starting, gather these materials:
Tools:
- Scissors or craft knife
- Hot glue gun
- Paintbrushes
Decorations:
- Acrylic paint or spray paint
- Glitter, sequins, or beads
- Ribbons and strings
- Stickers or stencils
- Cotton or felt for added textures
Base Material:
- Empty plastic bottles (various sizes)
Creative Christmas Ornament Ideas with Plastic Bottles
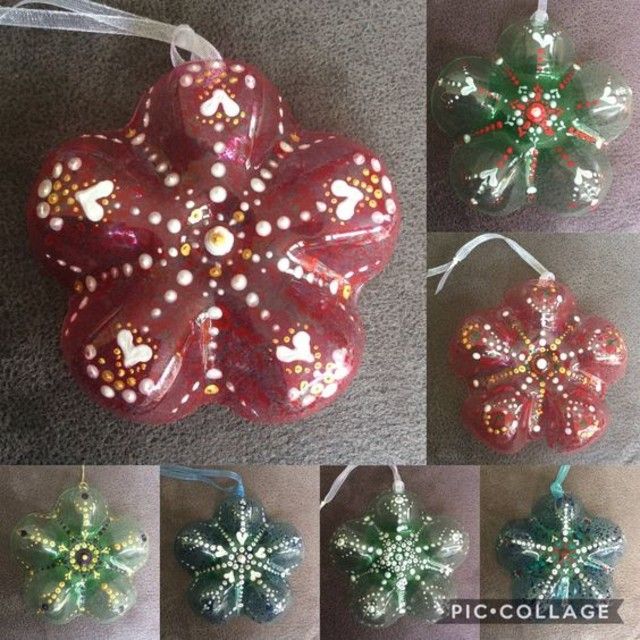
1. Plastic Bottle Snowflakes
How to Make:
- Cut the bottom of a plastic bottle (about 2 inches deep).
- Shape the edges into a snowflake pattern using scissors.
- Paint the snowflake with white acrylic paint and sprinkle glitter for a frosty effect.
- Attach a string to hang it on your tree.
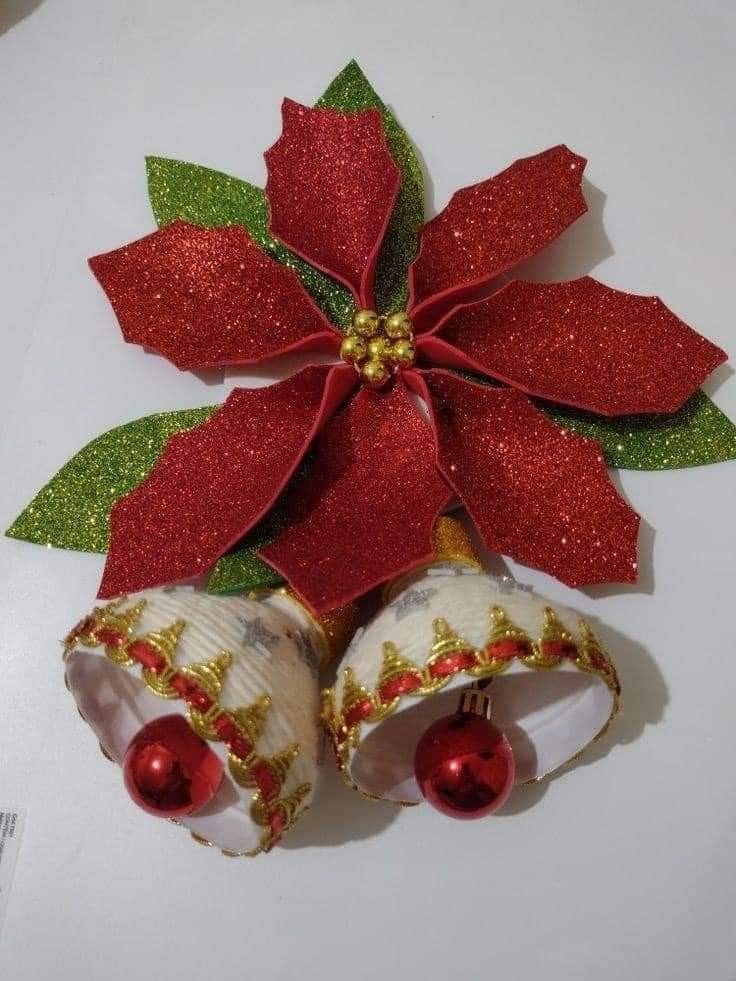
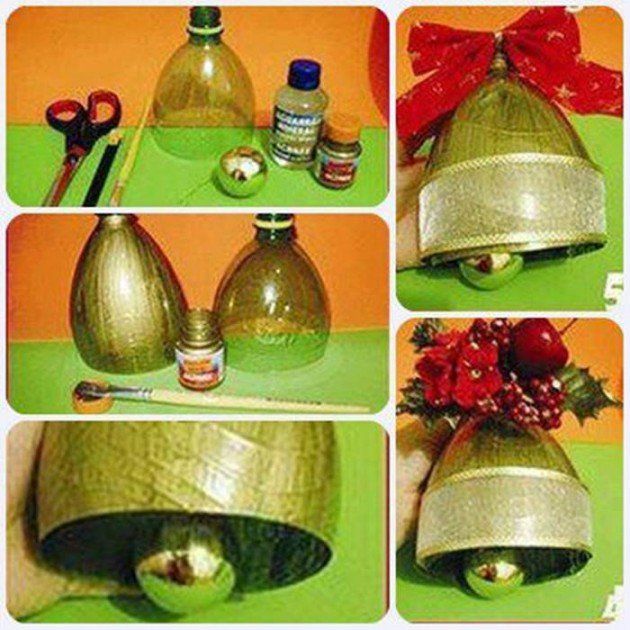
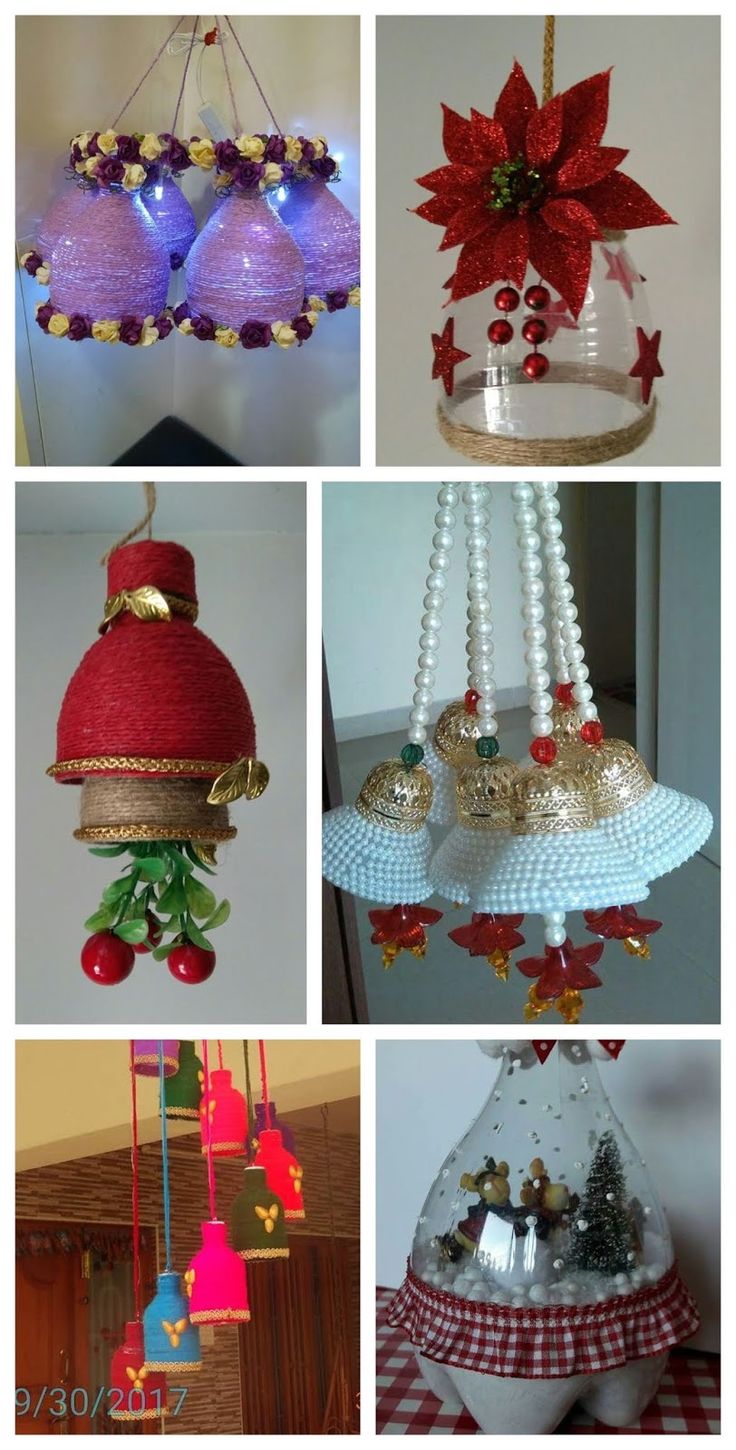
2. Mini Bell Ornaments
Steps:
- Cut the neck of a plastic bottle to form a bell shape.
- Paint it in metallic colors like gold or silver.
- Glue a bead or small jingle bell inside the neck.
- Add a ribbon loop to hang.
3. Christmas Trees
Instructions:
- Cut strips from a green plastic bottle and shape them into triangle layers.
- Stack the layers from largest to smallest, securing them with glue.
- Decorate with mini pom-poms, glitter, or tiny beads.
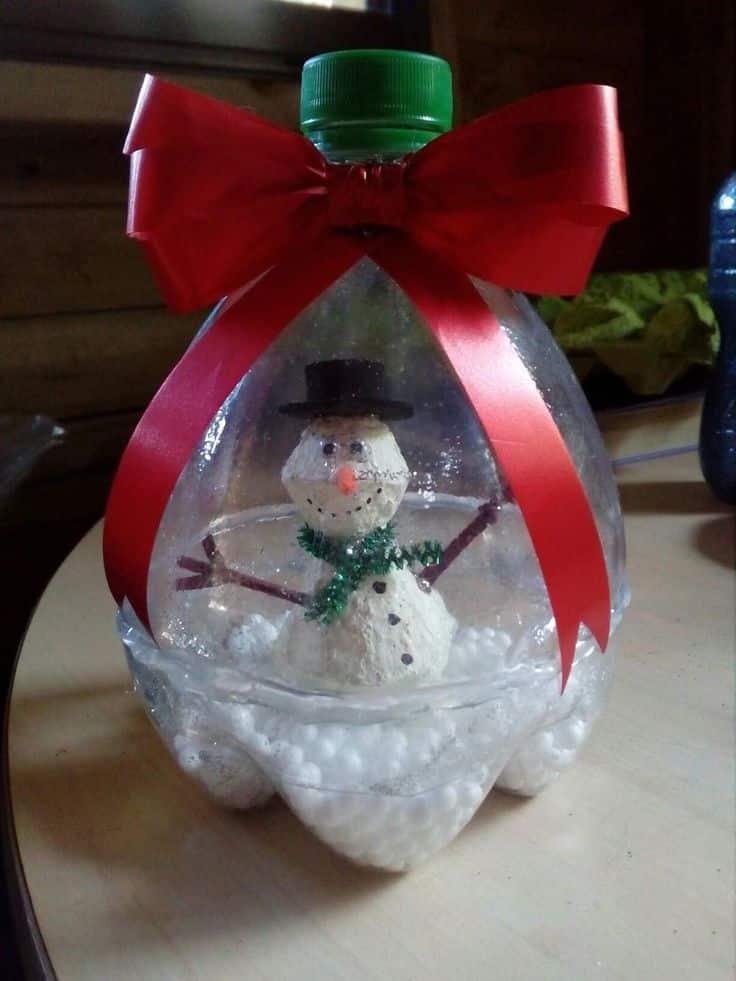
4. Transparent Ornaments
How to Make:
- Cut the top of a clear plastic bottle and smooth the edges.
- Fill the ornament with small items like glitter, artificial snow, or tiny gifts.
- Seal the opening with a ribbon or decorative cap.
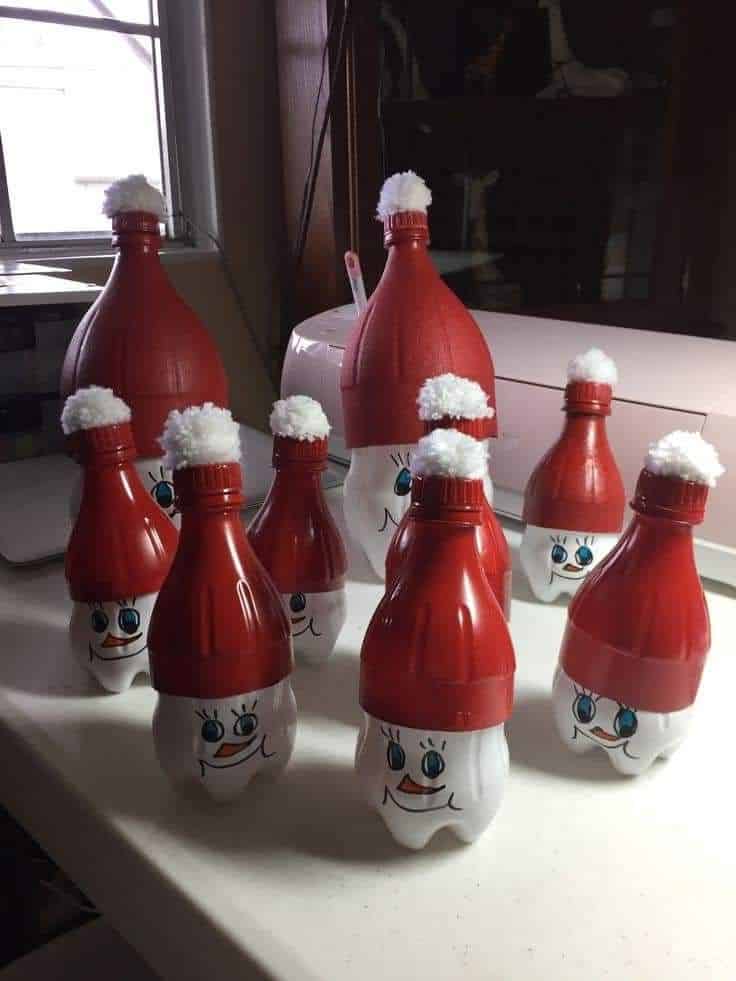
5. Santa and Snowman Figurines
Steps:
- Use the base of the bottle for the body.
- Paint the bottle to resemble Santa or a snowman, adding details like hats and scarves using felt or fabric.
- Use cotton for Santa’s beard or the snowman’s base.
6. Star Ornaments
How to Make:
- Flatten a plastic bottle and draw a star shape.
- Cut out the star and smooth the edges.
- Paint it with metallic colors and decorate with rhinestones or glitter.
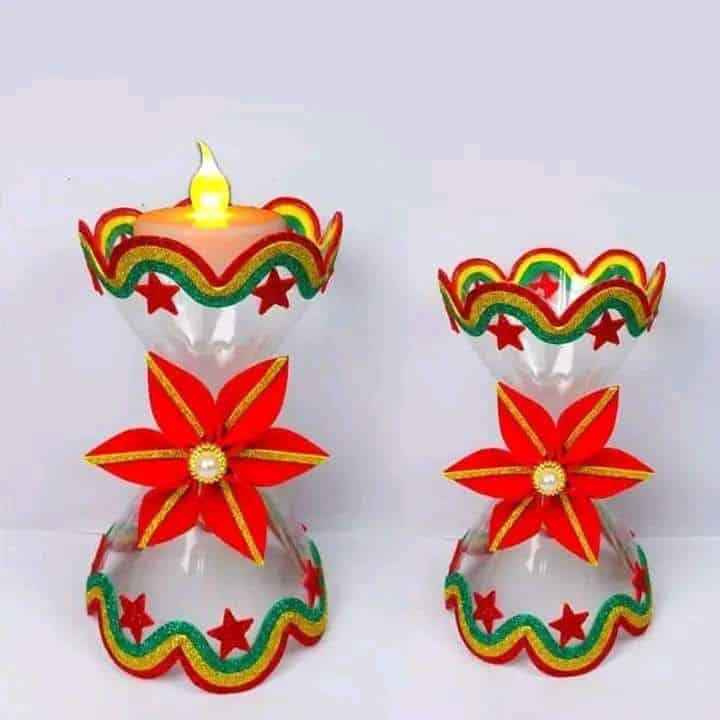
7. Festive Lanterns
Instructions:
- Cut the middle section of a large plastic bottle into a cylindrical shape.
- Paint or wrap it with decorative paper.
- Add a battery-operated tea light inside for a glowing ornament.
Tips for Perfect Plastic Bottle Ornaments
- Clean Thoroughly: Wash and dry the bottles to remove labels and residue.
- Use Safe Tools: Always supervise kids when using sharp scissors or hot glue guns.
- Layer Paint: Apply multiple thin coats for an even and polished finish.
- Emphasize Details: Small touches like glitter or ribbon elevate the final look.
Benefits of DIY Christmas Ornaments
- Personalized Decor: Create ornaments that reflect your style and theme.
- Engage Kids: Turn this into a bonding activity with your children.
- Eco-Conscious Celebration: Reduce your carbon footprint while spreading holiday cheer.
Discover creative Christmas ornaments made with plastic bottles! Learn how to craft eco-friendly decorations like snowflakes, bells, and more. Perfect for kids and festive fun.
