Christmas Tree Ornaments Using Cardboard and Foam: Creative DIY Ideas
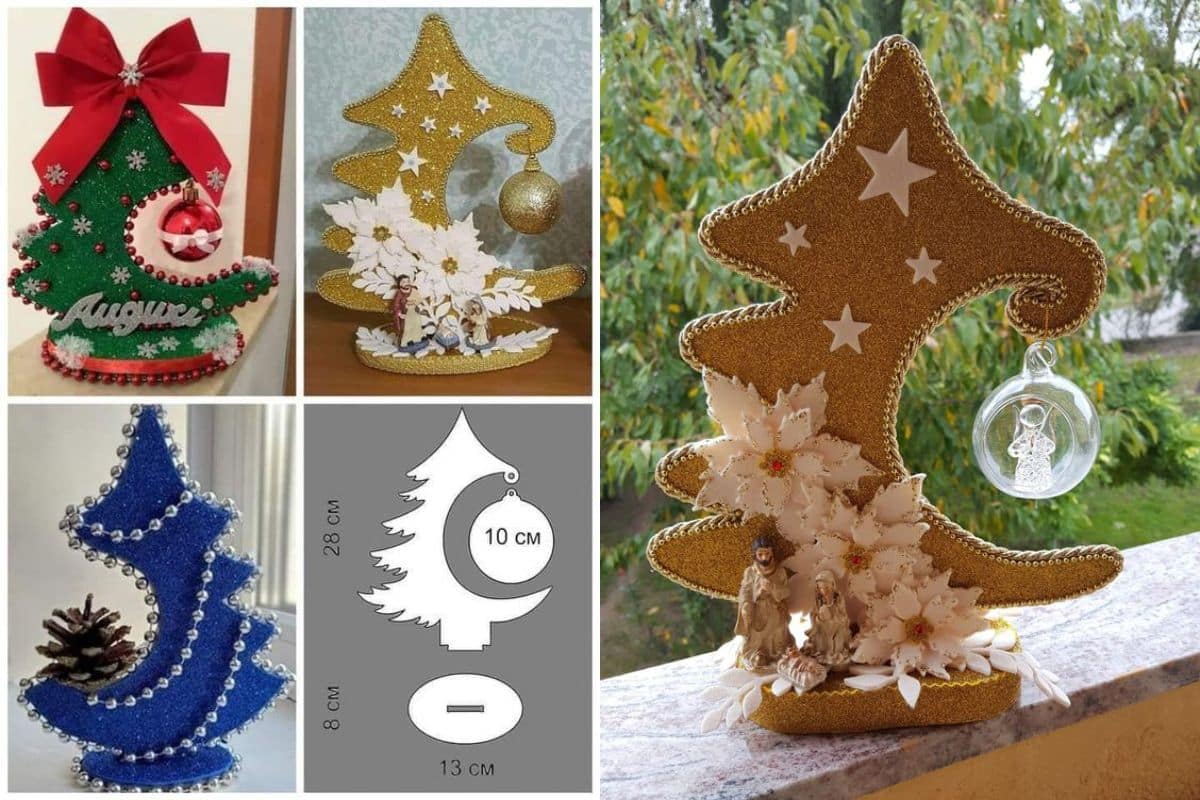
Creating your own Christmas tree ornaments can bring a personalized, homemade touch to your holiday decor. Using cardboard and foam, you can design a wide range of unique ornaments that are inexpensive, eco-friendly, and fun to make. These materials are easy to work with, allowing for limitless creativity whether you prefer classic shapes, vibrant colors, or glittering textures.
This article explores a variety of Christmas tree ornaments using cardboard and foam with step-by-step instructions, tips, and ideas for all ages.
Let’s dive into a world of DIY Christmas crafts that transform simple materials into beautiful holiday decor.
Homemade Christmas ornaments
- Cardboard: Use any sturdy cardboard, like recycled cereal boxes or leftover shipping boxes.
- Foam sheets: Foam sheets are available in craft stores in a variety of colors.
- Scissors and craft knife: For precise cutting.
- Glue: Use hot glue, foam glue, or craft glue, depending on the thickness of your foam and cardboard.
- Paint and markers: Acrylic paint works well for both foam and cardboard, while markers can add finer details.
- String or ribbon: For hanging the ornaments.
- Decorations: Consider glitter, sequins, beads, buttons, or small faux gems to give your ornaments sparkle and texture.
Creative Christmas Ornament Ideas Using Cardboard and Foam
Here are some creative ornament ideas you can try using cardboard and foam.
1. Classic Christmas Shapes
Simple shapes like stars, trees, bells, and snowflakes are easy to make and look wonderful on any Christmas tree.
- Draw your shapes: Trace or draw shapes onto cardboard or foam sheets.
- Cut them out: Use scissors or a craft knife to carefully cut out each shape.
- Decorate: Paint the shapes with festive colors like gold, red, green, or silver. Add glitter for a shimmering effect.
- Attach a ribbon: Glue a loop of ribbon or string to the top for hanging.
These classic shapes are ideal for both adults and kids and can be customized with endless colors and decorations.
2. Layered 3D Ornaments
Layered ornaments add depth and are simple to make with foam sheets.
- Cut multiple layers: Start by cutting two or three identical shapes from foam sheets. Use different colors for each layer.
- Glue the layers together: Stack the shapes and glue them, slightly offsetting each layer for a dimensional look.
- Decorate the top layer: Add beads, glitter, or tiny decorations to the top layer to enhance the 3D effect.
This technique works well for stars, trees, and even snowmen and angel designs.
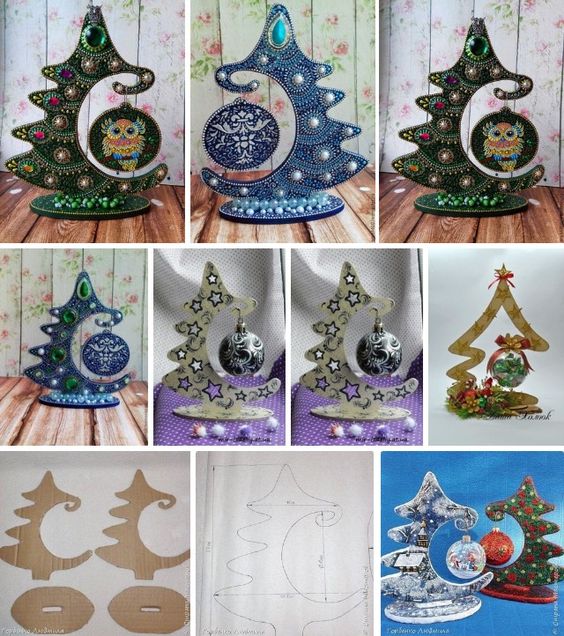
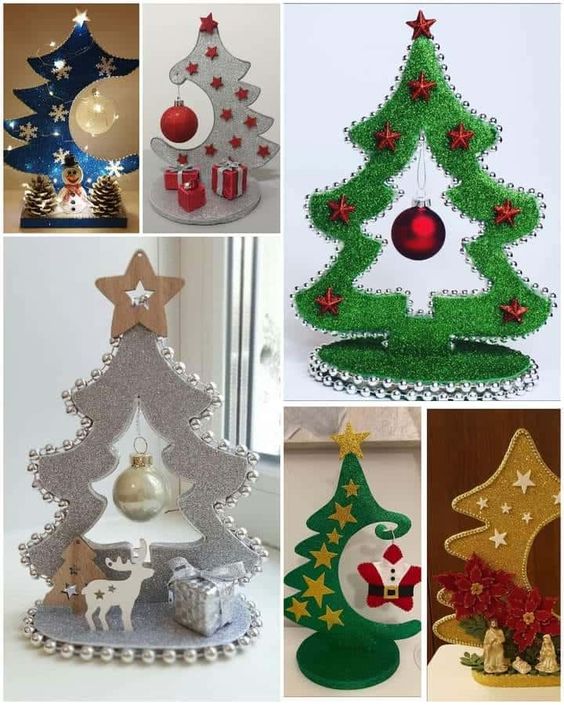
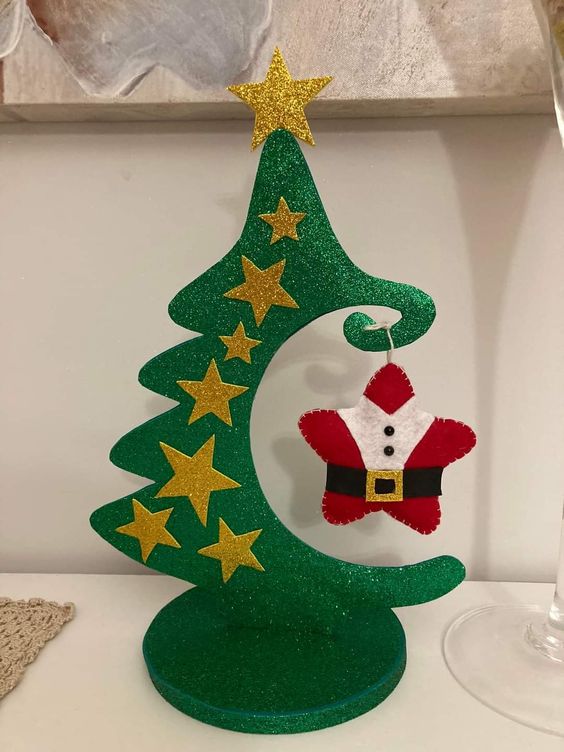
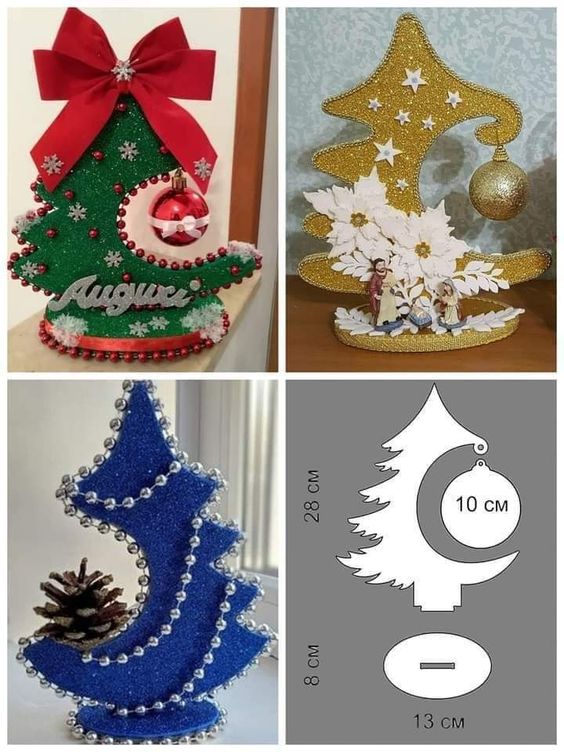
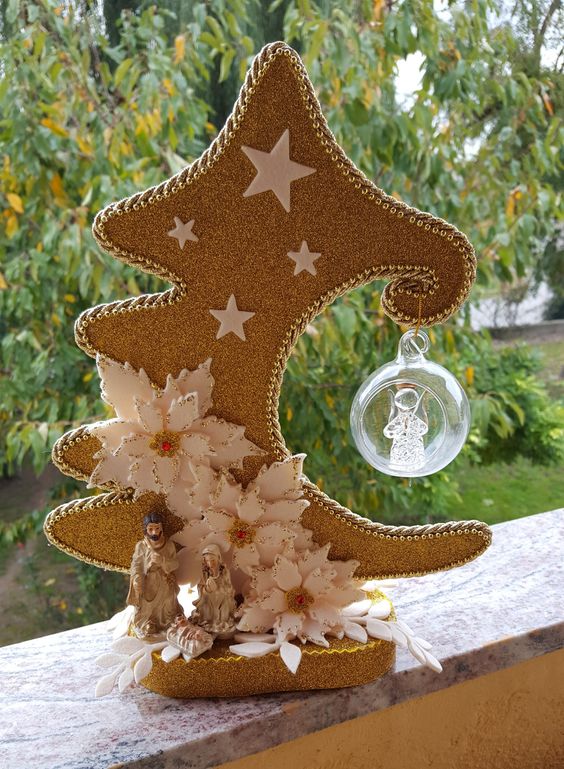

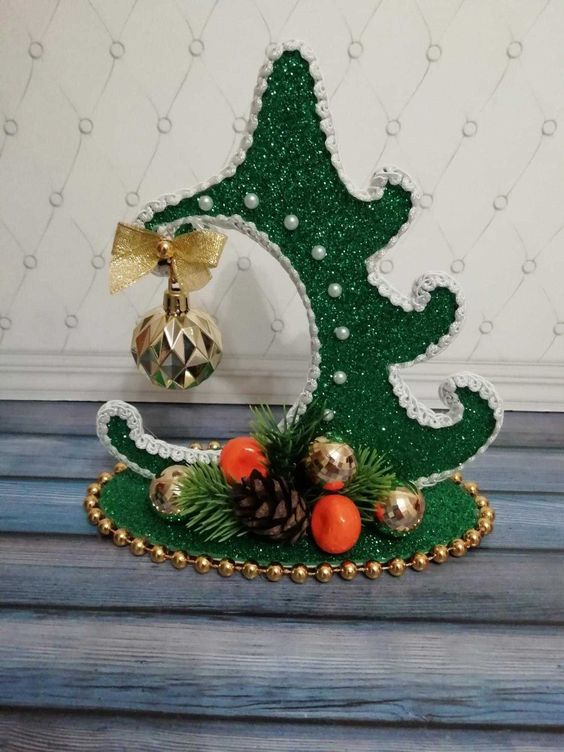
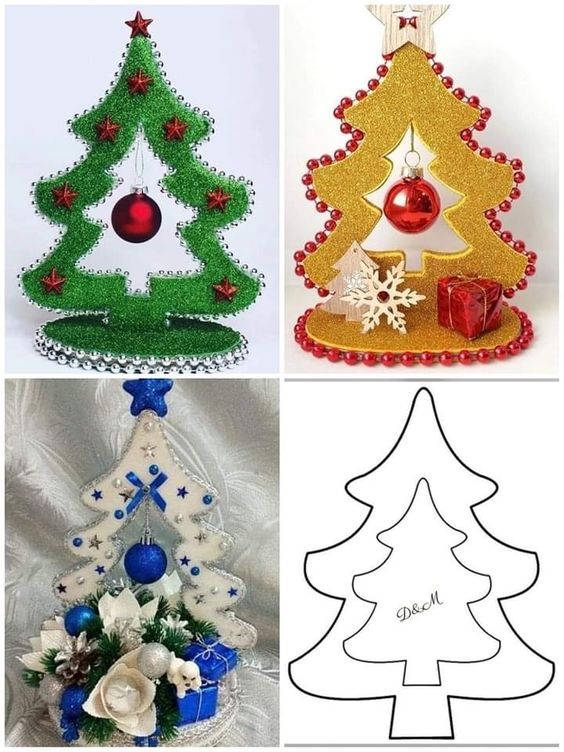
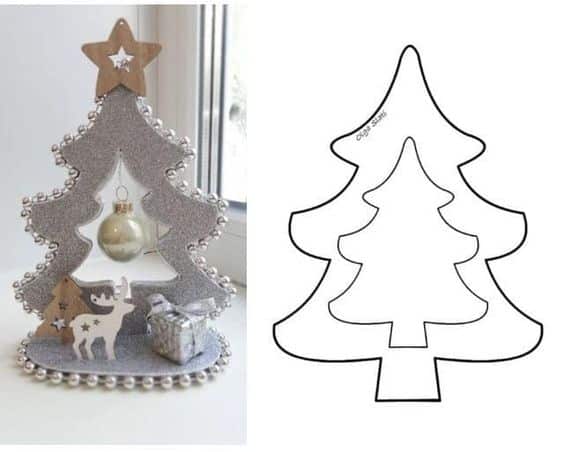
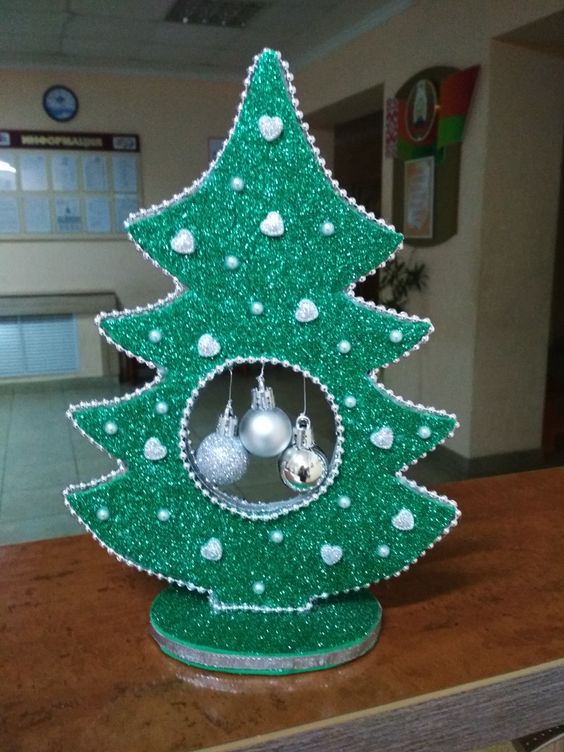
3. Miniature Christmas Tree Ornaments
A tiny Christmas tree within your Christmas tree is festive and adorable.
- Cut tree shapes: Using green foam or cardboard, cut out small Christmas tree shapes.
- Add decorations: Glue small beads, sequins, or buttons to resemble ornaments.
- Create a tree trunk: Attach a small rectangle of brown foam or cardboard at the base of the tree.
- Finish with a star: Cut out a tiny star for the top and glue it in place.
Mini Christmas trees make charming ornaments and can be created in a variety of colors and sizes.
4. Glittered Snowflakes
Create dazzling snowflakes that bring a frosty, magical touch to your Christmas tree.
- Draw snowflake designs: Trace snowflake patterns onto cardboard or foam sheets.
- Cut with precision: Carefully cut out each intricate line with a craft knife.
- Add glitter: Coat the snowflakes with a layer of glue and sprinkle glitter over them.
- Attach string: Add a loop of string to hang your glittering snowflakes on the tree.
Glittered snowflakes reflect Christmas lights beautifully and bring a sparkle to your decor.
5. Customizable Gift Tags
Double your ornaments as personalized gift tags that guests can keep.
- Cut tag shapes: Cut rectangular or circular shapes from cardboard.
- Decorate with names: Use markers or paint to write names on each tag.
- Add festive elements: Glue on small foam shapes, like stars or holly leaves.
- Add ribbon: Tie a ribbon at the top to use the tag as an ornament.
These tags are a thoughtful way to personalize gifts and add extra charm to your Christmas tree.
How to Display Your Ornaments
Your handmade ornaments deserve a place of honor on the Christmas tree, but there are other creative ways to display them:
- Use as gift decorations: Attach them to wrapped presents as a festive touch.
- Hang in windows: Display your ornaments in windows using suction cup hooks.
- Create a garland: String multiple ornaments along a length of ribbon or twine to make a garland.
Christmas tree ornaments made from cardboard and foam are a fantastic way to add a homemade, personalized touch to your holiday decor. From classic shapes to whimsical designs, these materials offer endless possibilities for creativity.
Whether you’re making snowflakes, gift tags, or tiny Christmas trees, each ornament brings something unique to your tree. Enjoy the process, experiment with colors and textures, and create beautiful holiday memories with your own DIY ornaments!
Explore easy DIY Christmas tree ornaments using cardboard and foam! Perfect for budget-friendly, eco-friendly holiday decor. Step-by-step guide with creative ideas.
