Cute DIY Jewelry Holder
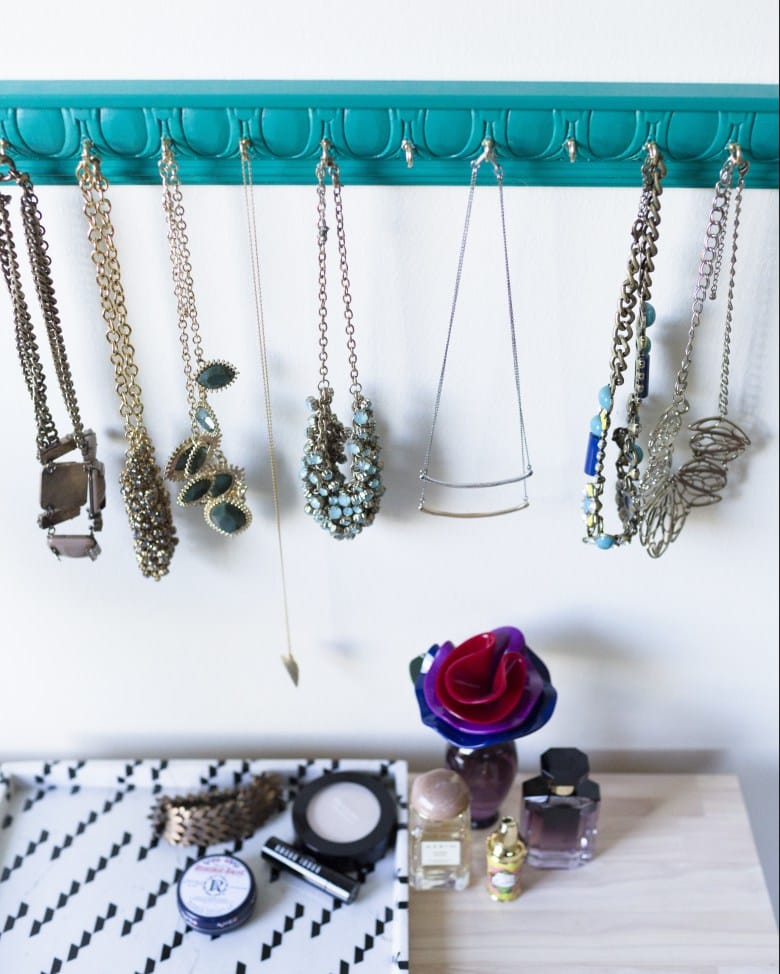
The problem with having lots of pretty jewelry is that eventually, you’ve got to keep it organized…or you’ll wind up with a tangled mess.
Jewelry boxes are okay, but again—they can result in tangles. (Raise your hand if tangled necklaces disrupt your peace!)
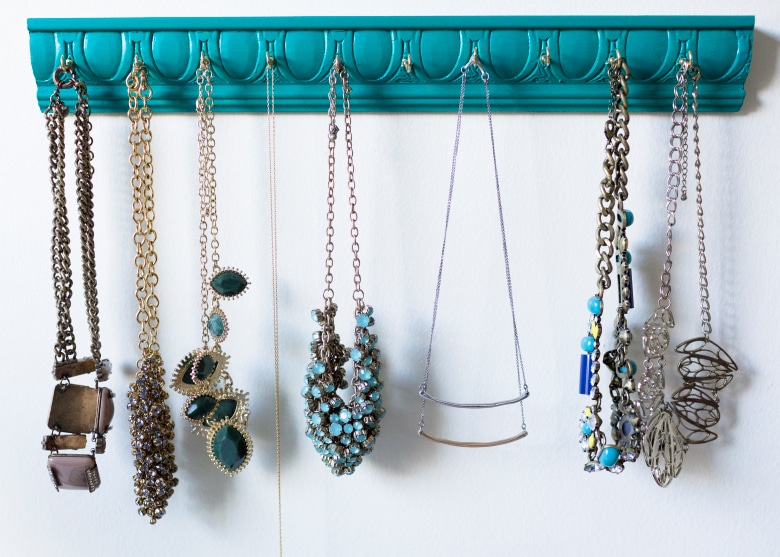
So we absolutely love this super-easy project that you can make in the span of an afternoon. Your baubles will be organized in no time!
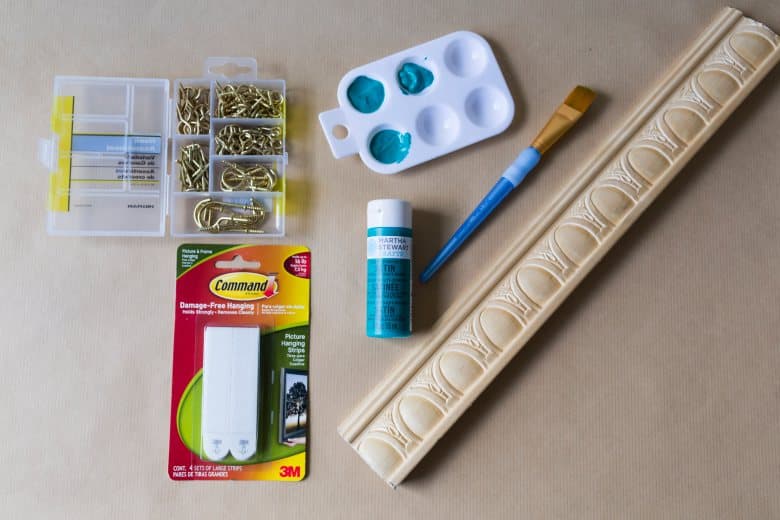
You’ll need:
- a piece of decorative molding
- hand saw
- sandpaper
- a paint brush
- Martha Stewart Multi-Surface Acrylic Craft Paint (the color we used was “Mermaid Teal Turquoise”)
- gold hooks
Step one: Choose your decorative molding: You can go simple OR opt for something more decorative. Home improvement stores generally sell it in one long piece. The beauty of this is that you can cut it down to whatever size you need to fit your space, and you’ll get multiple pieces out of the single piece of molding.
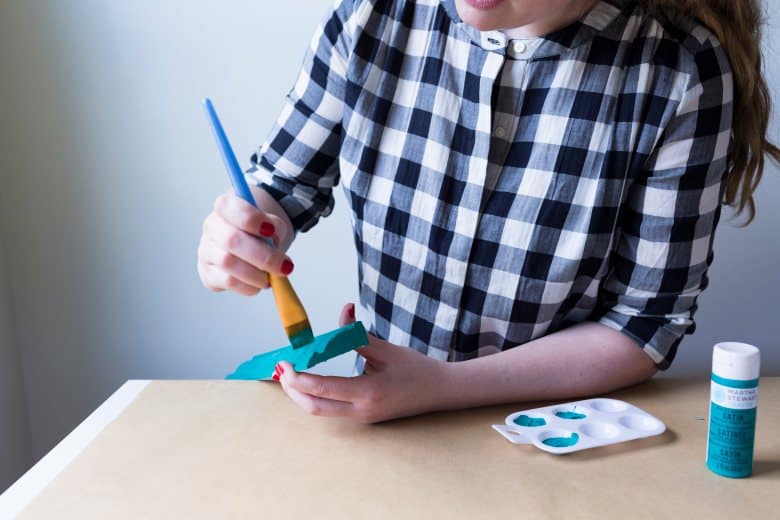
Step two: One you have your molding cut into pieces, sand the edges until they are smooth with a fine grit sandpaper. Make sure all the dust is wiped off the wood, then start painting until the entire piece of molding is completely covered.
Step three: Let the paint dry completely; it shouldn’t take too long!
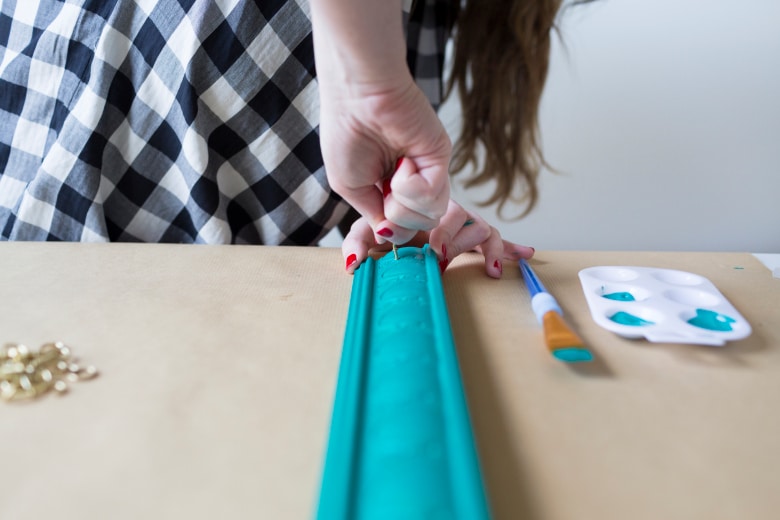
Step four: Figure out where you’d like to place your hooks. Add a bunch or just a few! It all depends on how much jewelry you own, and how sparse (or full) you want your jewelry holder to appear. You might want to wear gloves to make installing the hooks easier.
Affix the jewelry holder to the wall, using whatever method needed to support the weight based on how much jewelry you have (we used Command hangers, they’re so easy!) Repeat with another holder if you need more space.

