Decorate your cans creatively with stones
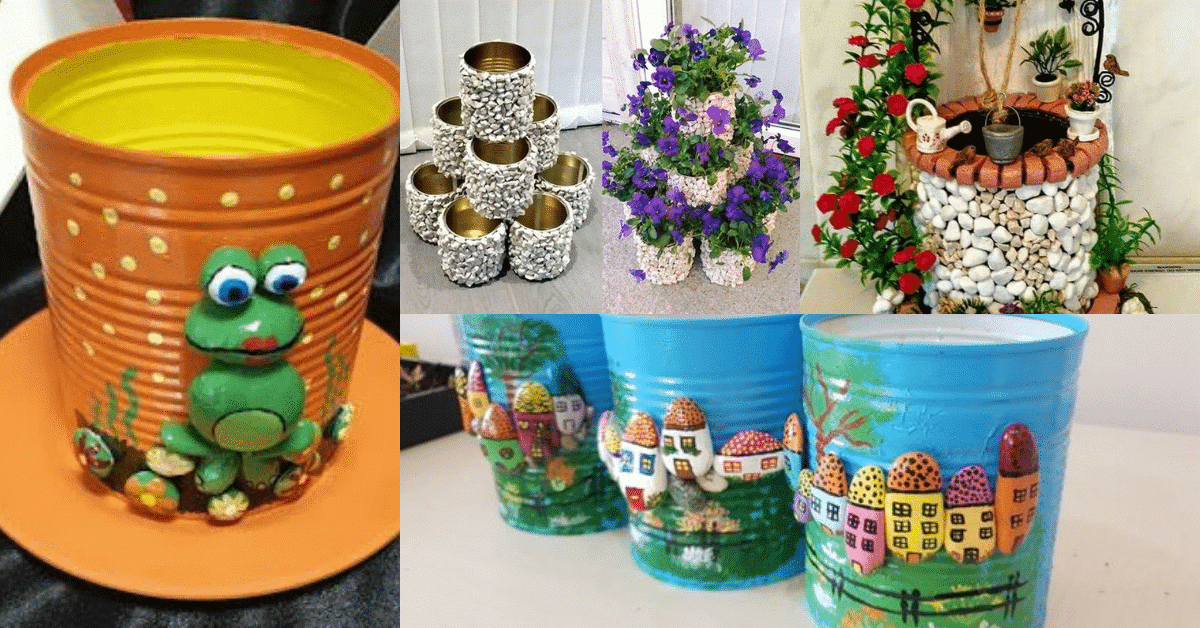
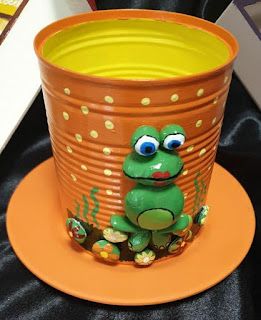
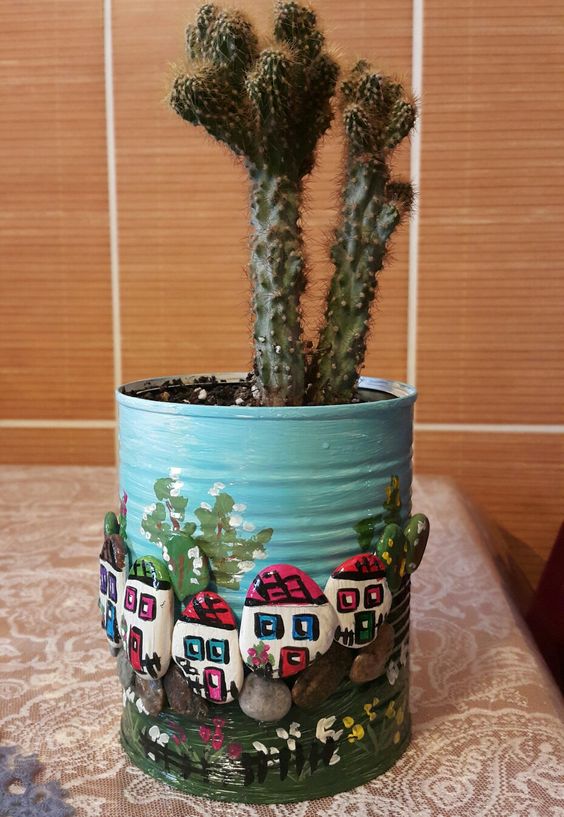
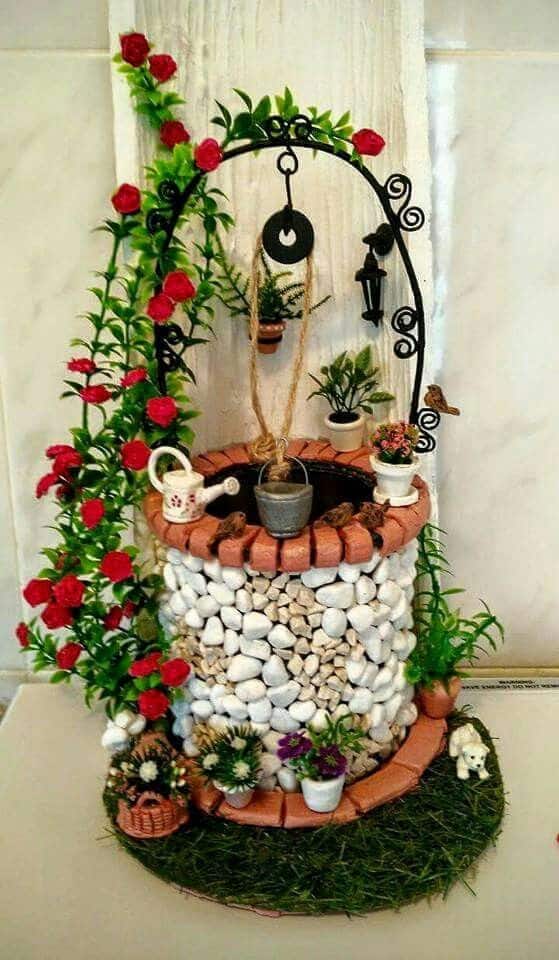
Stones and tins may not have much in common, but together they can create unique and special decoration pieces. Today we show you how to decorate your cans with stones.
A simple and easy idea to make, but that can bring life and color to your home and garden decor.
Here are some ideas for decorating cans with stones. Use your imagination and your creativity.
Read too: 15+ Awesome DIY Ideas To Transform Tin Cans Into Practical Organizers
Decorating cans with stones
Transforming ordinary cans into stylish and eye-catching decor items is an easy and affordable way to add personality to your home. Decorating cans with stones is a fantastic DIY project that requires minimal effort but results in stunning and unique creations.
Whether you want to upcycle cans for planters, vases, or just decorative accents, stones can add texture, color, and a touch of natural elegance.
With different styles and different methods, the end result is wonderful.
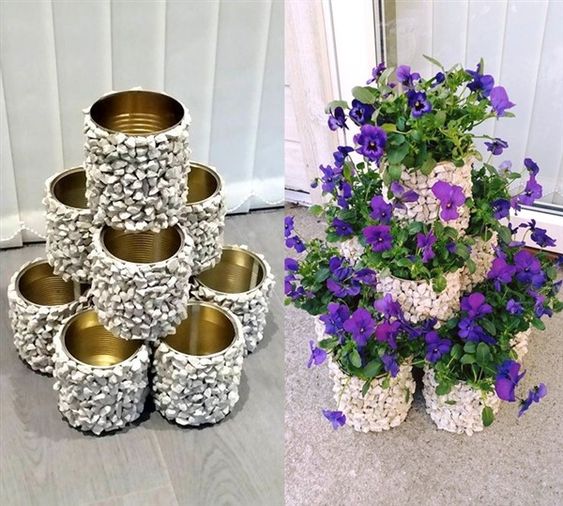
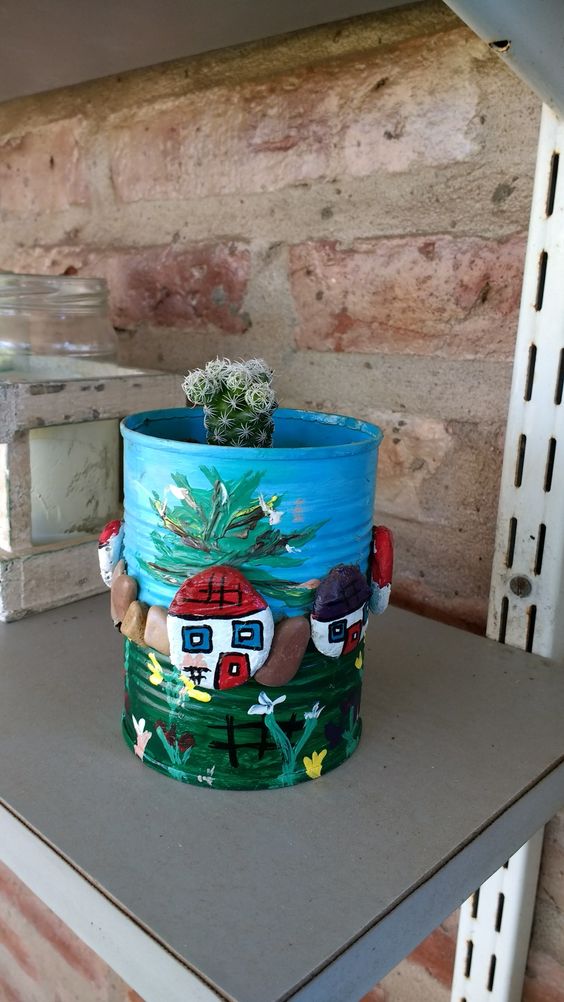
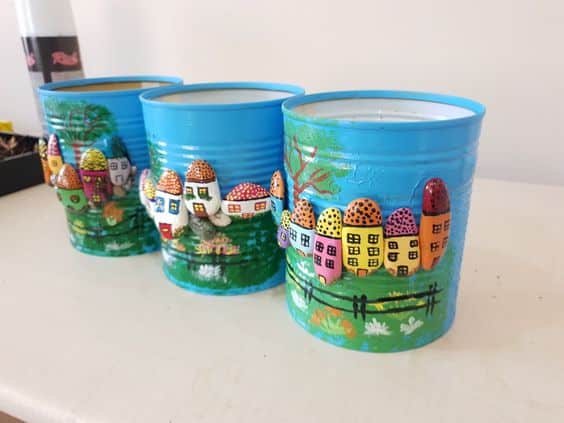
Via: www.solountip.com
Via Pinterest
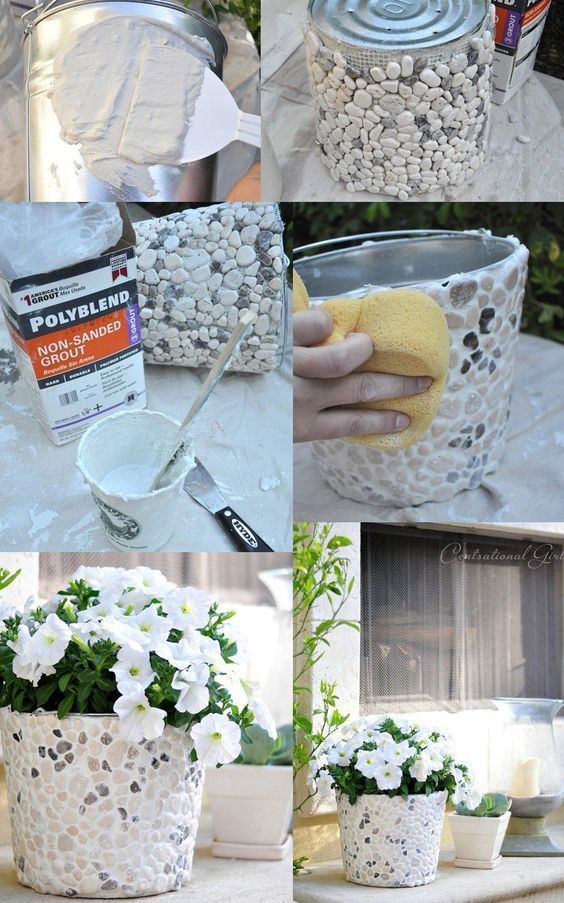
Steps to Decorate Your Cans Creatively with Stones
1. Prepare the Cans
- Begin by cleaning the cans thoroughly. Remove any labels, and make sure there are no sharp edges. If necessary, use a pair of scissors or wire cutters to smooth out the edges.
- If you want to paint the cans before adding stones, choose a spray paint or acrylic paint in your preferred color. White, black, or metallic shades work well for a sleek look, while pastels can offer a soft, feminine touch. Apply a thin, even coat and let it dry completely.
2. Plan Your Stone Placement
- Lay out the stones before gluing them down to ensure you’re happy with the design. You can create different patterns, such as:
- Vertical stripes for a modern look.
- Spirals or swirls for a more organic feel.
- Random arrangement for a natural, relaxed vibe.
- Choose whether you want to cover the entire surface of the can or just certain sections for a partial stone design.
3. Apply the Glue
- Once you have the design ready, apply a thin layer of glue on the surface of the can where you want to place the stones. Be sure to work in sections, applying glue to a small area at a time to prevent it from drying before you place the stones.
- Gently press the stones into place, holding them for a few seconds until the glue sets. If you’re using larger stones, you may need to hold them longer to ensure they stick properly.
4. Fill in Gaps and Let Dry
- After placing the main stones, fill in any gaps with smaller stones or pebbles. This creates a more cohesive look and ensures the can is completely covered.
- Let the glue dry completely before handling the can. This may take a few hours, depending on the type of glue used.
5. Finish and Display
- Once dry, check for any areas where the stones may have loosened or gaps where glue has seeped through. Apply additional stones as necessary.
- Your stone-decorated can is now ready to be used! Place it on a shelf as a decorative piece, or add a small plant, candles, or pens inside for a functional accessory.
