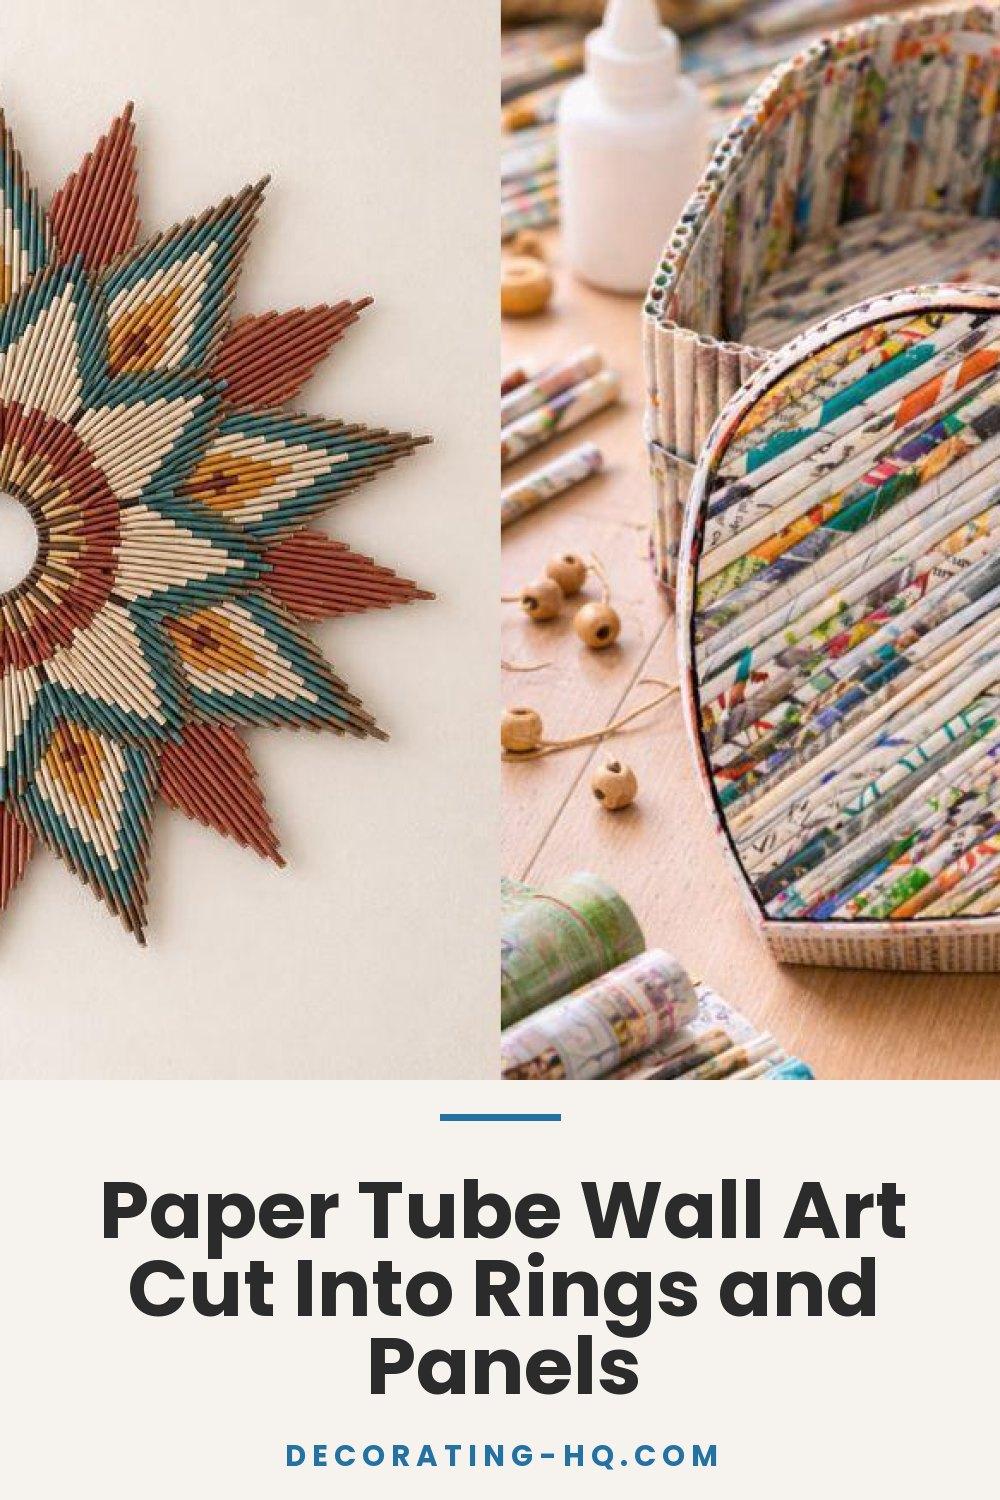
Paper Tube Wall Art Cut Into Rings and Panels


Welcome to the wonderful world of paper tube crafting! Those empty cardboard rolls from your kitchen and bathroom don't have to end up in the recycling bin. Instead, you can transform them into stunning home decor pieces that look like they came from a boutique store.
Crafting with cardboard tubes has become incredibly popular for good reason. It's an eco-friendly way to upcycle materials you already have at home. Plus, it won't break your budget like expensive store-bought decorations might.
The versatility of this craft is truly amazing. You can create elegant centerpieces, eye-catching wall art, or charming seasonal ornaments. Whether you're exploring beautiful crafts made with paper tubes like wreaths and garlands, or designing your own unique pieces, the possibilities are endless.
Here's the best part: you don't need any special artistic skills to get started. Beginners and experienced crafters alike can create impressive cardboard tube art with just basic materials and a little creativity. Throughout this guide, you'll discover simple techniques to turn ordinary tubes into extraordinary decorations that will make your friends ask, "Where did you buy that?"
Gathering Materials and Preparing Your Paper Tubes
The secret to successful upcycled cardboard crafts lies in proper preparation and having the right materials on hand. You'll be happy to know that most supplies for recycled tube arrangements are probably already sitting in your home. This section will walk you through everything you need to collect before starting your creative project.
Taking time to gather and organize your materials makes the crafting process smoother and more enjoyable. Let's explore what you'll need to create beautiful paper tube decorations.
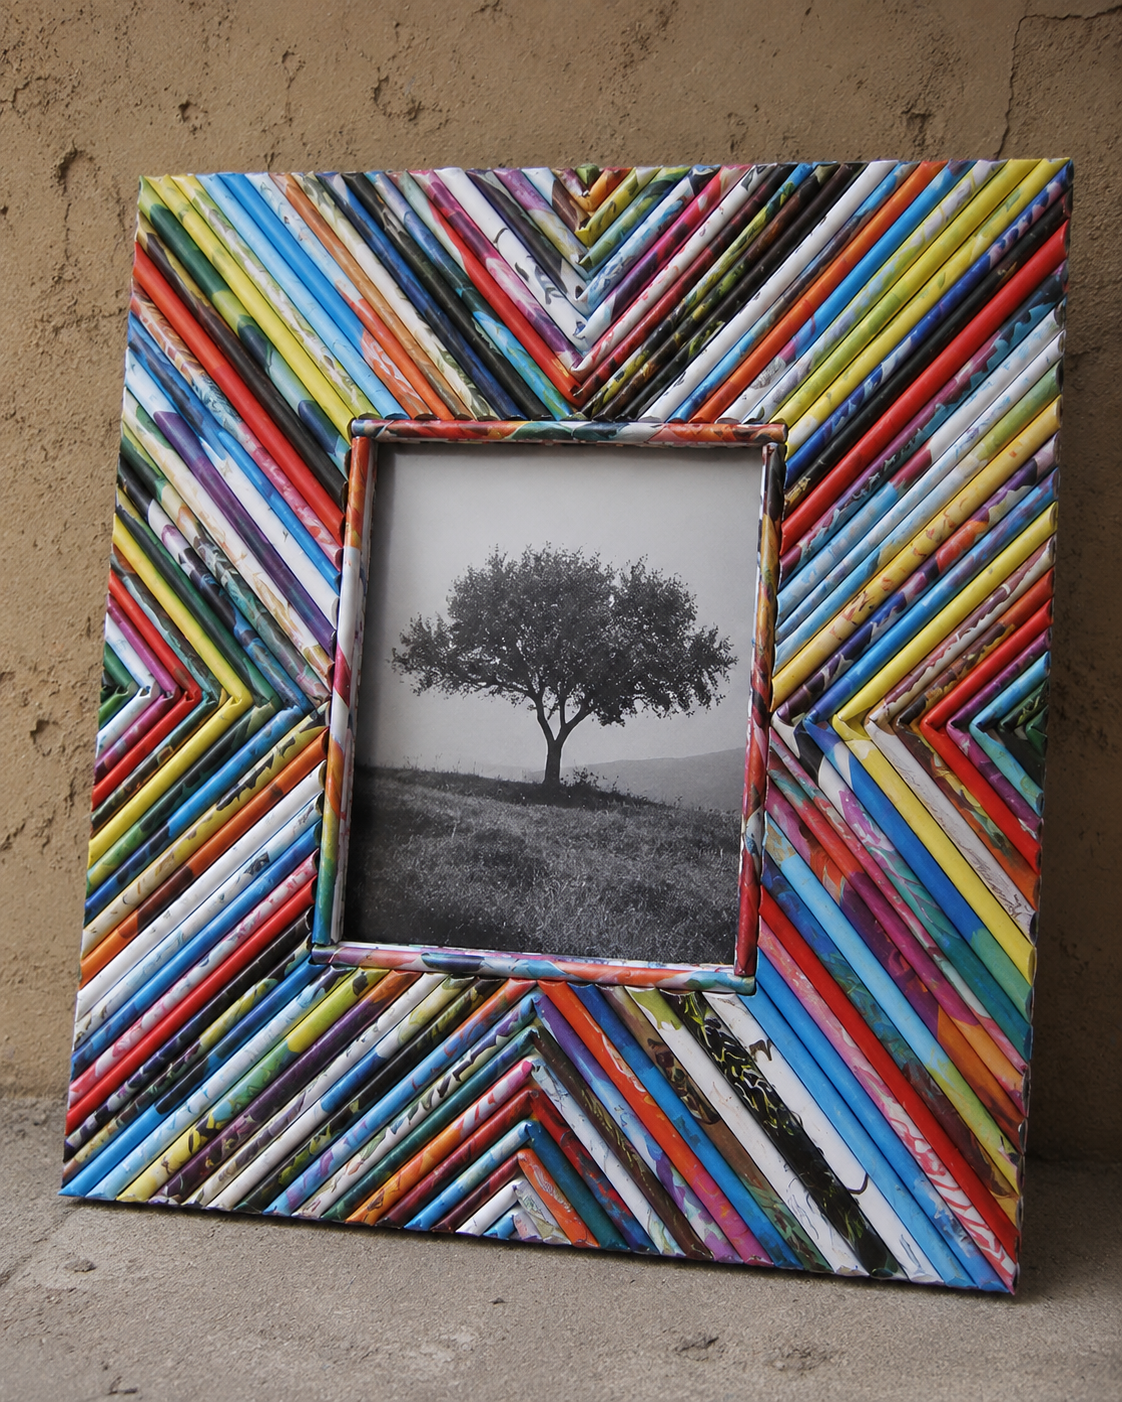
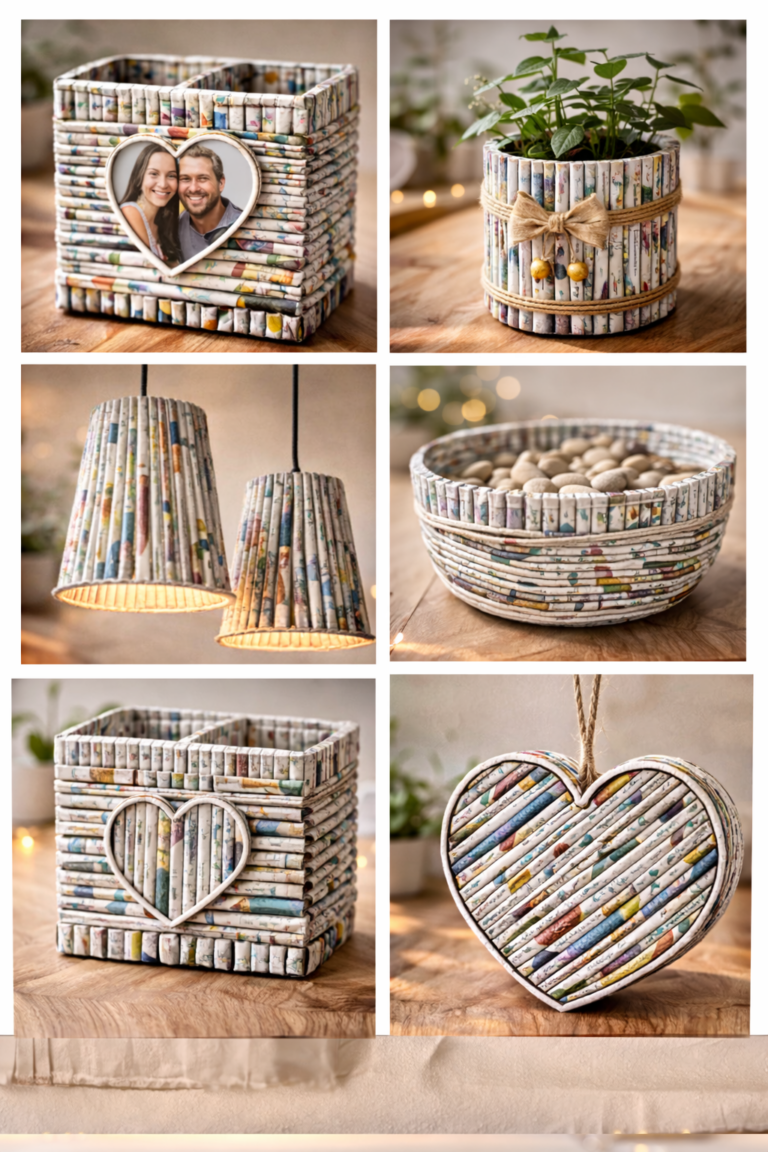
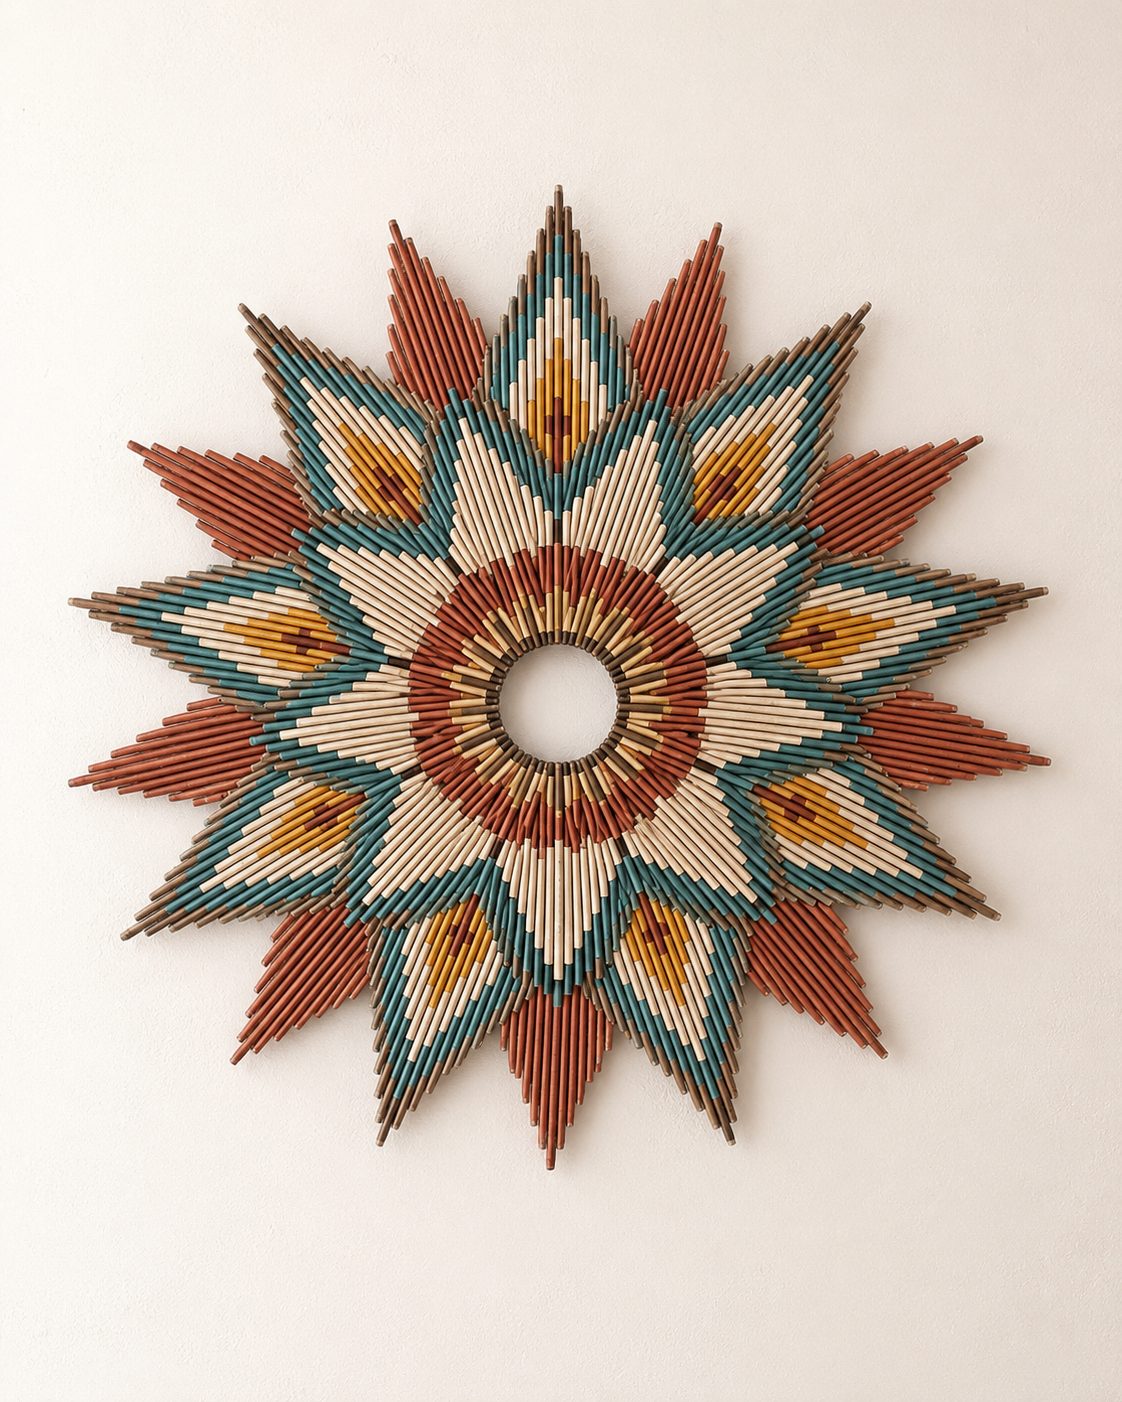
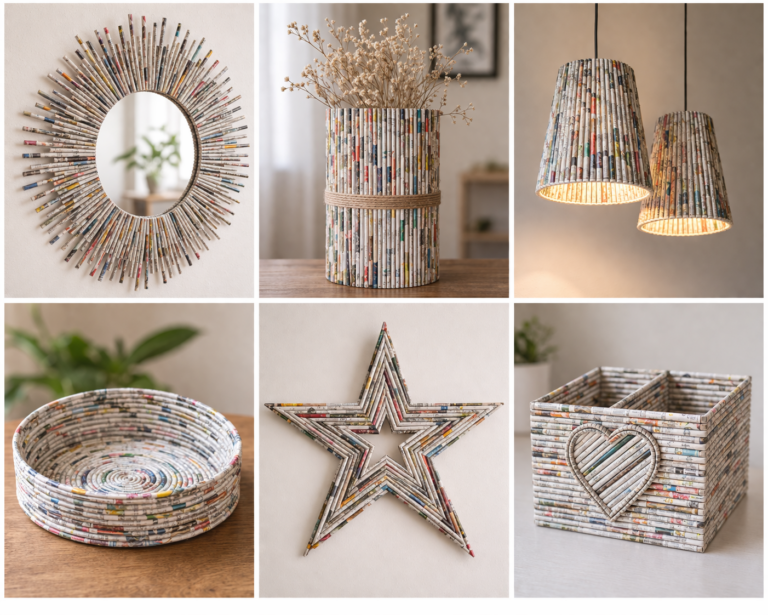
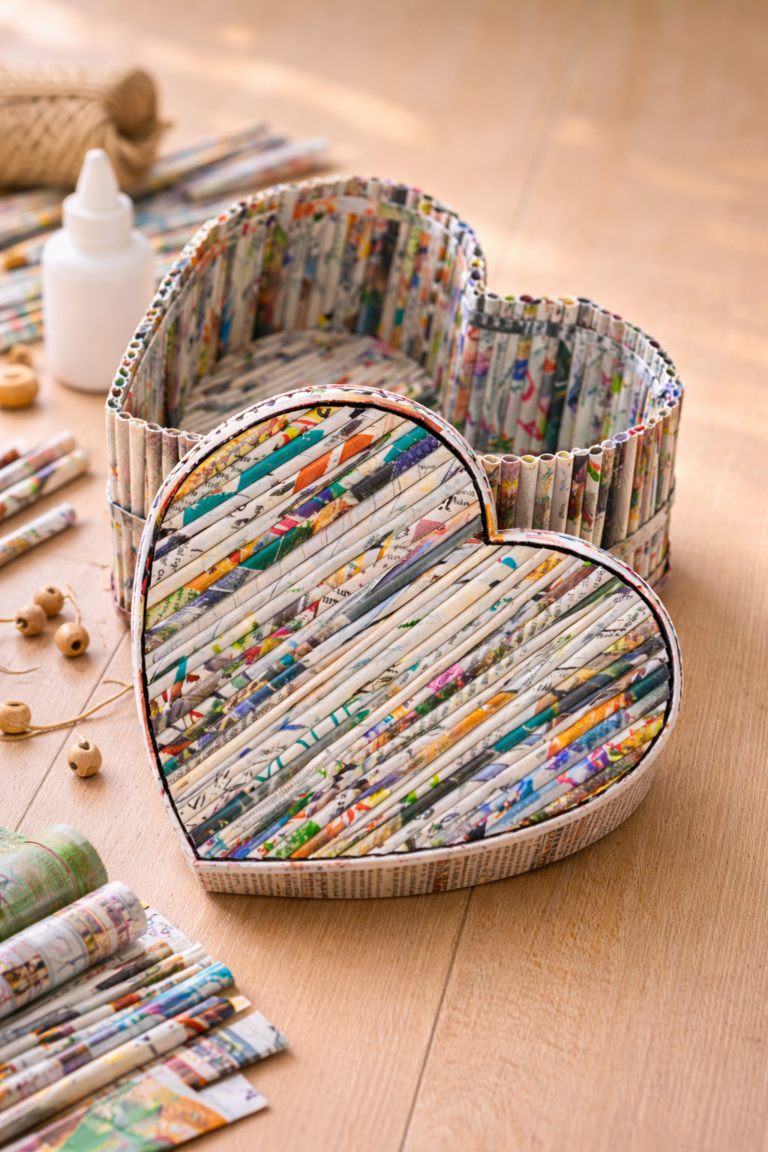
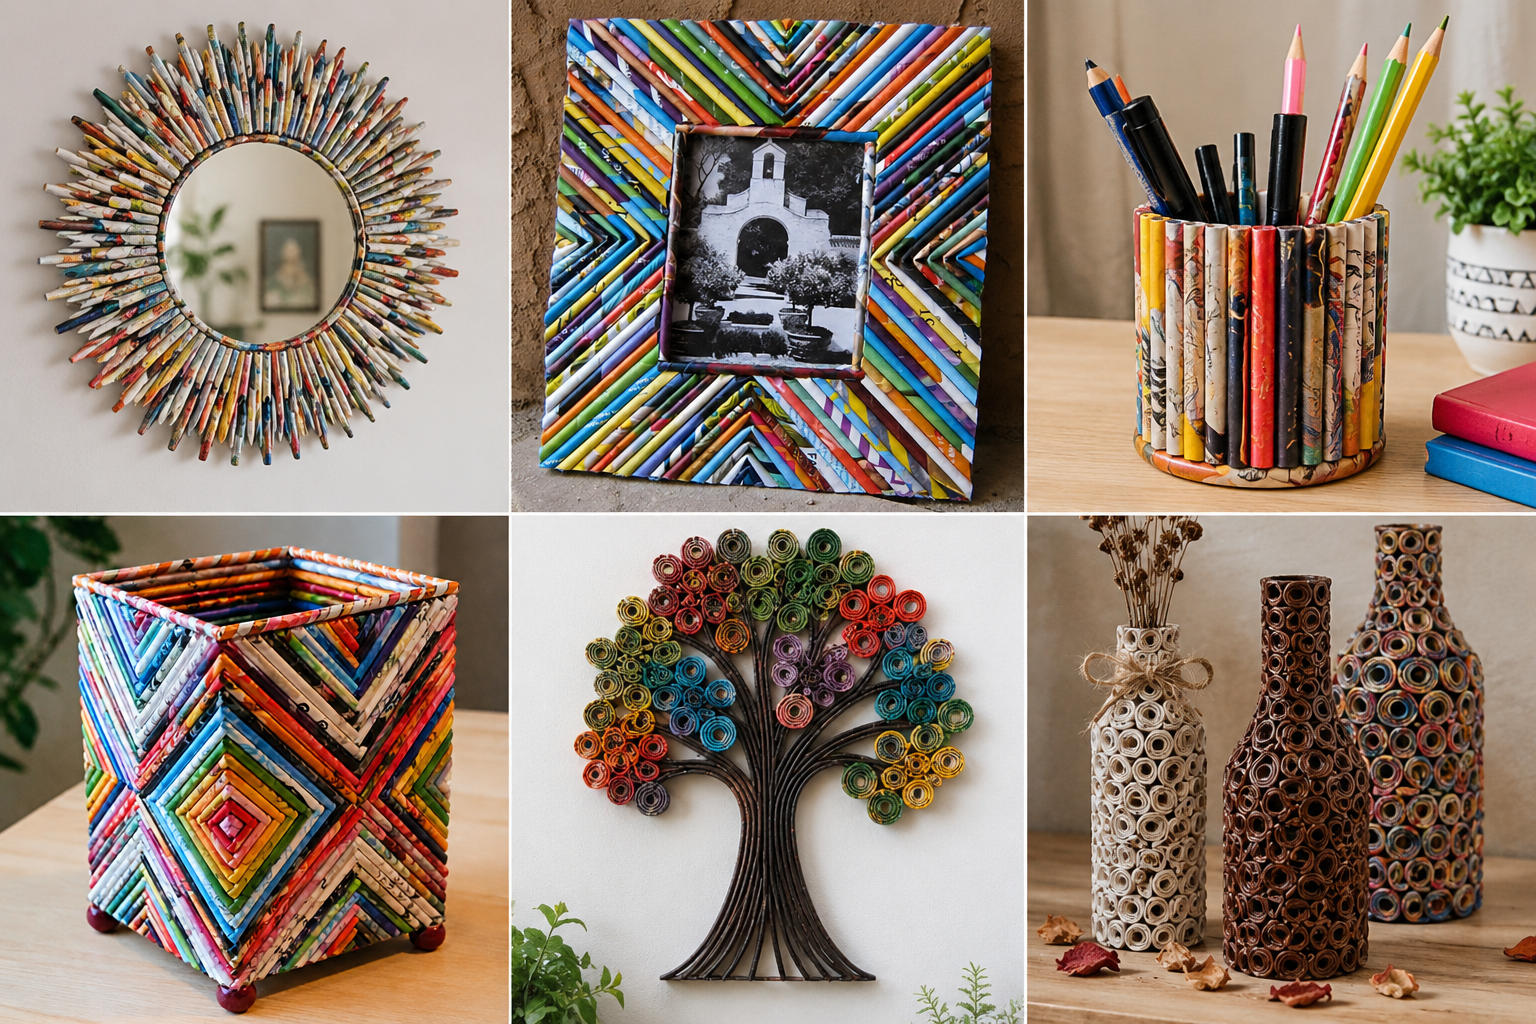
What You'll Need to Get Started
The foundation of any DIY paper tube decor project starts with the tubes themselves. Toilet paper rolls work perfectly for smaller, delicate arrangements, while paper towel tubes offer more length for dramatic pieces. Wrapping paper tubes provide even larger options for statement decorations.
You can mix different tube sizes to add visual interest to your recycled tube arrangements. Gift wrap tubes and shipping tubes also work wonderfully when you need extra-large elements.
Beyond the tubes, you'll want some adhesive options like hot glue guns for quick bonding or white craft glue for projects with kids. Paints in various colors let you customize your designs, though spray paint can speed up the process for larger projects. Decorative papers, ribbons, beads, buttons, and fabric scraps add personality and charm.
Don't forget a sturdy base for mounting your arrangements. Cardboard sheets, wooden plaques, or even decorative plates work great. The best part? Most craft stores and dollar stores carry these supplies at budget-friendly prices.
Getting Your Tubes Ready
Proper preparation makes cutting and shaping your tubes much easier for upcycled cardboard crafts. Start by flattening your tubes slightly if you plan to cut them into strips or petal shapes. This creates cleaner cuts and more uniform pieces.
Use a pencil and ruler to mark your measurements before cutting. Consistent sizing creates professional-looking results in your DIY paper tube decor. For flower petals, mark equal segments around the tube circumference.
When cutting, use sharp scissors for clean edges on thinner tubes. A craft knife works better for thicker cardboard tubes, especially when you need precise shapes. Always cut on a protected surface to avoid damaging your table.
Safety tip: Keep your fingers behind the blade and cut away from your body. For young crafters, pre-cut the tubes into rings or strips so they can focus on the fun assembly parts.
Creating varying widths adds dimension to recycled tube arrangements. Try cutting some rings at half-inch intervals and others at one-inch widths. This variety makes your finished piece more visually appealing.
Step-by-Step Guide to Creating Decorative Arrangements Made with Paper Tubes
The real magic begins when you start shaping ordinary cardboard tubes into extraordinary home décor. This section walks you through proven techniques that transform simple materials into impressive toilet paper roll decorations. You'll learn fundamental skills that work for beginners while offering enough creative freedom for experienced crafters to explore their artistic vision.
Each technique builds on the previous one, creating a natural progression from basic shapes to complete arrangements. Take your time with each step and don't worry about perfection. The beauty of handmade paper tube home accents lies in their unique, artisanal character.
Creating Basic Paper Tube Shapes
Start by mastering fundamental shapes that serve as building blocks for more complex projects. These basic forms give you the foundation to create everything from delicate flowers to bold geometric patterns. Understanding these core techniques opens up endless possibilities for creative paper roll designs.
Begin with simple cutting patterns that divide your tube into even sections. Use a pencil to mark your cutting lines before using scissors. This preparation ensures consistency across all your pieces and makes assembly much easier later.
Rolled flowers represent one of the most popular applications for toilet paper roll decorations. Start by flattening your tube completely, then cut it into strips about half an inch wide. Each strip becomes one flower when you follow the right technique.
Cut petal shapes along one edge of your strip, leaving the opposite edge intact as your base. Create variation by alternating between rounded petals for roses and pointed petals for daisies. The number of petals determines your flower's fullness and overall appearance.
Roll the strip tightly from one end, keeping the base aligned as you go. Secure the end with hot glue once you've achieved your desired flower size. Gently pull and arrange the petals outward to create dimension and a realistic appearance.
Layer multiple flower sizes together for stunning paper roll centerpieces. Combine large blooms with smaller buds to mimic natural flower arrangements. This layering technique adds depth and visual interest to your finished piece.
Forming Geometric Designs
Geometric patterns offer a modern alternative to floral designs for contemporary spaces. Cut your tubes into uniform rings approximately one inch wide. These rings become the foundation for sophisticated patterns and structures.
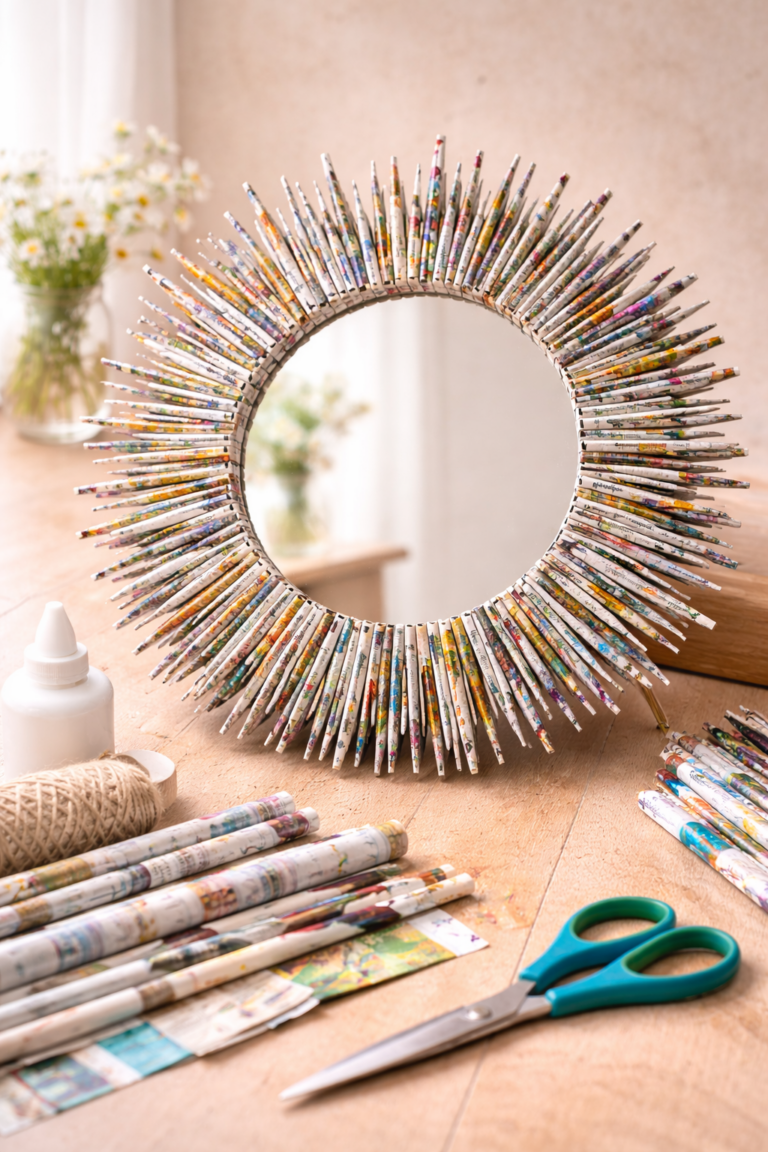
Create honeycomb patterns by pinching each ring into an oval shape, then connecting multiple ovals side by side. This technique produces stunning wall art that catches light beautifully and creates interesting shadows. Experiment with different ring widths to vary the scale of your pattern.
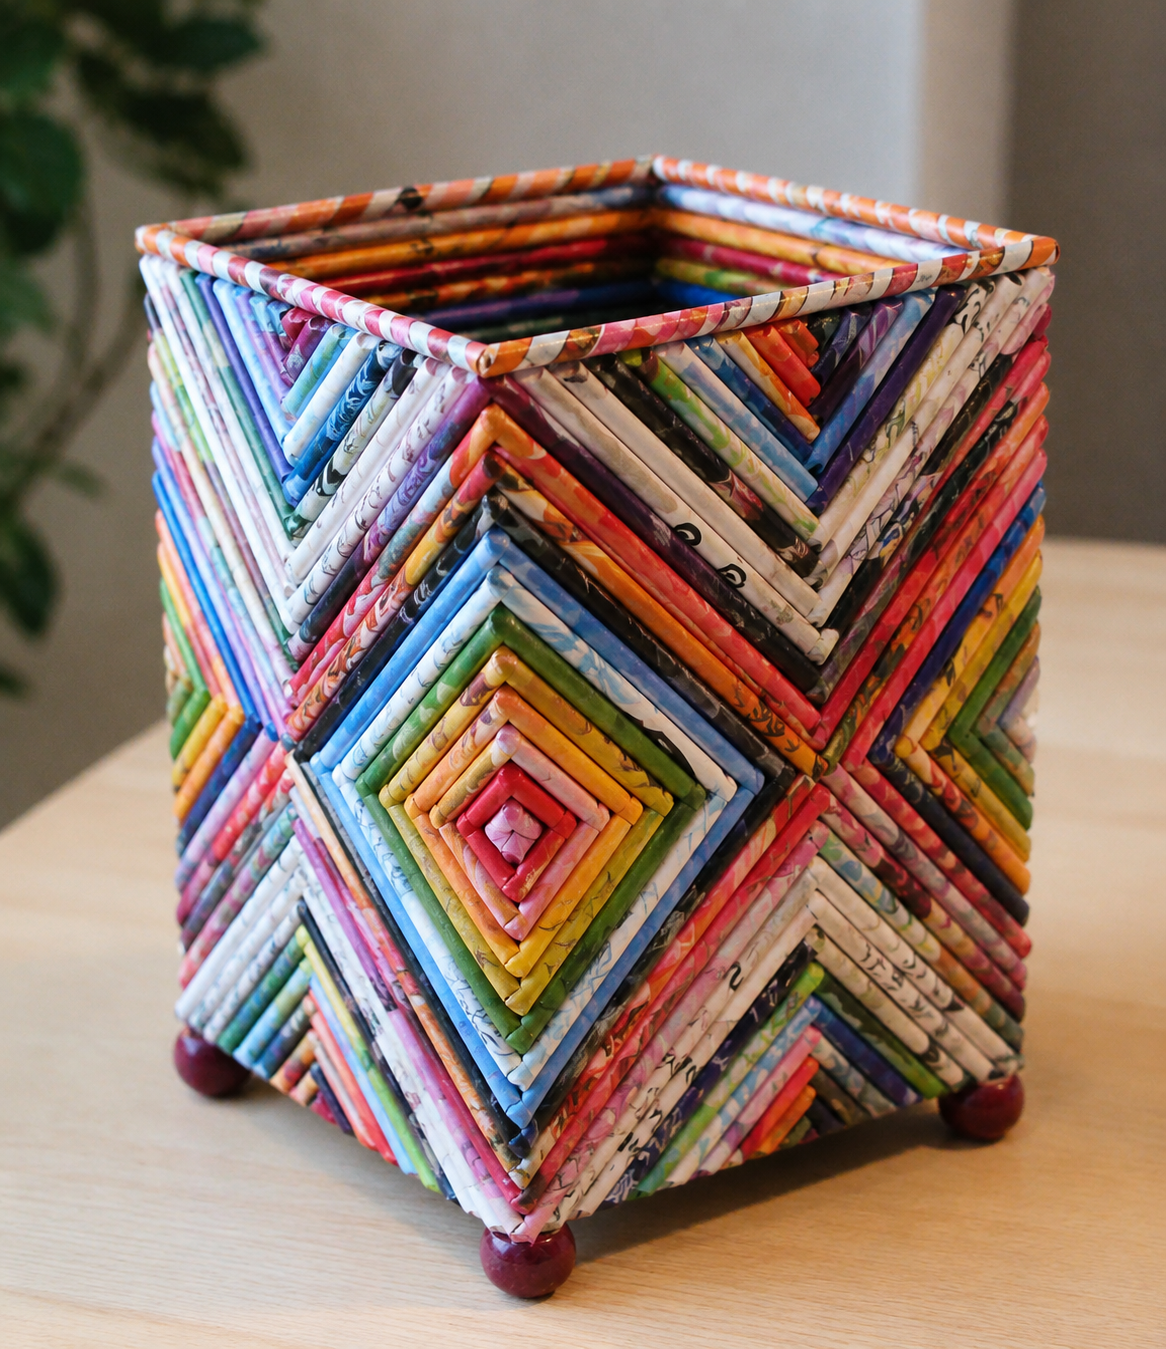
Interlocking circles form another striking geometric option. Connect rings at right angles to build three-dimensional sculptures that work as table decorations or shelf displays. Paint each ring a different color for a rainbow effect, or keep them monochromatic for elegant simplicity.
Spiral designs add movement and flow to your creative paper roll designs. Cut a continuous spiral from your tube, then stretch it gently to create spring-like coils. Attach multiple spirals to a backing board in flowing patterns that guide the eye across your artwork.
Assembling Your Paper Roll Centerpieces
Bringing individual elements together into cohesive arrangements requires attention to composition and balance. Start by selecting a base for your centerpiece—this could be a shallow bowl, a piece of wood, or a decorative tray. Your base choice influences the overall style and stability of your finished piece.
Arrange your largest elements first to establish focal points within your design. Position these key pieces in a triangle pattern for natural visual balance. This classical composition technique works beautifully for paper roll centerpieces of any size.
Fill in spaces between major elements with smaller pieces and transitional shapes. Vary the heights by mounting some pieces on hidden supports made from additional cardboard. This dimensional approach prevents your arrangement from appearing flat or one-dimensional.
Use hot glue to secure each piece firmly to your base and to neighboring elements. Work in small sections, allowing glue to set before adding adjacent pieces. This patient approach ensures everything stays exactly where you want it.
Consider the viewing angle when assembling your toilet paper roll decorations. Table centerpieces need to look attractive from all sides, while wall-mounted pieces only require a single attractive face. Adjust your assembly strategy based on how your finished piece will be displayed.
Adding Color and Finishing Touches
Color transforms plain cardboard into polished paper tube home accents that complement your décor. Acrylic paint offers the best coverage and comes in countless colors to match any palette. Apply paint after cutting and shaping but before final assembly for easiest application.
Start with a white primer base coat for vibrant colors that pop. This extra step prevents the brown cardboard from showing through and makes subsequent color coats more vivid. Let primer dry completely before adding your chosen colors.
Experiment with painting techniques to add visual interest. Ombre effects create beautiful gradients by blending two or three related colors. Metallic finishes add glamour perfect for special occasions or elegant spaces. Dry brushing with contrasting colors adds depth and an aged appearance.
Embellishments take your creative paper roll designs to the next level. Add glitter while paint is still tacky for sparkle that catches light beautifully. Attach small beads or sequins with craft glue for dimensional texture. These details make your pieces truly unique.
Seal your finished pieces with clear acrylic spray to protect paint and add durability. Apply several light coats rather than one heavy coat to avoid drips. This protective layer allows gentle dusting and helps your decorations last for years.
Incorporate complementary materials for added texture and interest. Wrap sections with decorative ribbon or twine for rustic charm. Attach fabric flowers or leaves alongside your paper elements. Small natural items like acorns, pinecones, or dried berries blend handmade paper with organic beauty.
Consider seasonal variations by changing colors and embellishments throughout the year. Spring pastels with floral elements transition to summer brights, autumn earth tones, and winter metallics. This versatility makes paper roll centerpieces practical investments in your home décor that adapt to changing seasons and celebrations. tubes.