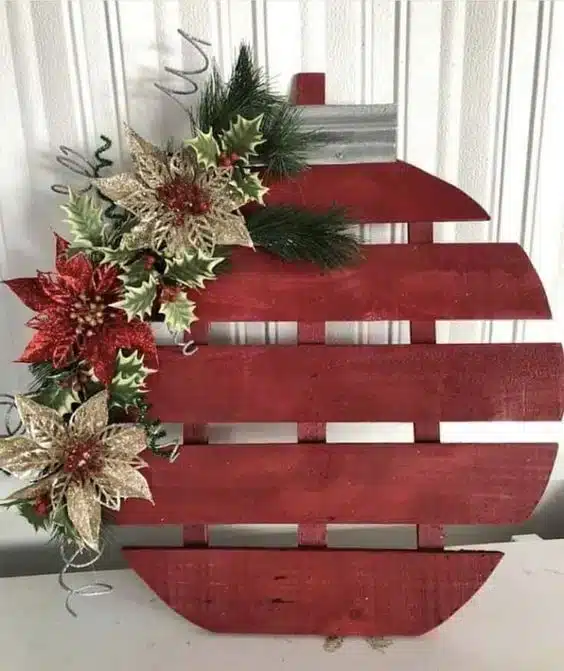
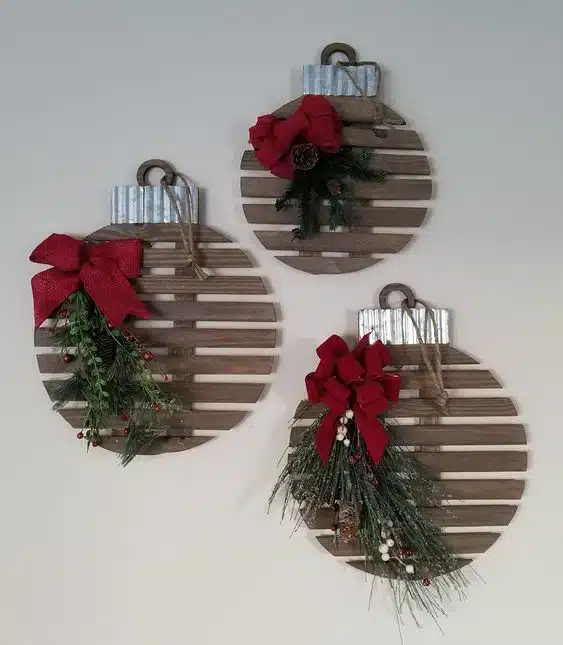
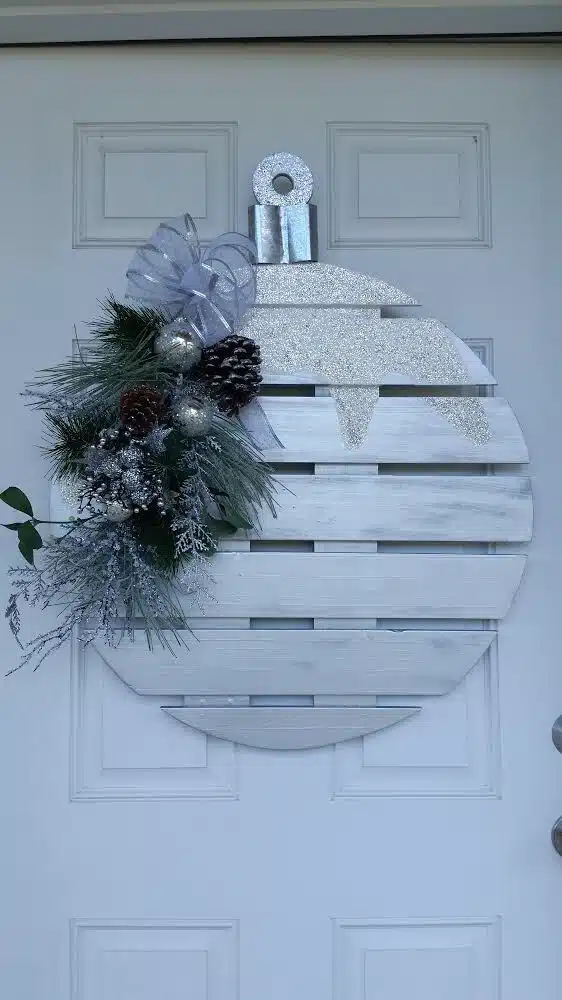
Giant Christmas Balls Made from Wooden Pallets: Creative and Sustainable Holiday Decor
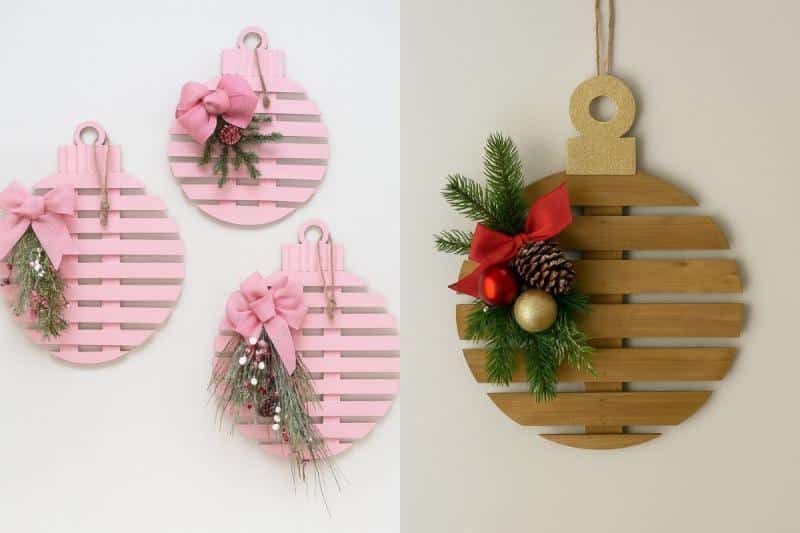
The holiday season is all about creating a warm, welcoming atmosphere in your home, and what better way to do that than with giant Christmas balls made from wooden pallets? This sustainable and creative DIY project not only helps reduce waste but also adds a rustic and unique touch to your festive decorations. Whether you’re going for a modern farmhouse look or something more traditional, these oversized ornaments will certainly make a bold statement.
In this article, we will guide you through the process of creating giant Christmas balls using wooden pallets, step by step, and show you how to customize them to fit your holiday theme.
Get ready to bring a new level of creativity and charm to your Christmas decor with these DIY wooden pallet ornaments!
Materials Needed for Giant Christmas Balls Made from Wooden Pallets
Before getting started, make sure you have all the necessary materials. Thankfully, this DIY project doesn’t require too many tools, and many of the materials are easy to find.
Materials:
- Wooden pallets (you can use recycled pallets for a more eco-friendly approach)
- Saw (to cut the pallets into smaller pieces)
- Hammer and nails (or a screwdriver and screws)
- Measuring tape and pencil (for accurate measurements and markings)
- Wood glue (for added stability)
- Sandpaper (to smooth the edges of the wood)
- Paint or stain (to finish the wooden pallets and give them a polished look)
- LED string lights (optional, for added sparkle and illumination)
- Decorative elements like ribbons, garland, snowflakes, or baubles
- Safety gear like goggles and gloves
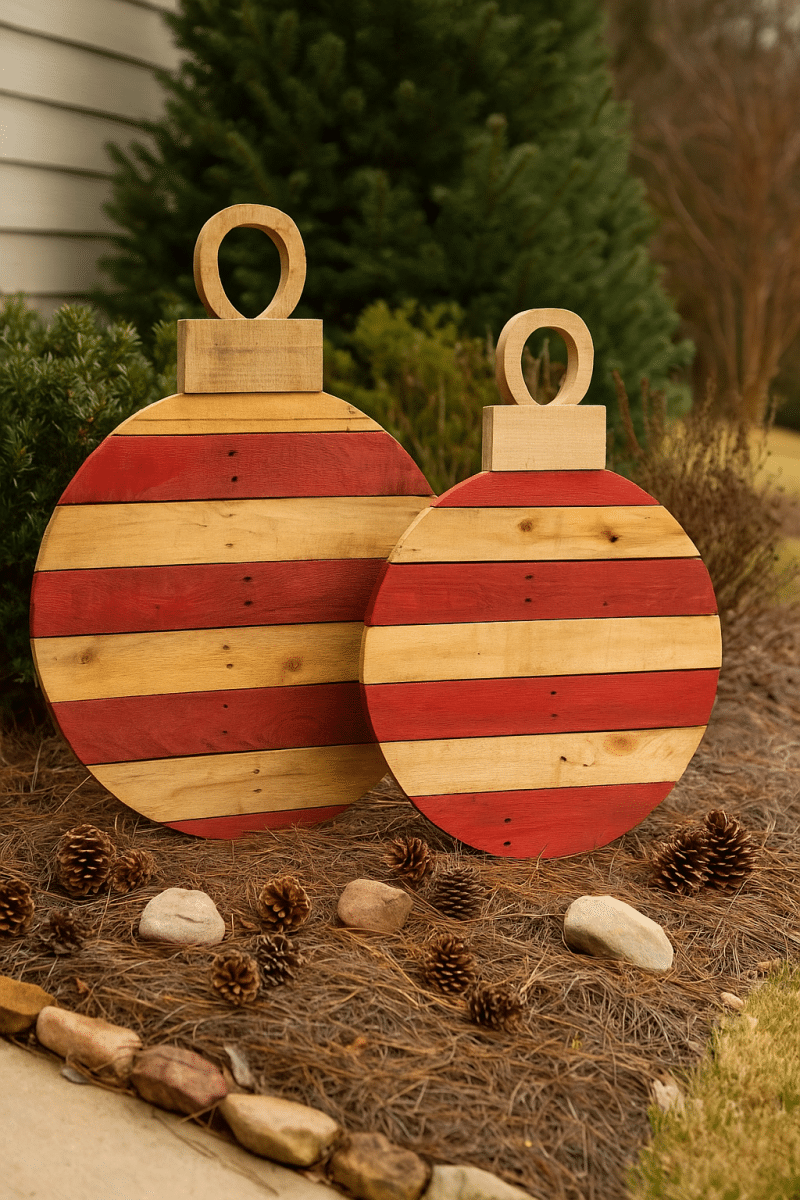
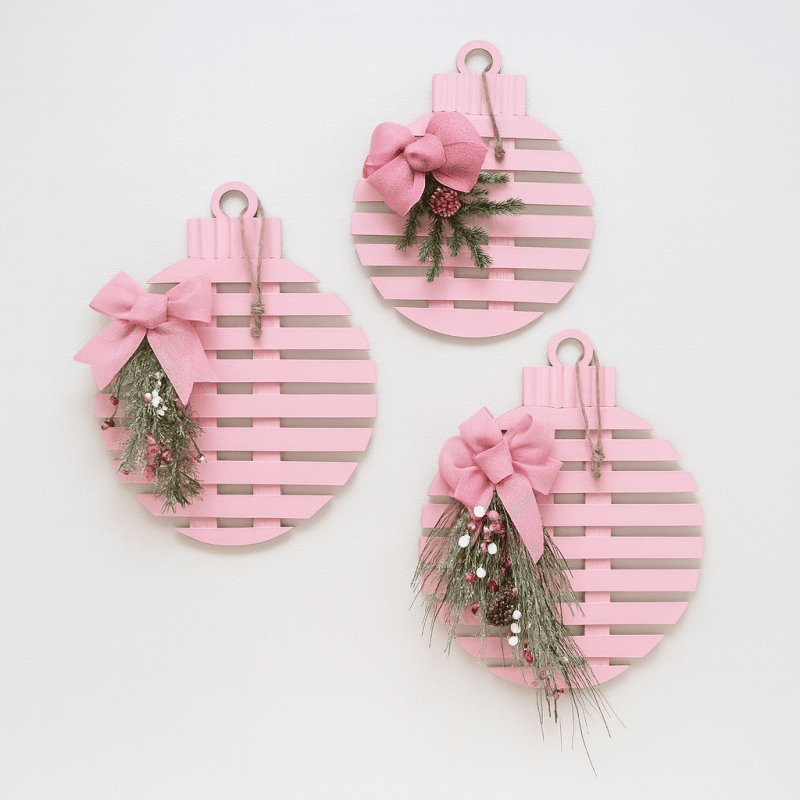
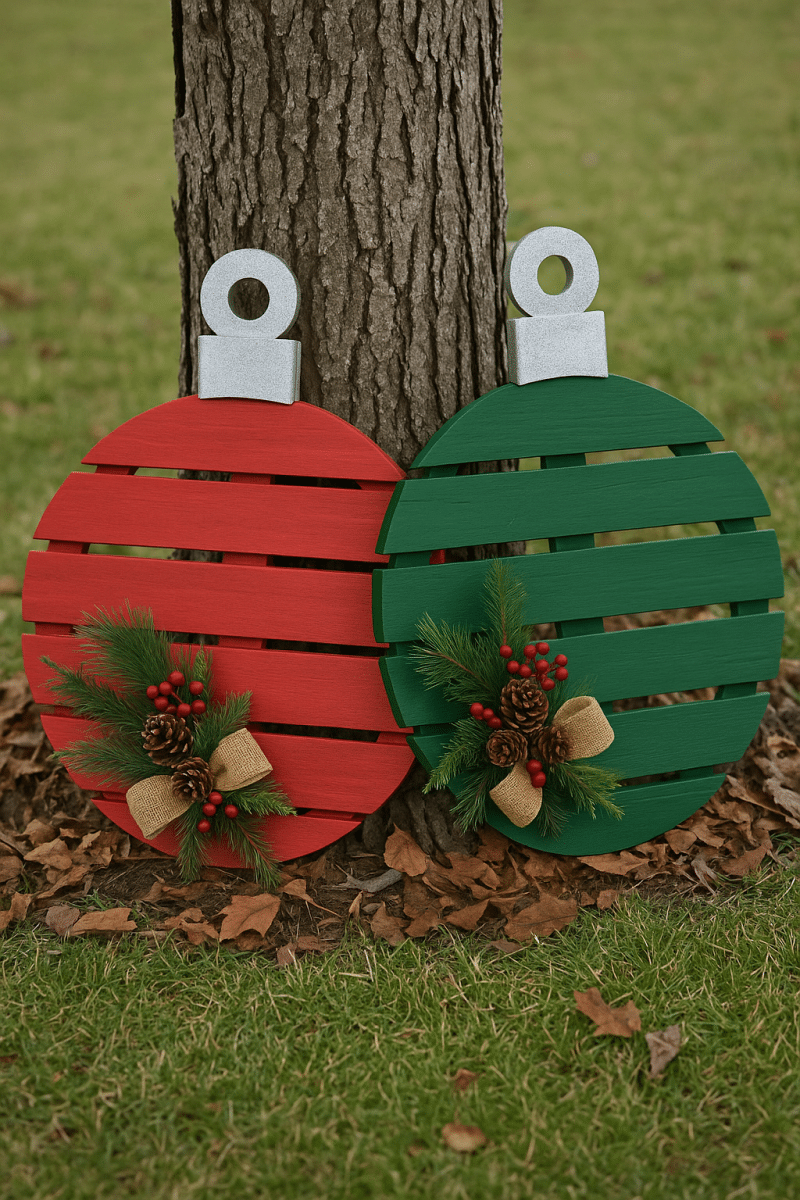
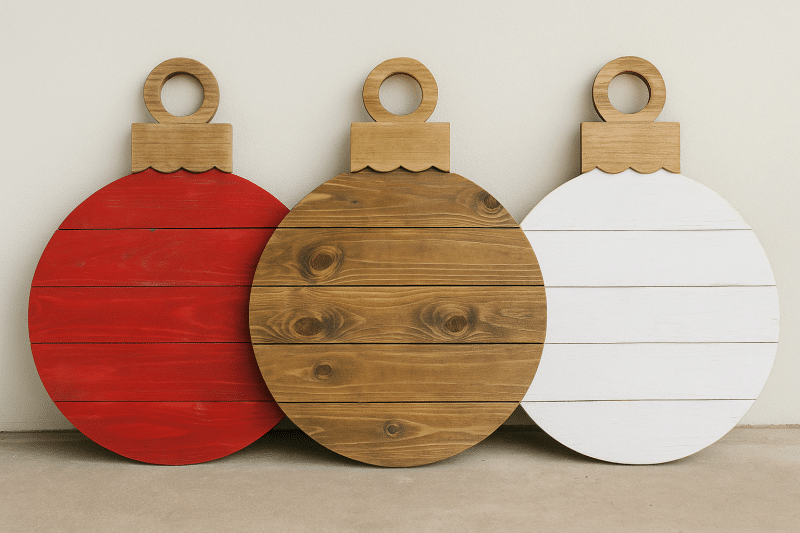
Step-by-Step Guide to Making Giant Christmas Balls from Wooden Pallets
Now that you have everything you need, let’s get started with the step-by-step process of making your own giant Christmas balls.
Step 1: Disassemble the Wooden Pallets
The first step in this project is to break down the wooden pallets into individual slats. This may sound like a lot of work, but with a little patience, it’s fairly straightforward.
- Use a saw or a crowbar to remove the slats from the pallet. If you’re using multiple pallets, you should have plenty of wood pieces to work with.
- Sand the edges of the wood to remove any rough spots or splinters. This step ensures that your giant balls look polished and are safe to handle.
Via: manualidadeseli.com
Via: www.diythegift.com

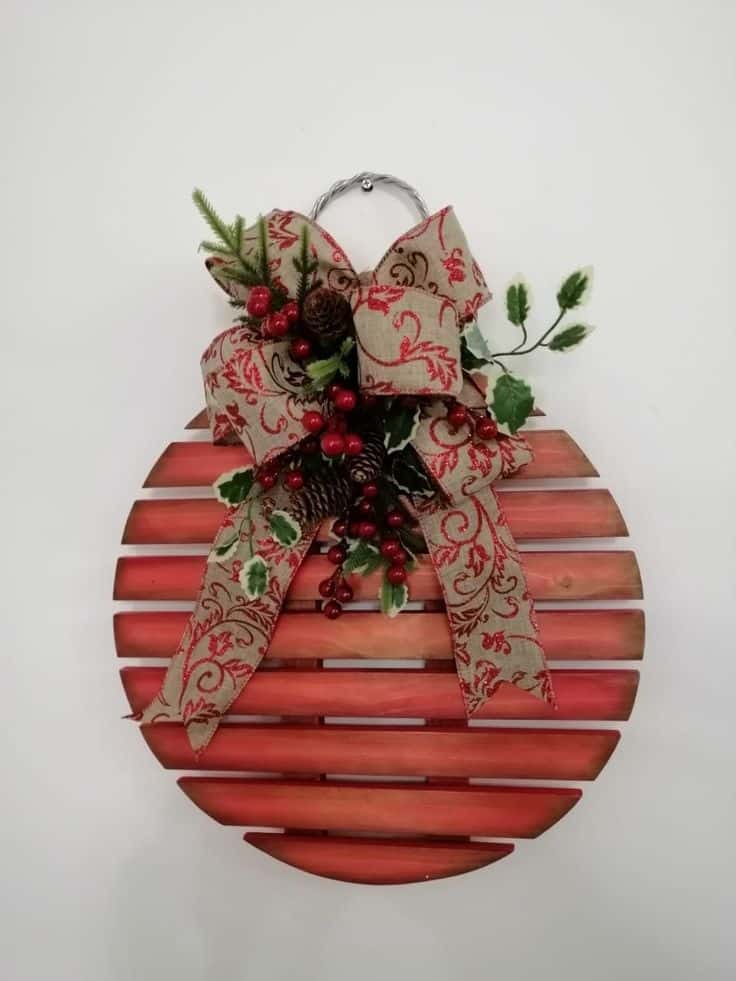
Via Pinterest
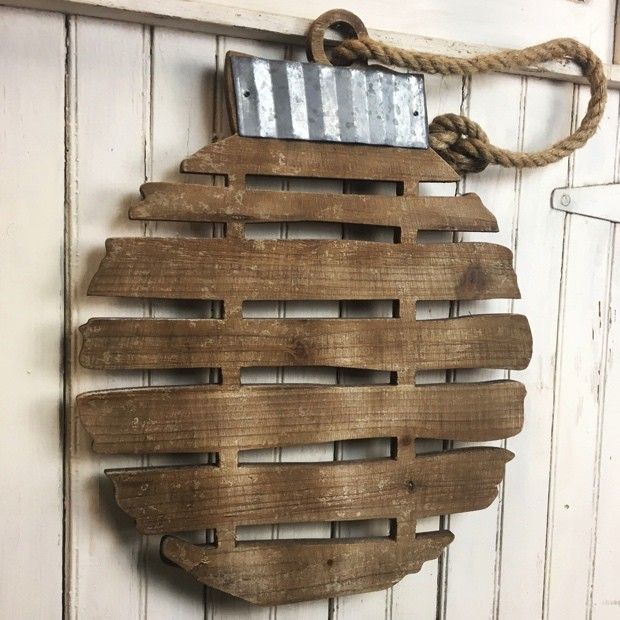
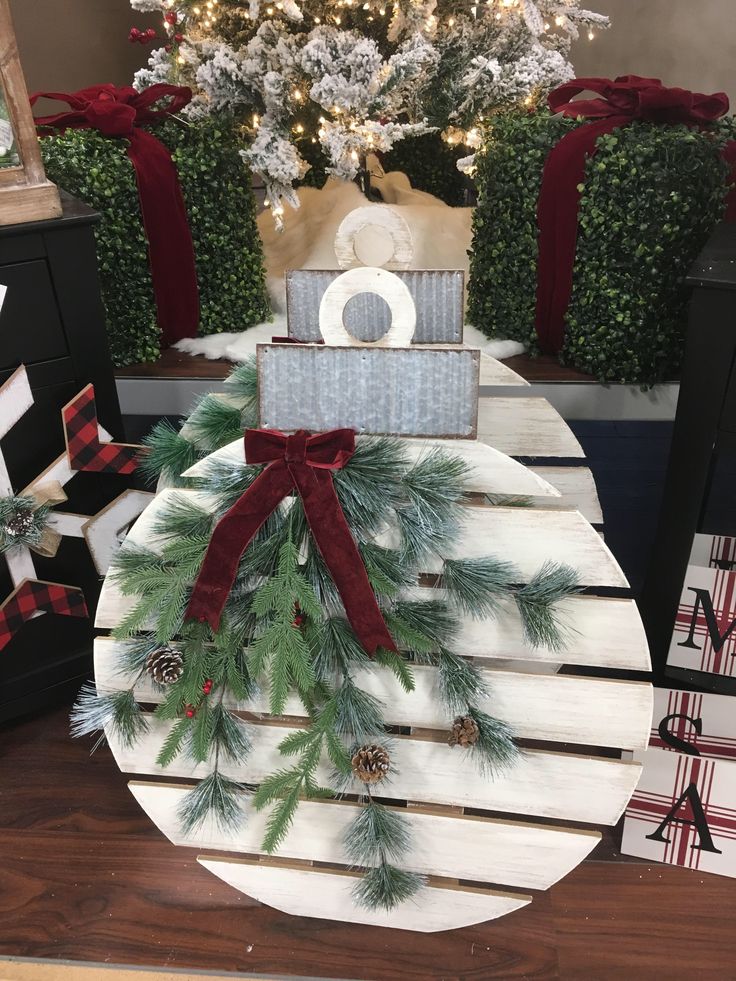
Step 2: Create the Framework for the Balls
Next, we’ll begin assembling the basic structure for the Christmas balls.
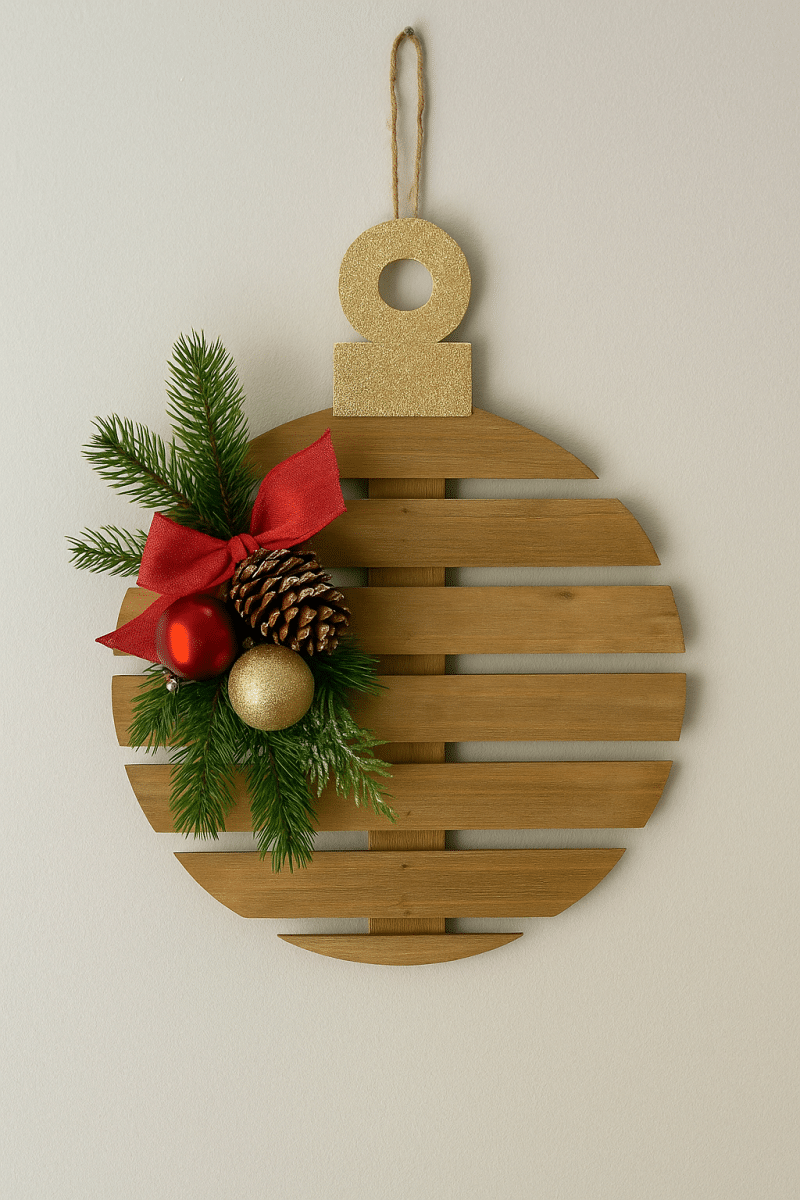
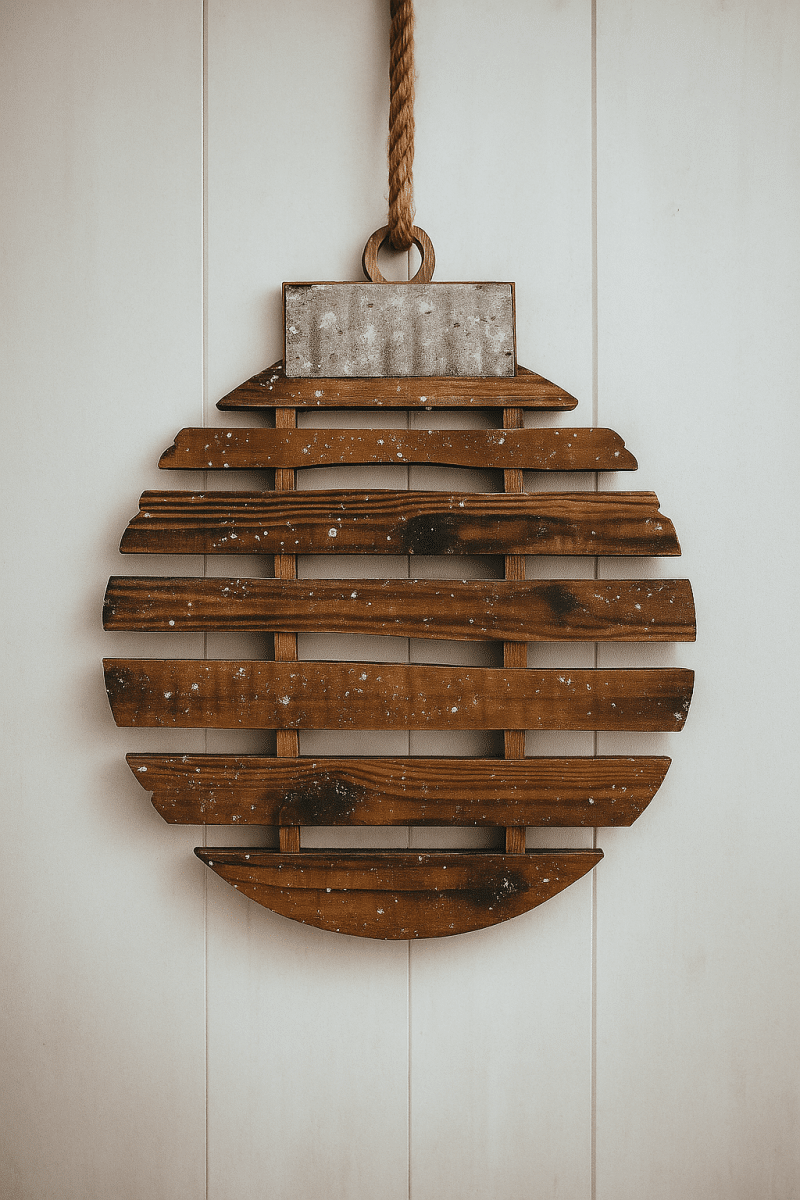
- Start by measuring and cutting the slats into pieces that will form the spherical shape. You can choose to create a half-sphere or a full sphere—the choice is yours depending on the size of your desired ornament.
- Arrange the slats in a circular or semi-circular pattern, securing each piece with nails or wood glue. This step may require some patience to ensure the slats are evenly spaced and aligned.
- Use wooden dowels or thin wooden rods if needed to help stabilize the structure. You can place these rods at strategic points along the sphere to create a more rigid frame.
Step 3: Assemble the Giant Balls
Once you have your framework in place, it’s time to start putting together the body of the ball.
- Begin attaching the slats to the frame, starting from the base and working your way up. Overlap the slats to cover the entire structure.
- Secure each slat tightly in place with nails or screws. This will ensure that the structure is sturdy enough to hold its shape.
- If you’re creating a full sphere, you’ll need to continue adding slats until the entire surface is covered. Be sure to leave a small opening at the top for hanging.
Step 4: Sand and Finish the Wood
After assembling the body of the giant Christmas balls, it’s important to sand the entire surface. This will smooth out any rough edges and give the balls a more polished appearance.
- Use sandpaper to gently smooth out any uneven areas and rough spots. This step will ensure your Christmas balls are both visually appealing and safe to touch.
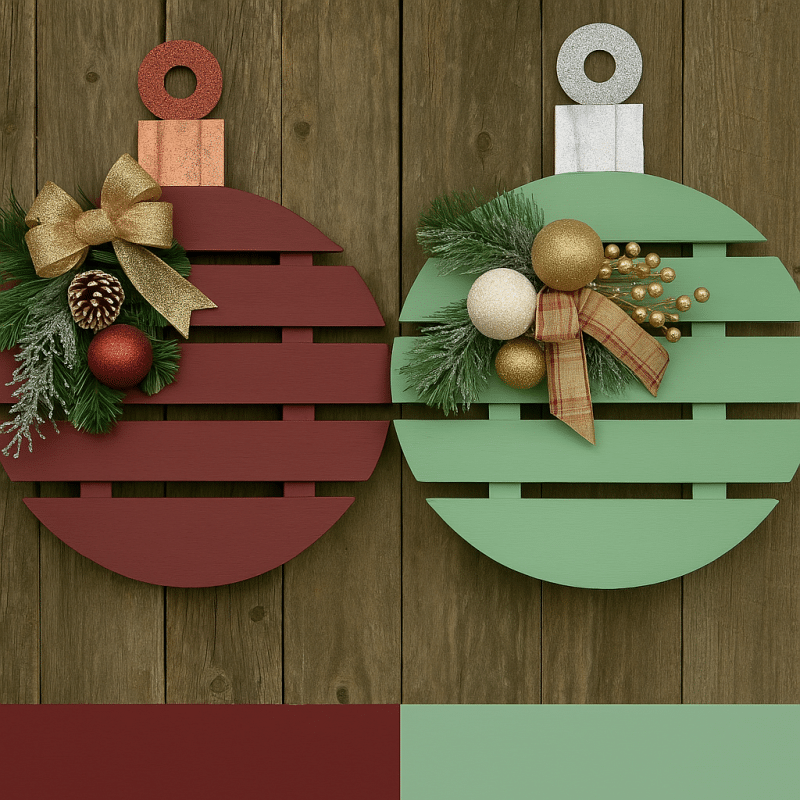
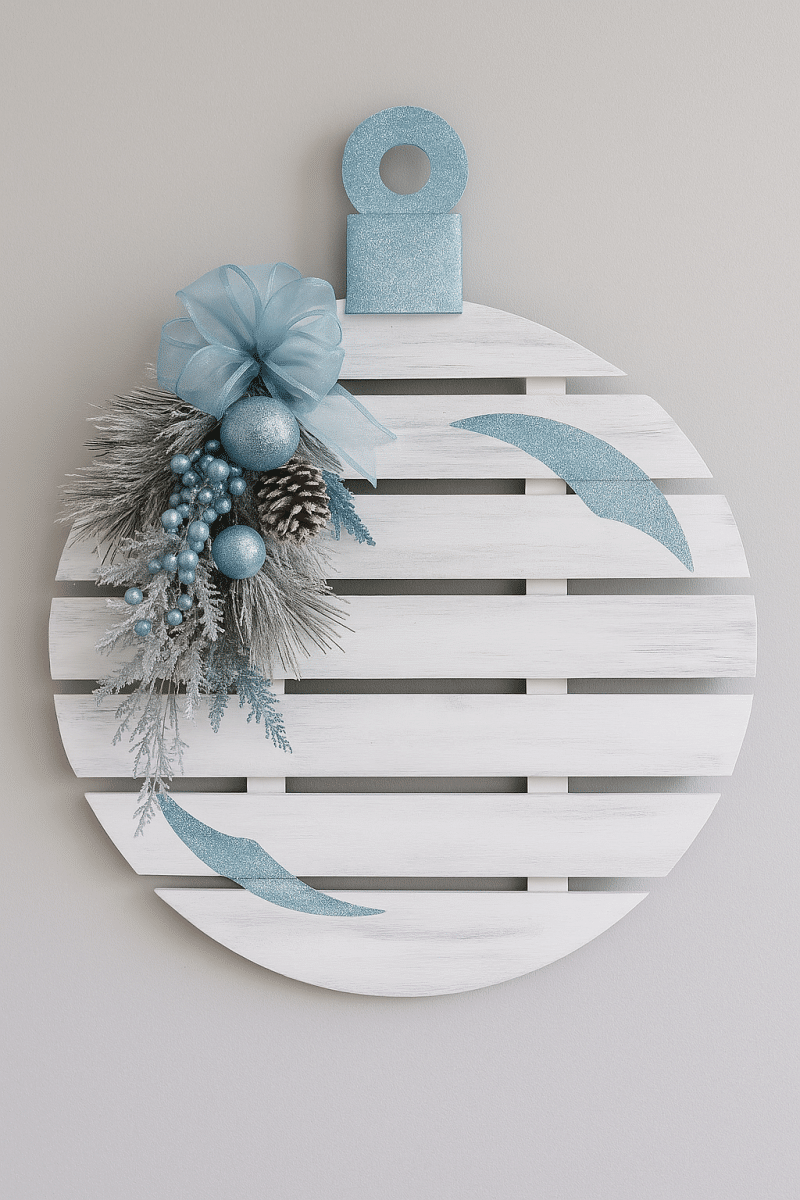
- You can paint or stain the wood to match your desired color scheme. Consider using a metallic finish or a glittery paint for a festive, glamorous look. You could also go for a more natural look by simply staining the wood to enhance the rustic charm.
Step 5: Add Final Touches
Now that your giant Christmas balls are assembled and finished, it’s time to add the final decorative touches!
- Ribbons: Attach a festive ribbon to the top of the ball for hanging. You can use red, green, gold, or silver ribbons to complement the color scheme of your decor.
- LED Lights: If you want to add some sparkle, wrap the ball in LED string lights. This will make your giant balls shine and glow, especially at night.
- Additional Decorations: You can also add other decorative elements like baubles, garlands, snowflakes, or miniature ornaments to give your Christmas balls a truly festive and personalized touch.
Where to Display Your Giant Christmas Balls
Once your giant Christmas balls are complete, you’ll want to find the perfect spots to display them. Here are a few ideas:
- Front Porch: Hang the giant balls from the porch to create a warm and welcoming entrance for your guests.
- Living Room: Place them in the corners of your living room or as the centerpiece of your fireplace mantel.
- Dining Table: Use the balls as table centerpieces to add a rustic touch to your holiday meals.
- Tree Decoration: If you have a larger tree, you can hang a few of these oversized ornaments on the tree for a unique look.
Giant Christmas balls made from wooden pallets are an innovative and sustainable way to decorate for the holiday season. Not only do they make a bold statement, but they also allow you to customize your Christmas decor in a way that’s both eco-friendly and budget-conscious. Whether you hang them on your porch, place them on your dining table, or use them as tree ornaments, these oversized decorations are sure to become a favorite part of your holiday tradition.
So gather yourwooden pallets and get crafting — it's time to create the most memorable and creative Christmas decorations you've ever had!

