Magic DIY Mason Jar Fairy Lights That Will Enchant Any Space
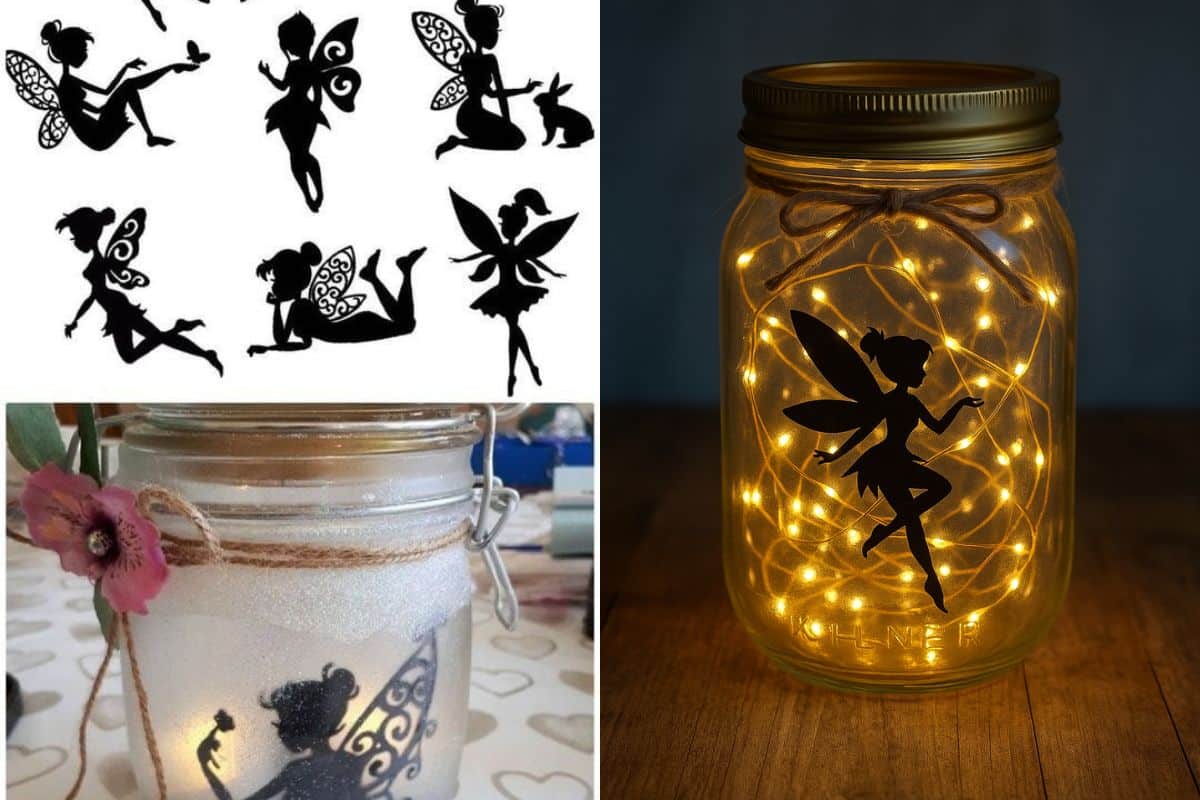
There’s something undeniably charming about light contained in a glass jar.
It’s cozy, rustic, romantic, and oddly nostalgic. Whether placed on a nightstand, hung from tree branches, or displayed as wedding centerpieces, these tiny lights in jars evoke a storybook-like wonder.
Fairy lights whisper magic. And when captured inside a jar, they tell silent tales of glow and warmth."
Here’s what makes them so popular:
- Affordable to make
- Customizable for any occasion or mood
- Low energy consumption with LED lights
- Perfect for indoor and outdoor decor
Materials You’ll Need
Before you begin, gather the following tools and materials:
Basic Essentials:
- Mason jars (any size, though wide-mouth works best)
- LED fairy lights (battery-powered or USB, warm white preferred)
- Batteries (if required)
- Twine, ribbon, or lace
- Hot glue gun (optional)
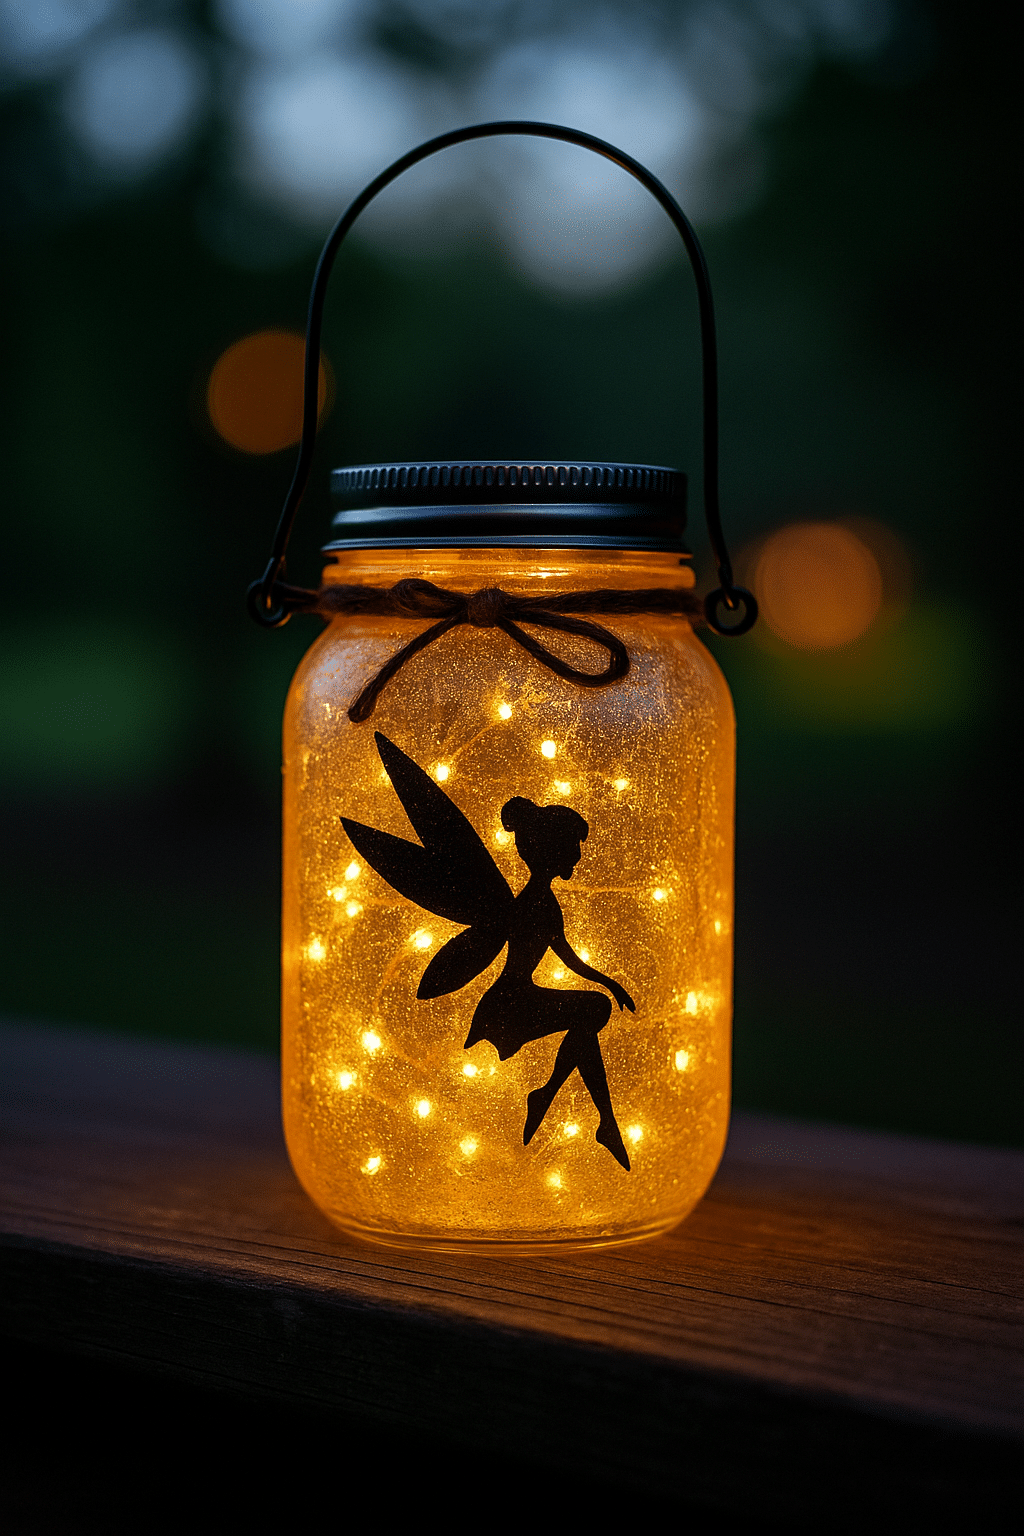
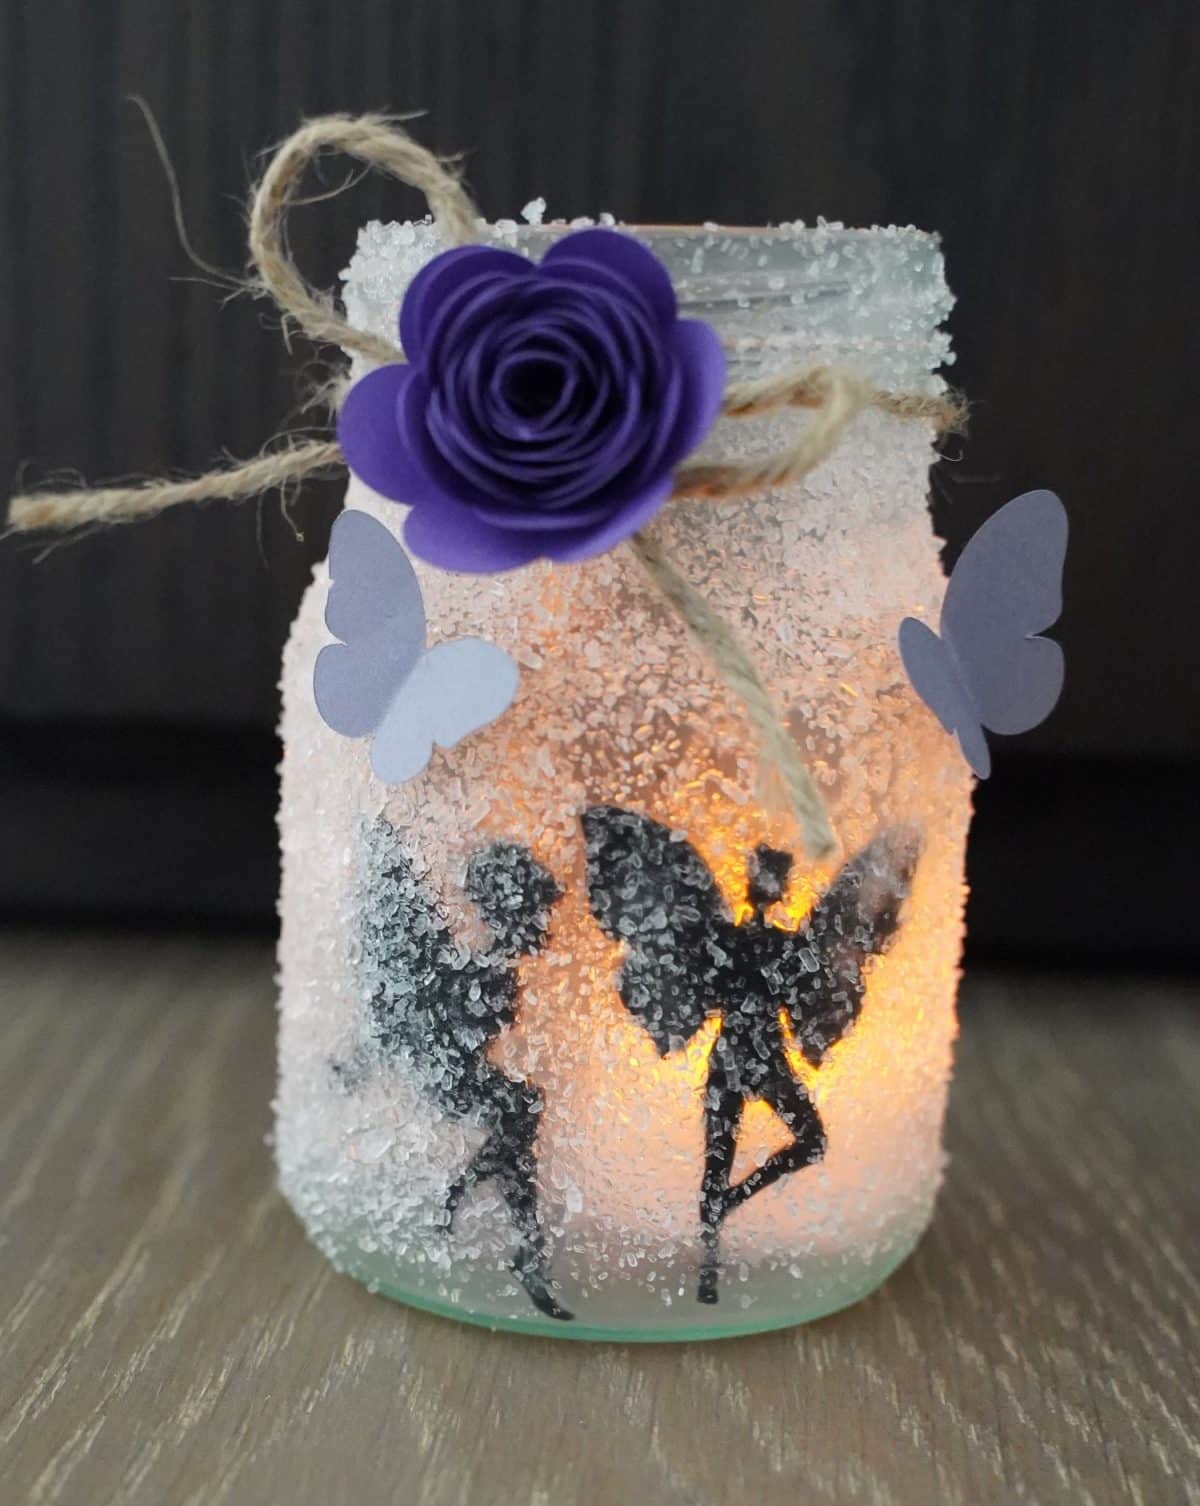
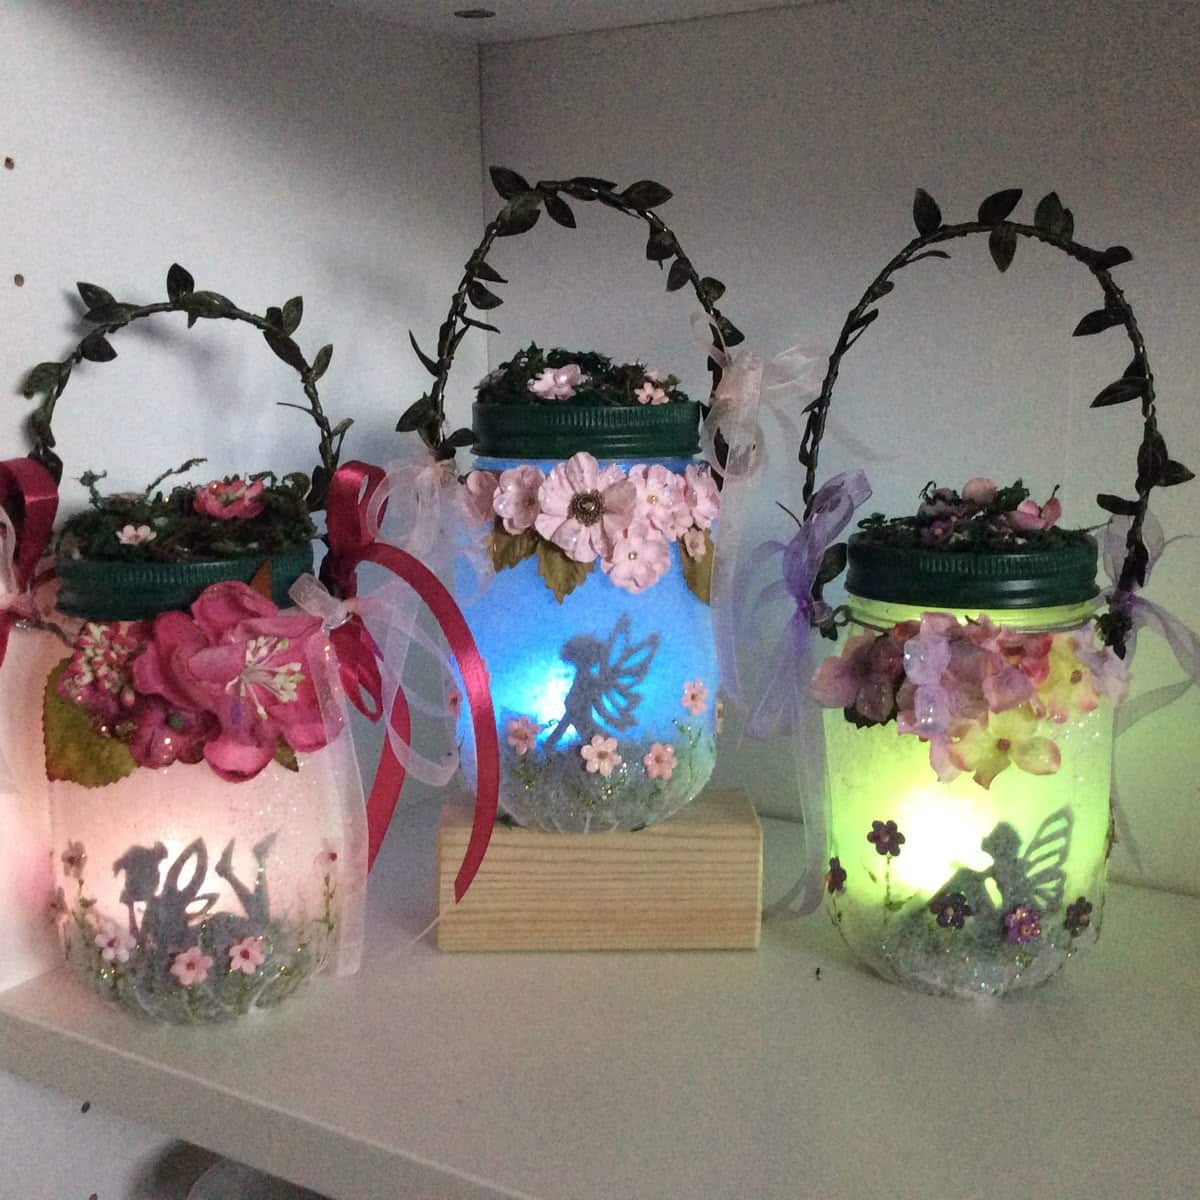
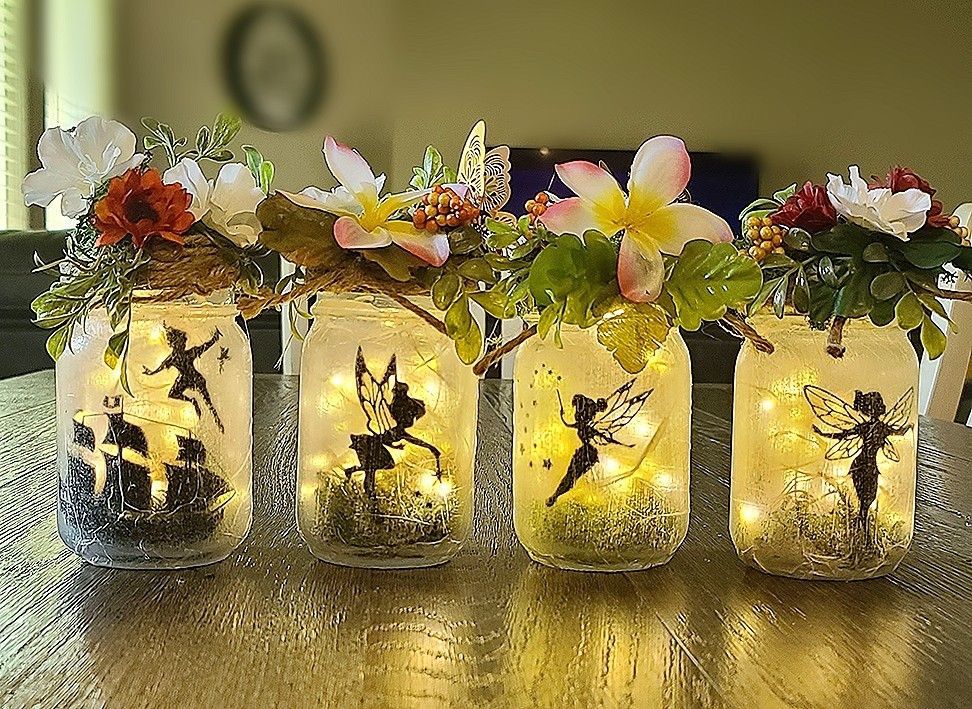
- Decorative elements: dried flowers, moss, glitter, or small faux butterflies
Optional Add-ons for Extra Magic:
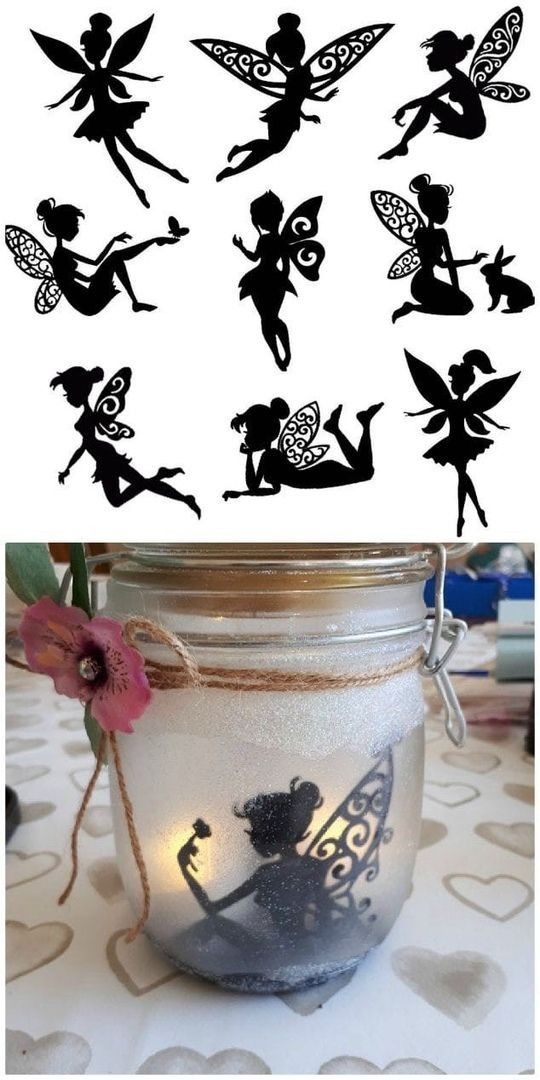
- Frosted glass spray
- Acrylic paint (for stained-glass effect)
- Mini figurines (fairies, mushrooms, woodland creatures)
- Crafting moss or pebbles
- Doilies or lace fabric
Step-by-Step: How to Make Your DIY Mason Jar Fairy Lights
Let’s bring the magic to life.
1. Choose Your Jar Wisely
Opt for jars with clear glass if you want full illumination. For a soft glow, go with frosted or colored jars. You can also frost them yourself using glass frost spray.
2. Prepare the Inside
- Uncoil your fairy lights gently.
- If you're using decorative moss or pebbles, place a small layer at the bottom of the jar.
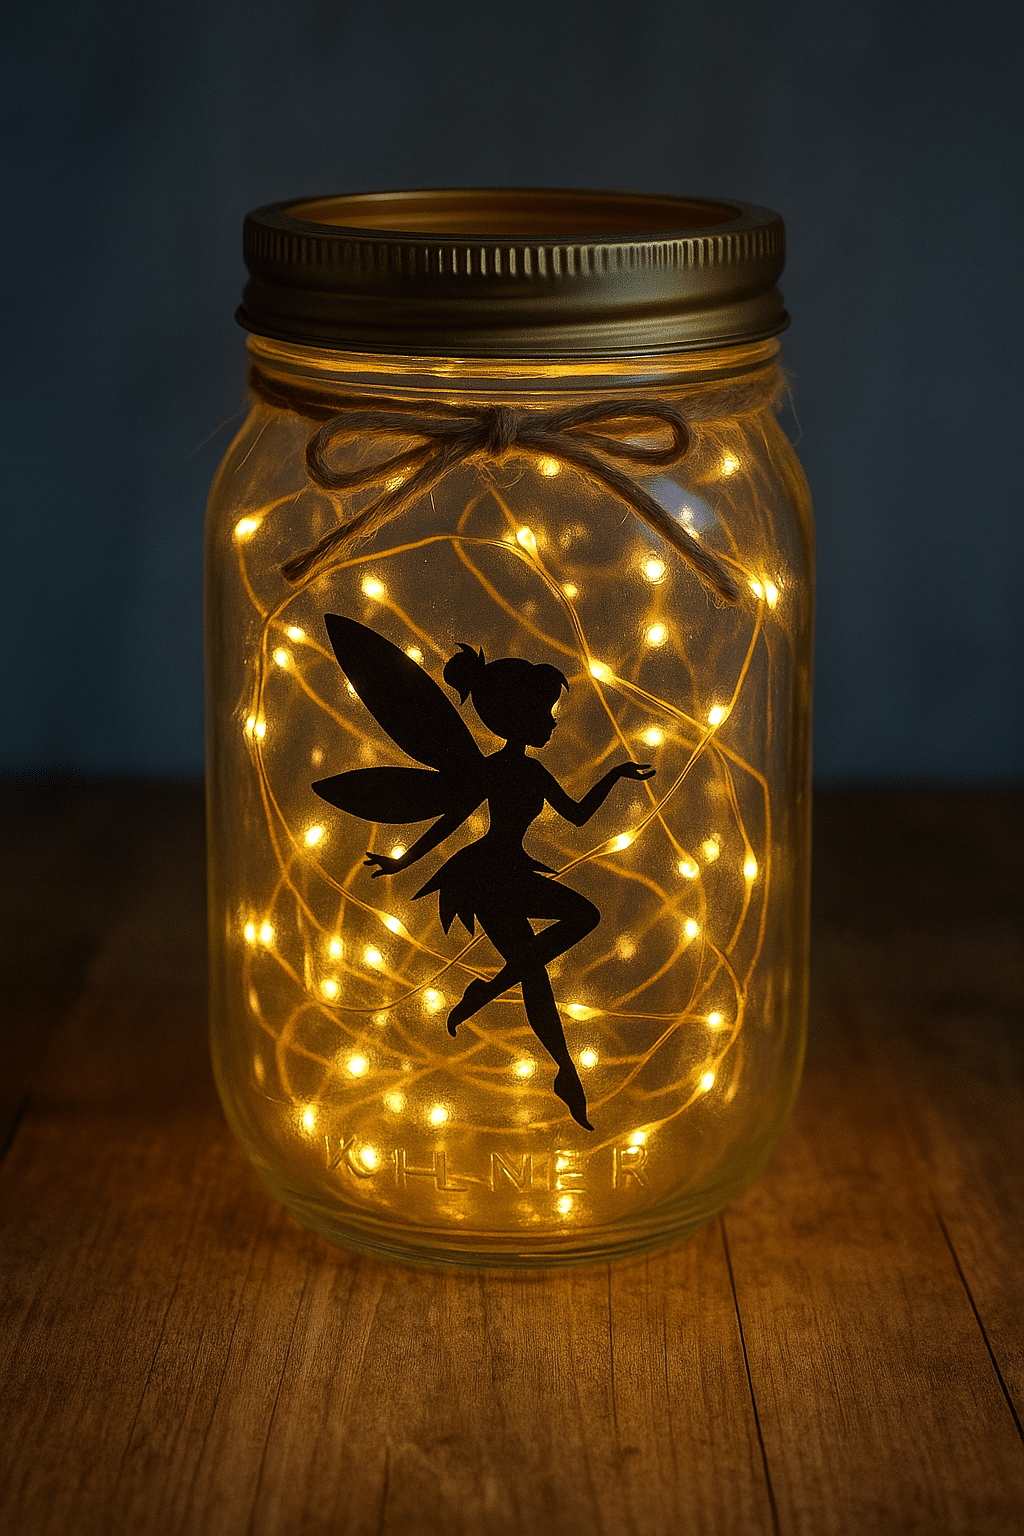
- Insert the light string, weaving it between the moss or decorations.
- Hide the battery pack behind the decorations or attach it to the lid if small enough.
3. Paint or Decorate (Optional)
- Lightly brush the inside of the jar with acrylic paint for a stained-glass feel.
- Or, spray the outer layer with frosted glass spray for a dreamy diffused glow.
4. Seal and Style the Lid
- Place the lid back on the jar, ensuring any wires come out neatly.
- Wrap the rim with twine, lace, or ribbon for added charm.
- You can glue tiny charms or dried flowers to the outside for a fairytale aesthetic.
5. Test Your Lights
- Turn on your fairy lights.
- Adjust the position inside the jar to distribute light evenly.
- Place it in your desired location — shelf, patio, bedside, or even hanging from a hook.
Creative Themes for Your Mason Jar Fairy Lights
Why settle for ordinary when you can theme your lights?
Boho Chic
- Use lace and neutral-toned ribbons
- Add feathers and small tassels to the lid
Woodland Fantasy
- Add faux moss, miniature mushrooms, and a tiny fairy figurine
- Use a light amber glow for warmth
Winter Wonderland
- Add white glitter and a small snowflake charm
- Frost the jar entirely for a snow-covered look
Galaxy Jar
- Paint the inside with deep purples and blues
- Add silver glitter and use cool white or blue lights
Where to Display Your Fairy Jar Lights
A well-placed fairy light jar can transform a space. Try these locations:
- Bedroom nightstand (gentle ambient light)
- Outdoor patios or balconies (hang them with wire)
- Wedding centerpieces
- Bookshelves or mantels
- As part of a holiday display
Discover how to make enchanting DIY mason jar fairy lights using affordable materials. Follow our creative tutorial to craft whimsical decor for home, gifts, or events.
