How to Make a Baby's Nest Step by Step
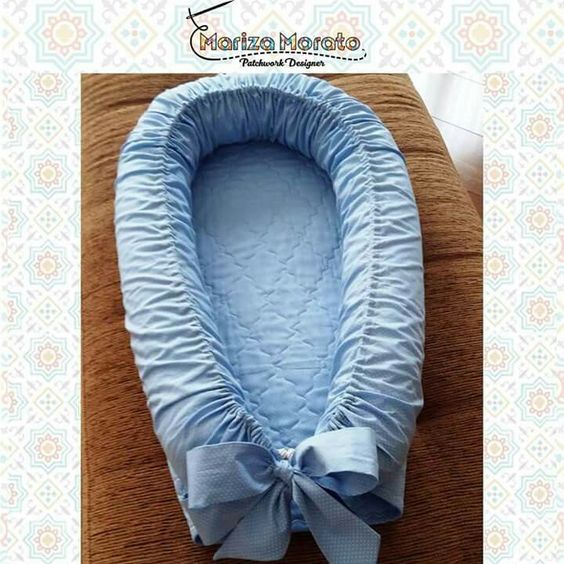
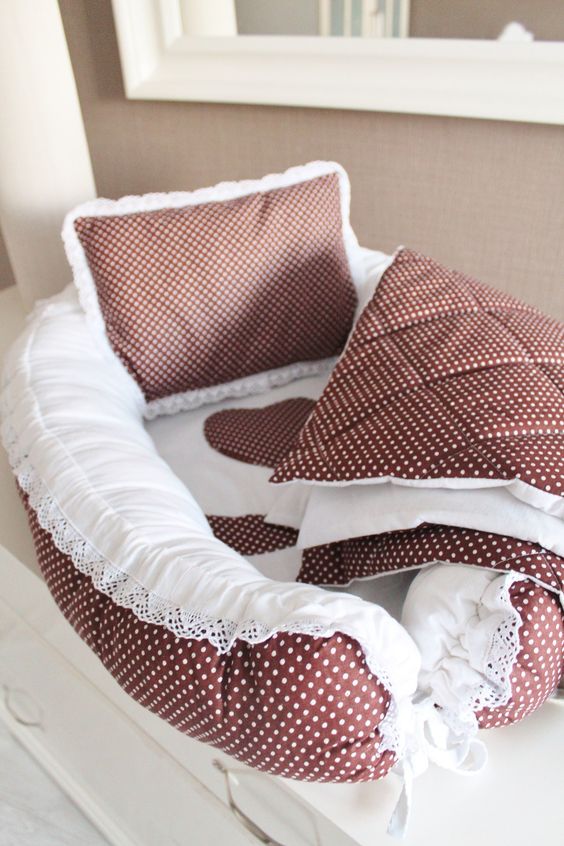
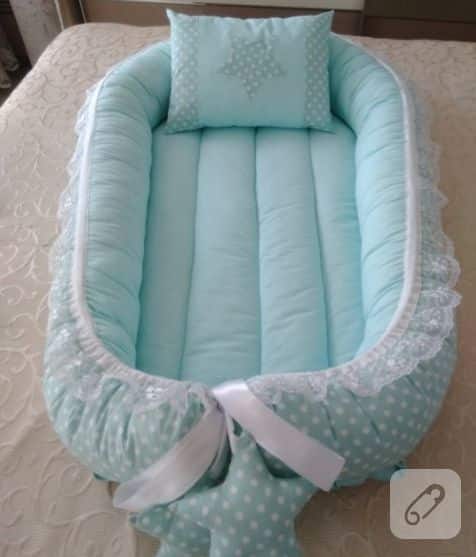
The birch nest is one of the great successes of the moment. The baby nest is an attempt to recreate a comfortable environment for the baby.
The birthing nest can be used anywhere and keeps the baby comfortable. Those who have tried it say that the baby sleeps better and more comfortable in this type of nest.
The ideal is to use these nests only in the first months of life. From the moment the baby has already seen its uses is no longer recommended.
The nest is ideal to make your baby comfortable, can be used in the crib or other places.
It's very easy to do, just follow my instructions.
Step By Step Baby Nest
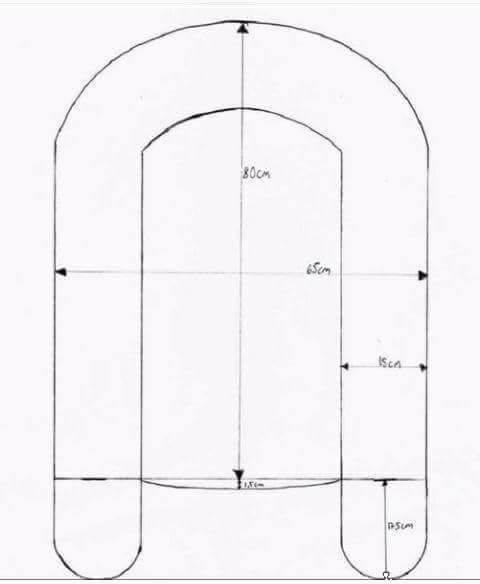
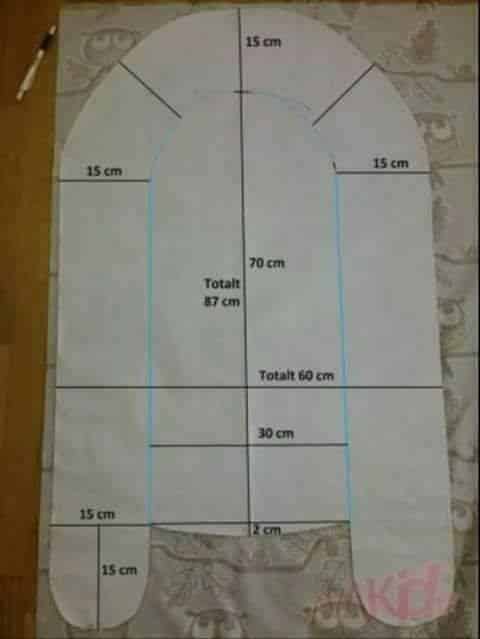
Here is the mold of a little nest. These are the standard and recommended measures for a baby up to 3-4 months.
Materials Required:
100% Cotton Fabric
Filling
Cotton cord or English embroidery
Sewing machine
Pencil, marker, scissors and love pin
Step by step:
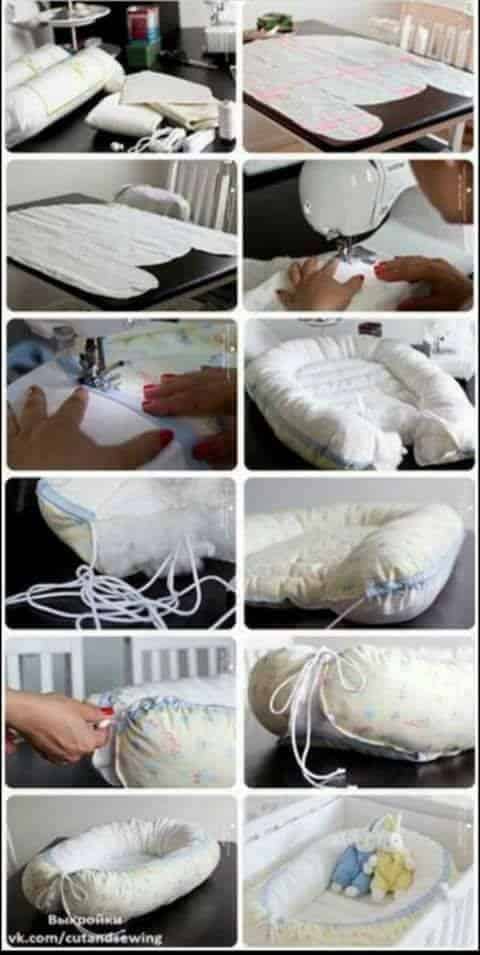
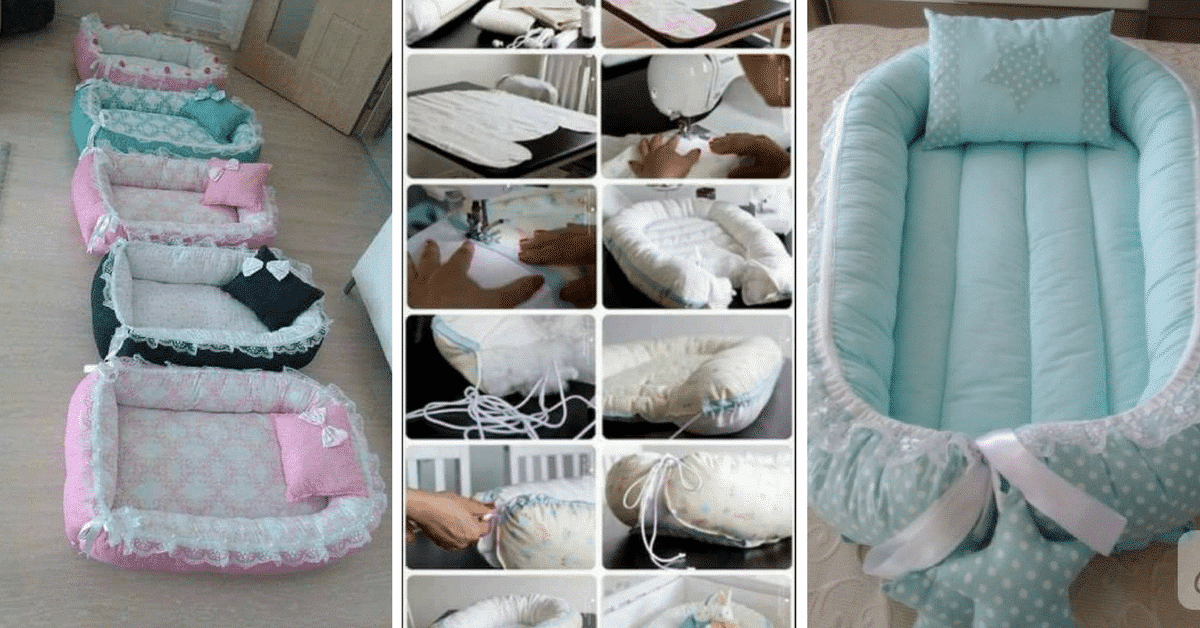
Cut two pieces of fabric with 100 cm x 65 cm.
Place the mold on top of the two pieces of fabric. Fasten with pins and cut.
Join the fabrics face to face and thing. You must leave the indicated places open.
Turn around and sew 1.5 cm, fold the fabric 1 cm inwards, at the beginning and at the end.
Thing.
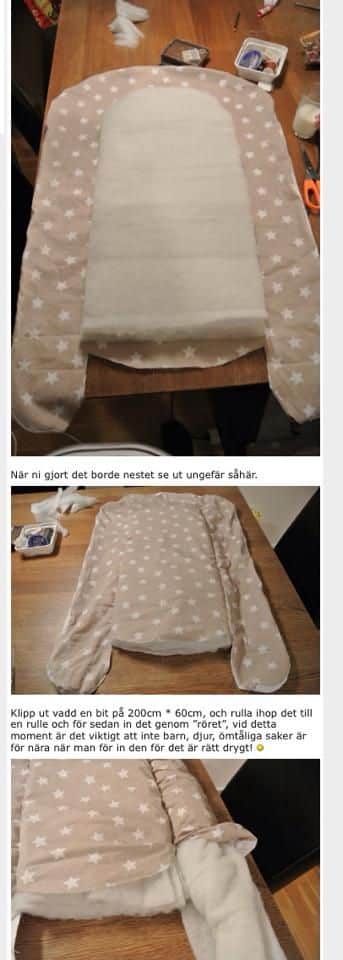
Make another 15 cm at the end where you will put the filler to make the sides of the nest.
Fill the sides with filling and sew the openings with a wedding spot.
With a cotton pin, thread the cotton cord through the 1.5 cm stitch.
Tighten the cord to the desired size, tie it and it's ready.
Watch the video and learn how to make a nest cage.


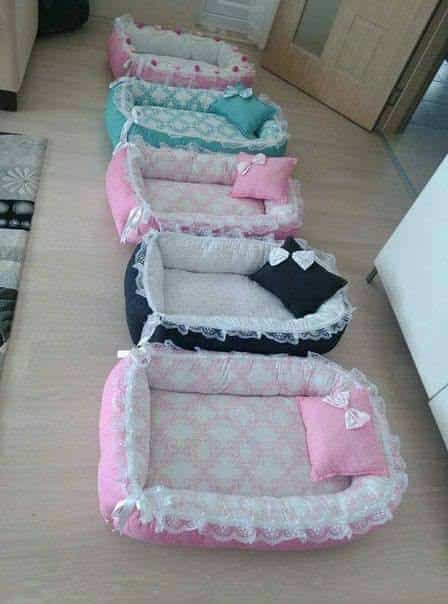
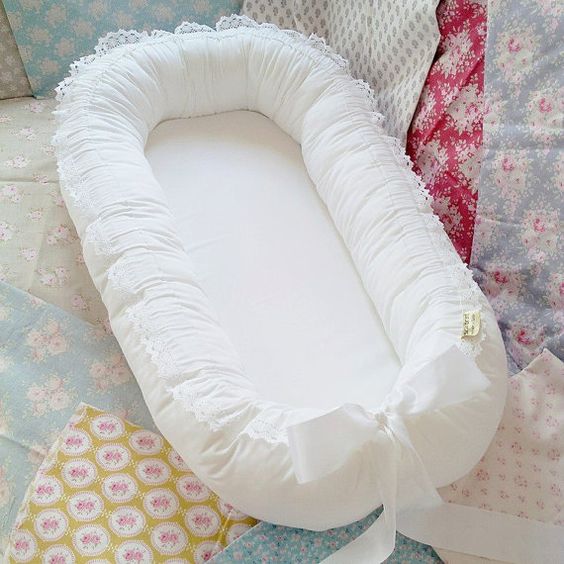
Here are some ideas to decorate your little nest. It can do it for you or to offer.
