Decoupage Easter Eggs Guide: Easy DIY Tips
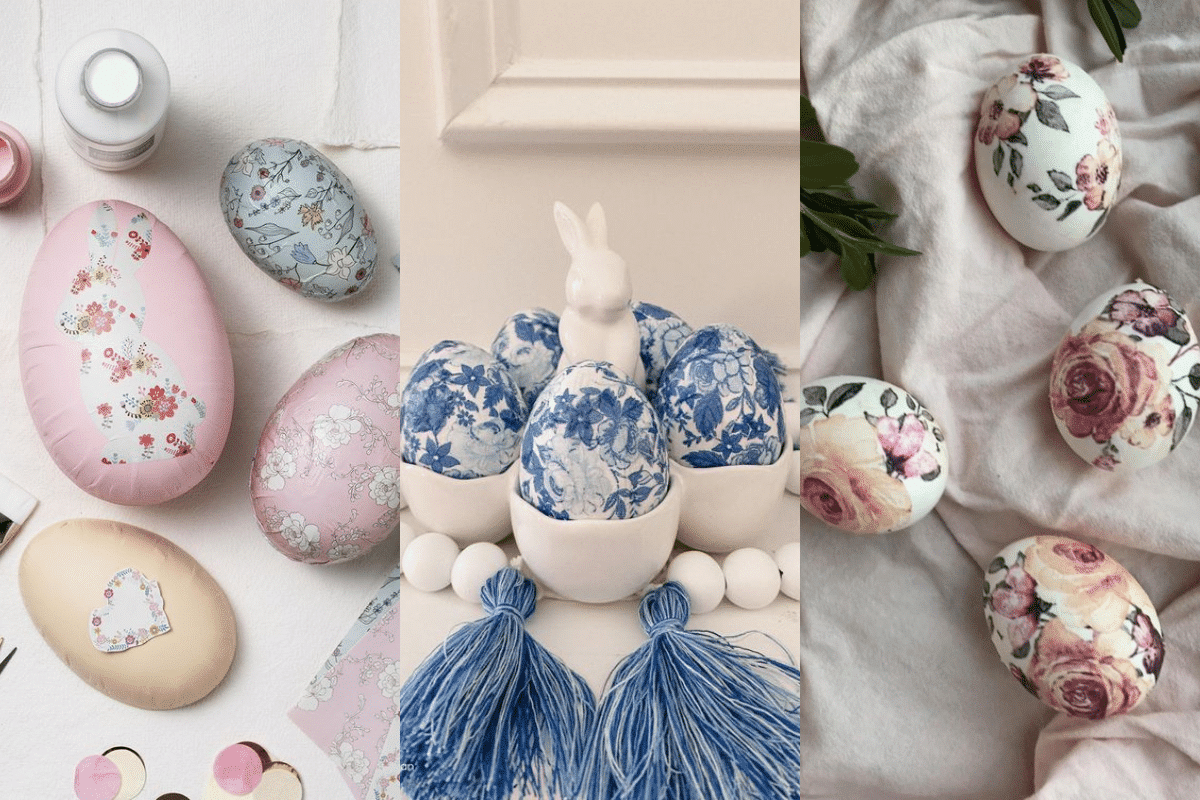
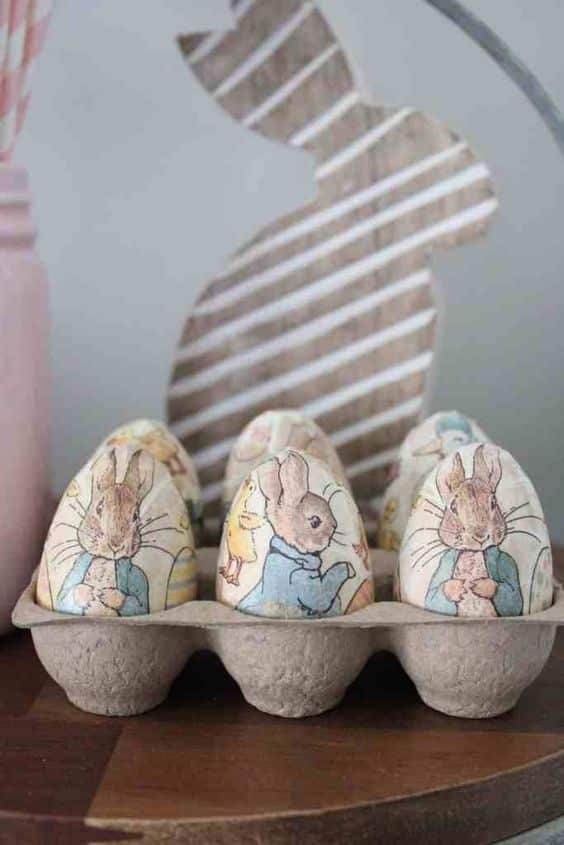
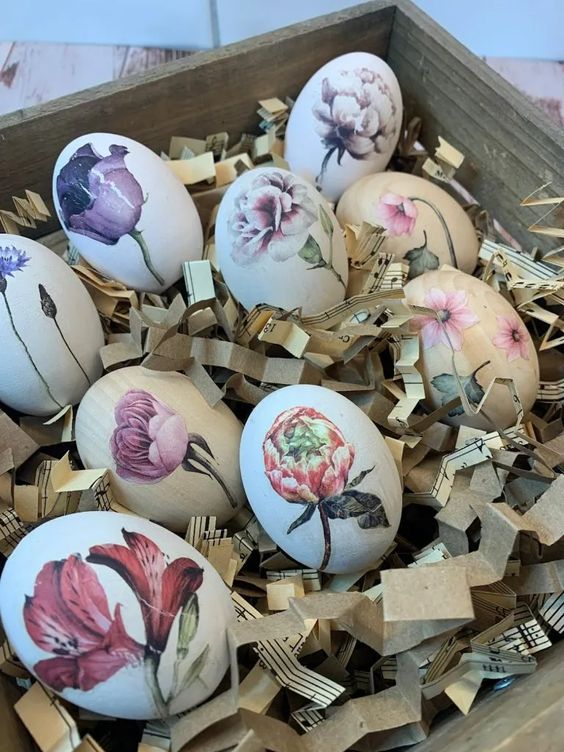
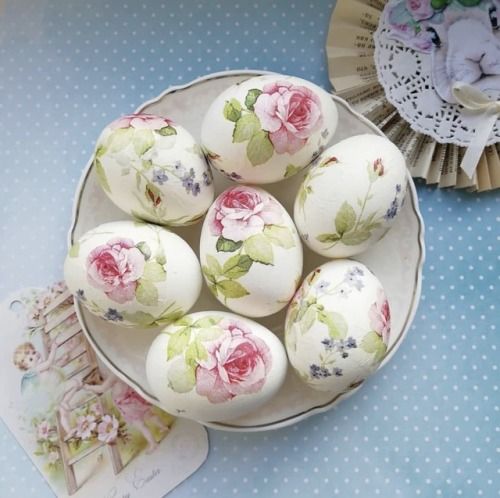
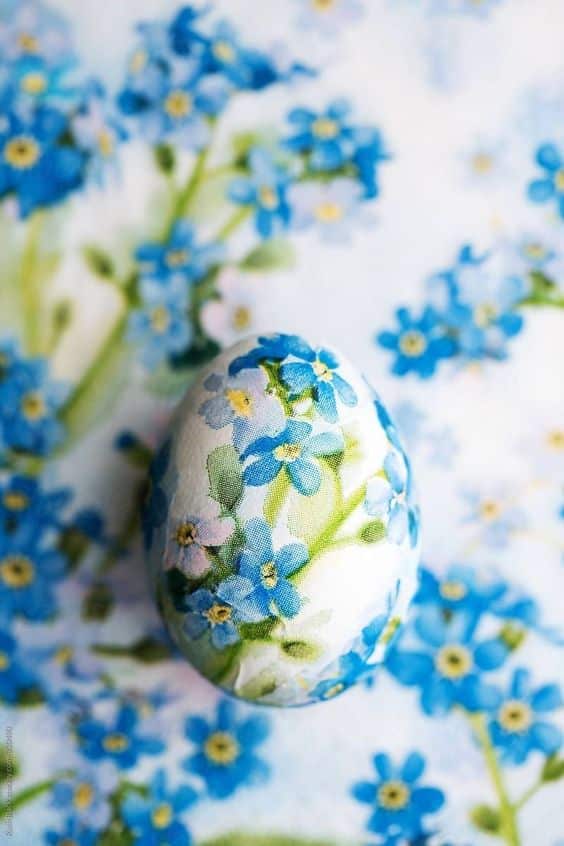
To create beautiful and unique Easter decorations, try decoupaging Easter eggs. This simple and enjoyable DIY craft project is perfect for the whole family, especially children. Decoupage involves adhering thin paper-like materials, such as scrapbook paper, book pages, or napkins, onto the surface of the eggs.
Easter ideas: DIY Easter Egg Piñata Surprise | Fun Craft Idea
You can use various materials to decoupage Easter eggs, allowing for endless creativity and customization.
In this guide, we will provide step-by-step instructions on how to decoupage Easter eggs, along with tips and ideas for different decoupage techniques.
Key Takeaways:
- Decoupaging Easter eggs is a fun and creative Easter egg craft that the whole family can enjoy.
- Decoupage involves adhering thin paper-like materials, such as scrapbook paper or napkins, onto the surface of the eggs.
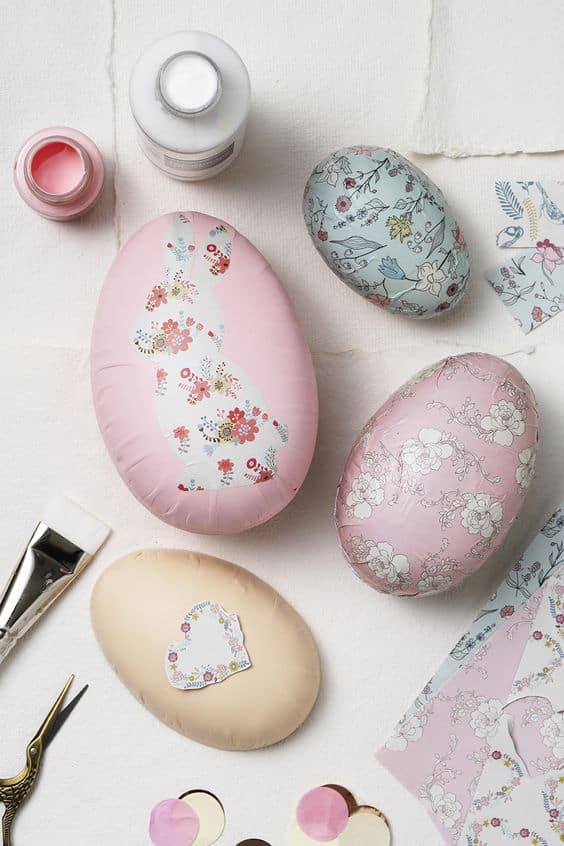
- Materials needed for decoupage Easter eggs include Paper Mâché eggs, scrapbooking paper, Mod Podge, and a paint brush or decoupage sponge.
- Follow the step-by-step tutorial to create your own unique decoupage Easter eggs.
- Decoupage Easter eggs add a creative touch to your Easter decor and can be personalized to reflect your style and creativity.

Materials and Preparation for Decoupage Easter Eggs
Before you begin the decoupage process, you will need to gather a few materials to create stunning decoupage Easter eggs:
Paper Mâché Eggs
Start with Paper Mâché eggs, which provide a sturdy base for the decoupage. If you can't find Paper Mâché eggs, you can easily substitute them with styrofoam eggs.
Scrapbooking Paper
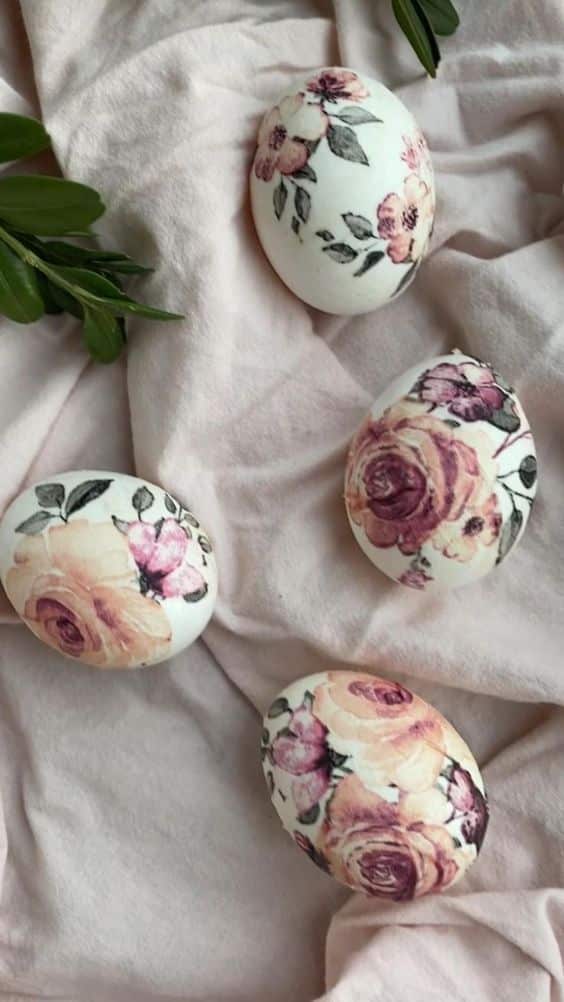
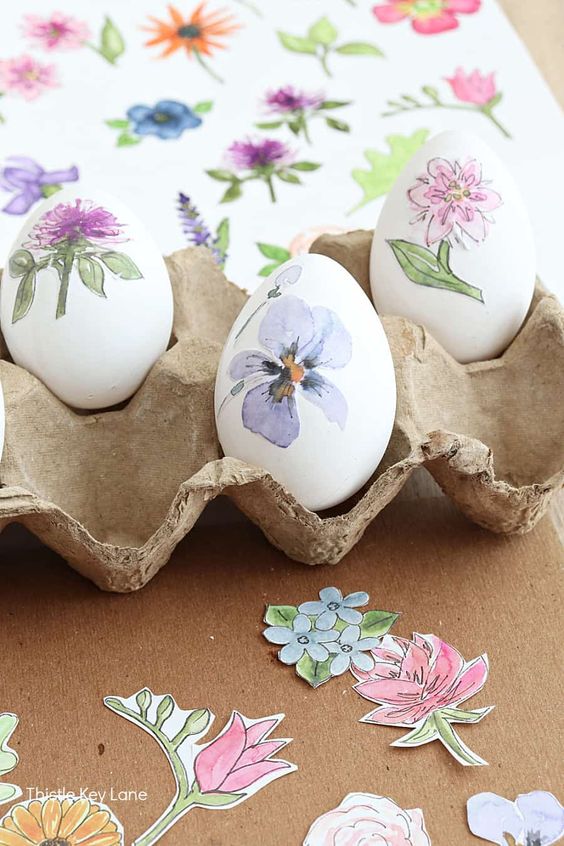
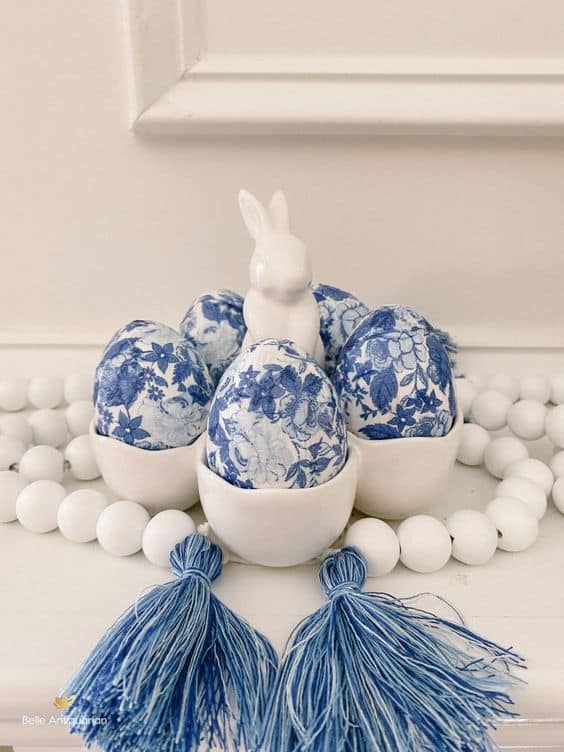
Choose your favorite Scrapbooking Paper patterns and colors to give your Easter eggs a unique and personalized touch. Look for patterns and designs that match the theme you have in mind for your Easter decorations.
Paint Brush or Decoupage Sponge
To apply the Mod Podge and adhere the paper onto the eggs, you'll need either a paint brush or a decoupage sponge. The choice depends on your preference or whichever tool you find more comfortable to work with.
To add extra flair to your decoupage Easter eggs, consider using additional embellishments like ribbon, lace, feathers, or bling. These can be glued on after the decoupage process to dress up your eggs even further.
By preparing these materials ahead of time, you'll be ready to create beautiful decoupage Easter eggs and enjoy a smooth and enjoyable crafting experience.
Step-by-Step Decoupage Tutorial for Easter Eggs
Now that you have gathered your materials, it's time to start the decoupage process. Follow these simple steps to create your own beautiful decoupage Easter eggs:
Tear paper into small pieces
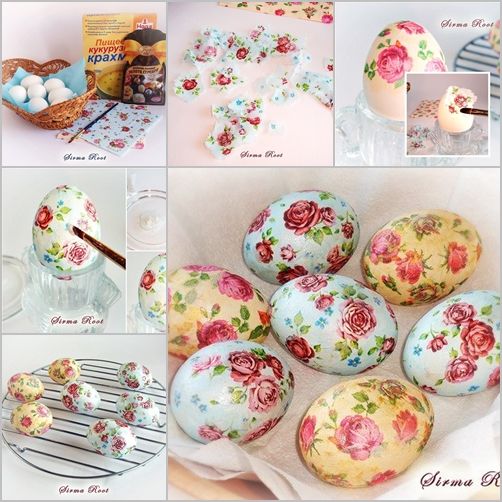
Begin by tearing your chosen paper into small pieces. You can use scrapbook paper, book pages, or even colorful napkins for a variety of designs. Tip: Vary the size and shape of the torn pieces to add visual interest to your decoupage eggs.
Apply Mod Podge and glue pieces onto the egg
Next, apply a thin layer of Mod Podge onto the surface of the egg using a paintbrush or a decoupage sponge. Carefully place the torn paper pieces onto the Mod Podge, overlapping them slightly to cover the entire egg. Press down gently to ensure the paper adheres to the egg. Continue adding paper pieces until the entire egg is covered in your desired design.
Seal the eggs with a top coat of Mod Podge
Once all the paper pieces are in place, apply a top coat of Mod Podge over the entire surface of the egg. This will seal and protect the design while giving it a smooth, glossy finish. Make sure to cover all edges and corners of the paper for a long-lasting result. Allow the eggs to dry completely before displaying or using them in your Easter decor.
With these simple steps, you can create stunning decoupage Easter eggs that will impress your family and friends. Get creative with different paper materials and designs to make each egg unique. Enjoy this fun and crafty project, and have a happy Easter!
Bring Creativity to Your Easter Decor with Decoupage Easter Eggs
Looking for a fun and creative way to spruce up your Easter decor? Consider decoupage Easter eggs! This DIY craft project is not only enjoyable but also allows you to unleash your creativity. By using different materials and techniques, you can create unique and personalized designs that will add a touch of handmade charm to your home.
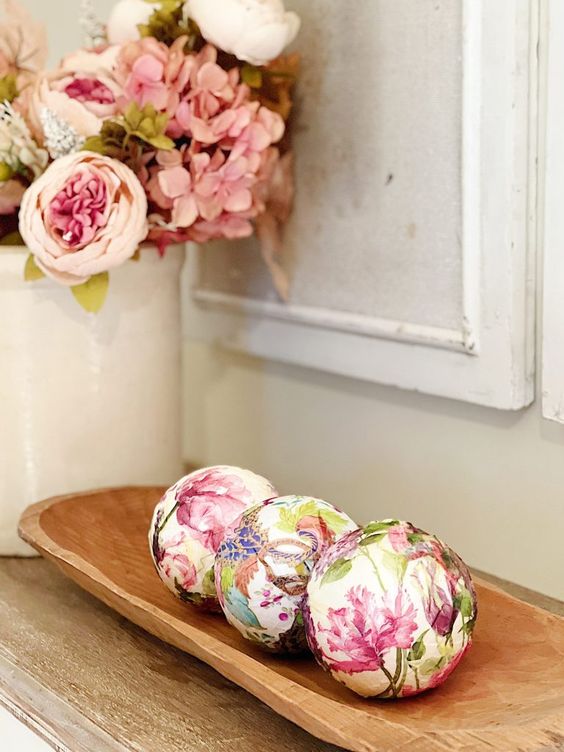
Decoupage offers endless possibilities, making it perfect for spring craft projects and Easter home decor. Whether you choose to decoupage with scrapbook paper, delicate napkins, or other thin paper-like materials, the results are stunning. You can mix and match patterns, colors, and textures to create eye-catching and memorable egg designs that will impress your guests and become a festive centerpiece.
What's great about decoupage Easter eggs is that they are suitable for all skill levels. Whether you're new to crafts or an experienced DIY enthusiast, you'll have a blast bringing your creative visions to life. It's also a project that the whole family can enjoy. Gather your loved ones around the table, let everyone choose their materials, and bond over the joy of creating unique and beautiful Easter decorations together.
So, this spring, why not make decoupage Easter eggs a part of your holiday traditions? With its endless possibilities for creativity and its ability to elevate your Easter decor, it's a craft worth trying. Let your imagination run wild, put your crafting skills to the test, and enjoy the process of making creative egg designs that will become cherished keepsakes for years to come.
