Learn How to Make a Nutcracker with Paper Rolls: A Creative DIY Guide
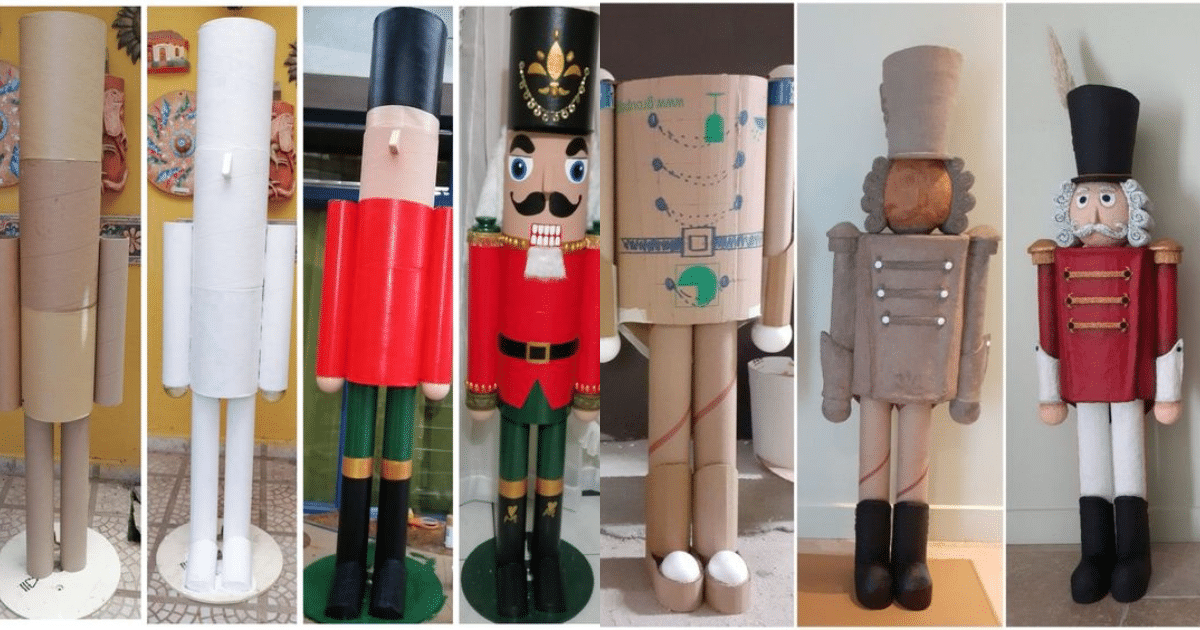
In today's digital age, where creativity knows no bounds, crafting has become an increasingly popular hobby. One exciting and inventive project that you can try your hands at is creating a nutcracker using simple paper rolls.
In this comprehensive guide, we will take you through the step-by-step process of making your very own nutcracker, adding a touch of festive cheer to your home decor.
So, grab your paper rolls, unleash your inner artist, and let's get started on this delightful DIY journey.
How to Make a Nutcracker with Paper Rolls
Making a nutcracker out of paper rolls may seem challenging at first, but with a little patience and creativity, it can be a fun and rewarding DIY project. Not only will you end up with a unique decoration piece, but you'll also experience the joy of crafting something by hand. Let's dive into the process.
Before you begin, gather the following supplies:
- Empty paper rolls (toilet paper or paper towel rolls work great)
- Cardboard
- Scissors
- Craft glue
- Acrylic paints
- Paintbrushes
- Marker
- Felt or fabric scraps
- Pencil
- Glitter (optional)
- Small decorative accessories (buttons, beads, etc.)
Preparing Your Workspace
Set up a clean and well-lit workspace to ensure your crafting experience is comfortable and enjoyable. Lay down some newspaper or a plastic tablecloth to protect your work surface from paint and glue.
Creating the Nutcracker's Body
4.1 Shaping the Torso
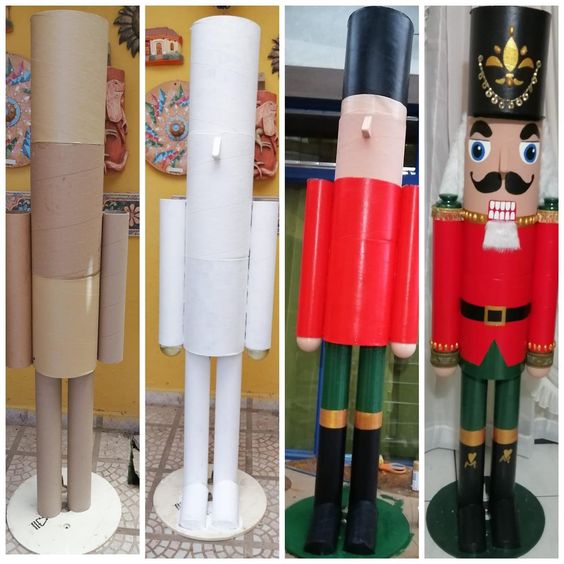
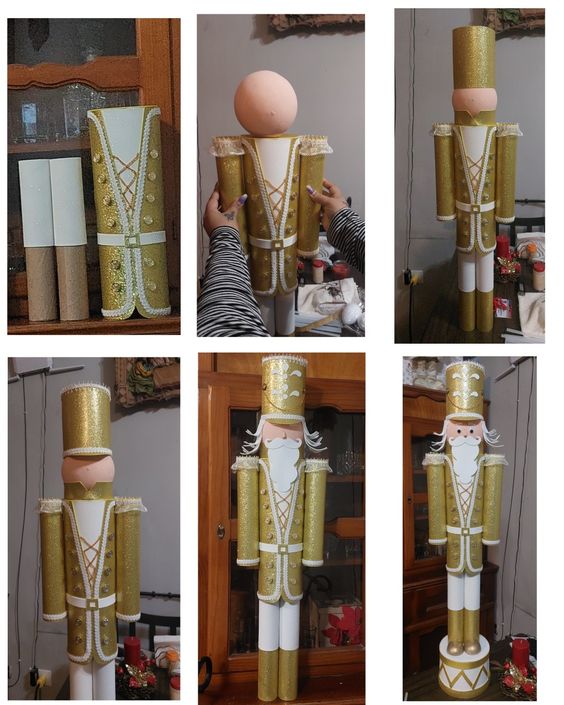
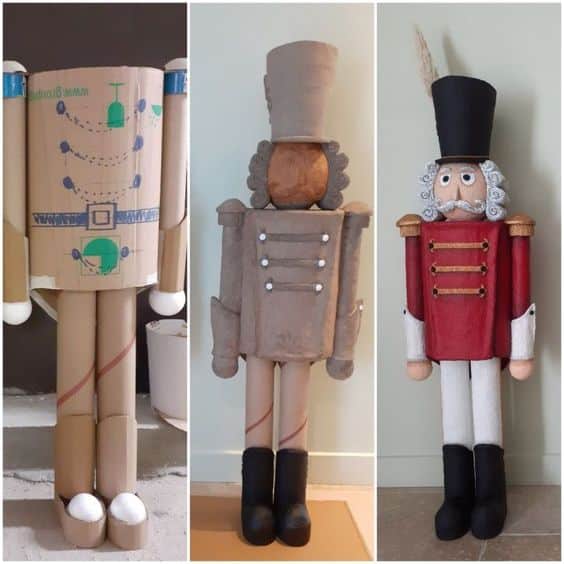
Start by taking an empty paper roll and carefully flattening it. This will be the base for your nutcracker's torso. Cut a small piece of cardboard into a rectangular shape and glue it to the flattened roll to create the nutcracker's body.
4.2 Crafting the Arms and Legs
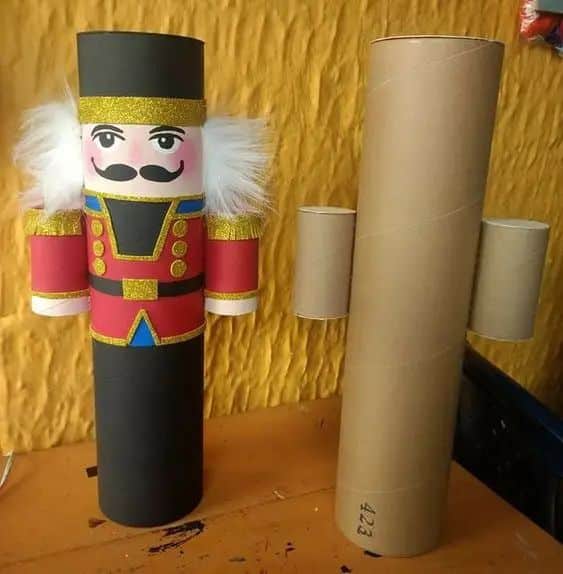
For the arms and legs, cut two smaller pieces from the paper rolls. Bend them slightly to create a curve, resembling arms and legs. Attach these to the torso using glue.
4.3 Attaching the Head
Cut a small circle of cardboard to form the nutcracker's head. Draw a face on it with the marker, ensuring to leave space for the hat. Glue this head to the top of the torso.
Designing the Nutcracker's Face
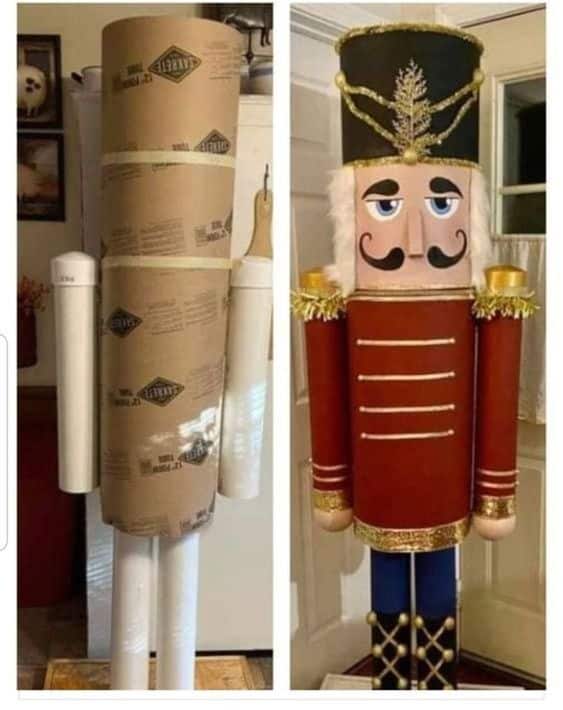
Let your artistic talents shine as you paint the nutcracker's face. Add expressive eyes, a rosy-cheeked smile, and a distinctive mustache using acrylic paints. Don't forget to add bold colors to make your nutcracker stand out.
Painting and Decorating Your Nutcracker
6.1 Choosing the Right Colors
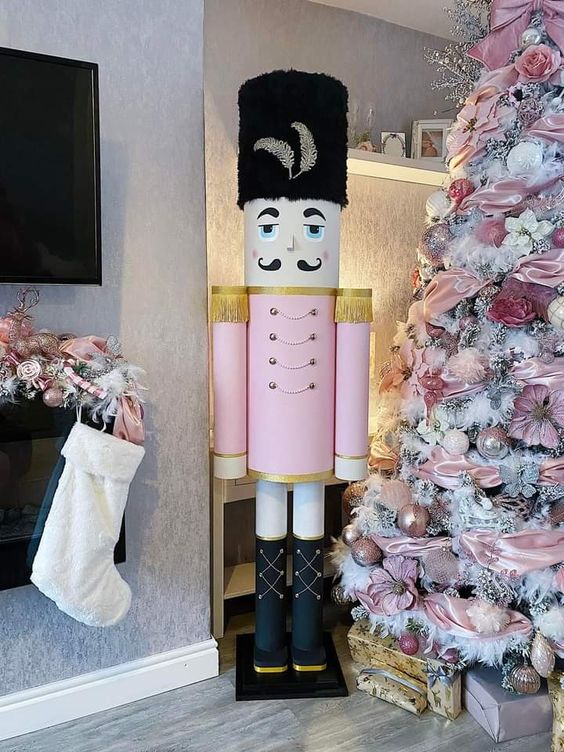
Select vibrant and contrasting colors for your nutcracker's outfit. Traditional nutcrackers often feature red, green, blue, and gold hues, but feel free to get creative and design your own color scheme.
6.2 Adding Details and Accents
Use paint, glitter, or small decorative accessories to add intricate details to the nutcracker's outfit. Create patterns, buttons, and belts to make your creation truly unique.
Crafting the Nutcracker's Hat
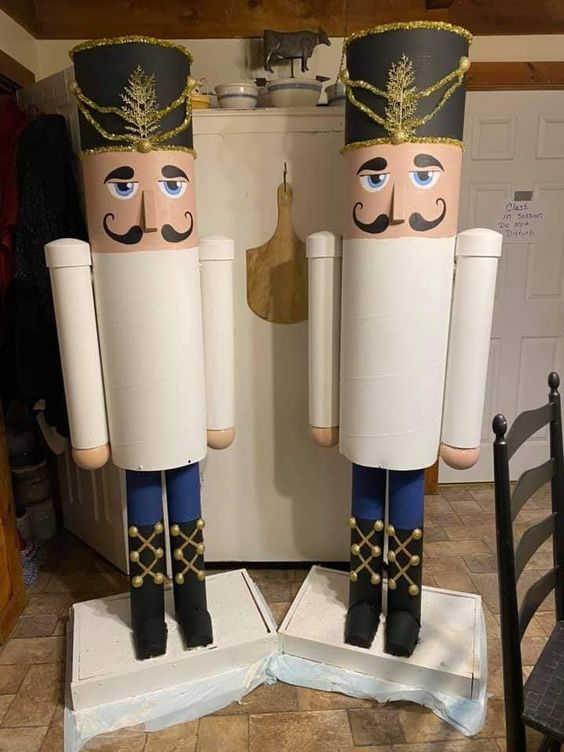
Fashion a hat from felt or fabric scraps. You can go for a classic top hat or a whimsical Santa hat, depending on your preferences. Secure it to the nutcracker's head with glue.
Finishing Touches
Step back and admire your handiwork. Make any final adjustments or additions as needed. Allow your paper roll nutcracker to dry completely before moving on to the next steps.
Displaying Your Paper Roll Nutcracker
Your DIY nutcracker is now ready to add a touch of charm to your holiday decor. Place it on a mantelpiece, a bookshelf, or your dining table for all to admire. It's a wonderful conversation piece and a testament to your creativity.
Maintenance and Care
To ensure your paper roll nutcracker remains in good condition, keep it away from moisture and direct sunlight. If needed, you can lightly dust it with a soft brush to remove any accumulated dust.
