Paper Garland for Valentine's Day: A Creative Twist to Express Love
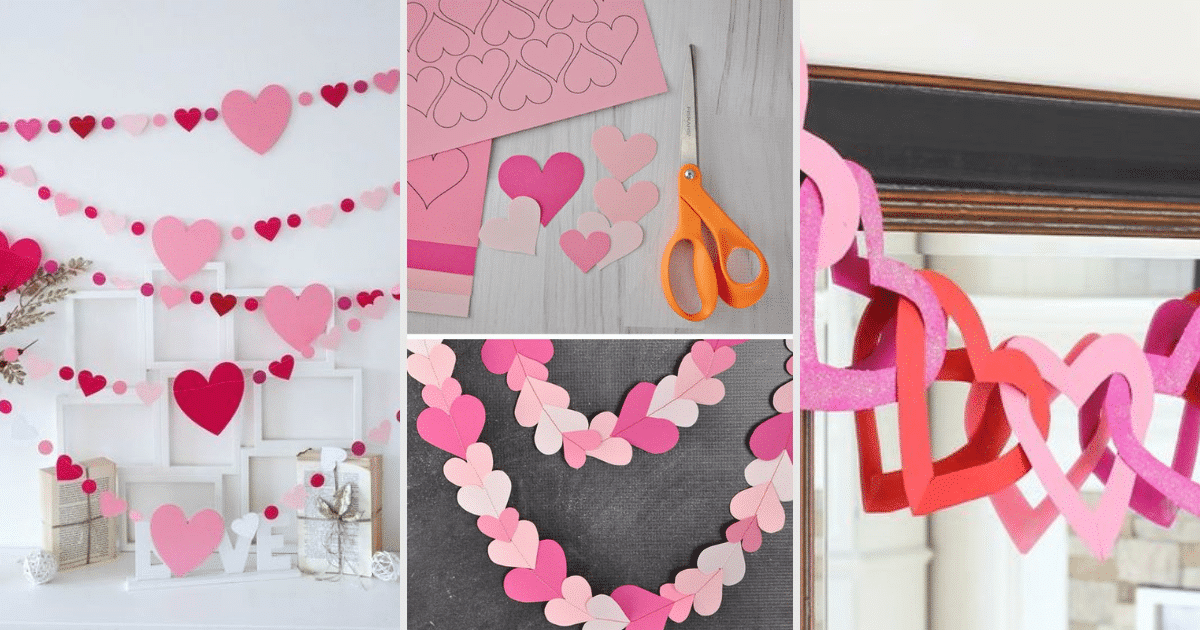
Valentine's Day is just around the corner, and it's time to think beyond the traditional bouquet of roses and heart-shaped chocolates.
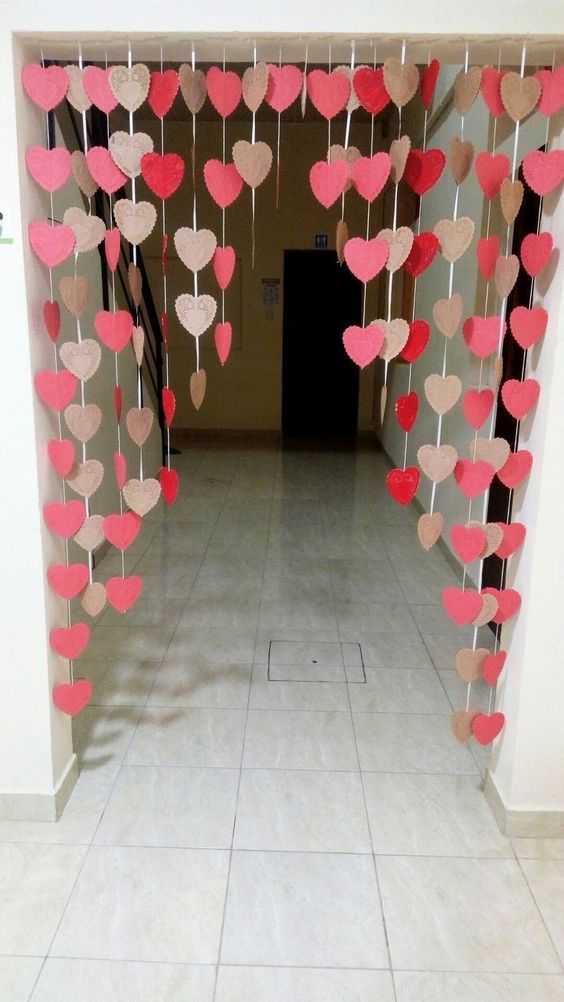
If you're looking for a unique and creative way to express your love this Valentine's Day, consider making a paper garland.
In this article, we'll explore the art of crafting a stunning paper garland that will add a touch of charm and personalization to your celebrations.
The Magic of Paper Garlands
Paper garlands have a unique way of infusing charm and warmth into any space. They are versatile, cost-effective, and, most importantly, they can be customized to match the preferences and personality of your loved one. Whether you want to decorate your home, surprise your partner, or create a romantic ambiance for a special date night, paper garlands can do it all.
Choosing the Right Materials
Before we dive into the crafting process, let's gather the materials you'll need.
- Colored Papers: Choose an array of colors that resonate with the theme of love, such as shades of red, pink, and white.
- Scissors: Ensure you have a good pair of scissors for precise cutting.
- Glue or Double-sided Tape: You'll need these to stick the paper pieces together.
- String or Twine: This will serve as the base for your garland.
- Markers and Stamps: Optional, for adding personalized messages and designs.
Crafting Your Paper Garland
Now that you have your materials ready, let's embark on the creative journey of crafting a paper garland.
Step 1: Choosing a Design
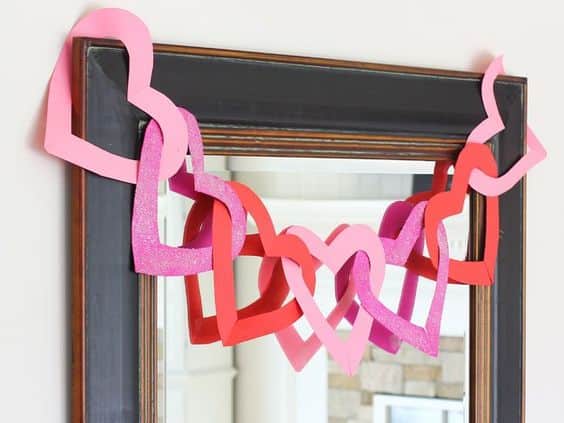
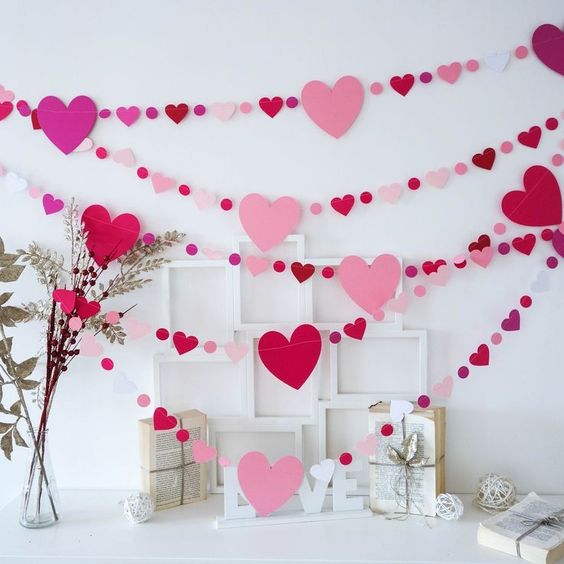
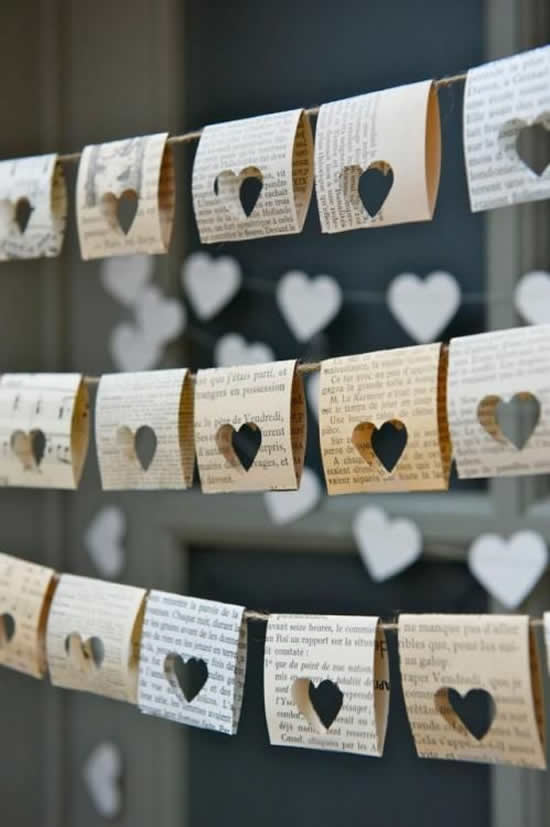
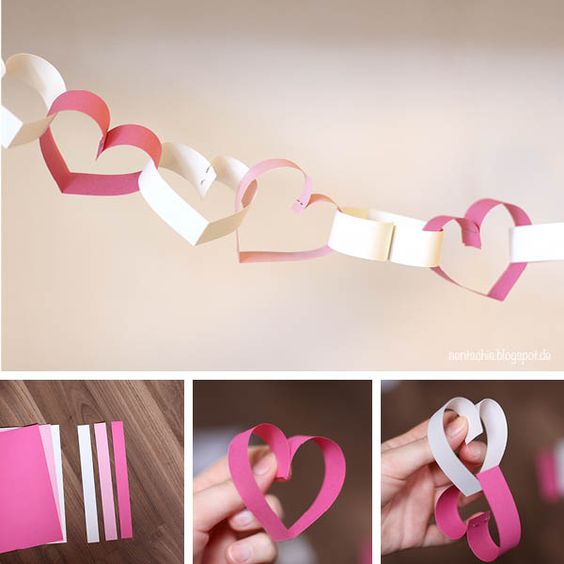
Start by deciding on the design of your garland. Some popular options include hearts, cupid's arrows, and love letters. Sketch your design on paper for reference.
Step 2: Cutting the Shapes
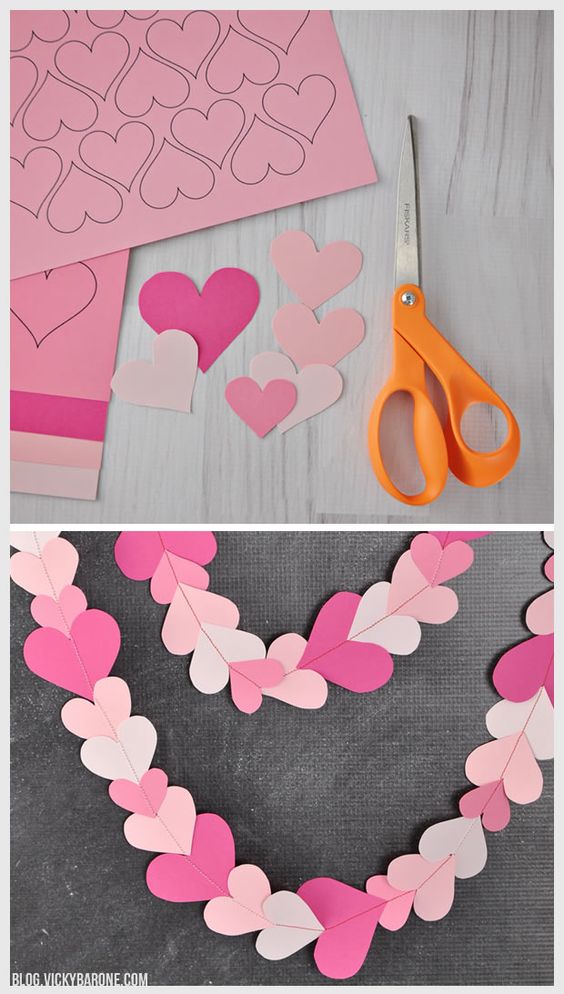
Using your scissors, carefully cut out the shapes based on your chosen design. Make sure they are uniform in size for a visually appealing garland.
Step 3: Adding Personal Touches
This is the perfect time to get creative. Write sweet messages, draw doodles, or add glitter for that extra sparkle.
Step 4: Assembling the Garland
Take your string or twine and lay it flat. Apply glue or double-sided tape to the back of each paper shape and gently press it onto the string. Leave a small gap between each shape to ensure they don't overlap.
Step 5: Final Touches
Once all the pieces are attached, let your garland dry for a few minutes. Trim any excess string, and your paper garland is ready to go!




Why Choose a Paper Garland?
Paper garlands offer several advantages over traditional Valentine's Day decorations. Here are a few reasons why you should consider this creative option:
- Personalization: You can tailor the garland to reflect your unique love story, making it a truly special gift.
- Cost-Effective: Making a paper garland is budget-friendly and won't break the bank.
- Environmental-Friendly: Using paper as the main material is an eco-conscious choice compared to disposable decorations.
- Memorable: Your loved one will cherish the effort and creativity you put into crafting a personalized garland.
This Valentine's Day, go beyond the usual gifts and create a memorable and heartfelt experience with a handmade paper garland. It's a wonderful way to express your love and celebrate the beauty of creativity. Get crafting and make this Valentine's Day one to remember!
