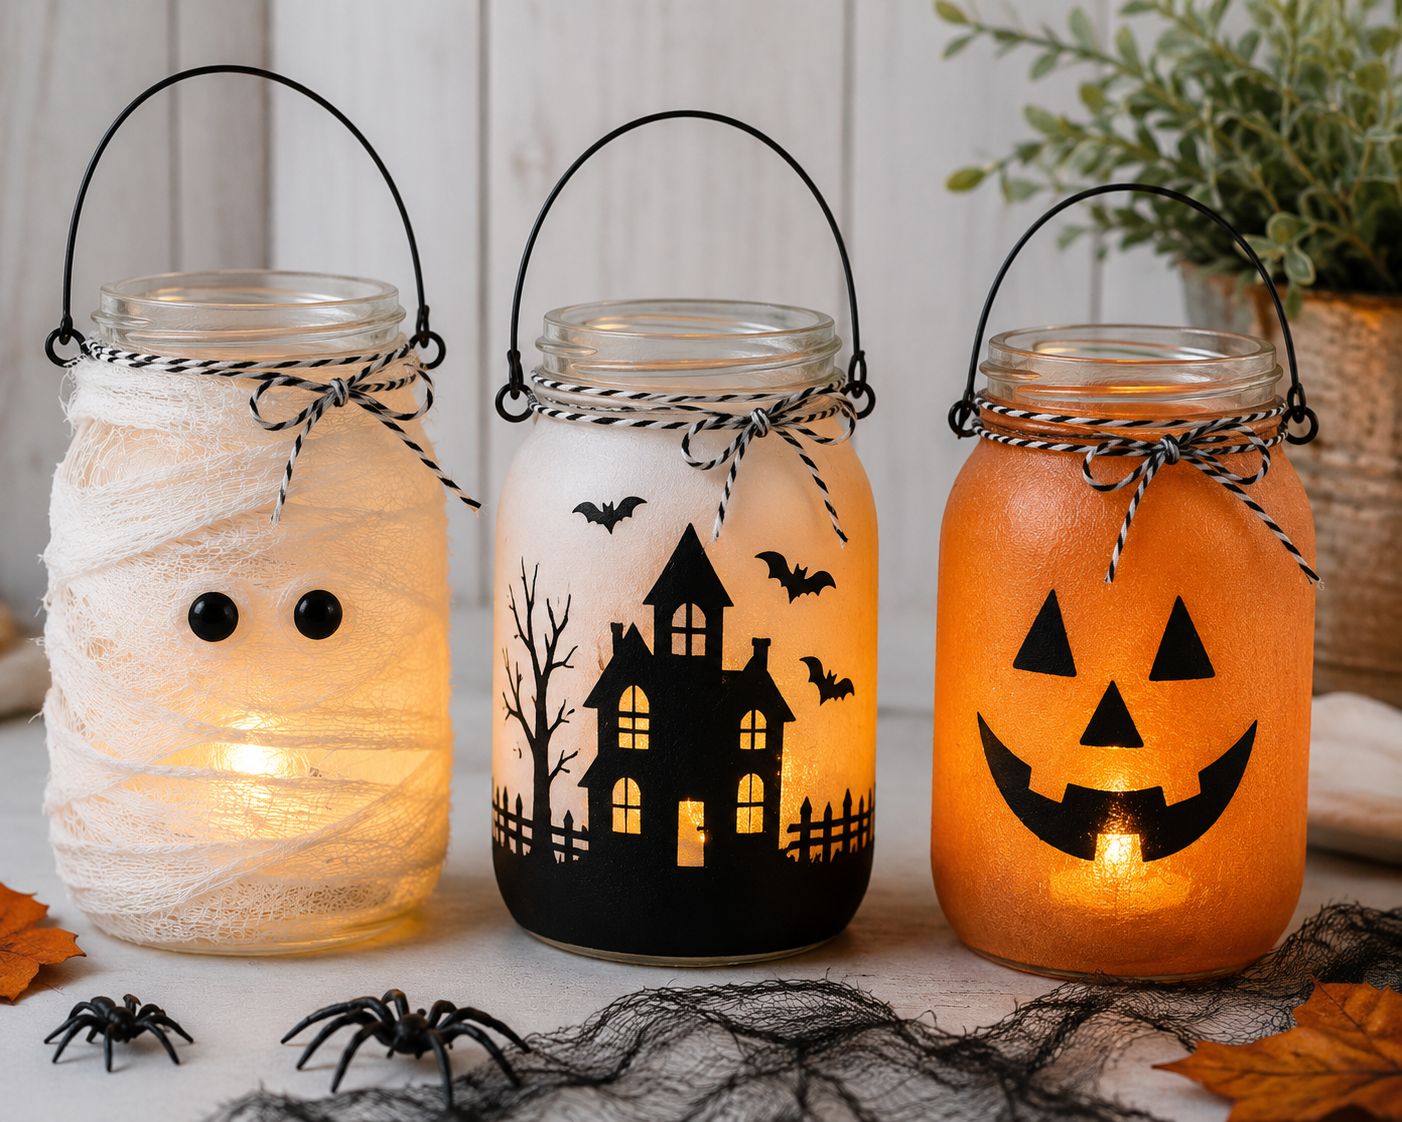
Halloween Jar Lanterns Lit Along a Path or Sill

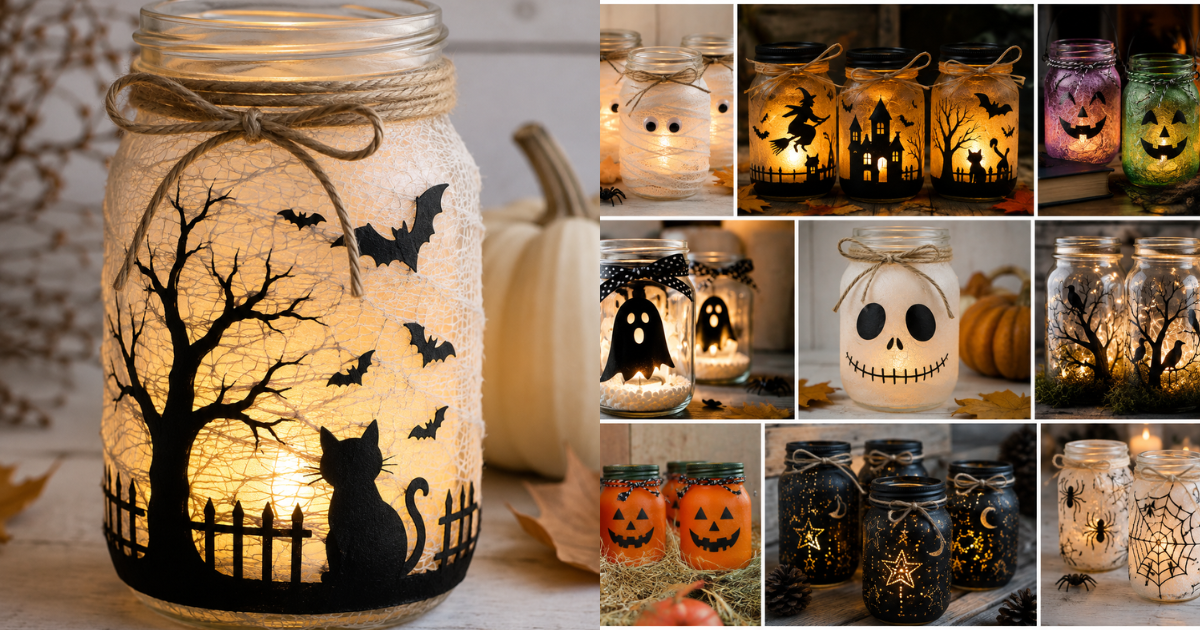
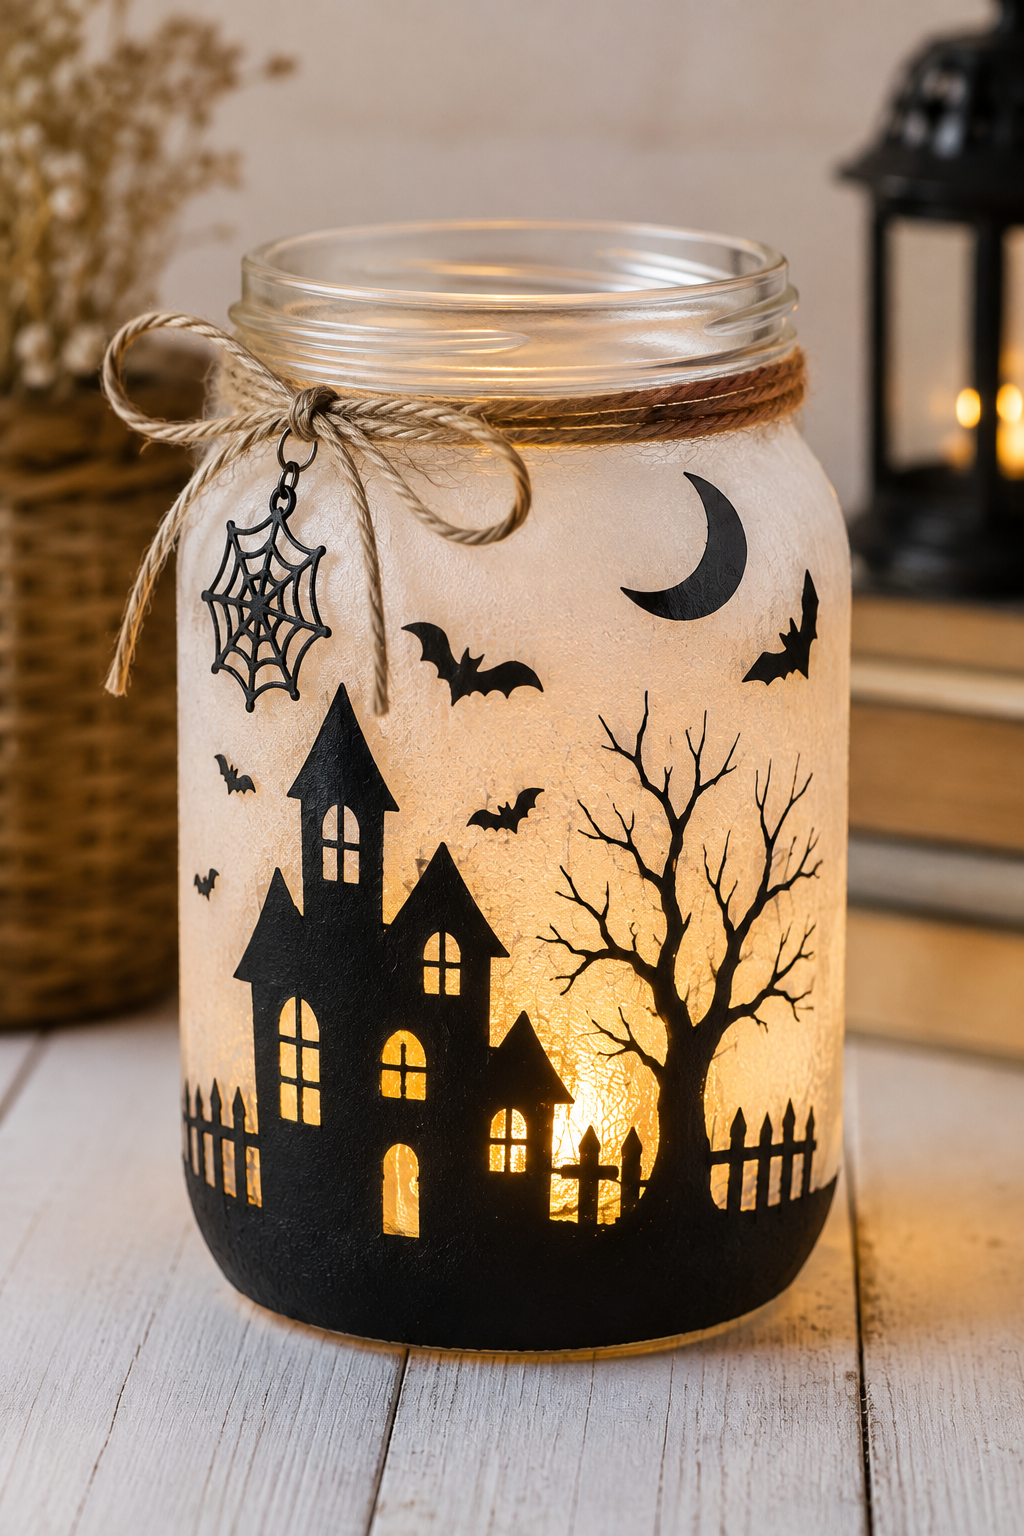
Halloween is a time when creativity shines. Making your own decorations is a great way to celebrate. You can turn simple glass containers into eerie mason jar decor that makes your home spooky.
These projects are easy and won't cost much. They let you create something special without spending a lot of money.
Whether you're new to crafting or have lots of experience, these Halloween mason jar crafts are for you. You can paint, wrap, or fill them with treats. The choices are endless, and the results are always amazing.

These budget-friendly projects can make your Halloween celebrations more fun. You can make ghostly lights or jack-o'-lantern displays. It's easy to make ordinary glass into something truly special.
Spooky Mason Jar Lantern Ideas to Transform Your Home
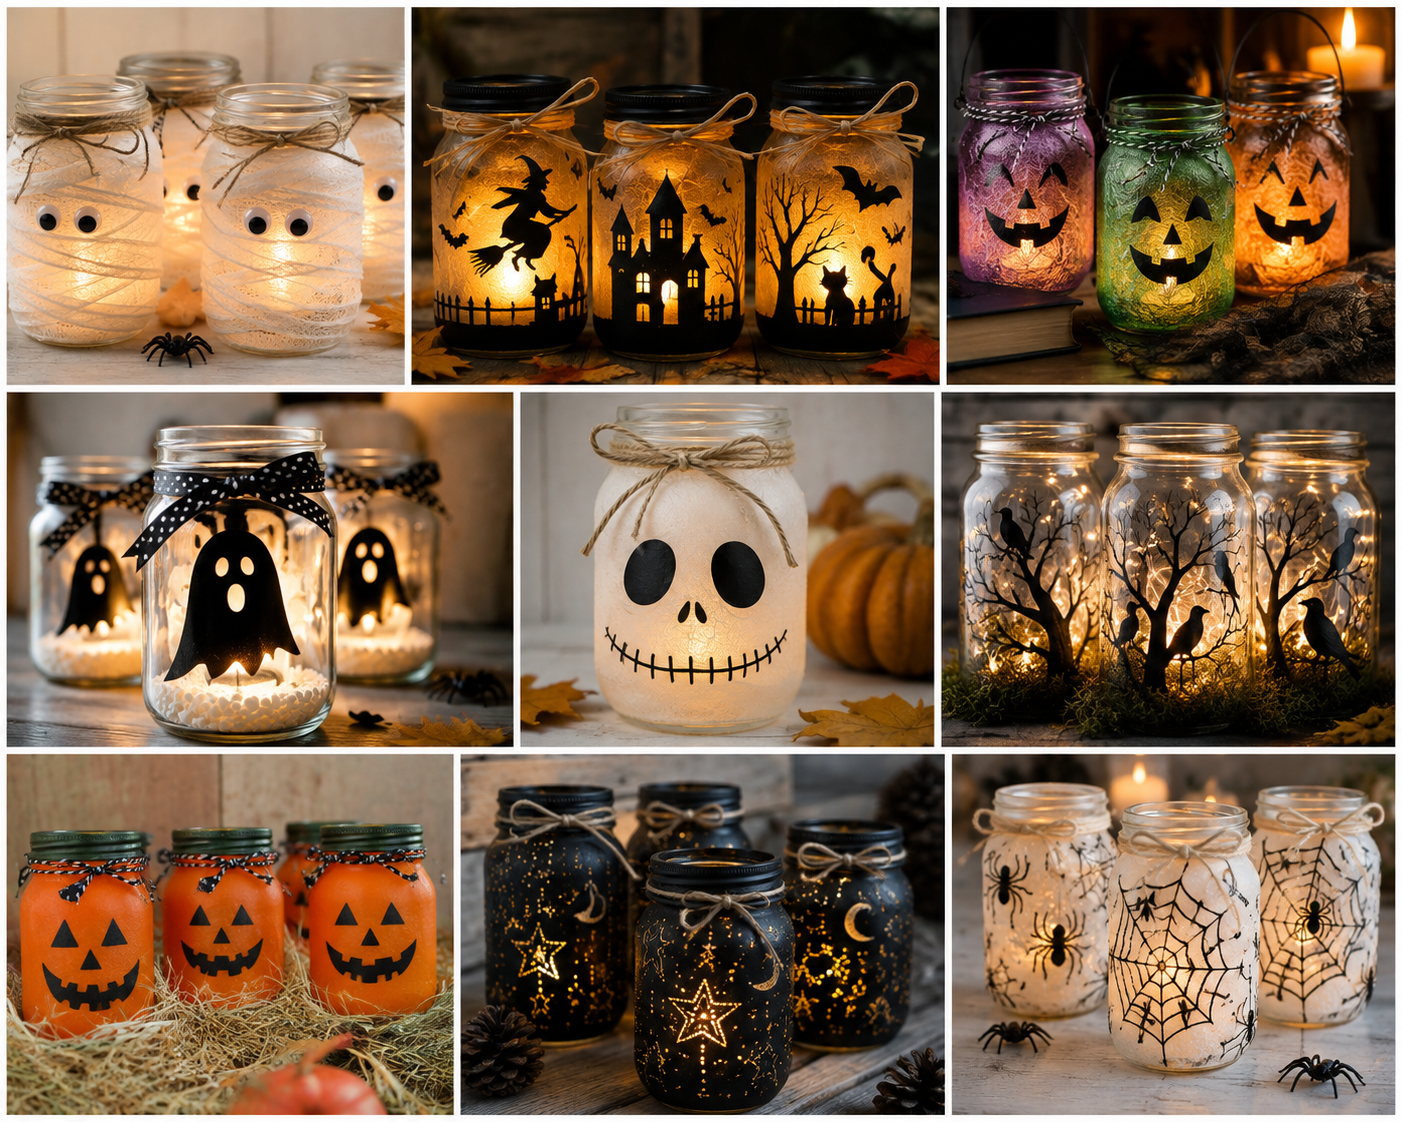
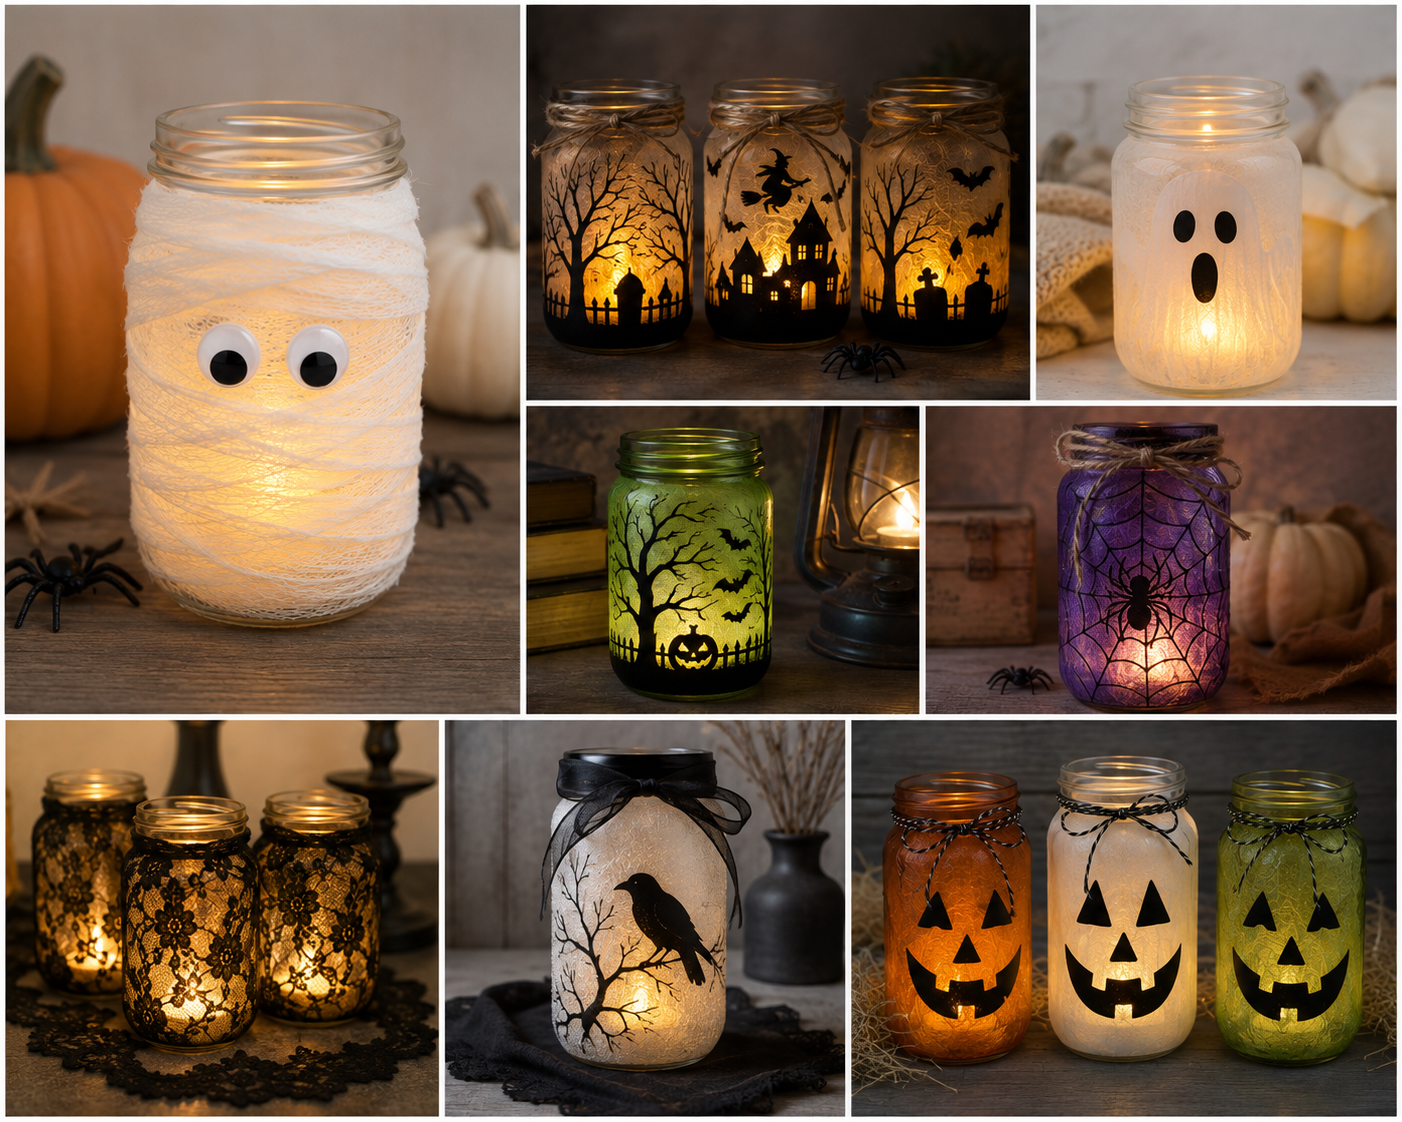
Let's explore five spooky mason jar lantern projects to turn your home into a haunted haven this October. Each design adds a unique touch to your Halloween decor, from family-friendly ghosts to eerie blood-dripping effects. These homemade lanterns can stand alone or be grouped for a bigger impact.
These projects cater to all skill levels and tastes. Whether crafting with kids or making sophisticated party centerpieces, you'll get professional-looking results easily.
Glowing Ghost Jar Lanterns
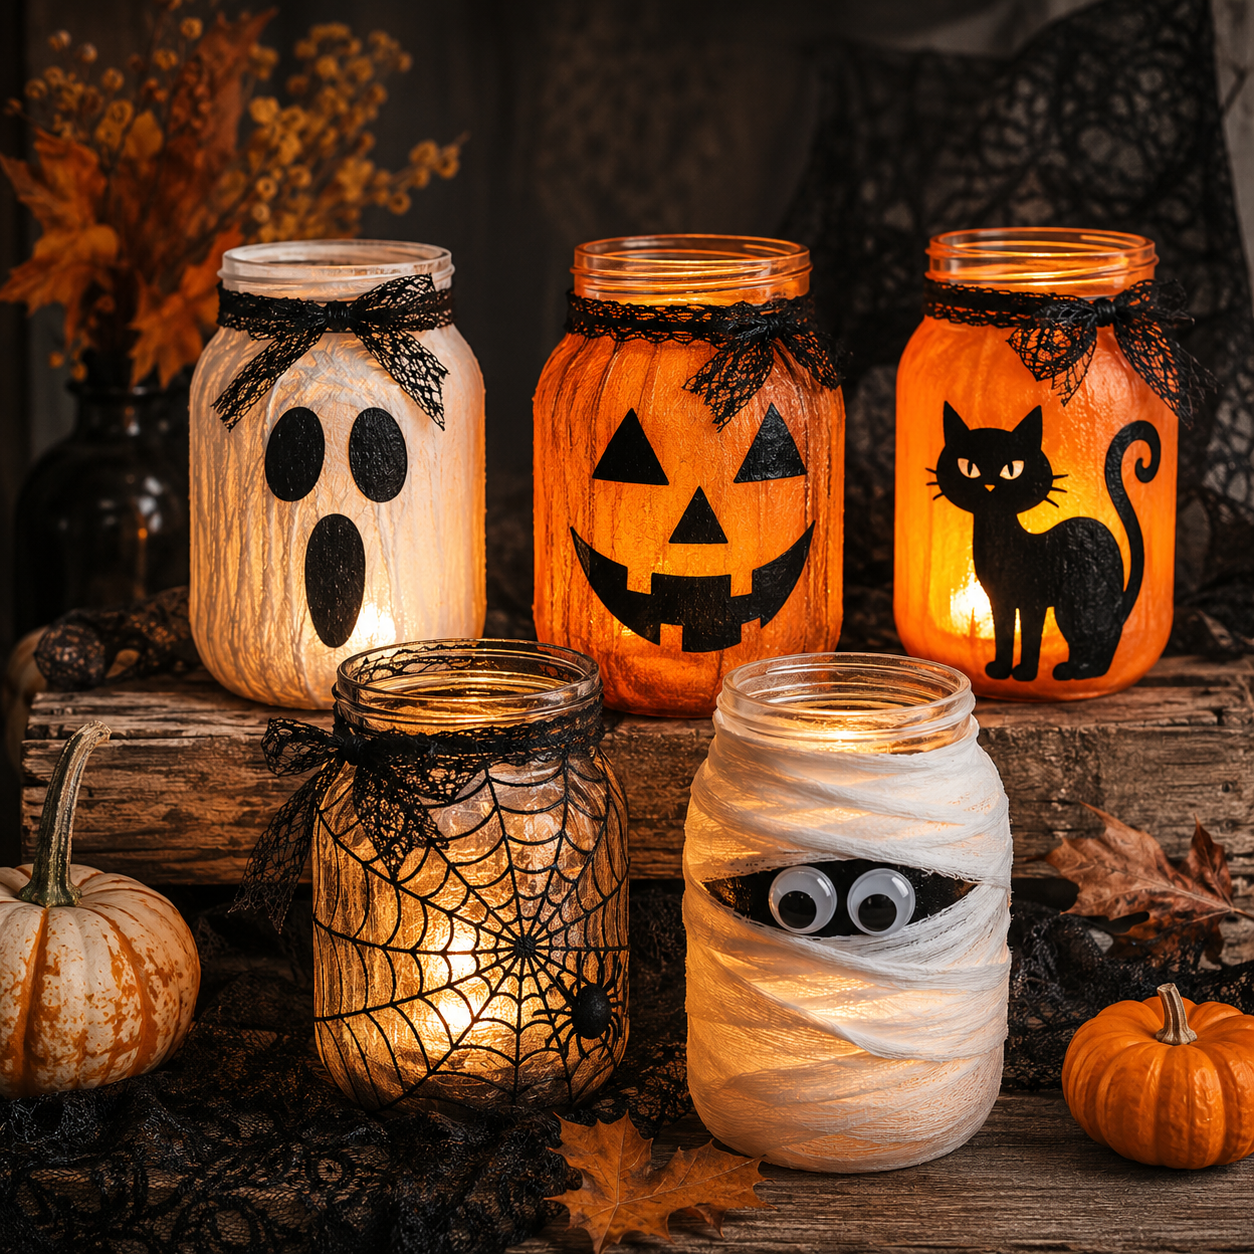
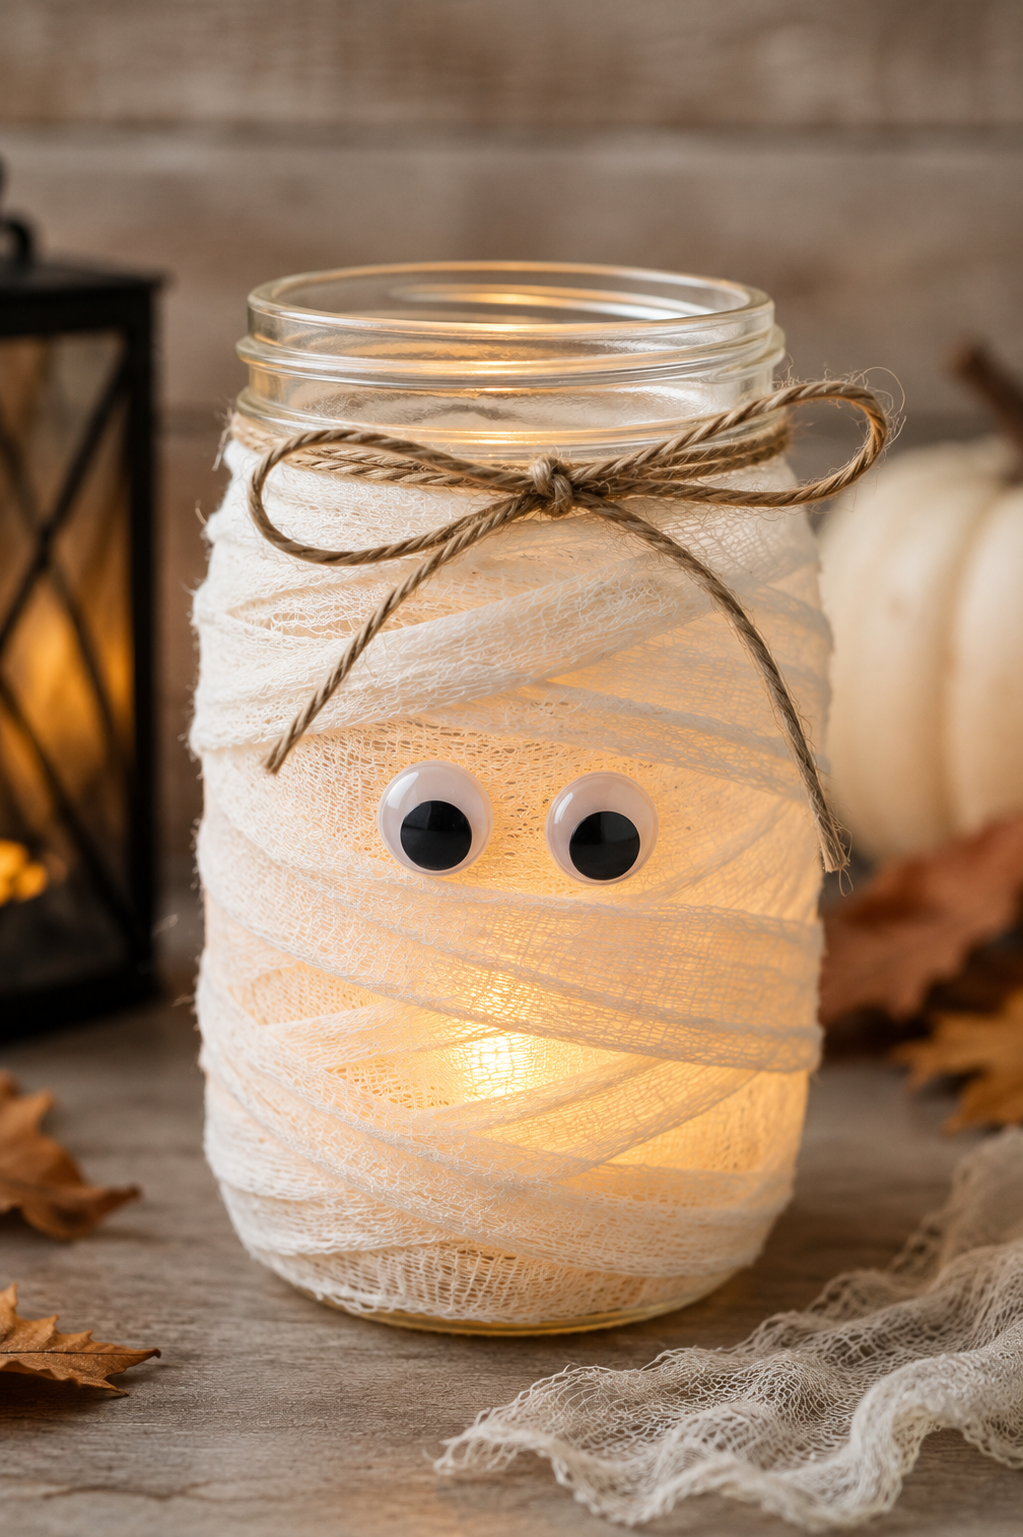
Ghost jar lanterns capture the spooky spirit of Halloween with their soft glow. They're cute and spooky, perfect for families with young kids. The translucent white appearance creates an enchanting effect when lit.
These lanterns are great for indoor and covered outdoor displays. They welcome trick-or-treaters while keeping the Halloween atmosphere alive.
Materials and Technique
To make ghost jar lanterns, you'll need white tissue paper or cheesecloth, mod podge or diluted white glue, black cardstock or permanent markers, and LED tea lights or battery-operated string lights. Use various mason jar sizes for visual interest.
Start by cutting tissue paper into squares or tearing cheesecloth into pieces. Apply mod podge to the jar, then press the material onto it. Overlap pieces for full coverage.
Smooth out wrinkles but keep some texture. Apply another coat of mod podge to seal. Let it dry for 2-3 hours before moving on.
Cut out facial features from black paper. Use oval eyes and a small "O" shaped mouth for a classic ghost look. Try different eye shapes for varied personalities.
For a dimensional effect, use black puffy paint to draw faces. This is great for younger crafters who enjoy drawing.
Group ghost jars for maximum impact. Use jars of different sizes or place some on pedestals for depth. This makes your display more dynamic.
Line your walkway with ghost jars to guide trick-or-treaters. Space them out for a welcoming glow. Use battery-operated LED lights for safety.
Hang ghost jars from tree branches for a magical effect. Use jute twine or fishing line for a floating illusion. Make sure the lids are tight before hanging.
Mummy-Wrapped Mason Jar Luminaries
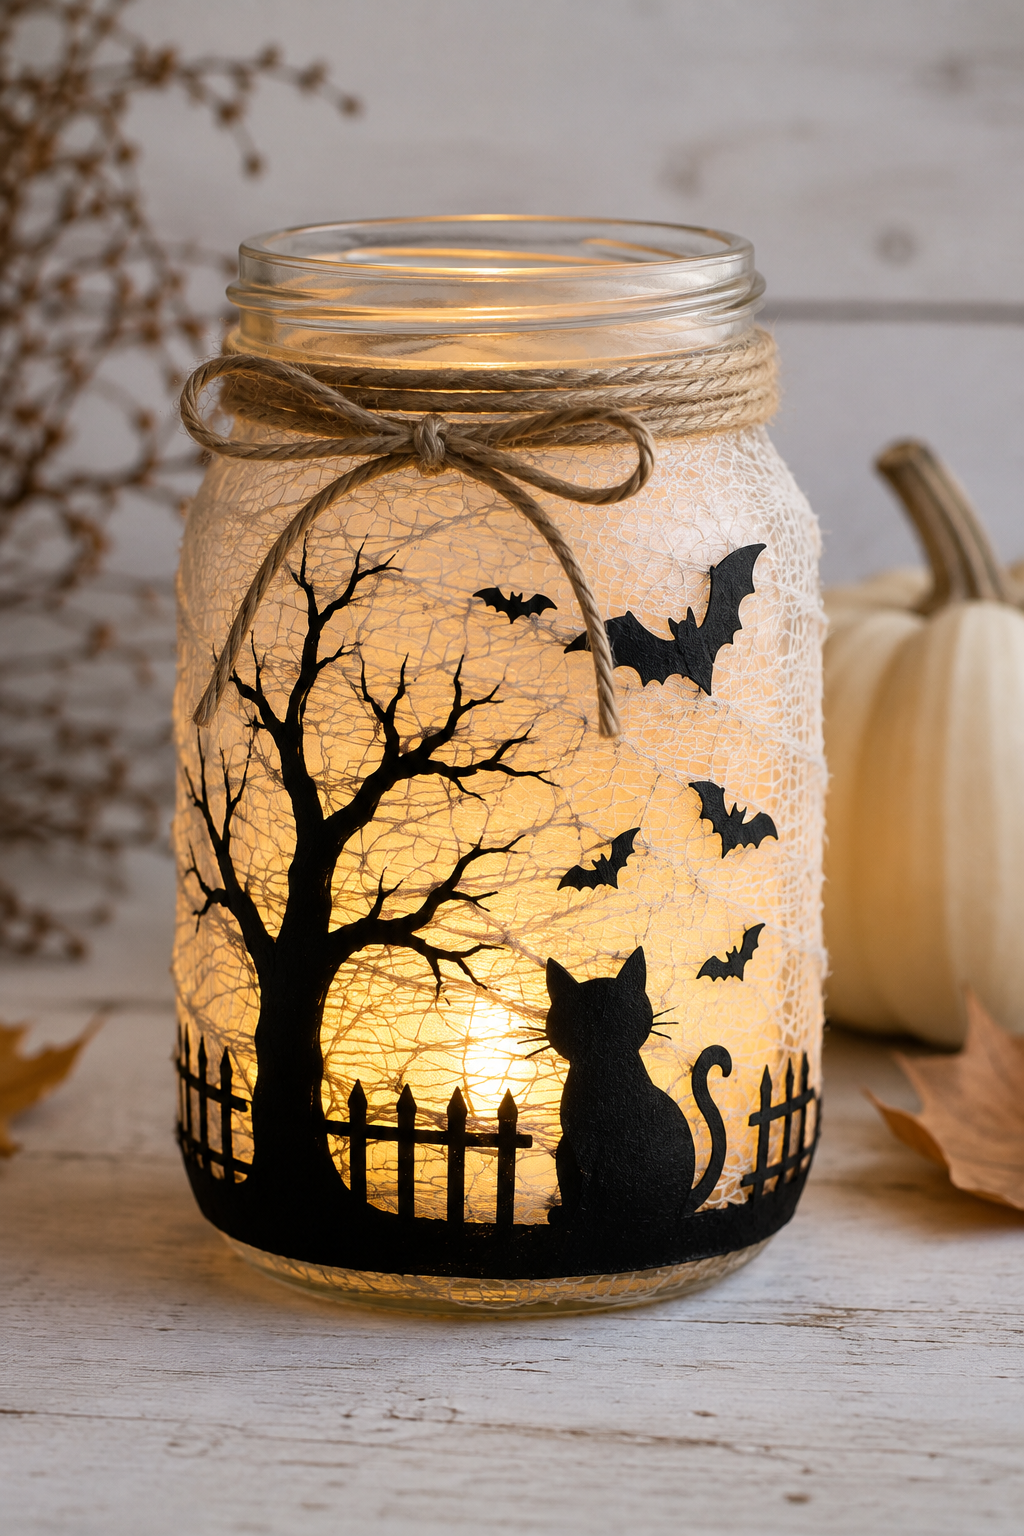
Mummy-wrapped jars add texture and dimension to your Halloween decor. The bandage effect looks authentic, and googly eyes add humor. These are perfect for crafters who love hands-on work.
This project is great for group crafting or family activities. The random wrapping pattern means there's no wrong way to do it.
Creating the Mummy Effect
Choose your wrapping material for the look you want: medical gauze for authentic bandages, cheesecloth for a rustic look, or torn fabric for texture. You'll also need hot glue or mod podge, wiggle eyes, and optional gray or tan paint.
Start wrapping at the top, securing with hot glue. Wind the material in random patterns to mimic ancient wrappings. Don't make it too neat.
Leave gaps for light to shine through, especially near the eyes. These openings create dramatic lighting effects. Wrap at different angles for authentic variation.
Secure the wrapping with hot glue every few inches. This prevents unraveling while keeping the adhesive hidden. Tuck the final end under a previous wrap and glue it.
Attach two or three wiggle eyes in the gaps for a quirky look. For a sophisticated approach, paint eyes directly onto the jar before wrapping.
Age your mummy wrappings with diluted gray or tan paint. Alternatively, dip gauze in strong tea for a natural look. Let everything dry before adding your light source.
Blood-Dripping Candle Holders
Blood-dripping candle holders create a spine-tingling atmosphere. They're perfect for adult parties or haunted house displays. The dripping effect looks disturbingly real when candlelight flickers behind.
This project adds drama to your decor. It's great for creating focal points in darker corners or adding gothic glamour to tables.
Wax Drip Technique
When working with melted wax, safety is key. Set up your workspace with newspaper or a silicone mat to catch drips. Never leave melting wax unattended. You'll need red taper candles or wax blocks, a double boiler or microwave-safe container, and optional black or purple candles.
Melt red wax in a double boiler or microwave in 30-second intervals, stirring between sessions. The wax should be liquid but not too hot. Test the temperature by dipping a spoon.
Hold your mason jar at an angle over your protected workspace. Slowly pour or drip melted wax, allowing gravity to create natural patterns. Rotate the jar as you pour for varied drips.
Vary the drip thickness by controlling your pour speed. Fast drips create thin streams, while slow drips produce thicker trails. Layer different shades of red for depth.
Let each layer harden for 3-5 minutes before adding more. This creates a layered appearance. Pool some wax at the base for added effect.
For easier cleanup and a similar look, use red hot glue instead of wax. High-temperature glue guns create realistic patterns that harden quickly and peel off easily. Add black hot glue for a darker look.
Jack-o'-Lantern Face Jars
Jack-o'-lantern jars celebrate Halloween's iconic symbol in reusable form. They capture the festive fun of carved pumpkins without the mess. Enjoy them year after year, making them economical and eco-friendly.
These jars range from traditional grins to elaborate artistic expressions. They're great alone or grouped as a pumpkin patch centerpiece.
Painting vs. Vinyl Decals
Two methods create stunning jack-o'-lantern faces: painting for creative freedom and vinyl decals for precision. Painting works well for those who enjoy freehand artistry. Vinyl decals provide crisp results for precision lovers.
Start with orange acrylic paint or spray paint as your base coat. Apply 2-3 thin coats for even coverage. Let each layer dry for 30 minutes before applying the next.
Once dry, sketch facial features lightly with pencil. Use black acrylic paint for traditional eyes, nose, and smile. Sponge dabbing adds texture for a rustic look.
Add dimension by outlining features with lighter or darker shades. A touch of yellow or gold around the edges creates a carved pumpkin glow. Seal your design with clear acrylic sealer for durability.
Vinyl decal application requires different skills but delivers consistent results. Cutting machines like Cricut or Silhouette create intricate designs. Pre-made decals are also available for those without cutting equipment.
Clean your jar with rubbing alcohol before applying decals. Peel the backing slowly and position the decal carefully. Use a credit card or squeegee to smooth out air bubbles.
Decals allow for detailed facial expressions, from winking eyes to toothy grins. They're ideal for creating matching sets or for those who want professional results without painting experience.
Witch's Potion Bottle Lanterns
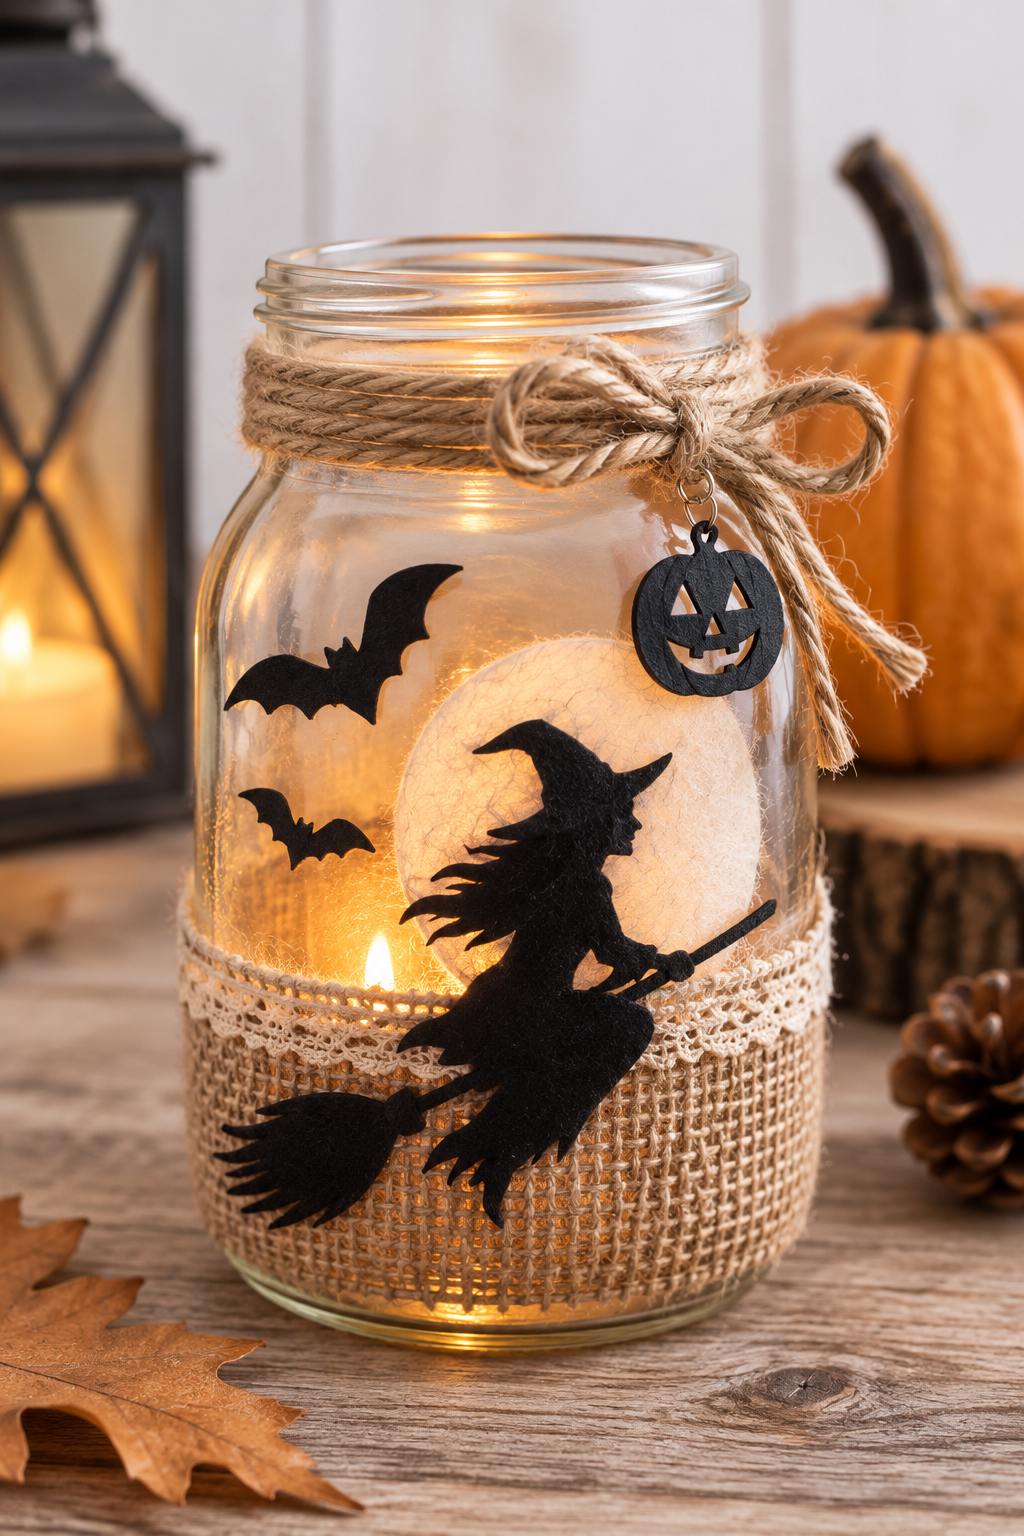
Transform mason jars into mysterious witch's potion bottles. These whimsical lanterns add storybook magic to your decor. The glowing liquids and creative labels make each bottle a conversation starter.
Potion bottles are great grouped as an apothecary display. They bring enchanting color and mystical atmosphere to mantels, shelves, or outdoor witch's garden vignettes.
Color and Label Ideas
Glowing green "Zombie Brew" creates classic potion aesthetics. Achieve this eerie color by adding green food coloring to water or painting the outside. LED lights enhance the glow effect.
Deep purple "Midnight Magic" evokes mysterious enchantments. Mix purple food coloring with water or use purple tissue paper decoupage. This color looks dramatic with warm white LED lights.
Blood-red "Vampire Venom" adds gothic drama. Layer red food coloring for depth, with darker red at the bottom. A few drops of black food coloring create a sinister shade.
Bright orange "Pumpkin Spice Elixir" adds autumn warmth. Orange tissue paper or translucent paint creates this cheerful color. Top with cinnamon sticks or a small decorative pumpkin for thematic flair.
Mysterious black "Witch's Midnight Oil" provides dramatic contrast. Since black doesn't glow, use it for ambient atmosphere. Place it as a dark accent among brighter bottles.
Create authentic-looking labels using aged parchment-style paper. Print labels using Gothic or vintage apothecary fonts for old-world charm. Include humorous potion names like "Toad Tears," "Dragon's Breath," or "Essence of Screams."
Add ingredient lists for extra detail. "Contains eye of newt, bat wings, spider silk, and moonlight." These whimsical touches make your potions feel like genuine magical artifacts. Laminate labels for outdoor use or coat with mod podge for water resistance.
Attach labels with jute twine, black ribbon, or natural raffia. Add decorative elements like small plastic spiders, miniature skulls, vintage-style keys, or dried herbs. These touches transform simple jars into elaborate potion bottles.
Display your completed potion collection on distressed wooden shelves or vintage crates. Add spell books, a small cauldron, or a pointed witch hat for a complete scene. Your guests will love examining each mysterious bottle.
Choosing the Right Lighting
The lighting you pick greatly affects your spooky jar lighting ideas. Different lights offer unique effects and safety levels. Knowing your options helps you choose the best one for your project.
Battery-operated LED tea lights are the safest and most versatile choice. They produce no heat, making them fire-safe. They're perfect for kids' rooms and last for weeks on one battery.
Parents love LED lights because they're safe for kids. They stay cool to the touch and have realistic flickering effects.
Fairy string lights add a magical touch to your Halloween displays. They come in various colors and can be battery or plug-in powered. They work well inside or wrapped around jars.
String lights create depth and interest. Choose colors that match your decoration theme for the best look.
Flameless pillar candles with timers are great for busy homes. They have a realistic flicker without any flame. They turn on and off automatically.
Timer candles are perfect for entryways. They're convenient and create a cozy ambiance. You can focus on other Halloween tasks while they light up your home.
Traditional tea light candles offer a real flame glow. They create warmth and ambiance. But, they need constant supervision and ventilation.
If using real candles, never leave them burning alone. Keep windows open to prevent carbon monoxide buildup. Use them in adult-supervised areas only.
Solar-powered lights are great for outdoor displays. They charge during the day and light up at dusk. They need no batteries or outlets.
Think about how many lights your jar needs. Smaller jars do well with one LED light. Larger jars might need more lights or a longer string.
Where you place the lights is as important as what you use. Hanging lights from the lid spreads the light evenly. Placing them at the bottom creates dramatic shadows.
Conclusion
Creating handmade Halloween decorations adds a special touch to the season. These spooky mason jar lantern ideas are perfect for all skill levels. You can make them your own, fitting your Halloween style and taste.
Mason jar lanterns are easy to make and can be used in many ways. You can make a whole set in one afternoon or work on it over a few nights. Kids enjoy helping, making these projects great for family fun during Halloween.
Your homemade lanterns will make your home feel cozy and unique. They're better than store-bought decorations because they tell a story. The soft light from these lanterns turns any room into a magical Halloween place.
Get your supplies ready and let your creativity shine. You can make glowing ghosts, mummy jars, or witch's potion bottles. Your mason jar creations will be cherished for years to come. Start crafting now and make your Halloween decor stand out. Your spookiest, most creative Halloween is just around the corner!