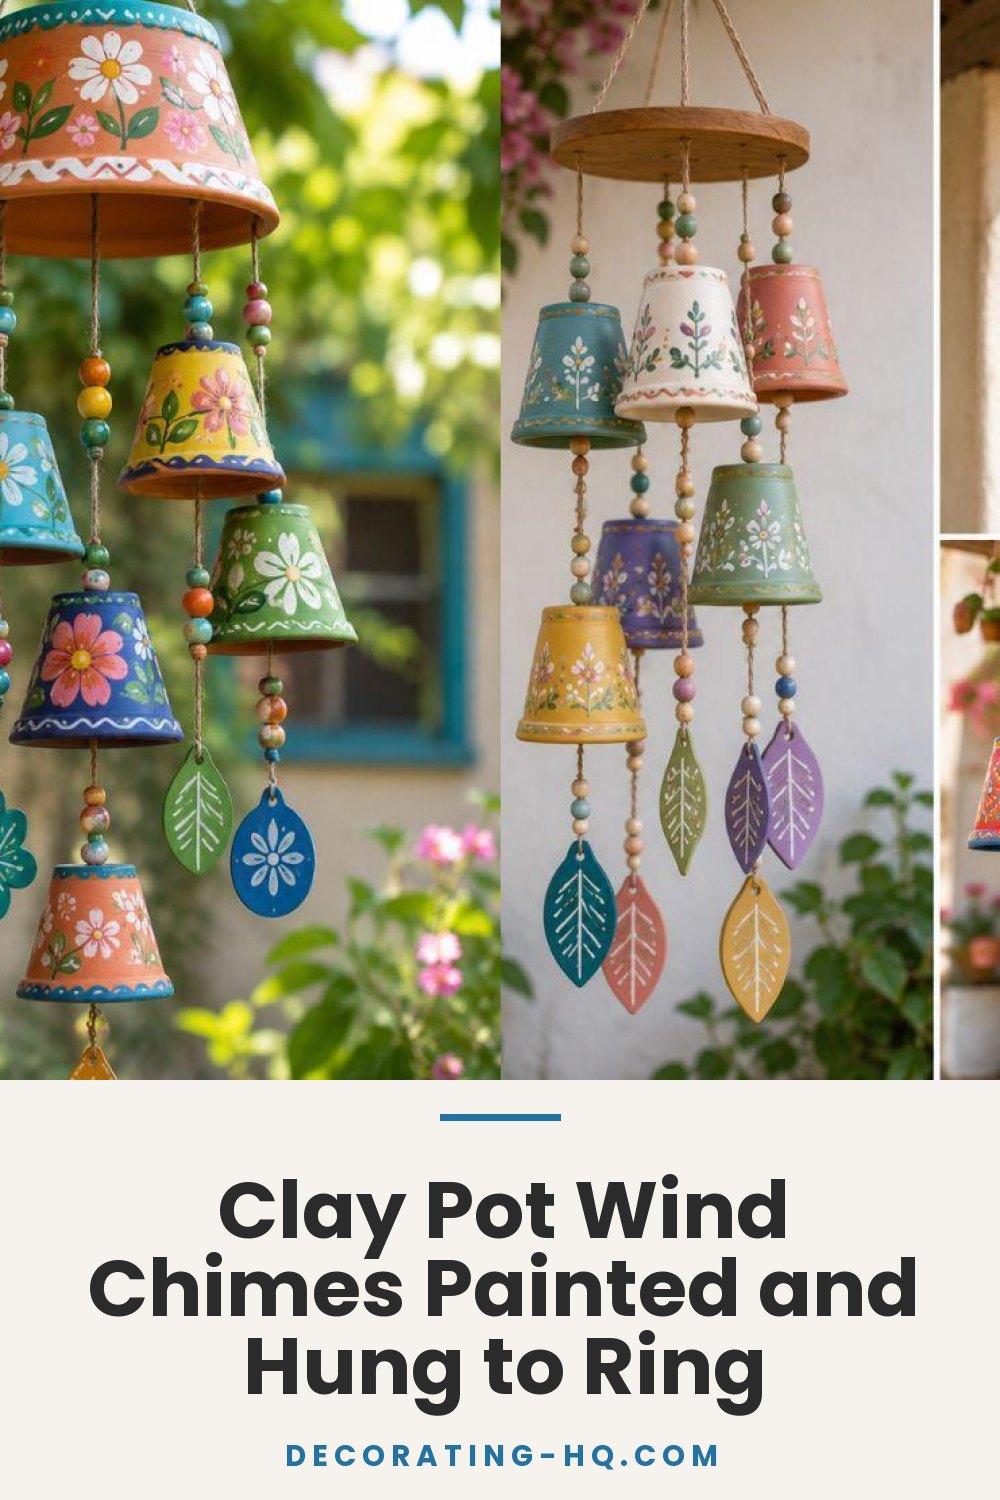
Clay Pot Wind Chimes Painted and Hung to Ring


Transform your outdoor space with the enchanting sounds and vibrant colors of handmade terracotta crafts. These delightful creations bring together artistic expression and musical charm in ways that store-bought decorations simply cannot match.
A painted pot wind chime offers the perfect blend of visual beauty and soothing melodies.
You can customize every aspect to reflect your personal style, from bold tropical hues to subtle pastel shades. Whether you have a spacious garden or a cozy balcony, these projects fit any setting.

This guide walks you through creating stunning clay pot creations that add personality to your yard. You'll discover simple techniques that produce professional-looking results, even if you're new to crafting. Each decorative garden chime becomes a unique conversation starter that showcases your creativity while filling your patio with gentle tinkling sounds on breezy days.
Get ready to explore designs that turn ordinary terracotta into extraordinary outdoor painted chime displays!
1. Stunning Design Themes for Your Outdoor Painted Chime
The beauty of painted pot projects lies in the endless design possibilities waiting to be discovered. Each theme brings its own character and charm to your outdoor space. Whether you prefer bold and vibrant or soft and subtle, there's a perfect style for everyone.
Selecting the right design approach helps your creation blend seamlessly with your garden's existing aesthetic. You can match your home's exterior colors or create a striking contrast that draws the eye. The best part is that you're not limited to just one style—mixing elements creates truly unique pieces.
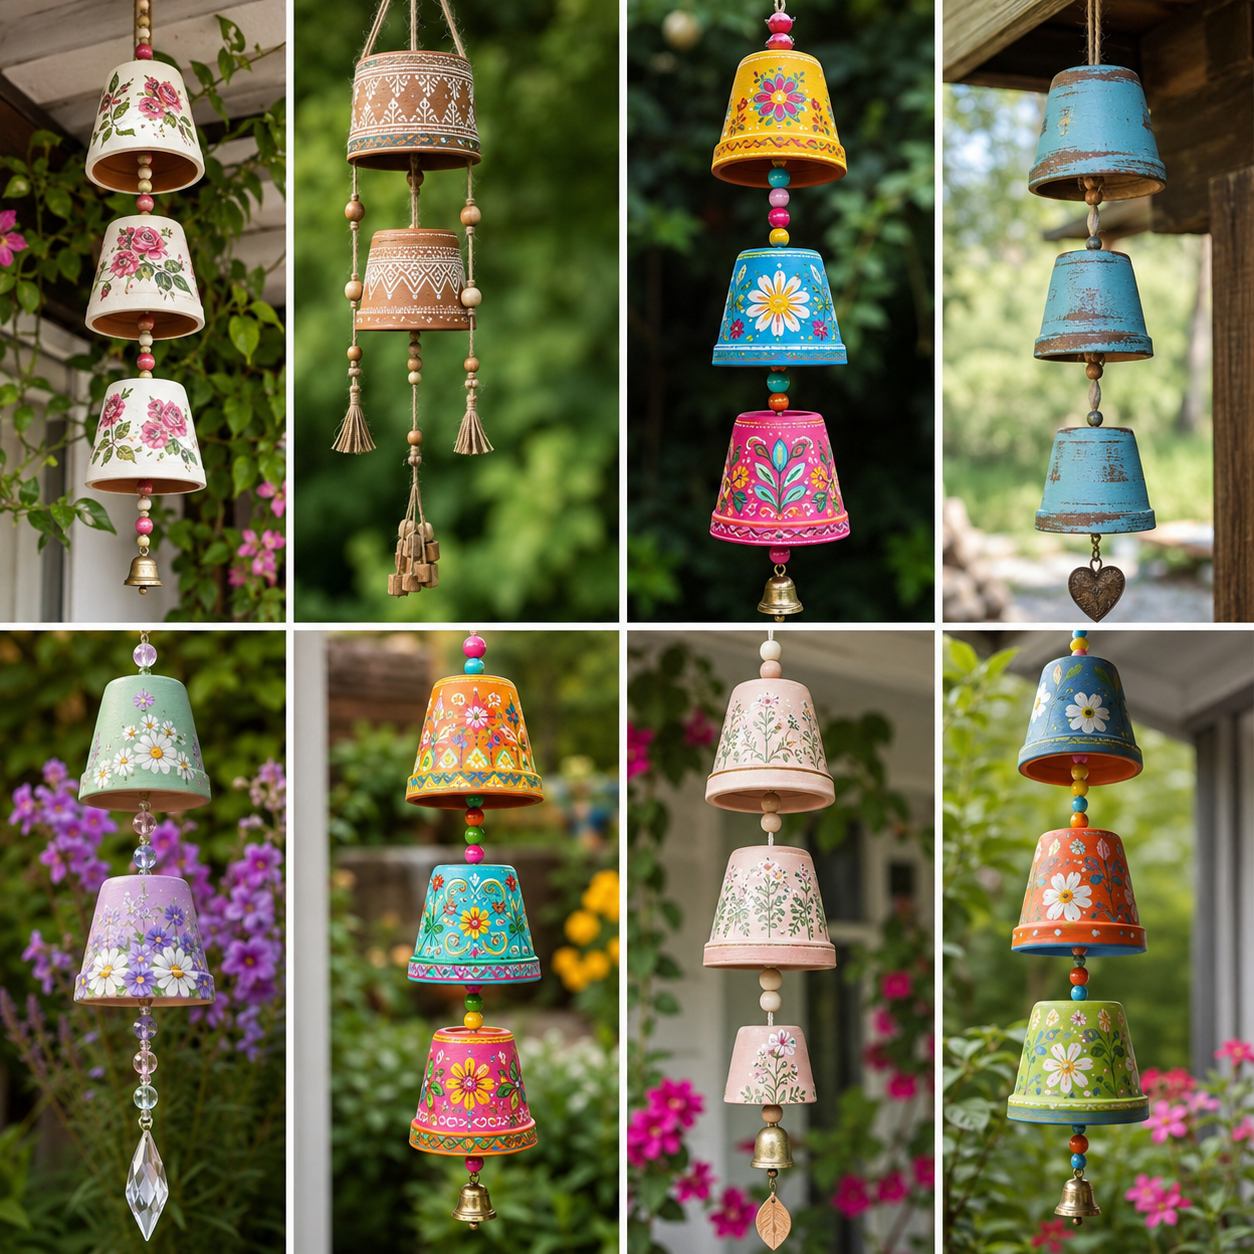
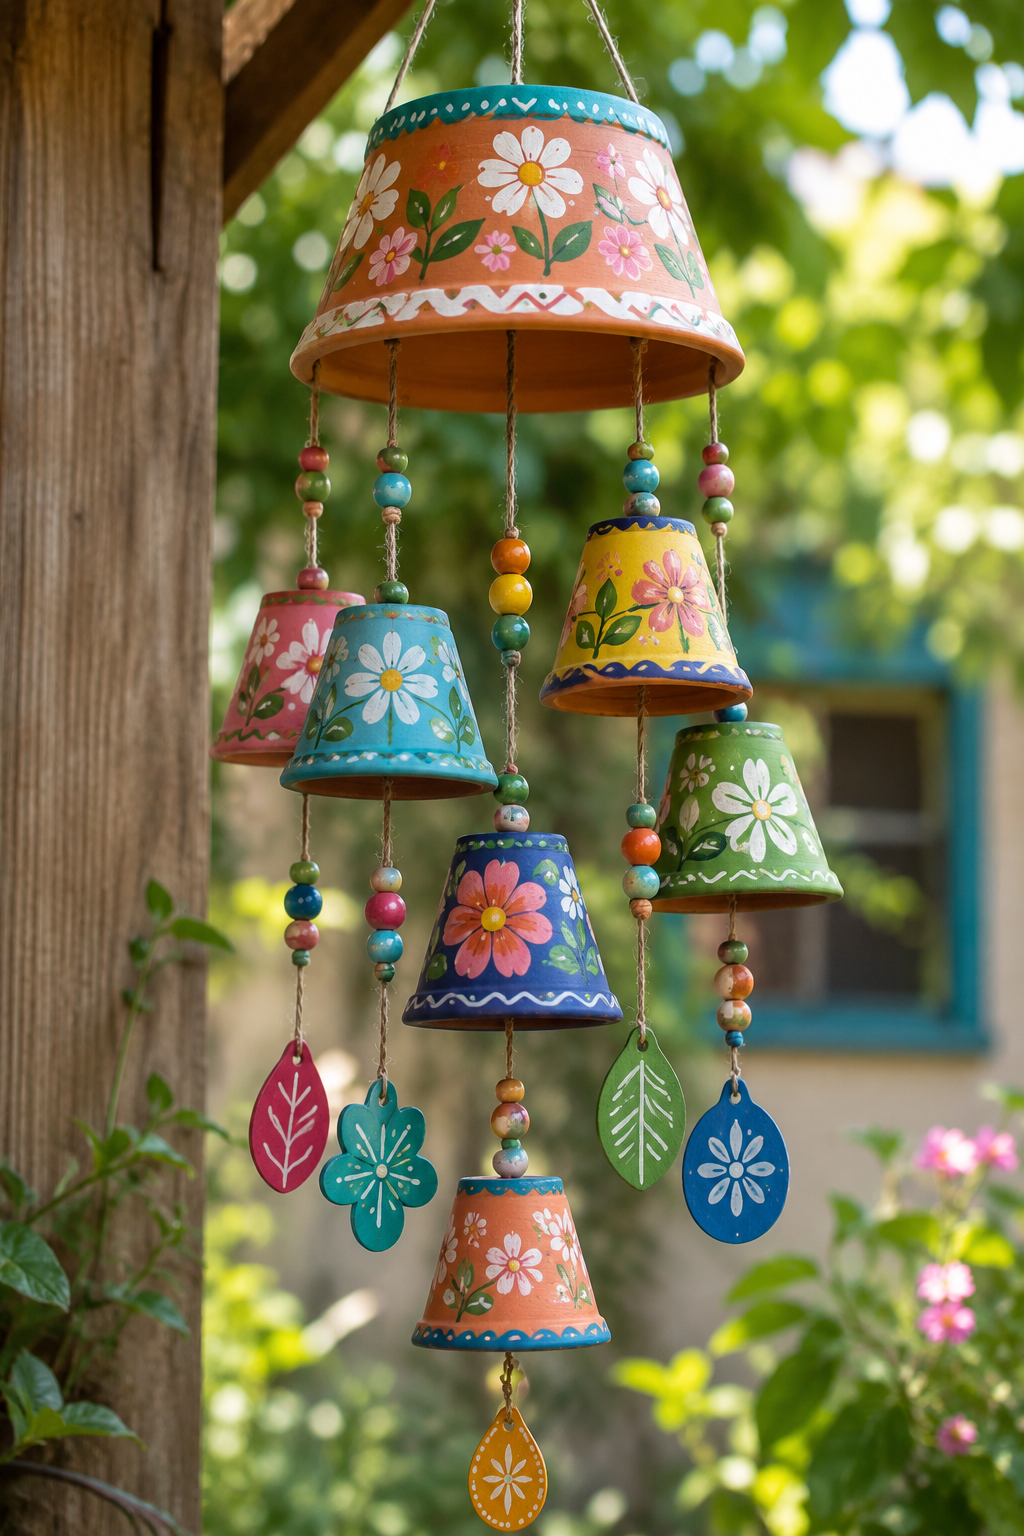
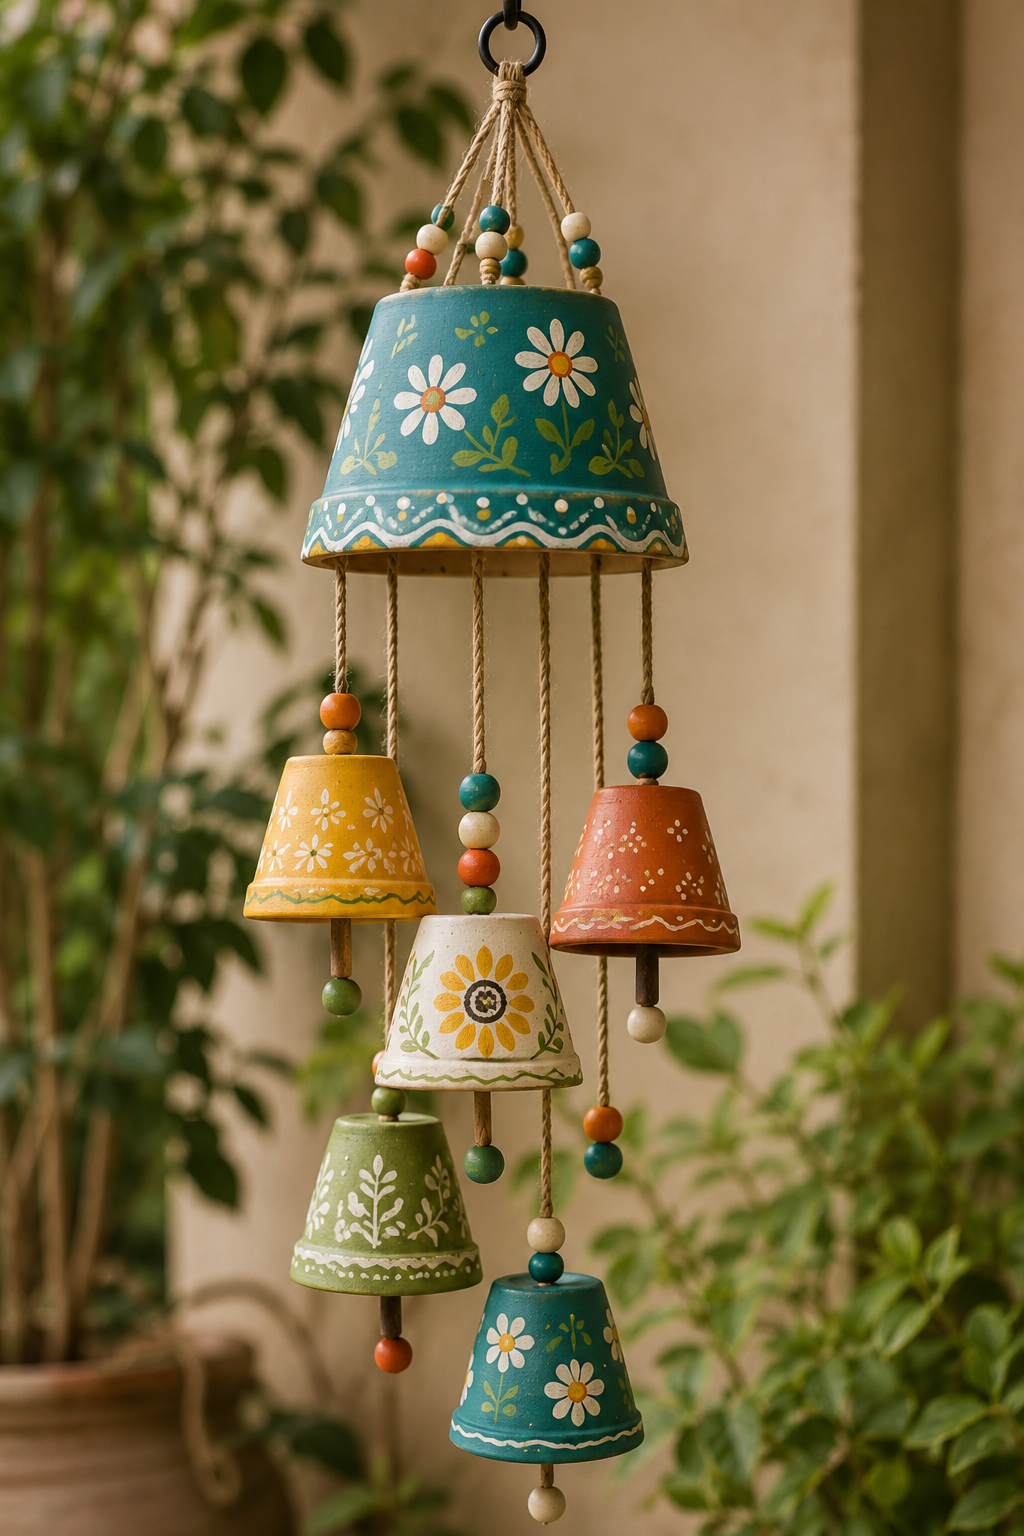
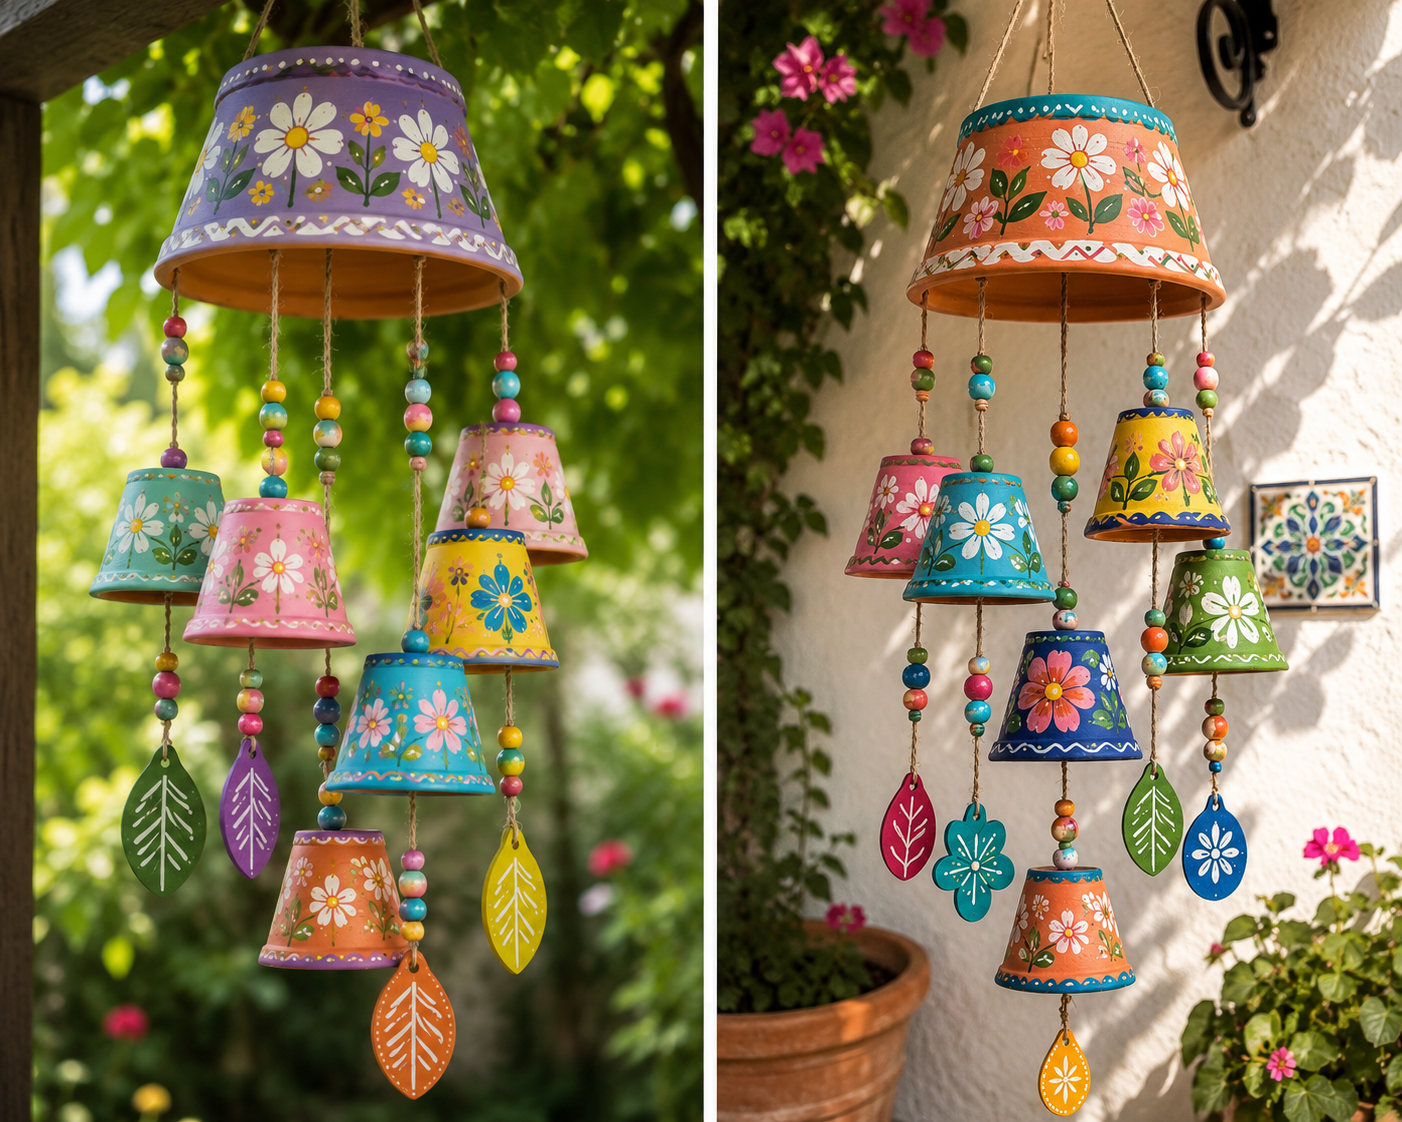
Bohemian Rainbow Terracotta Pot Chimes
Embrace free-spirited creativity with bohemian rainbow designs that celebrate color and pattern. This style transforms your terracotta pot chime into a canvas of vibrant expression. Layering multiple bold hues creates depth and visual interest that catches sunlight beautifully.
Start with a base color and build upward with contrasting shades. Mandala patterns work wonderfully on circular pot surfaces, radiating outward from the center. Geometric shapes like triangles, chevrons, and diamonds add modern flair to traditional clay forms.
Consider incorporating gradient rainbow effects that transition smoothly from one color to the next. Metallic gold or copper accents highlight specific design elements and create shimmer when light hits them. These decorative touches make your piece stand out in any garden setting.
Don't be afraid to mix patterns freely—stripes with dots, florals with abstract shapes. The bohemian aesthetic thrives on eclectic combinations that reflect your personality. This approach works especially well in gardens with lots of greenery, where the colors pop against natural backgrounds.
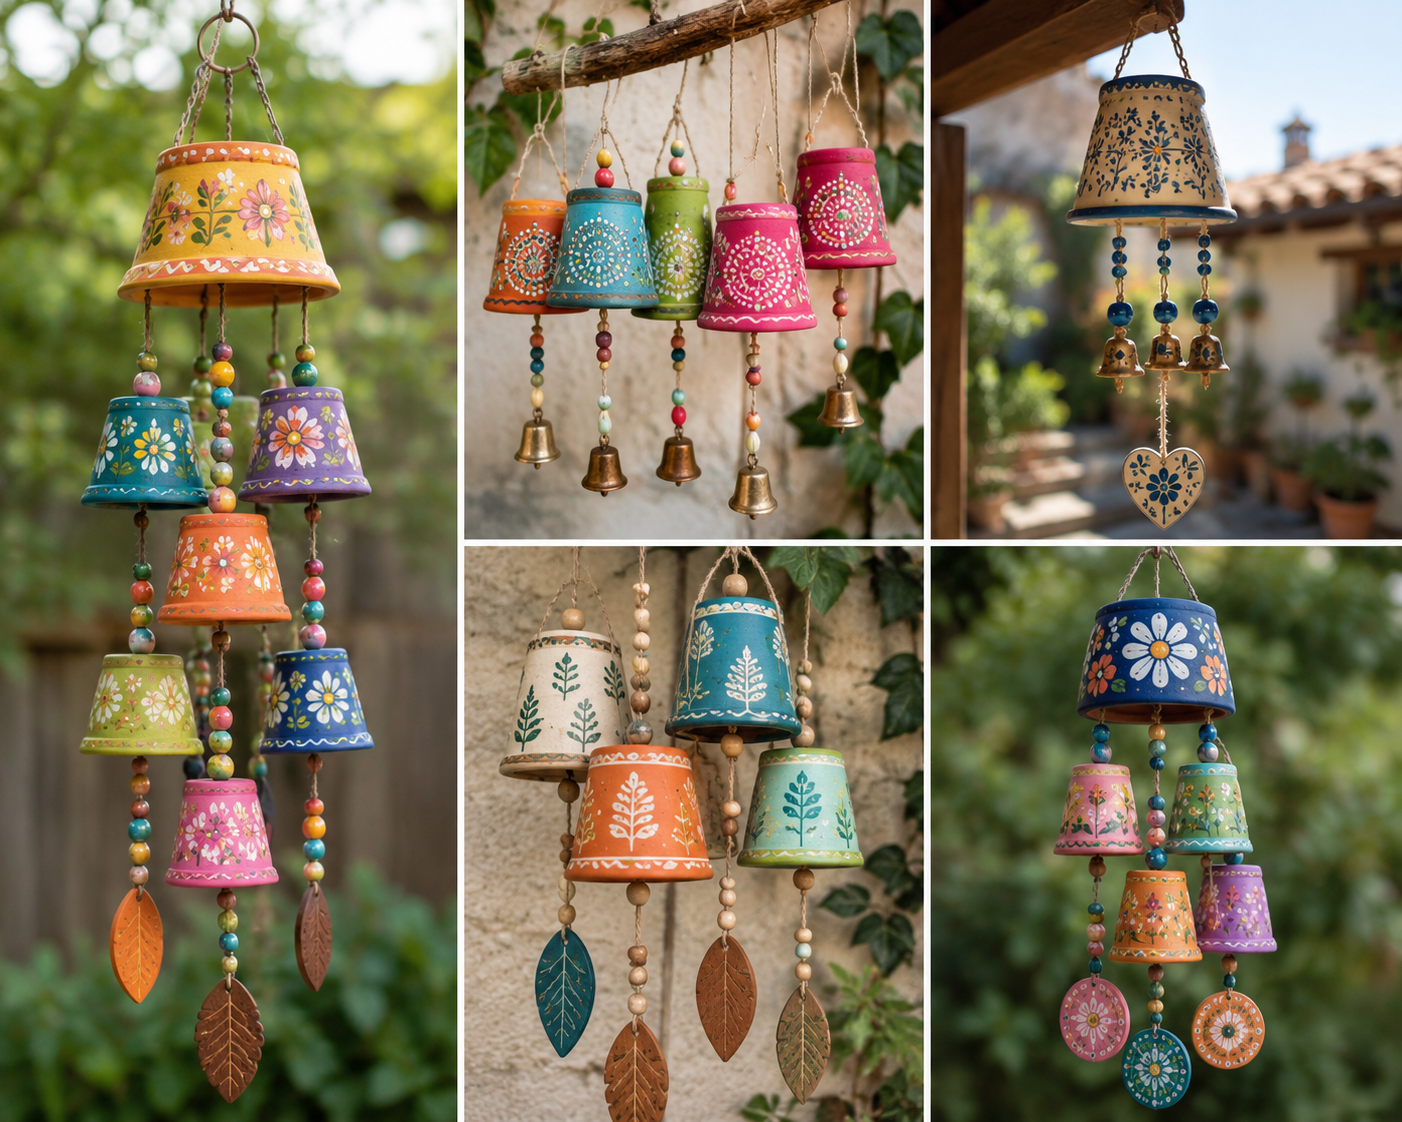

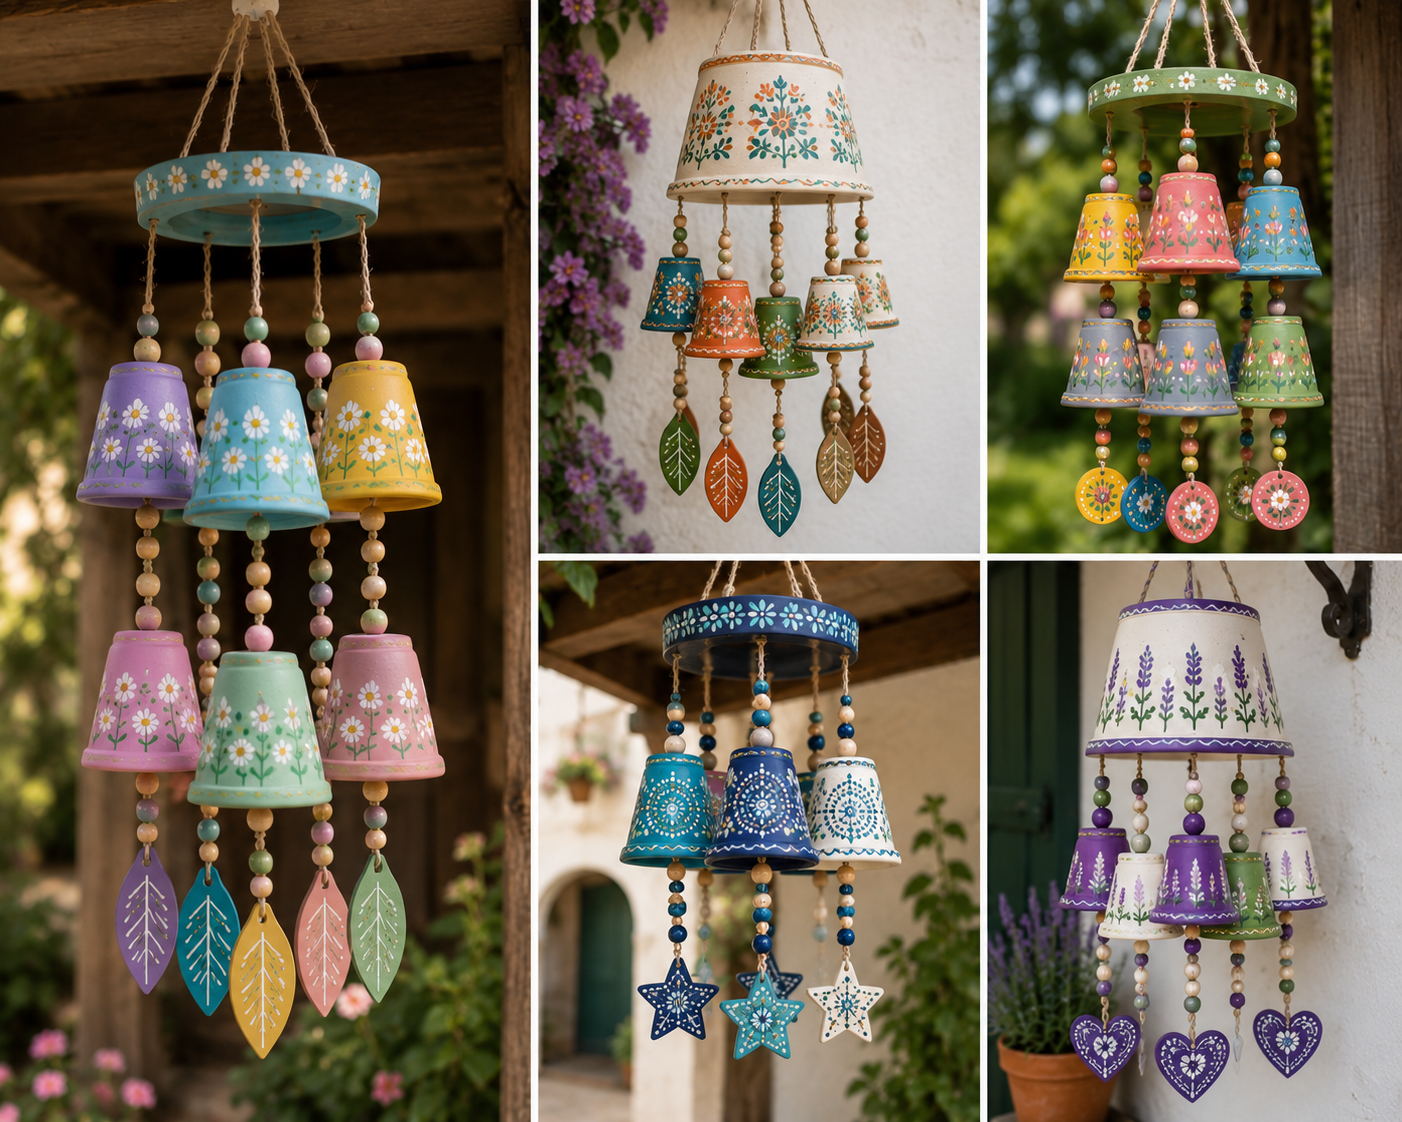
Rustic Farmhouse Flower Pot Wind Chimes
Capture countryside charm with rustic farmhouse designs that evoke warmth and simplicity. This flower pot wind chime style features muted color palettes that feel timeless and welcoming. Soft whites, sage greens, barn reds, and weathered grays create that classic farmhouse look.
Distressed finishes add authenticity to your pieces. Lightly sand painted surfaces after they dry to reveal layers underneath. This technique mimics the natural wear of vintage items and adds character instantly.
Simple botanical motifs complement the rustic aesthetic perfectly. Paint delicate wildflowers, wheat stalks, or herb sprigs in understated tones. Gingham patterns and buffalo check designs bring that quintessential farmhouse touch to your creations.
Consider adding farmhouse-style typography with meaningful words or phrases. "Welcome," "Home," or "Gather" work beautifully on larger pot surfaces. If you're exploring other unique Easter decoration ideas with terracotta, these same techniques translate wonderfully to seasonal projects.
This style pairs perfectly with wraparound porches, traditional gardens, and country-inspired outdoor spaces. The understated elegance never goes out of style and complements most architectural designs.
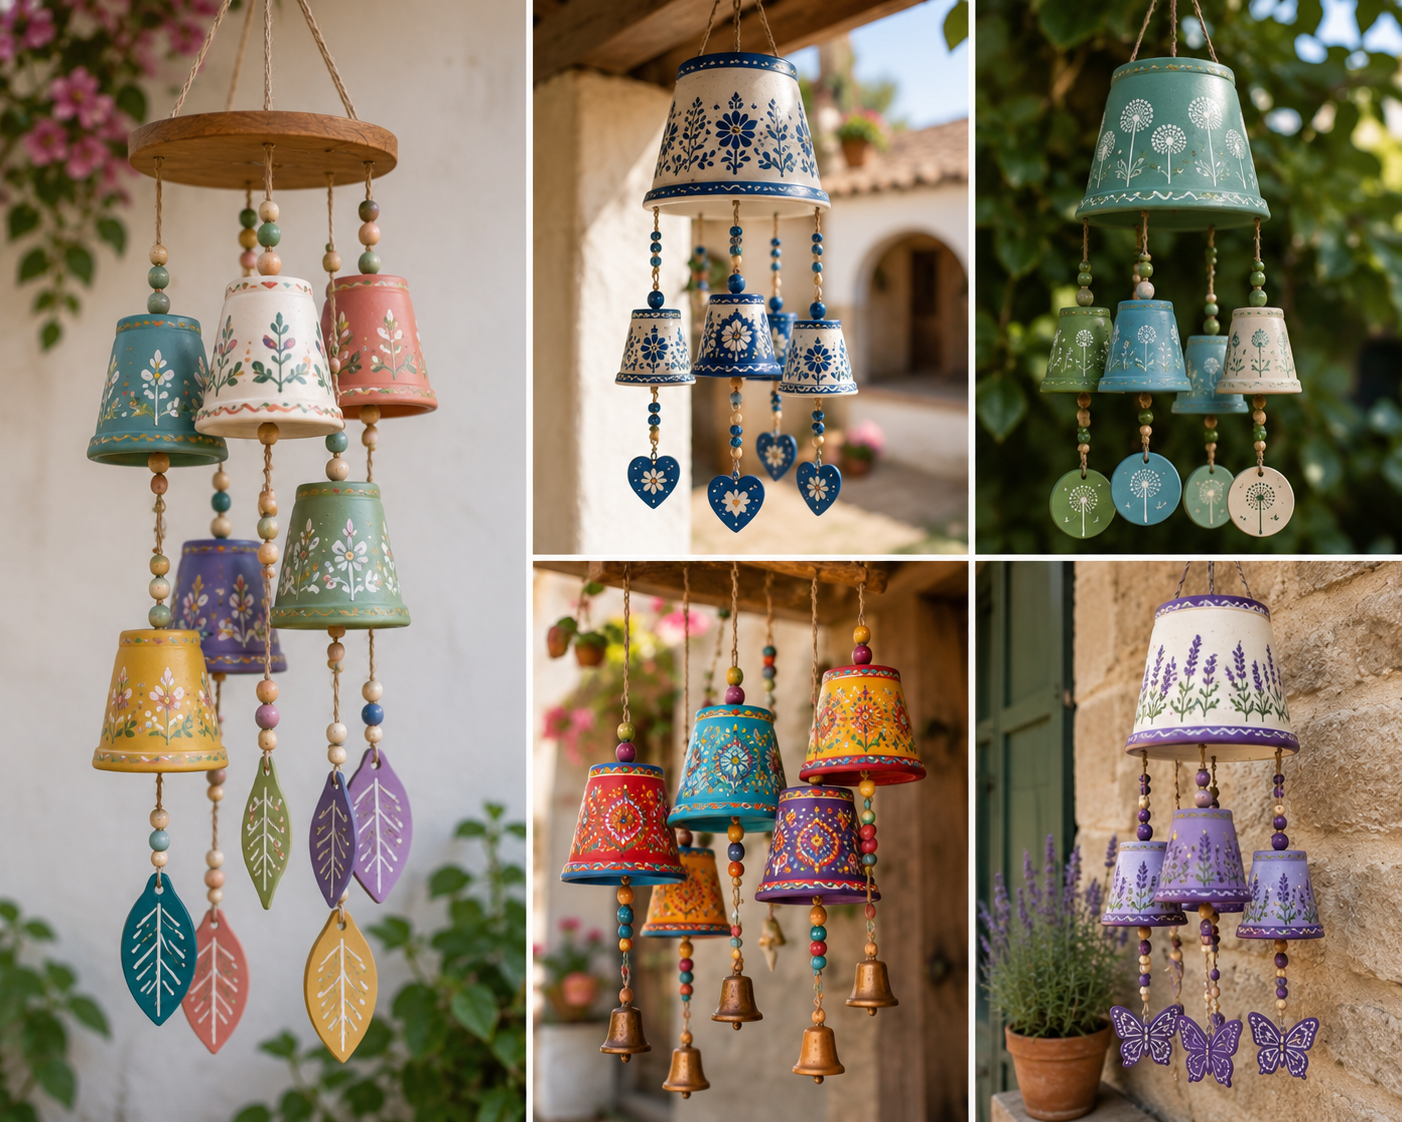
Nature-Inspired Hand Painted Wind Chime Designs
Bring the outdoors in with nature-inspired designs that celebrate the environment around you. This hand painted wind chime approach creates harmonious connections between your craft and the natural world. Realistic details make these pieces feel like extensions of your garden itself.
Butterflies and birds offer popular subjects that add movement and life to static pots. Paint monarch butterflies with intricate wing patterns or cardinals perched on branches. These designs attract attention and spark conversation among visitors.
Delicate florals showcase the beauty of botanical accuracy or artistic interpretation. Roses, sunflowers, lavender, and daisies all translate beautifully to curved pot surfaces. Layer petals with different shades to create dimension and realism.
Forest scenes with trees, mountains, and wildlife tell complete stories on your pots. Ocean waves with gradients of blue and turquoise evoke coastal tranquility. Sunset gradients featuring oranges, pinks, and purples create stunning focal points that change appearance throughout the day.
Consider your local environment when choosing subjects. Native plants and regional wildlife make your hand painted wind chime feel connected to its surroundings. This thoughtful approach creates cohesive outdoor spaces where art and nature blend seamlessly.
Each theme offers unique creative opportunities for your project. You can stay true to one style or blend elements from different approaches. The most important thing is creating something that reflects your personal taste and enhances your outdoor environment beautifully.
2. Creating Your Own Painted Pot Wind Chime
Ready to bring your vision to life with a handmade garden treasure? The process of crafting a DIY garden wind chime is both rewarding and surprisingly simple when you break it down into manageable steps. With the right materials and a bit of patience, you'll have a beautiful outdoor decoration that fills your space with gentle melodies.
This hands-on guide covers everything from selecting supplies to the final hanging. You'll discover practical tips that make the difference between a project that lasts one season and one that becomes a cherished garden fixture for years to come.
Essential Materials for DIY Garden Wind Chimes
Gathering quality supplies before you start saves time and frustration later. The foundation of any clay pot wind chime begins with terracotta or clay pots in various sizes, typically ranging from 2 to 6 inches in diameter. Mixing different pot sizes creates visual interest and varied tones when the wind blows.
For painting, choose acrylic paints formulated for outdoor use. These paints offer vibrant colors that resist fading under sun exposure. You'll need an assortment of brush sizes—small detail brushes for intricate designs and larger ones for base coats.
Protection comes from a quality outdoor sealer or varnish. Look for products specifically labeled as weather-resistant or waterproof. These finishes shield your artwork from rain, humidity, and temperature changes.
For assembly, gather strong cord or fishing line that can support the weight of your pots. Wooden beads or metal washers work perfectly as spacers between elements. You'll also need a drill with a ceramic or masonry bit to create clean holes without cracking your pots.
The chime elements create the actual sound. Popular options include metal tubes cut to different lengths, small bells, or vintage silverware. Each material produces a distinct tone, so consider what sounds most pleasing to you.
Budget-friendly alternatives exist for nearly every supply. Dollar stores often carry small terracotta pots and basic acrylic paints. Thrift shops provide unique chime elements like old keys or decorative spoons that add character to your creation.
Step-by-Step Painting and Sealing Process
Proper preparation ensures your paint adheres smoothly and lasts longer. Start by cleaning your pots thoroughly with warm soapy water to remove dust and residue. Allow them to dry completely before painting—this usually takes several hours.
Some crafters prefer applying a primer coat, especially on new terracotta. This step isn't mandatory but helps colors appear more vibrant. A white or light-colored primer works best for most design themes.
Apply your base coat using long, even strokes. Two thin coats always work better than one thick coat, which can drip or crack as it dries. Let each layer dry for at least 2-3 hours before adding the next.
Once your base is ready, add your decorative elements. Use painter's tape to create clean lines for geometric patterns. Sponging techniques produce beautiful textured effects, while fine brushes allow for detailed illustrations.
Painting your clay pot wind chime takes patience. Don't rush between layers. Proper drying time prevents smudging and ensures each color stays crisp and bright.
Assembly and Hanging Techniques
Drilling holes requires care to prevent cracking. Place your pot on a soft surface like a folded towel. Start with a small pilot hole, then gradually increase to your desired size. Work slowly and apply gentle, steady pressure.
For most DIY garden wind chime projects, drill holes in the center bottom of each pot. Some designs also require holes along the rim for multi-strand arrangements. Always drill from the inside out to minimize chipping on visible surfaces.
Threading your cord starts from the largest pot and works upward. Use sturdy knots like the double overhand or figure-eight to secure each element. Test each knot by tugging firmly—nothing should slip or slide.
Spacing affects both appearance and sound. Place pots 3-6 inches apart for a balanced look. Closer spacing creates more frequent chiming, while wider gaps produce occasional, softer tones.
Attach your chime elements at varying lengths beneath the bottom pot. This creates a cascade effect and ensures they strike together when the wind blows. Metal tubes should hang freely without touching the sides of pots.
Selecting the right hanging location maximizes both visual impact and sound. Look for spots that catch consistent breezes—near corners of buildings, under pergolas, or from sturdy tree branches. Avoid areas with constant strong winds that might damage your creation.
Hang your finished wind chime at eye level or slightly above for best viewing. Use a secure hook or bracket rated for outdoor use. S-hooks work well for easy seasonal removal if you live in areas with severe winter weather.
Your completed project should move freely in the breeze without tangling. Give it a gentle test spin to ensure everything is balanced properly. Make any final adjustments to cord length or spacing before settling it into its permanent home.
3. Conclusion
Your outdoor space deserves the personal touch that only handmade decorations can provide. A Painted Pot Wind Chime brings together artistry and function in a way that transforms ordinary gardens into vibrant retreats. The gentle sounds and colorful designs create an atmosphere that welcomes relaxation.
Start your project this weekend with the design theme that speaks to you. Mix colors freely and trust your creative instincts. The process itself offers therapeutic benefits as you paint each pot and watch your vision come to life. Your neighbors will ask where you found such unique garden art.