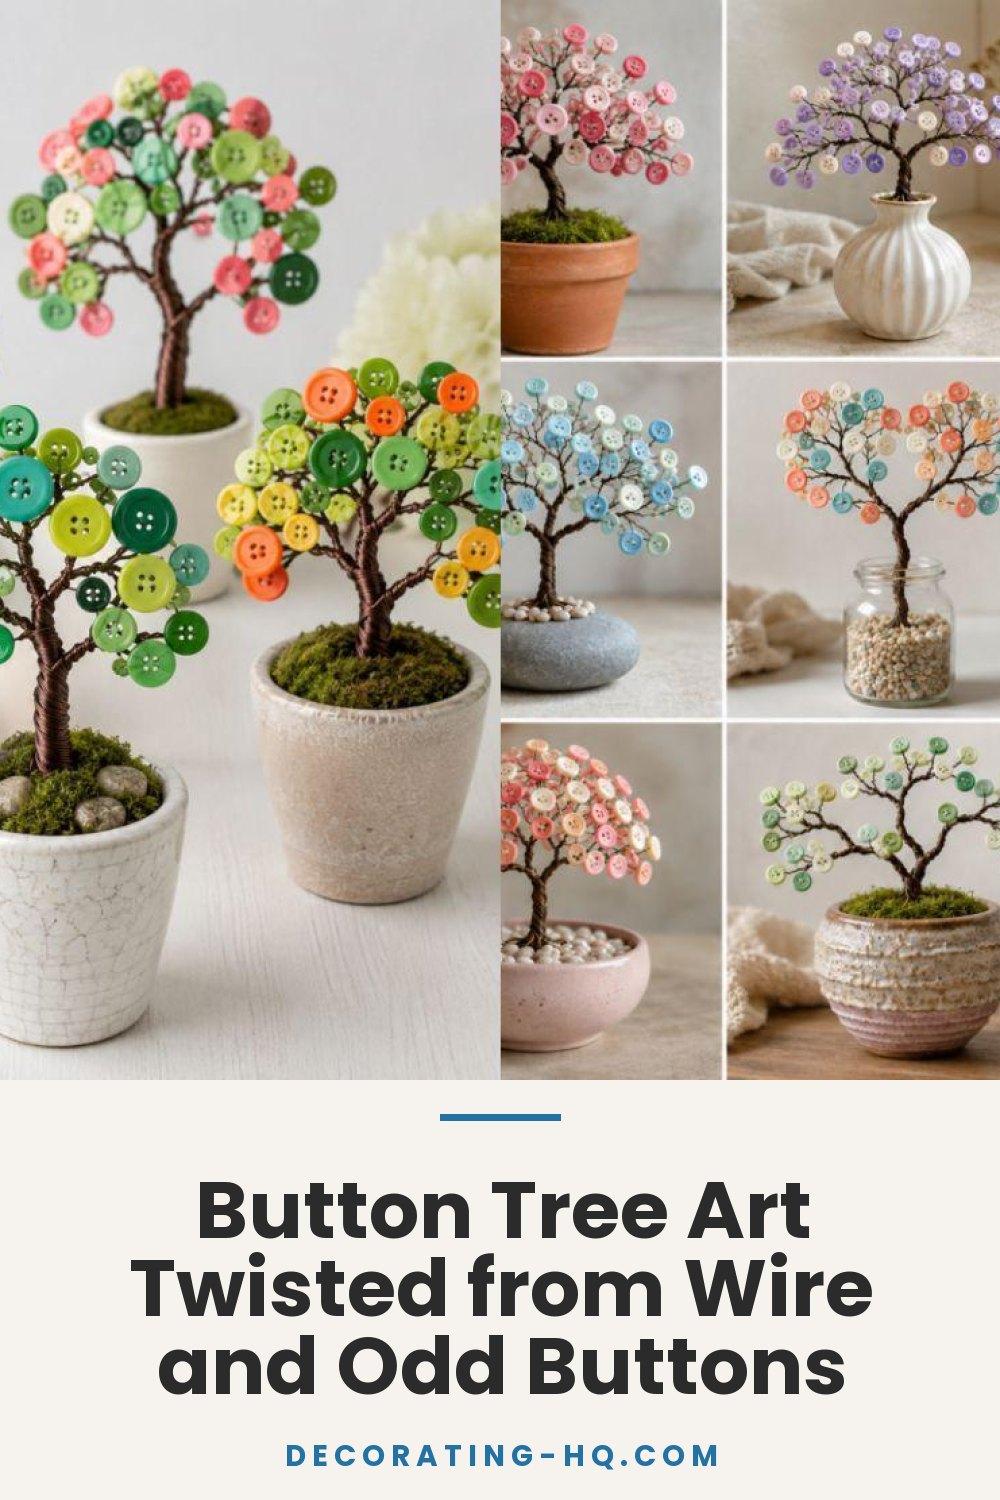
Button Tree Art Twisted from Wire and Odd Buttons


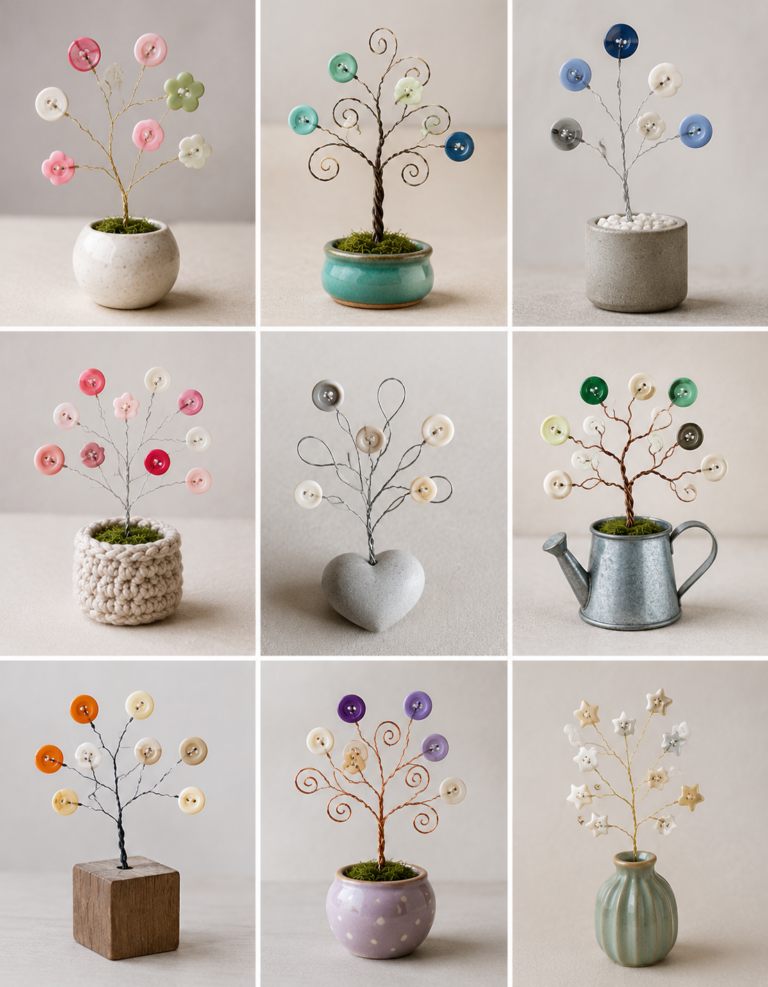
Ever wanted to create something truly unique for your home? Wire tree art with buttons is a charming way to make decorative pieces that show off your style. These small sculptures turn simple materials into beautiful displays that light up any room.
This craft is loved by DIY fans who enjoy adding handmade touches to their homes. You can make these pieces fit any season or color scheme. Whether you like rustic or modern, this project can be whatever you want it to be.
It's great for beginners and offers creative challenges for those with more experience. You only need a few basic things and some patience to start. In this guide, you'll learn about choosing materials, building techniques, and design ideas to bring your ideas to life.
Materials and Tools You'll Need
Wire and button tree projects are simple and fun. They need just a few affordable supplies to start. Most people already have these items at home. This makes it easy for both beginners and experienced artists to create their own miniature trees.
Shopping for supplies is part of the fun. You can find everything at craft stores, hardware stores, or online. You can pick what you like and stay within your budget.
Wire Types and Gauges
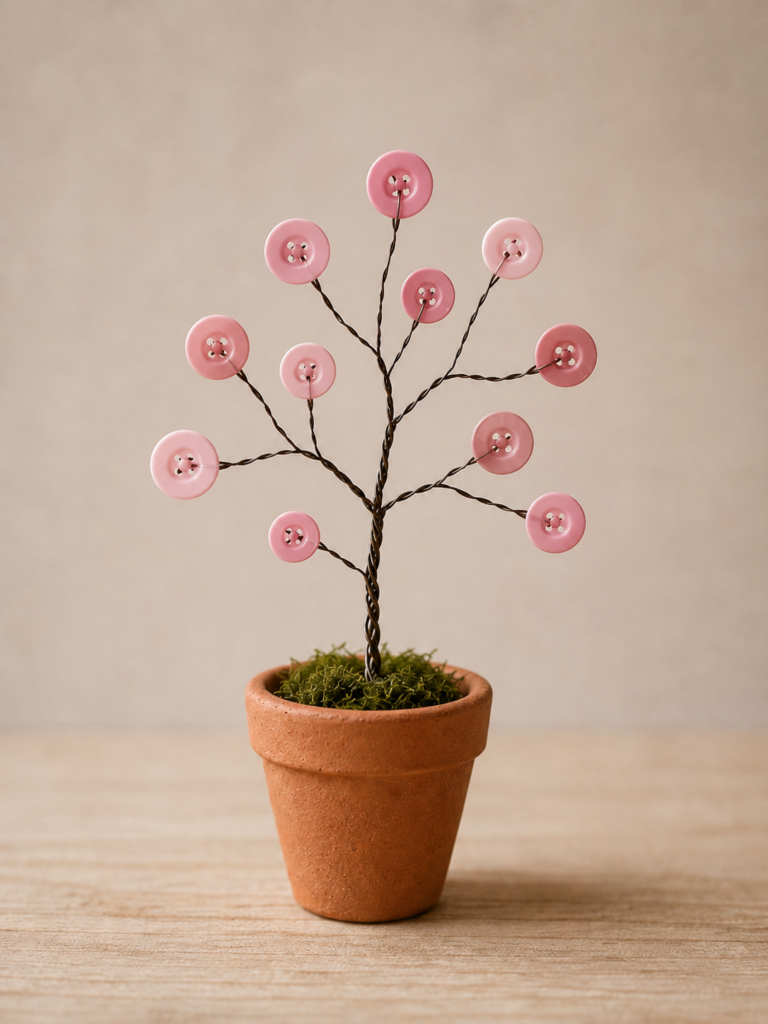
Choosing the right wire is key for a sturdy tree. Craft wire ranges from 18 to 24 gauges, with lower numbers being thicker. Start with 18 or 20-gauge wire for the trunk and branches.
Aluminum wire is great for beginners because it's light and easy to bend. Copper wire adds a warm look that matches many button colors. Both are flexible and strong enough for multiple buttons.
Wire comes in many colors like silver, gold, and bronze. These colors can really make your design pop. Think about how the wire color will look with your buttons.
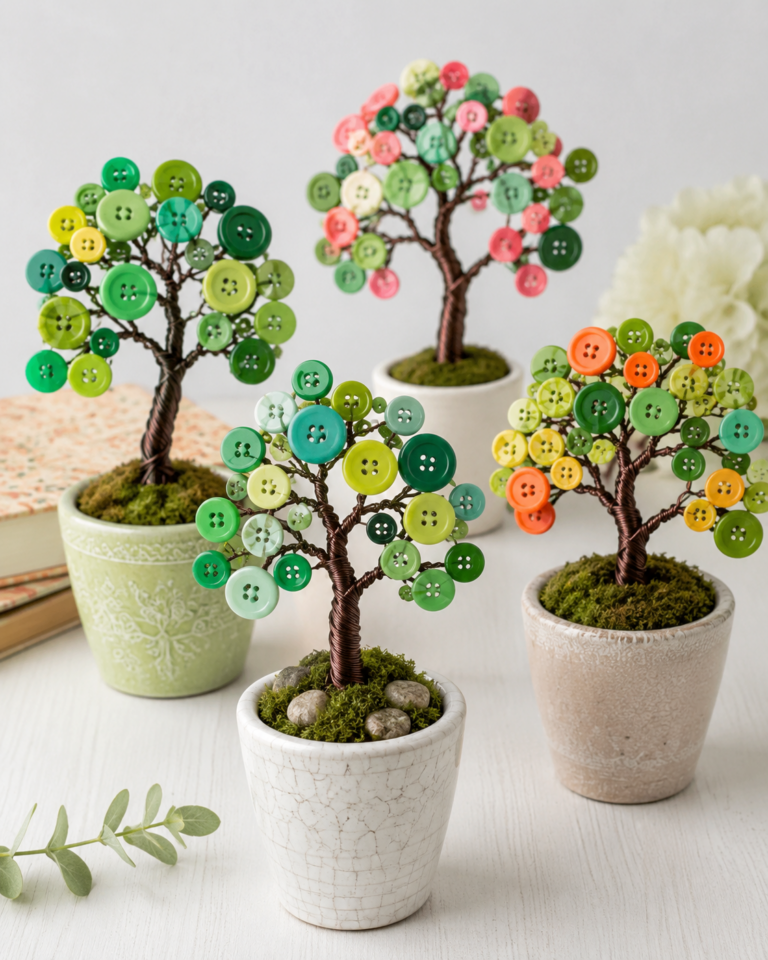
Buttons are the heart of your tree, so pick them carefully. Buttons come in many sizes, colors, shapes, and materials. Each type adds its own charm to your DIY tree.
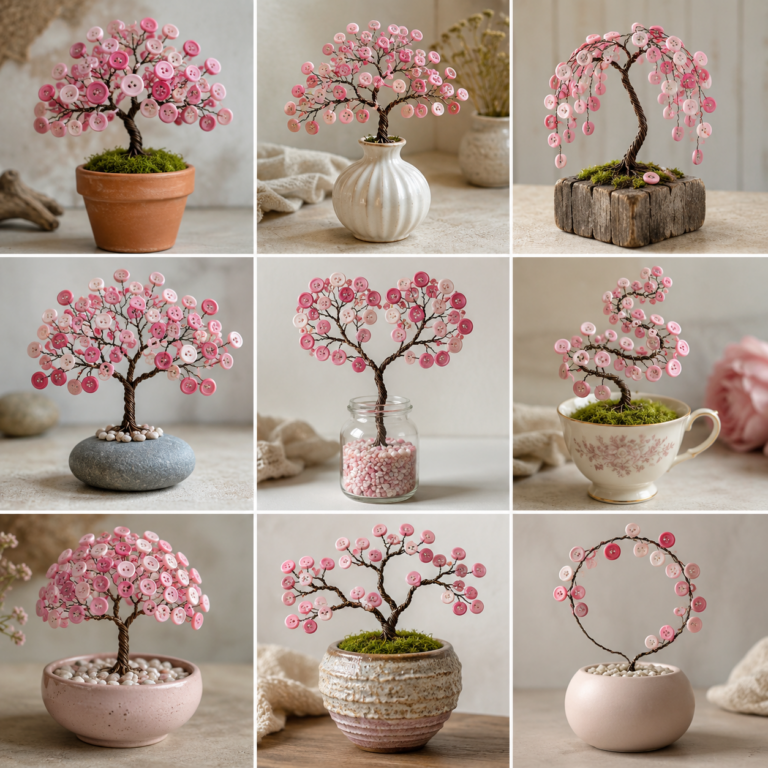
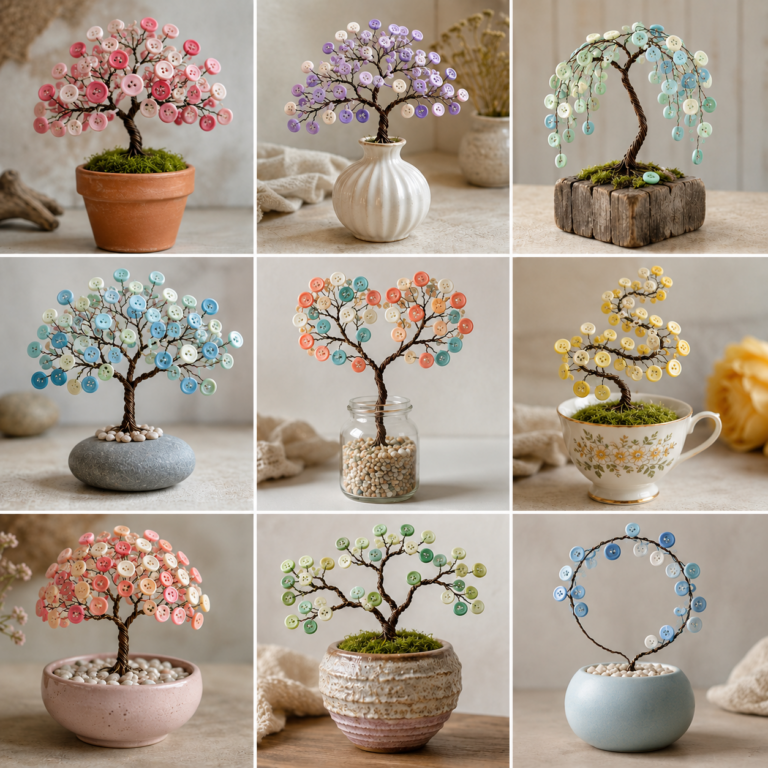
Consider the look you want before you start shopping. Do you want a rustic tree or a spring-inspired one? Mixing button sizes adds depth and interest to your tree.
Make sure button holes fit your wire gauge. Shirt buttons with two or four holes work well. Think about how button colors will work together for a harmonious look.
If you like working with buttons, you might enjoy making dolls with buttons. Collecting buttons opens up many crafting possibilities for the future.
Tools and Accessories
The right tools make crafting easier and more precise. Wire cutters or scissors are needed to cut wire cleanly. This prevents wire ends from scratching your hands.
Needle-nose pliers help shape wire for detailed branches. Round-nose pliers are great for loops and curves. These tools help you control small details.
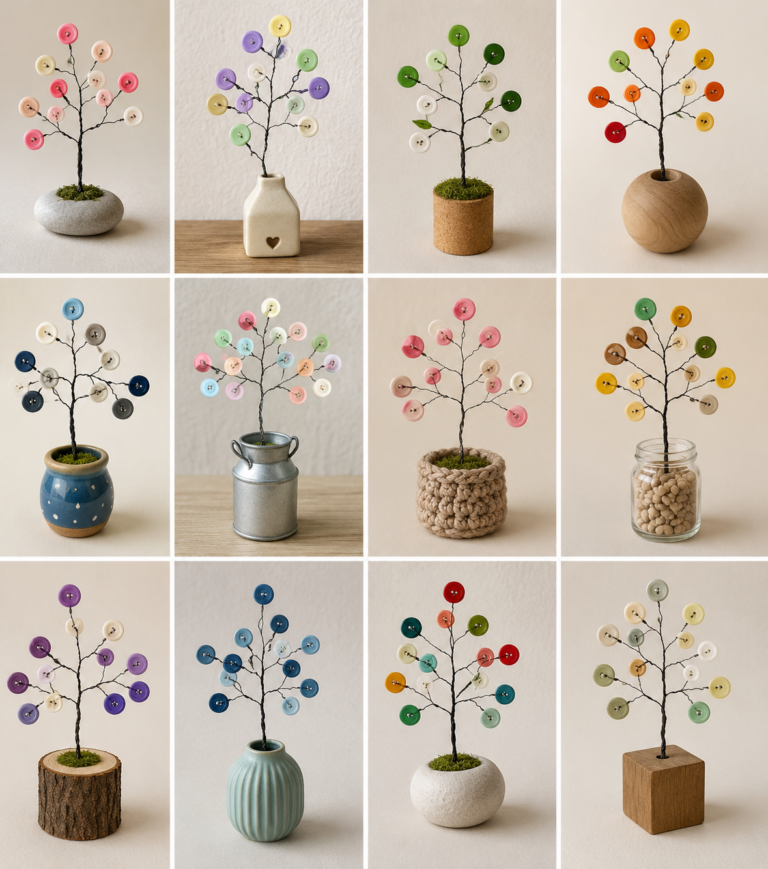
You'll need a base for your tree. Choose from wooden blocks, stones, pots, or vintage tins. The base should be sturdy to hold your tree.
Adding extras can enhance your tree. Try beads for sparkle, moss for a natural look, or paint for a custom base. These touches make your tree unique.
Most materials are affordable and easy to find. Many crafters spend under twenty dollars on their first project. Start simple and add more supplies as you explore.
Now that you have all your materials, it's time to start making your artistic button tree sculptures. This guide will help you through each step easily. Your first tree might need some practice, but soon you'll get the hang of it and find your style.
Building a Sturdy Foundation
Begin by cutting six to twelve wire pieces, each 12 to 18 inches long. The more wire you use, the thicker your trunk will be. Gather all the wire pieces at one end, leaving 2 to 3 inches for twisting.
Hold the bundle tightly and twist the wires together just above the bottom inches. These ends will be your tree's roots. Twist tightly for a realistic bark-like texture that adds visual interest.
Keep twisting upward for 4 to 6 inches to form the main trunk. You can secure the wire roots to your base in several ways. Drill holes in a wooden base and insert the wire ends, or embed them in air-dry clay or plaster.
Some people wrap the roots around a decorative stone or use strong adhesive. Choose the method that fits your display plans best.
Dividing and Shaping the Branches
When your trunk is the right height, start making the branch structure. Separate the twisted bundle into two or three main sections. Each section will become a primary branch.
Twist each branch group for 1 to 2 inches before dividing again. Create variety by making some branches longer and others shorter for a natural look. Real trees don't grow symmetrically, so embrace the irregular beauty.
Continue subdividing your branches as they extend outward and upward. The smallest branches at the tips might have just one or two wire strands. Angle your branches in different directions for depth.
Bend and curve the branches gently to create graceful shapes. Don't worry about perfection—each adjustment adds character to your handmade creation.
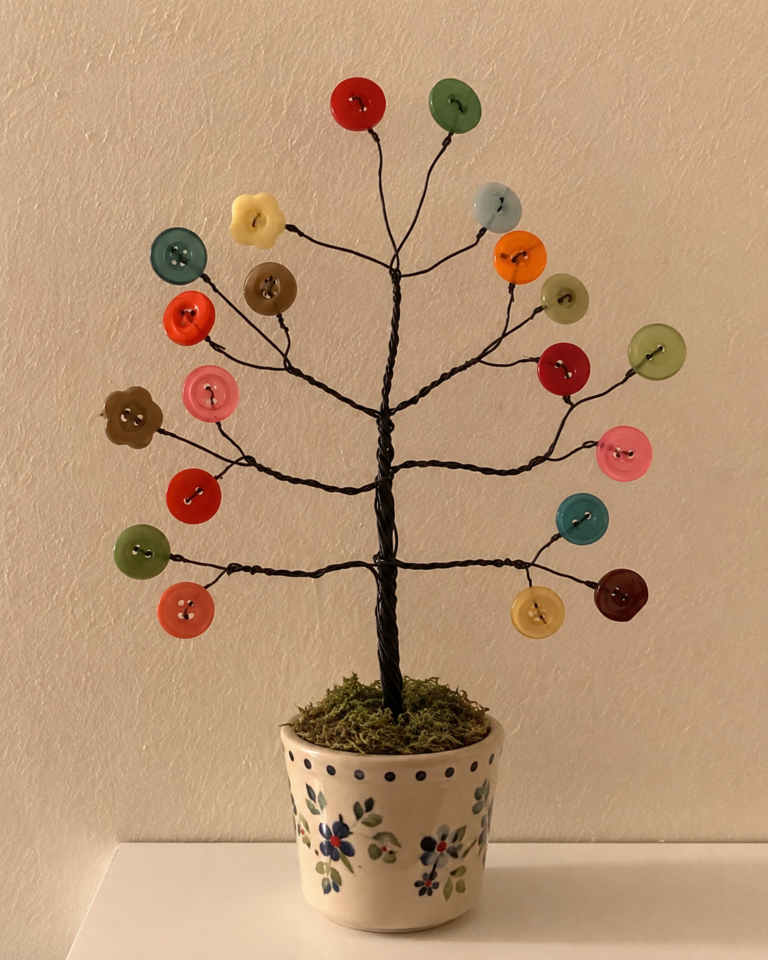
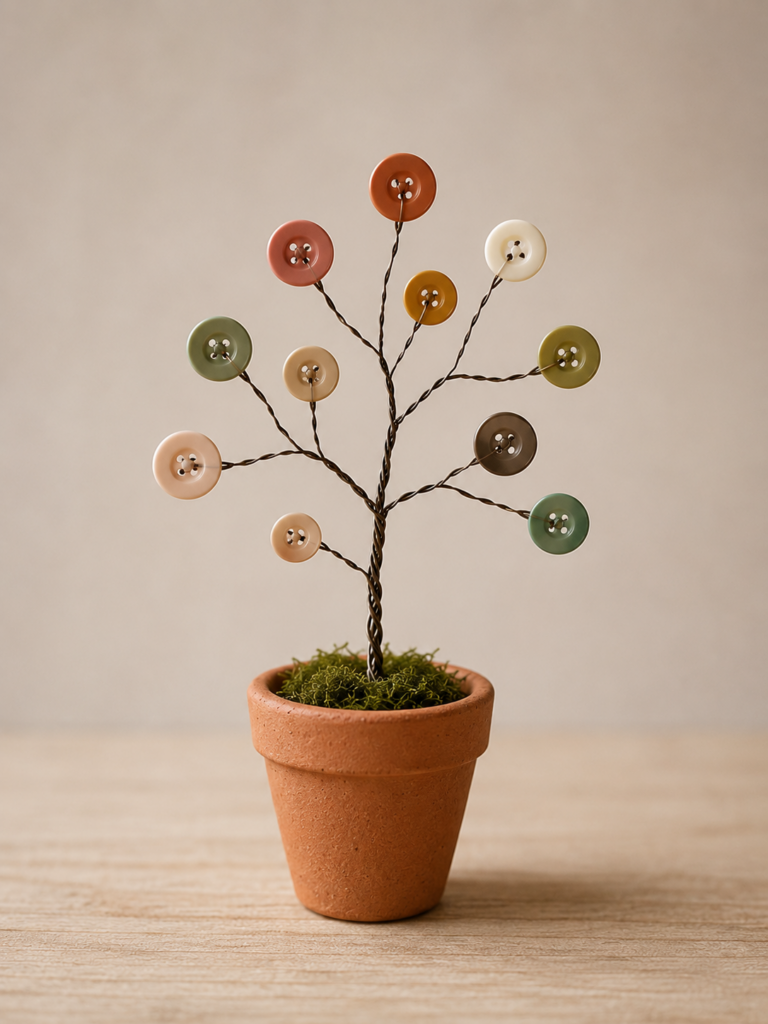
Threading buttons onto your wire branches brings your tree to life with color and charm. Start by picking buttons that match your design vision. Thread wire ends through the button holes, working from the branch tips inward.
For wire wrapped trees with button embellishments, place buttons at various points along the branches. This layered approach creates visual depth and interest. Mix button sizes and colors strategically to achieve a balanced, eye-catching effect.
Secure buttons in place by creating small loops or coils at the wire tips. Simply bend the wire back on itself and twist it around the main wire strand. This prevents buttons from sliding off while allowing you to adjust placement if needed.
Stack smaller buttons on top of larger ones for added dimension. Some crafters thread multiple buttons onto a single wire strand, creating button clusters that resemble blossoms or leaves.
Final Touches and Stability
After attaching all your buttons, step back and check your tree's shape and balance. Gently bend branches into more pleasing arrangements if needed. Adjust the trunk angle and branch positions until your tree stands stable without tipping.
Make sure your base holds the tree securely and make necessary reinforcements. Add more adhesive, tighten wire roots, or adjust the weight distribution by repositioning heavier buttons. A wobbly tree needs attention before you consider it complete.
Touch up any areas where wires have loosened or separated during the button attachment process. Re-twist sections that need more definition or security. Some crafters like painting the wire trunk with metallic or brown acrylic paint for added realism.
Consider adding decorative elements to your base, such as moss, small pebbles, or glitter for seasonal artistic button tree sculptures. These finishing touches transform your creation from a simple craft into a stunning display piece. Remember that your tree is unique—no two will ever look exactly alike, and that's the beauty of handmade art.
Conclusion
Creating beautiful trees with wire and buttons is rewarding for all crafters. You've learned how to turn simple materials into lovely decorations. Each tree you make shows off your unique style.
This craft is a great way to relax and create something special. Your trees make great gifts for loved ones. They add a handmade touch to any room, unlike store-bought items.
Feel free to try new things with this guide. Mix button colors and sizes. Experiment with different heights and branch shapes. Your creativity makes each tree truly yours.
Think about making more trees for a seasonal collection or for selling. The skills you've learned can lead to other wire crafts. You can always come back to this guide for inspiration or to improve your skills.
Your handcrafted trees will brighten any space. The effort you put in brings beauty and satisfaction. Start gathering your materials and watch your vision come to life, one wire and button at a time.