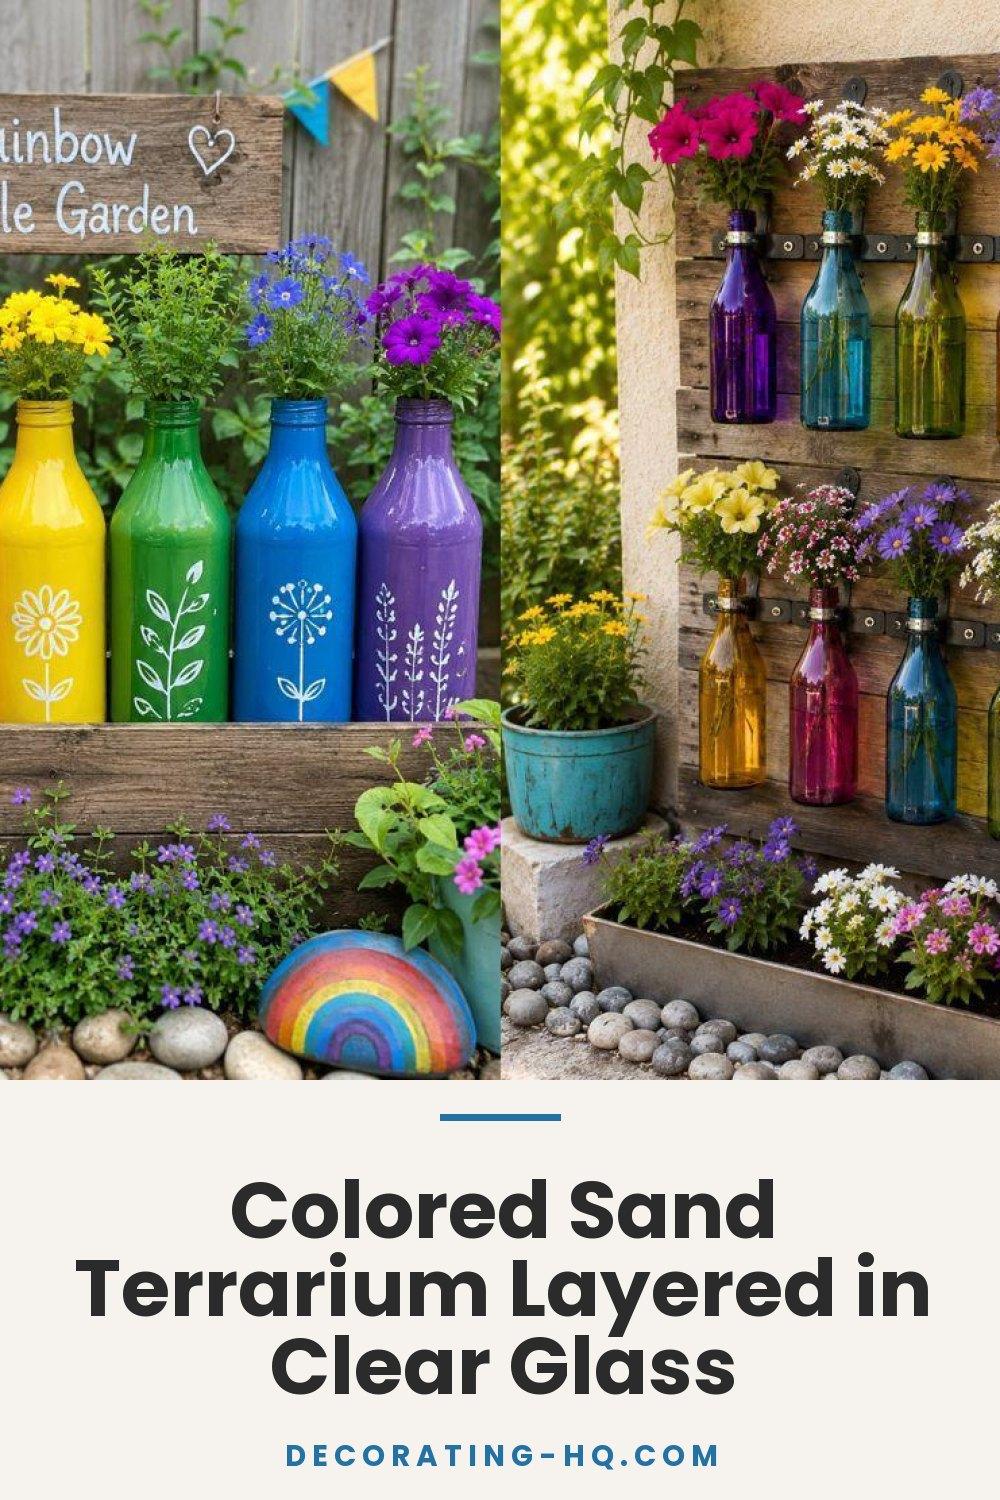
Colored Sand Terrarium Layered in Clear Glass


Have you ever thought about transforming an ordinary glass container into a stunning miniature ecosystem? A DIY rainbow terrarium brings vibrant layers of colored sand together with living plants to create eye-catching décor that brightens any room. This eco-friendly craft has captured the hearts of plant lovers and craft enthusiasts alike.
These colorful creations make perfect gifts and conversation starters. You can customize each layer to match your style and space. The best part? They require minimal maintenance once assembled.
Whether you're a beginner or an experienced crafter, this project is surprisingly simple. You'll love watching your desktop rainbow terrarium come to life as you layer each colorful section. Plus, if you're looking for more inspiration, check out these creative DIY glass bottle garden décor ideas that will steal the show.
Get ready to create living art that transforms your space with color and life. This rewarding project costs little but delivers stunning results you'll be proud to display.
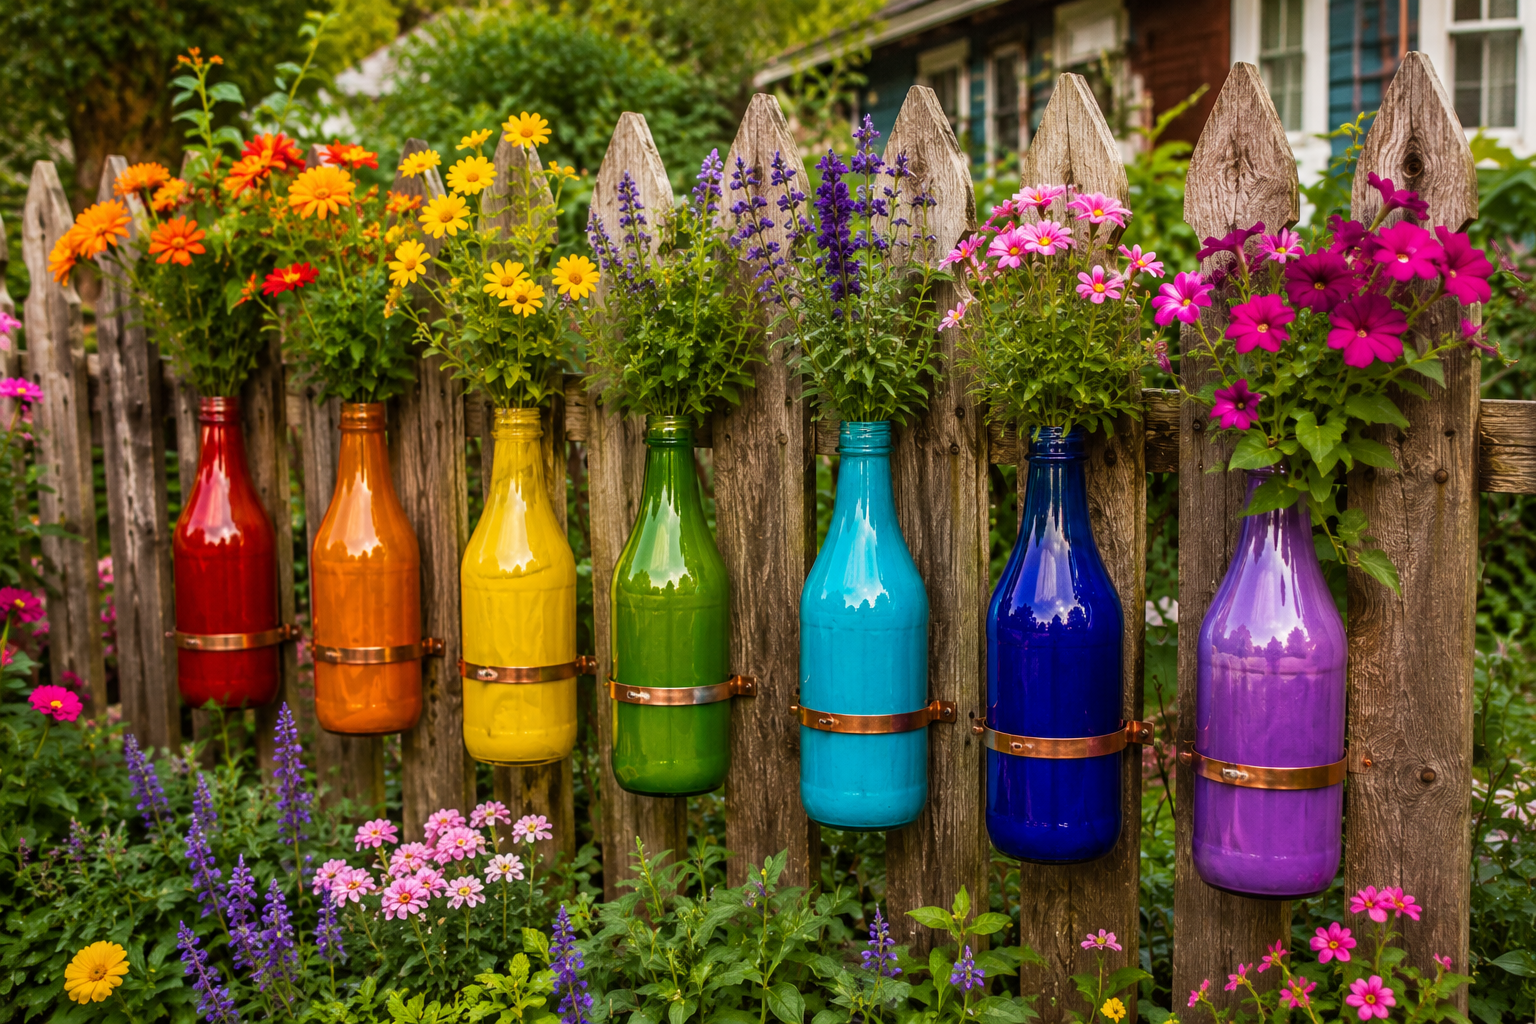
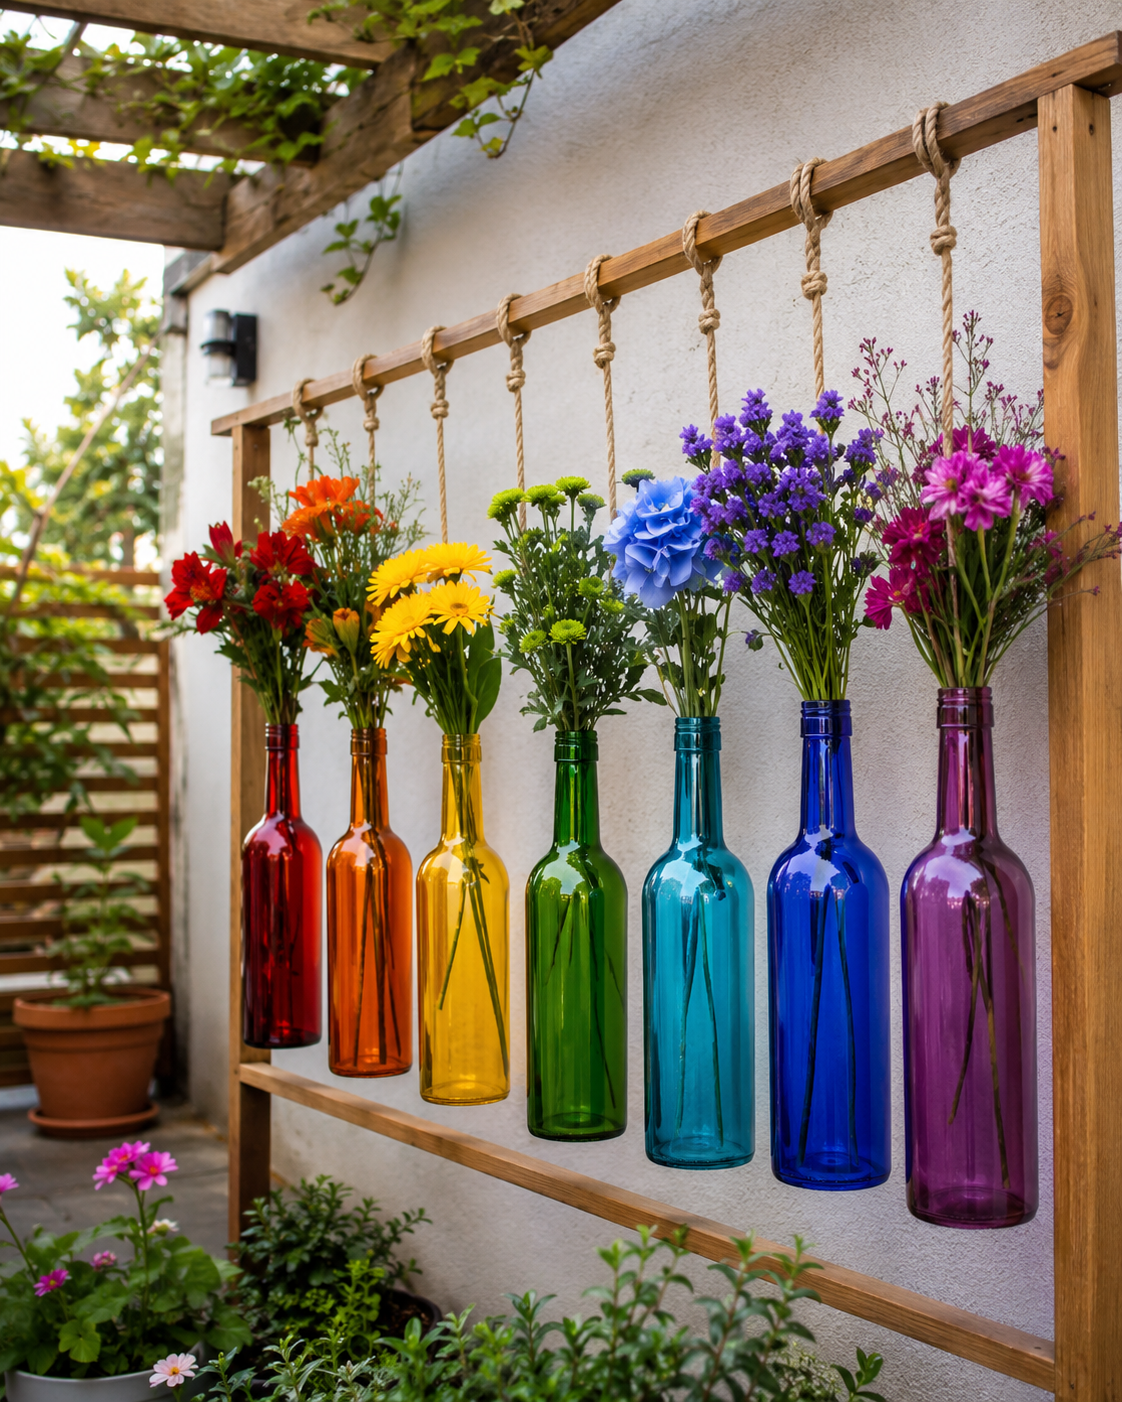
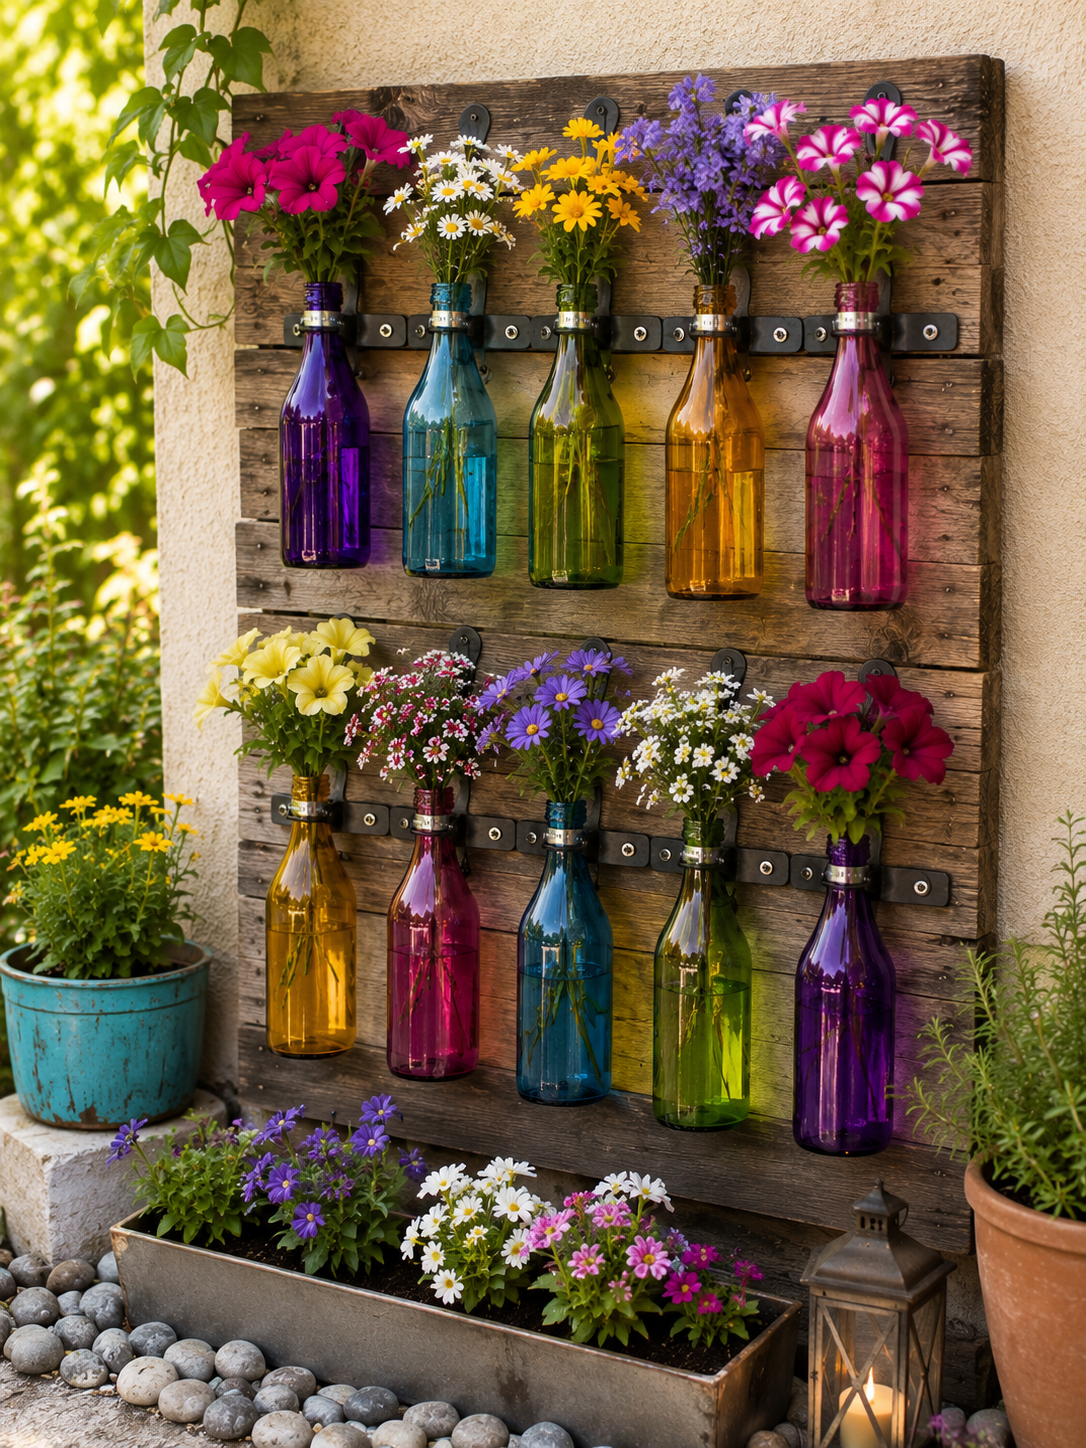
Getting Started with Your Rainbow Bottle Garden Project
Transform ordinary glass containers into vibrant living art by starting with these essential supplies and plant selections. The preparation phase makes all the difference between a beautiful display that thrives and one that struggles. Taking time now to gather quality materials will save you frustration later and help create a stunning piece you'll enjoy for years.
This creative project combines art and nature in a unique way. You'll build layers of color while creating a healthy home for small plants. The best part is that most supplies are easy to find at craft stores, garden centers, or online retailers.
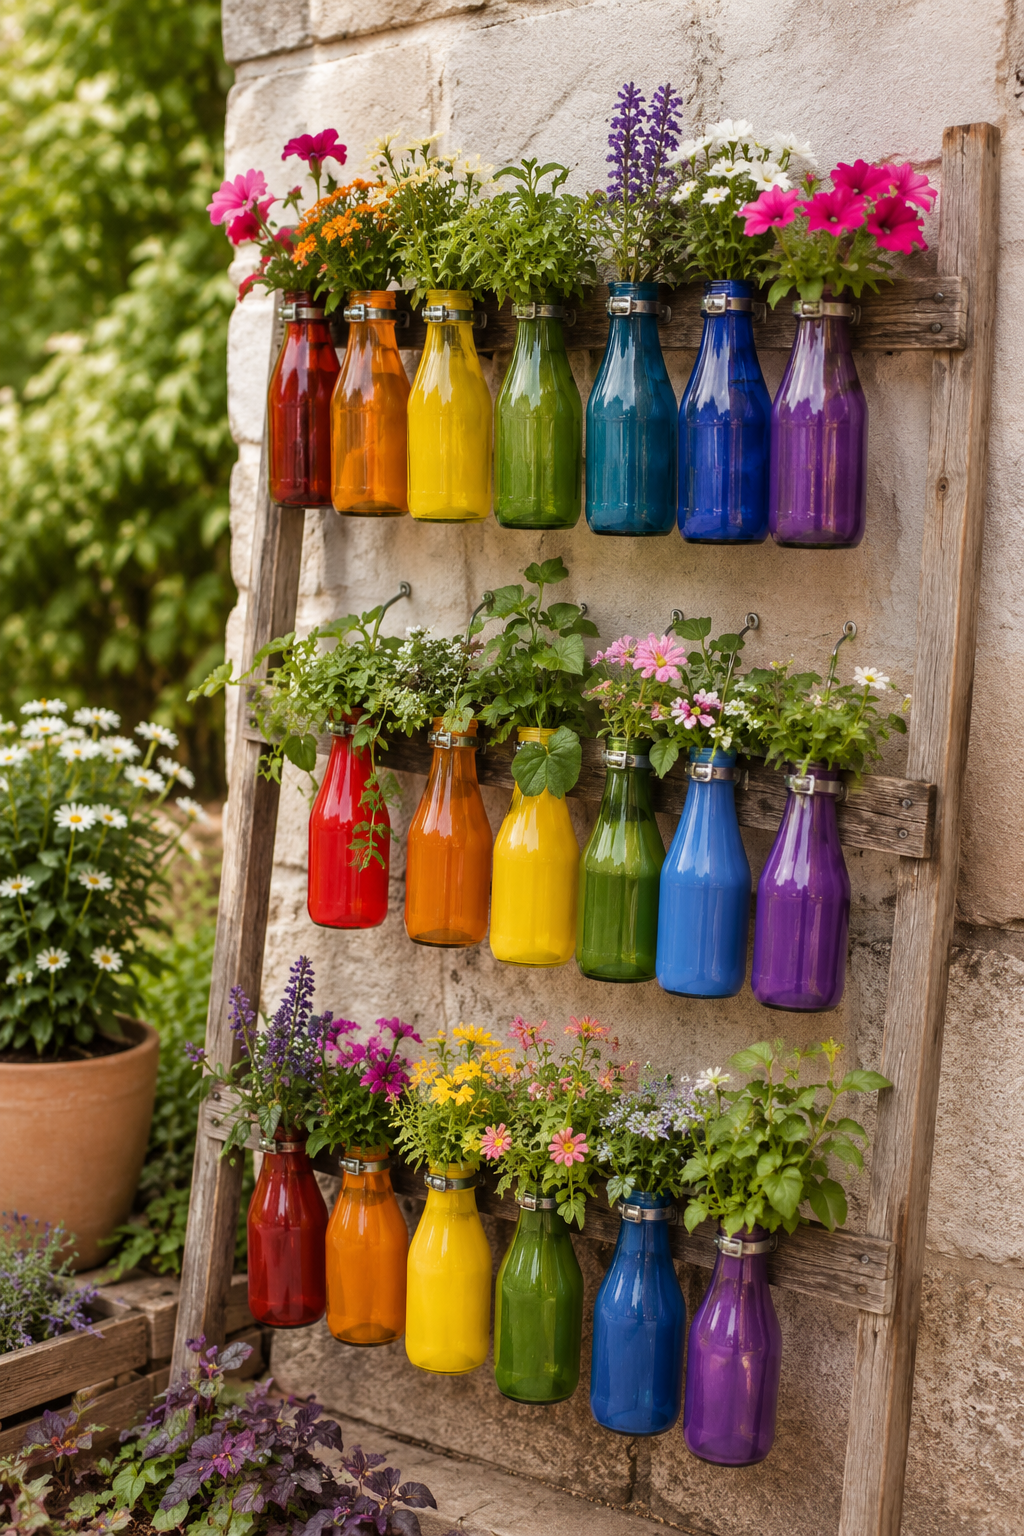
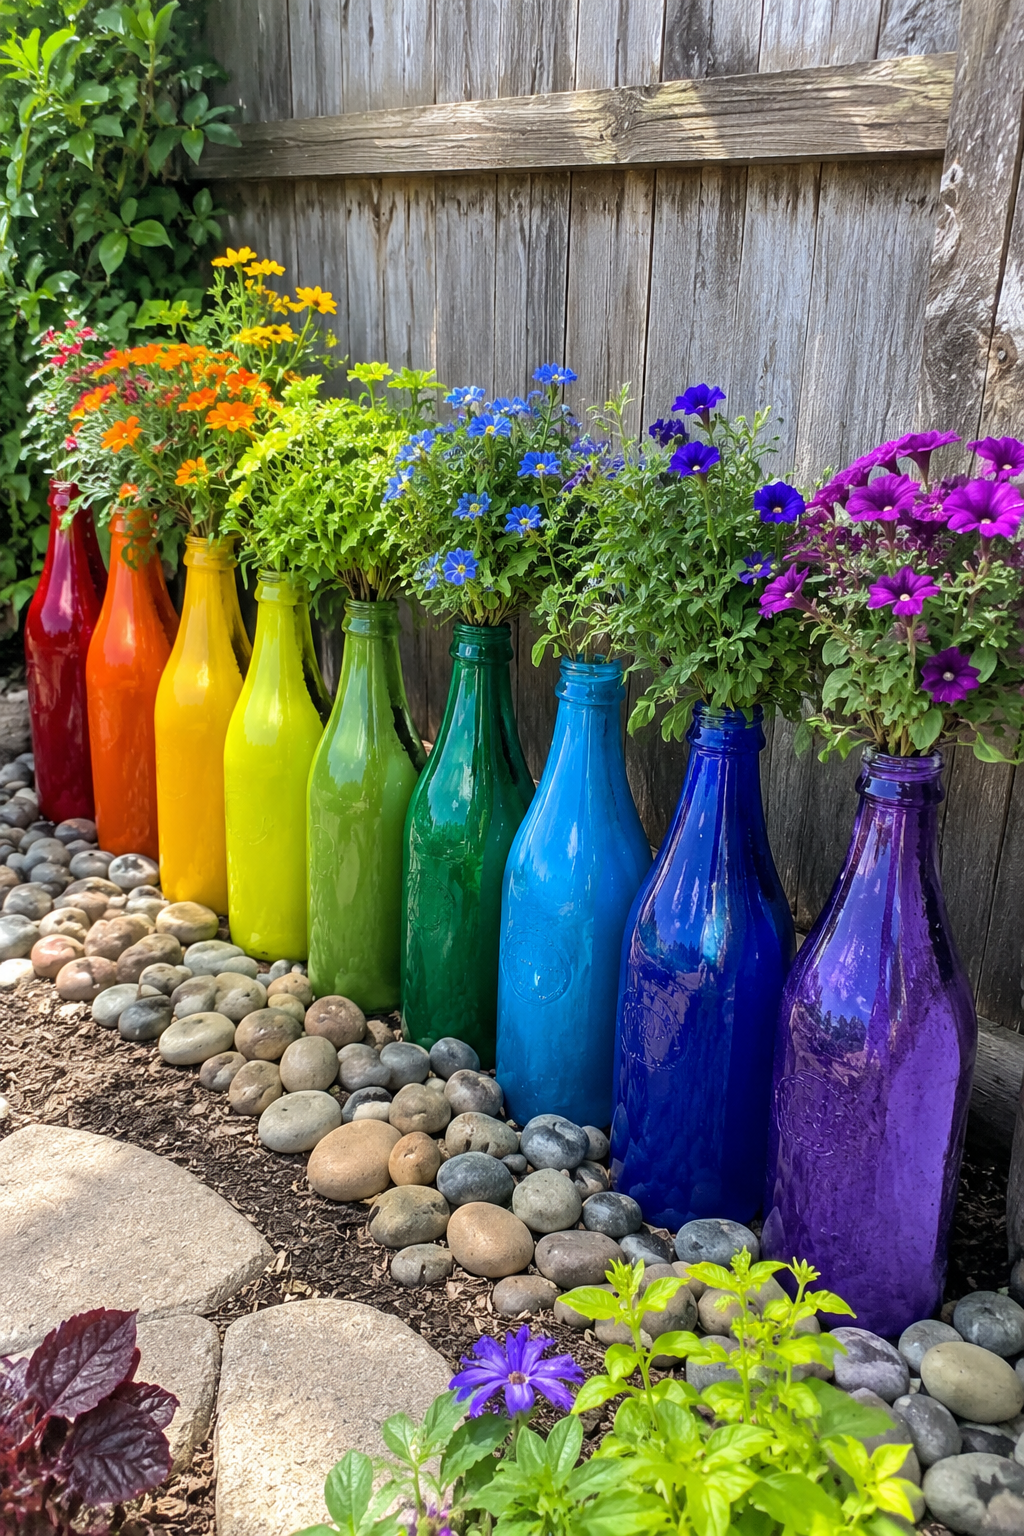
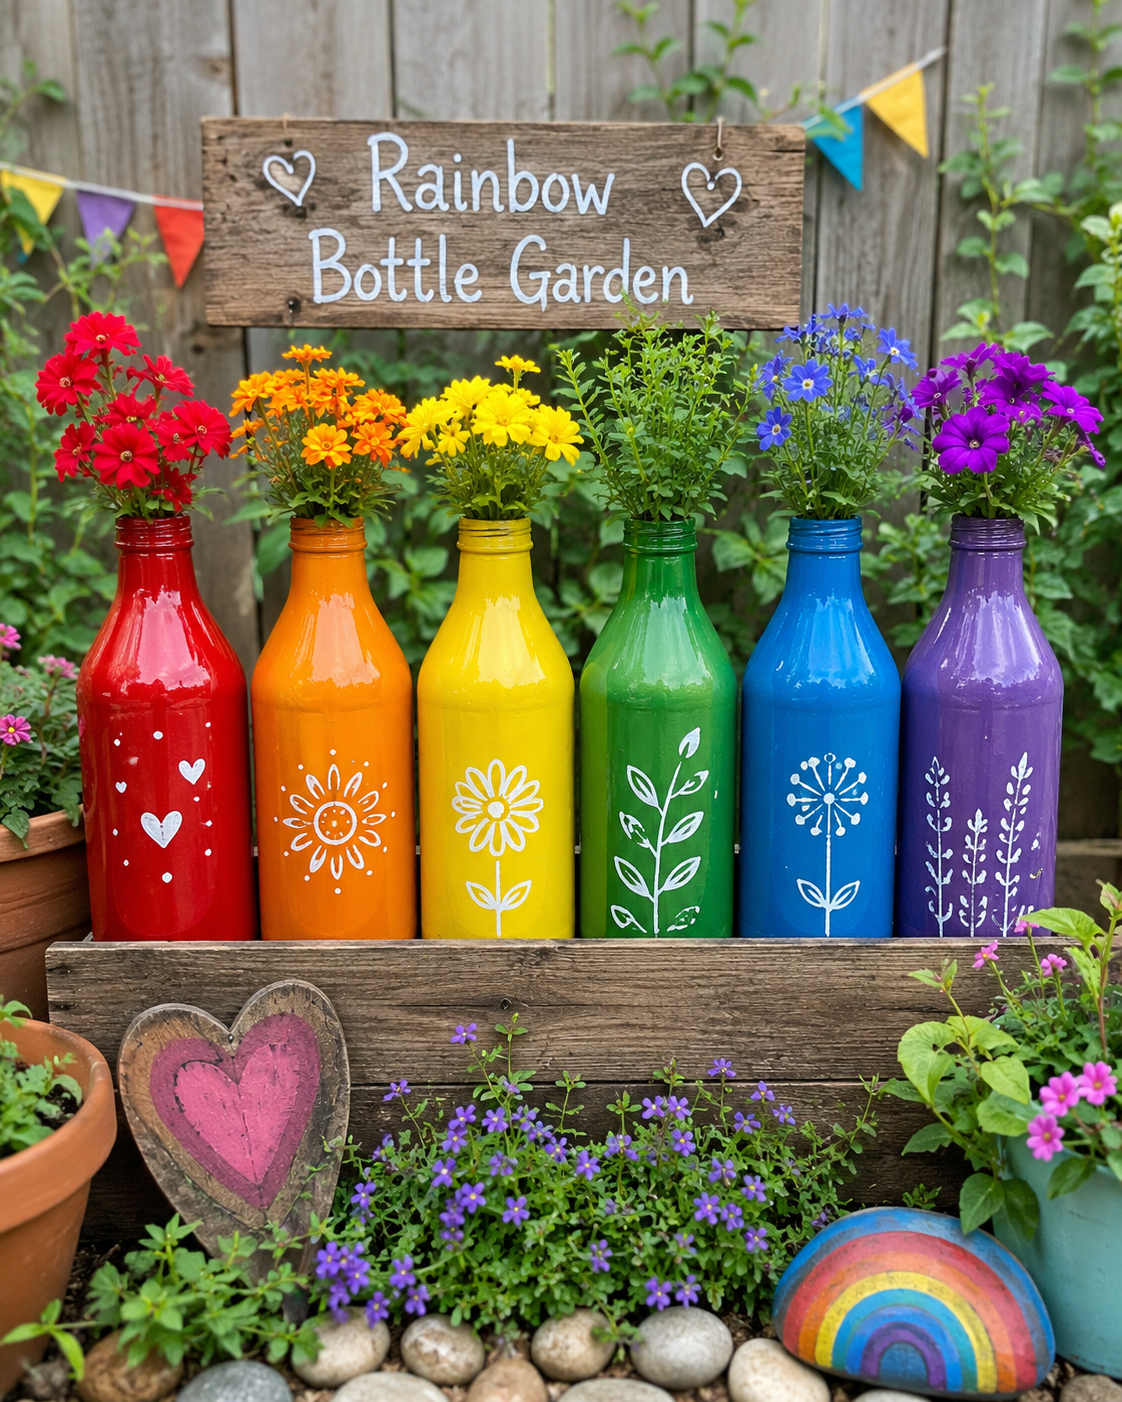
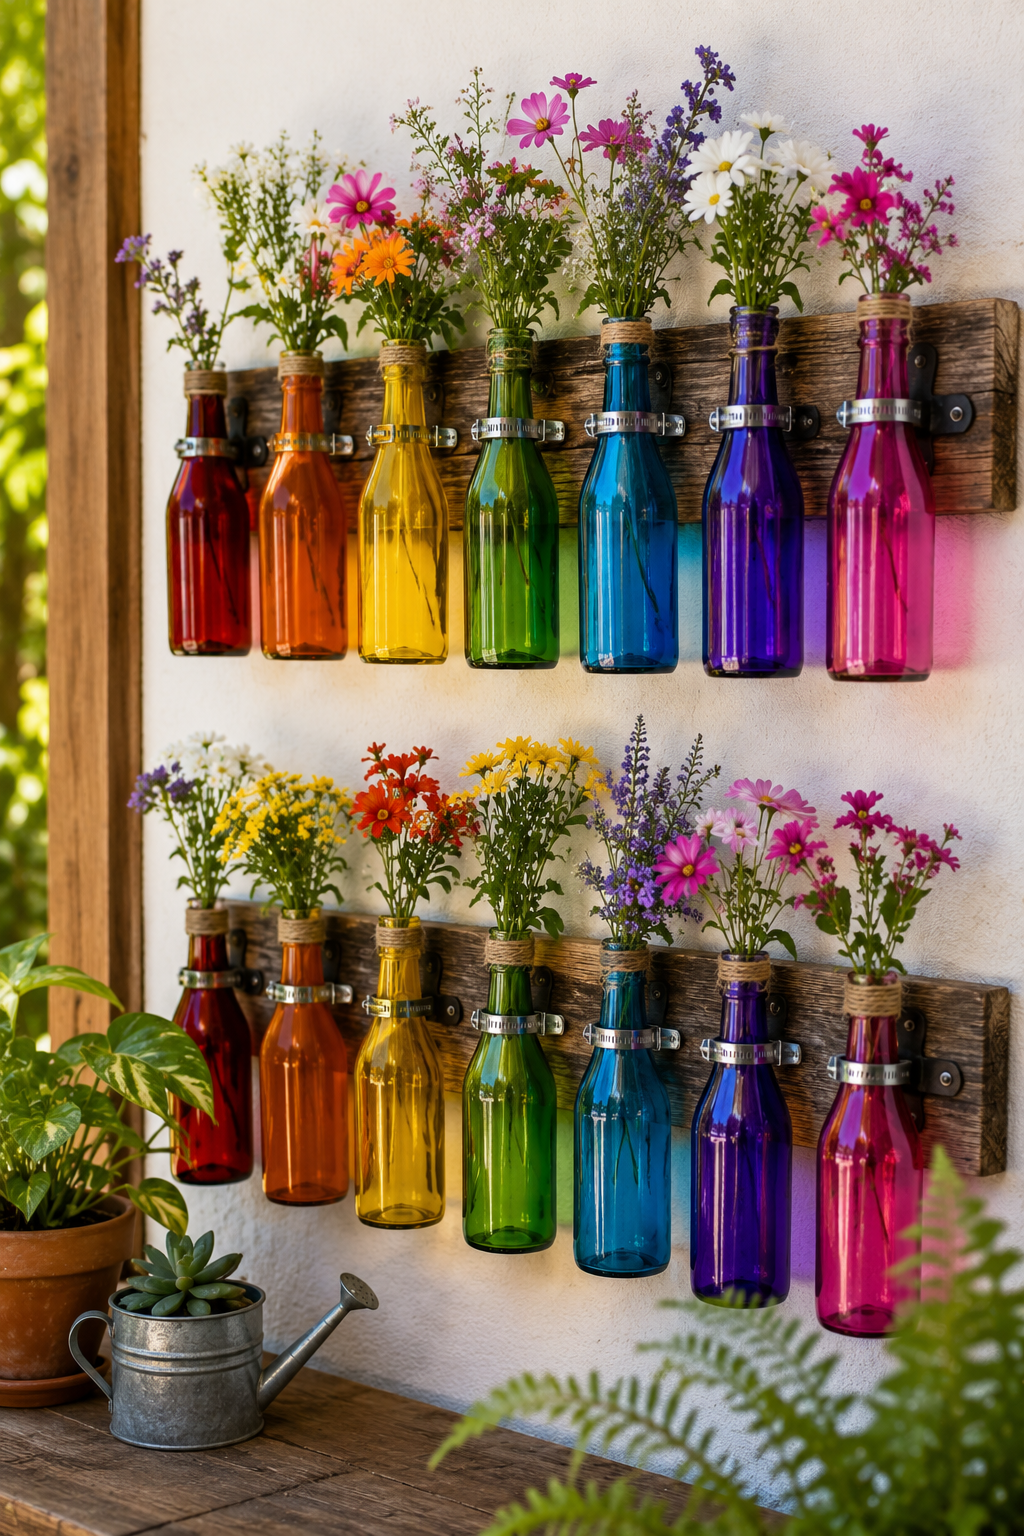
Materials and Supplies You'll Need
Gathering your materials before starting ensures a smooth, enjoyable crafting experience. Having everything within reach lets you focus on the creative process rather than stopping to search for items. The supplies for colorful bottle planting are relatively simple and budget-friendly.
Quality materials make a visible difference in your final result. Investing in clear glass and vibrant colors creates eye-catching displays. Don't worry if you can't find everything at once—this project is flexible and forgiving.
Glass Bottle Selection
The container you choose forms the foundation of your entire project. Clear glass bottles work best because they showcase the rainbow layers beautifully and allow light to reach your plants. Wine bottles, mason jars, apothecary jars, and specialty terrarium bottles all make excellent choices.
Consider the opening size when selecting your container. Wide-mouth jars offer easier access for planting and maintenance. Narrow-neck bottles create elegant displays but require longer tools and more patience during assembly.
Glass clarity matters significantly for the visual impact of your decorative sand garden bottles. Look for containers without tinting, scratches, or distortions. The bottle shape should complement your space—tall and slender for shelves, round and wide for table centerpieces.
Colored Sand and Soil
Colored sand creates the signature rainbow effect that makes these projects so striking. You can purchase pre-colored craft sand from hobby stores in virtually any color imaginable. Bright, contrasting colors create the most dramatic visual impact and really make your layers pop.
For a budget-friendly option, make your own colored sand at home. Mix white play sand with acrylic paint or food coloring, then spread it on newspaper to dry completely. This DIY approach lets you create custom colors that match your decor perfectly.
Soil selection depends on your chosen plants. Cactus and succulent mix provides excellent drainage for desert plants, while standard potting soil works better for ferns and tropical varieties. Always use fresh, sterile soil to prevent pest problems and diseases.
Tools and Accessories
The right tools make assembly much easier, especially when working with narrow containers. Long tweezers or forceps help position plants precisely without damaging delicate roots. A small funnel guides sand into bottles neatly, preventing messy spills on the glass sides.
Chopsticks or wooden dowels serve multiple purposes during construction. Use them to create divots for planting, adjust sand layers, and tamp down soil gently. A spray bottle with a fine mist setting helps water your mini succulent bottle garden without disturbing the layered sand.
Activated charcoal is essential for bottle gardens because it prevents odors and filters water in the enclosed environment. Add a thin layer above your drainage material. Small decorative stones, tiny figurines, or miniature accessories add personality and complete your design.
Best Plants for Bottle Gardens
Plant selection determines the long-term success of your bottle terrarium. Choose varieties that thrive in enclosed environments with limited space and specific moisture levels. The right plants will grow slowly, maintain compact sizes, and tolerate the unique conditions inside glass containers.
Consider the bottle opening size when selecting plants. Small specimens slip through narrow openings more easily than mature plants. You can always start with tiny plants and watch them grow into your available space.
Succulents and Cacti
Succulents are the top choice for bottle gardens because they tolerate dry conditions and need minimal maintenance. Echeveria varieties offer stunning rosette shapes in colors ranging from blue-green to purple-pink. Their compact growth habit fits perfectly in small spaces.
Haworthia species bring fascinating textures with their striped or spotted leaves. These small succulents rarely exceed three inches in height, making them ideal for confined spaces. They also tolerate lower light levels better than many other desert plants.
Small Aloe varieties and miniature cacti add vertical interest to your composition. Choose slow-growing specimens like Aloe 'Minibelle' or small Golden Barrel cacti. These plants require similar care—bright indirect light and infrequent watering—which simplifies maintenance considerably.
Step-by-Step Guide to Building Your Layered Sand Terrarium
Building a beautiful glass bottle ecosystem requires patience, creativity, and the right techniques to bring your vision to life. Each stage of the construction process plays an important role in creating a stunning display that will last for months or even years. Follow these detailed instructions to transform your glass container into a colorful work of living art.
The process might seem complex at first, but breaking it down into manageable steps makes it easy for anyone to master. Take your time with each phase, and don't rush through the details. Your careful attention now will pay off with a gorgeous finished project.
Step 1: Clean and Prepare Your Container
Start with a perfectly clean bottle to prevent mold, bacteria, and other problems down the road. Remove any labels by soaking the container in warm, soapy water for 30 minutes. Use a scraper or old credit card to gently peel away stubborn adhesive residue.
Wash the interior thoroughly with hot water and dish soap. A bottle brush with a long handle helps you reach every corner and curve. Rinse multiple times until no soap residue remains.
Sterilize your container by filling it with a solution of one part white vinegar to three parts water. Let it sit for 10 minutes, then rinse completely. Alternatively, you can use a diluted bleach solution (one tablespoon per gallon of water) for extra sanitization.
Allow the bottle to air dry completely, which may take 24 hours depending on humidity levels. Place it upside down on a clean towel to speed up the process. Any remaining moisture can create condensation problems or encourage unwanted growth inside your layered sand terrarium.
Step 2: Create the Rainbow Layered Sand Base
The colorful sand foundation is where your artistic vision comes to life. This rainbow sand art planter technique creates the eye-catching visual appeal that makes bottle gardens so special. Plan your color scheme before you begin pouring to ensure a cohesive look.
Gather your colored sand and decide on layer thickness. Thicker layers (1-2 inches) create bold, dramatic statements, while thinner layers (0.5-1 inch) allow for more color variety. The total sand depth should be about one-quarter to one-third of your bottle height.
Step 3: Add Drainage and Soil Layers
Proper drainage prevents root rot and keeps your glass bottle ecosystem healthy. Add a layer of small pebbles, gravel, or activated charcoal about one inch thick on top of your colorful sand. These materials allow excess water to drain away from plant roots.
Activated charcoal offers the additional benefit of filtering water and absorbing odors, which is especially valuable in closed or partially closed containers. Rinse any drainage materials before adding them to remove dust that could cloud your display.
Next comes the soil layer, which should be appropriate for your chosen plants. For succulents and cacti, use a well-draining cactus mix. Tropical plants prefer moisture-retentive potting soil. The soil depth should be at least 2-3 inches to provide adequate root space.
Keep your layered soil bottle garden visually appealing by ensuring the colorful sand layers remain visible below the functional layers. Use a piece of cardboard or thick paper as a temporary barrier when adding pebbles and soil to prevent them from tumbling down and mixing with your sand art.
Step 4: Plant Your Mini Succulent Bottle Garden
Planting through narrow bottle openings requires special techniques and patience. The reward is a thriving miniature garden that showcases your plants beautifully. Prepare your plants by gently removing excess soil from roots and trimming any damaged portions.
Create holes in the soil before attempting to insert plants. Use a chopstick, long spoon handle, or specialized terrarium tool to dig appropriate spaces. Make holes slightly larger than the root systems to avoid crushing delicate roots during placement.
Planting Techniques for Narrow Openings
Long tweezers or forceps become your best friends when working with small openings. Grasp each plant gently but firmly near the base of the stem, not by leaves which can tear easily. Lower the plant slowly through the opening, guiding roots into the prepared hole.
Use gravity to your advantage by allowing the plant to slide naturally downward while you control its direction with your tools. Once positioned, use a chopstick or tamping tool to gently press soil around the roots, securing the plant in place.
For extremely narrow necks, consider creating a paper funnel around the plant to protect leaves during insertion. Some crafters successfully use rolled newspaper or parchment paper as a temporary sleeve that slides out once the plant is positioned.
Arranging Multiple Plants
Design balance comes from thoughtful plant placement. Position your tallest or most dramatic plant slightly off-center to create visual interest. Surround it with smaller specimens, varying heights to avoid a flat appearance.
Consider the mature size of each plant, leaving adequate space for growth. Overcrowding leads to competition for light and resources, causing plants to stretch or become unhealthy. A good rule is to space plants at least one inch apart.
Color contrast enhances visual appeal in your layered soil bottle garden. Pair silvery-green succulents with darker green varieties, or mix different textures like smooth jade plants with spiky aloe. The combination creates depth and maintains viewer interest.
Step 5: Finishing Touches and Decoration
Decorative elements transform a simple planting into a personalized masterpiece. Small polished stones, crystals, or glass pebbles add sparkle and cover any exposed soil. Choose colors that complement your sand layers and plant tones.
Preserved moss makes excellent ground cover, creating a natural forest floor appearance. Press it gently around plant bases to hide soil and add texture. Spanish moss draped carefully among plants creates an aged, whimsical look.
Miniature figurines, tiny garden ornaments, or small pieces of driftwood create themed displays. Fairy garden accessories work wonderfully for magical themes, while small shells and sea glass suit coastal designs. Keep decorations proportionate to your bottle size.
Add a final layer of decorative sand or fine gravel on the soil surface if desired. This top dressing gives a finished, professional appearance while helping retain soil moisture. Choose a neutral color that won't compete with your rainbow layers below.
Conclusion
You now have everything you need to create a stunning Rainbow Bottle Garden that brings color and life to any space. This rewarding DIY project combines artistic expression with simple gardening techniques. The best part? Anyone can do it, regardless of experience level.
Your Rainbow Bottle Garden offers endless possibilities for personalization. Try different colored sand combinations to match your home décor. Experiment with various bottle shapes and sizes. Mix and match plant varieties to create unique displays each time.
These miniature ecosystems make thoughtful gifts for friends and family. They serve as conversation starters and brighten up desks, windowsills, and shelves. Kids enjoy helping with the layering process, making this a perfect family activity for weekends.