Cork and Bead Ornaments Threaded on Fine Wire


Looking for a fun and sustainable crafting project? You've found it! Wine corks can turn into stunning holiday decorations. They're perfect for your home.
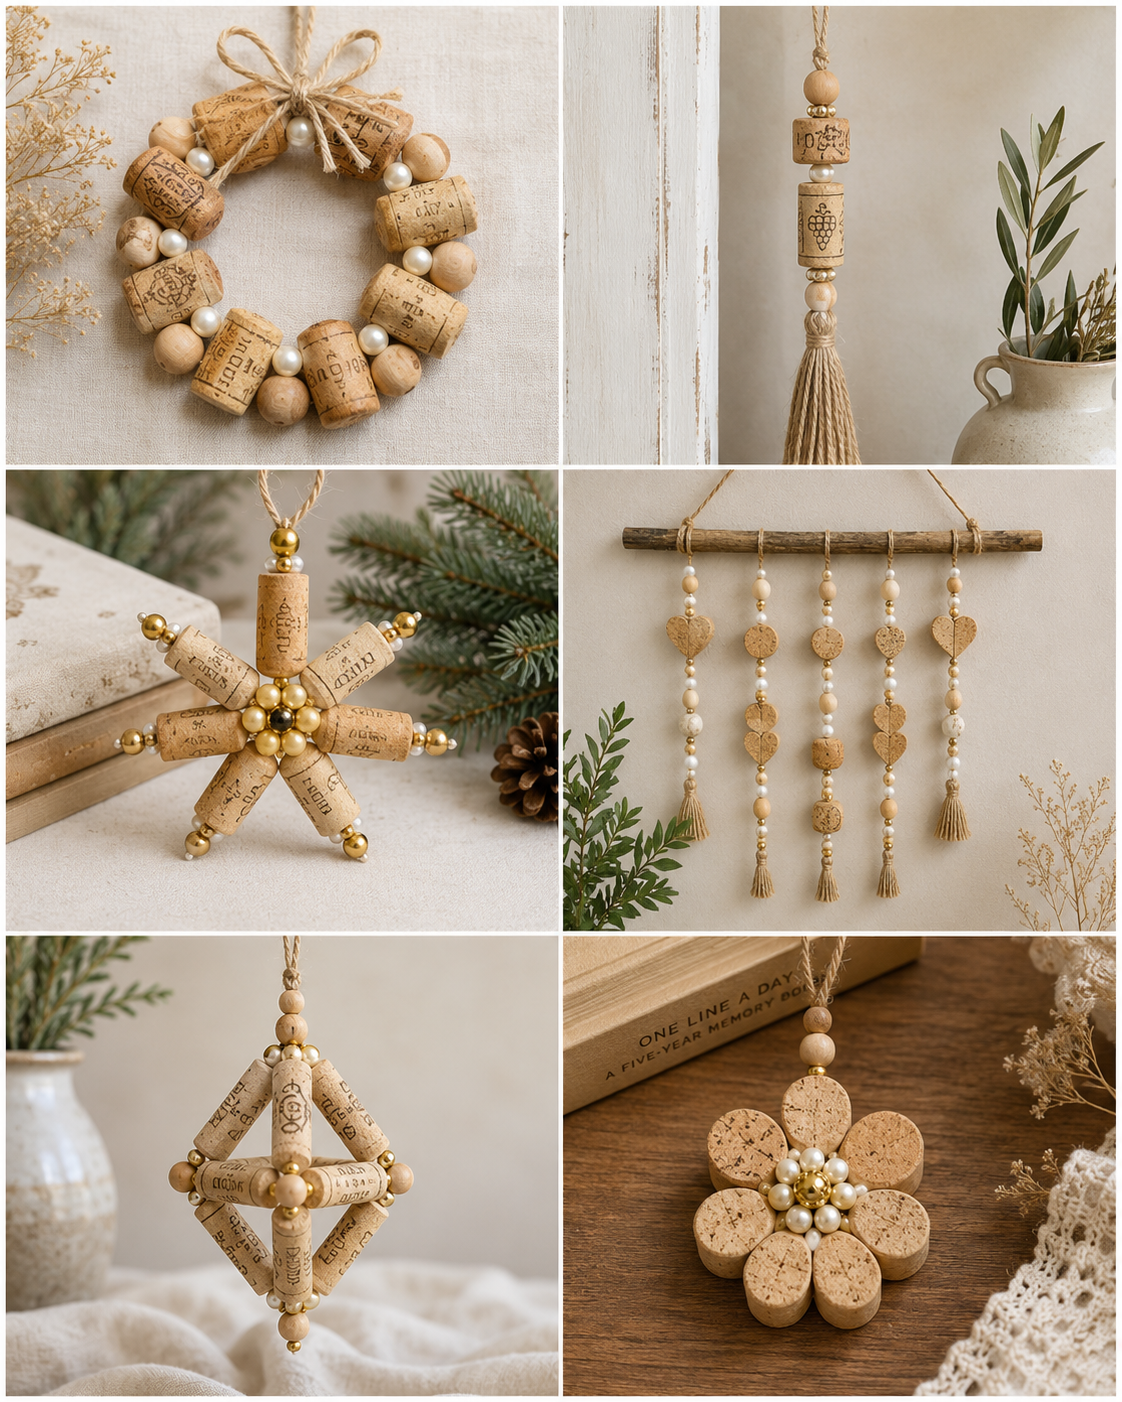
This guide will teach you to make DIY cork Christmas ornaments. They mix rustic charm with sparkling sophistication. These projects are easy and rewarding, no matter your crafting level.
You can make each ornament your own. Add shimmering beads for holiday sparkle or natural tones for all-year décor. These handmade gifts are cherished by friends and family.

By upcycling wine corks, you're choosing an eco-friendly option. You'll create something special. Let's start this creative journey and see how easy it is to make elegant decorations.
Materials and Tools You'll Need
Most materials for these cork and bead holiday crafts are easy to find and won't break the bank. You might even have some in your craft drawer already. Having everything ready before you start will make your project go smoothly. This way, you can focus on making beautiful beaded cork decorations without any hiccups.
This project is very flexible. You can start with simple things and add more details as you get better. Let's look at what you need to make stunning ornaments that will be treasured during the holidays.
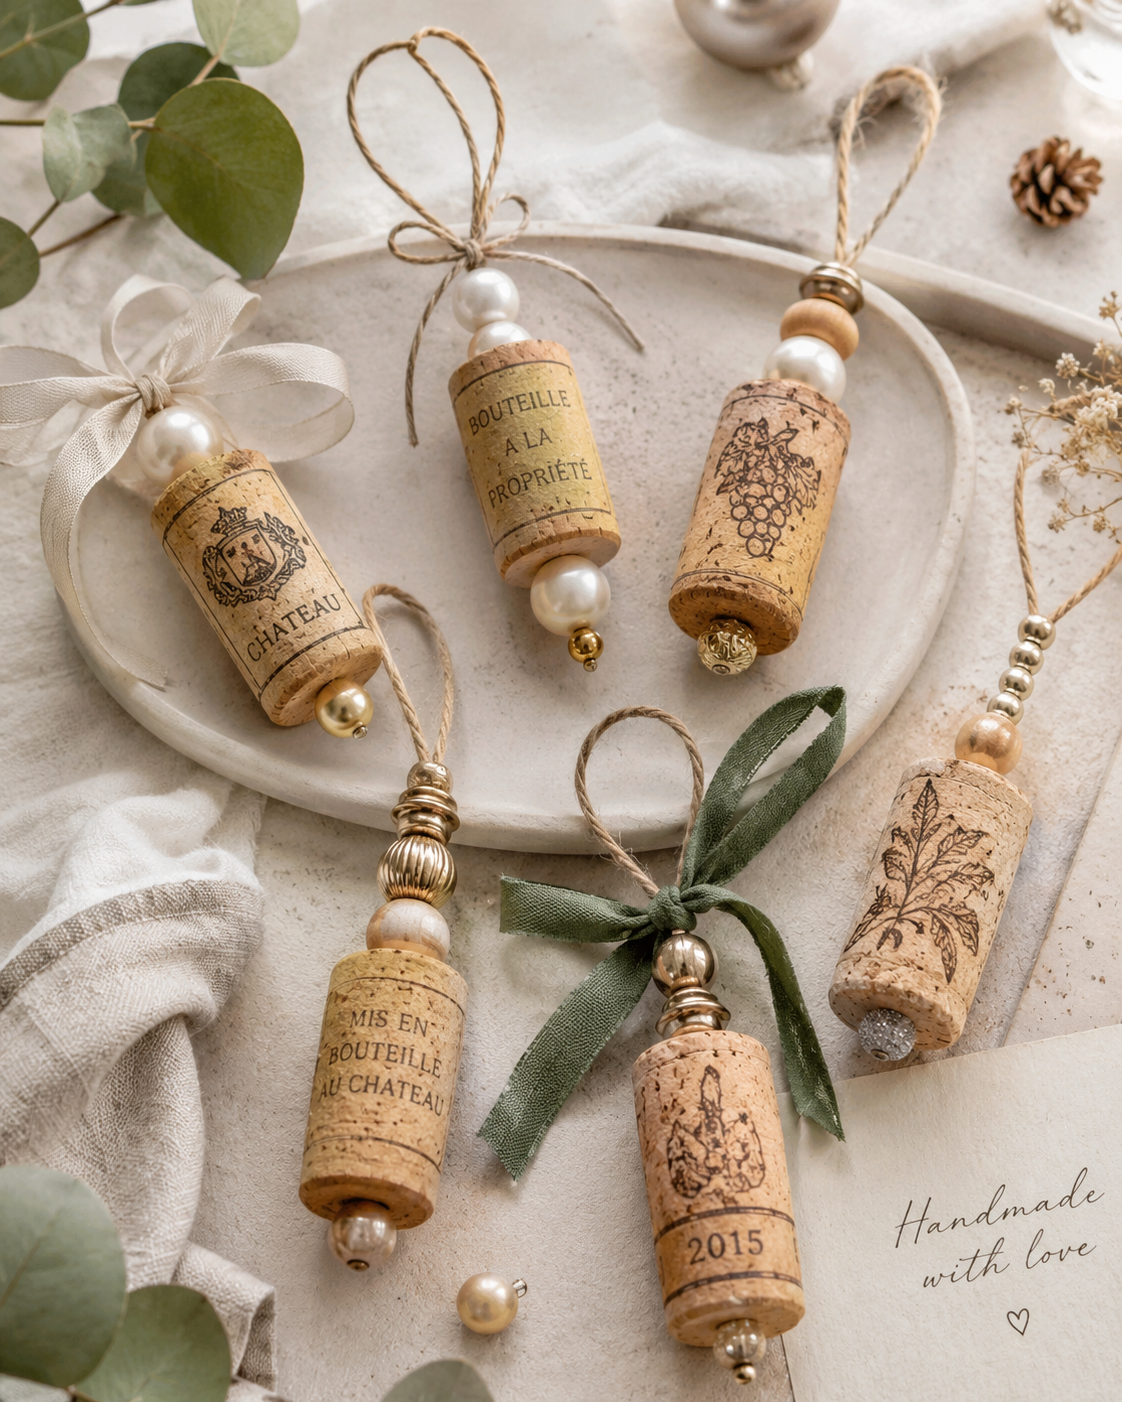
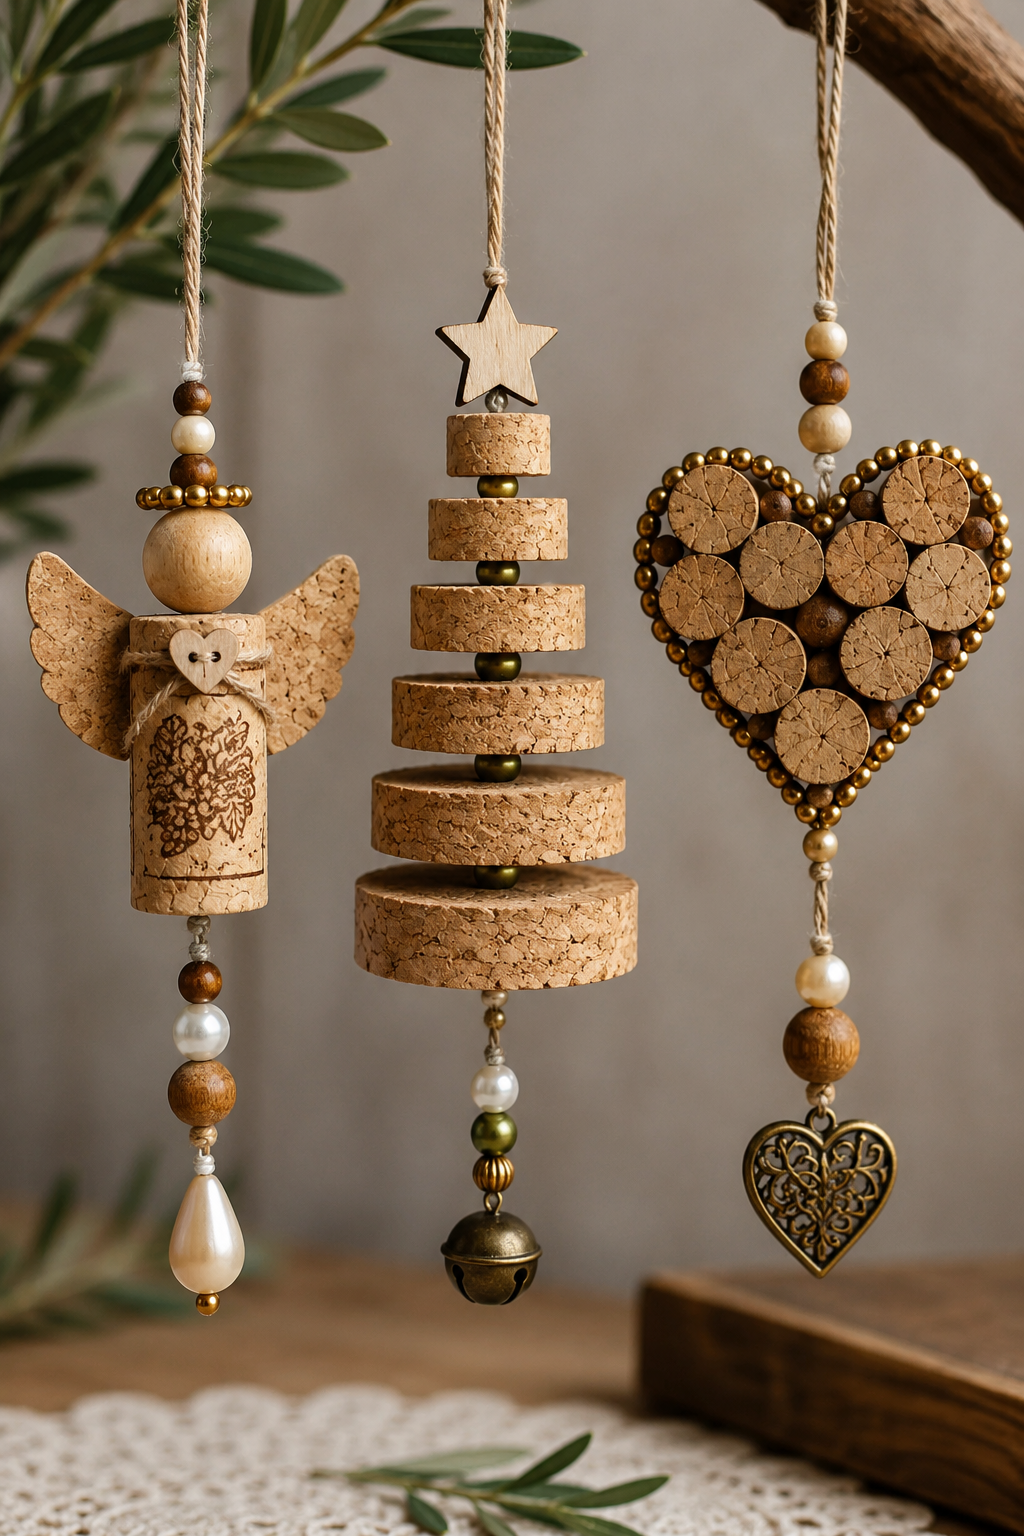
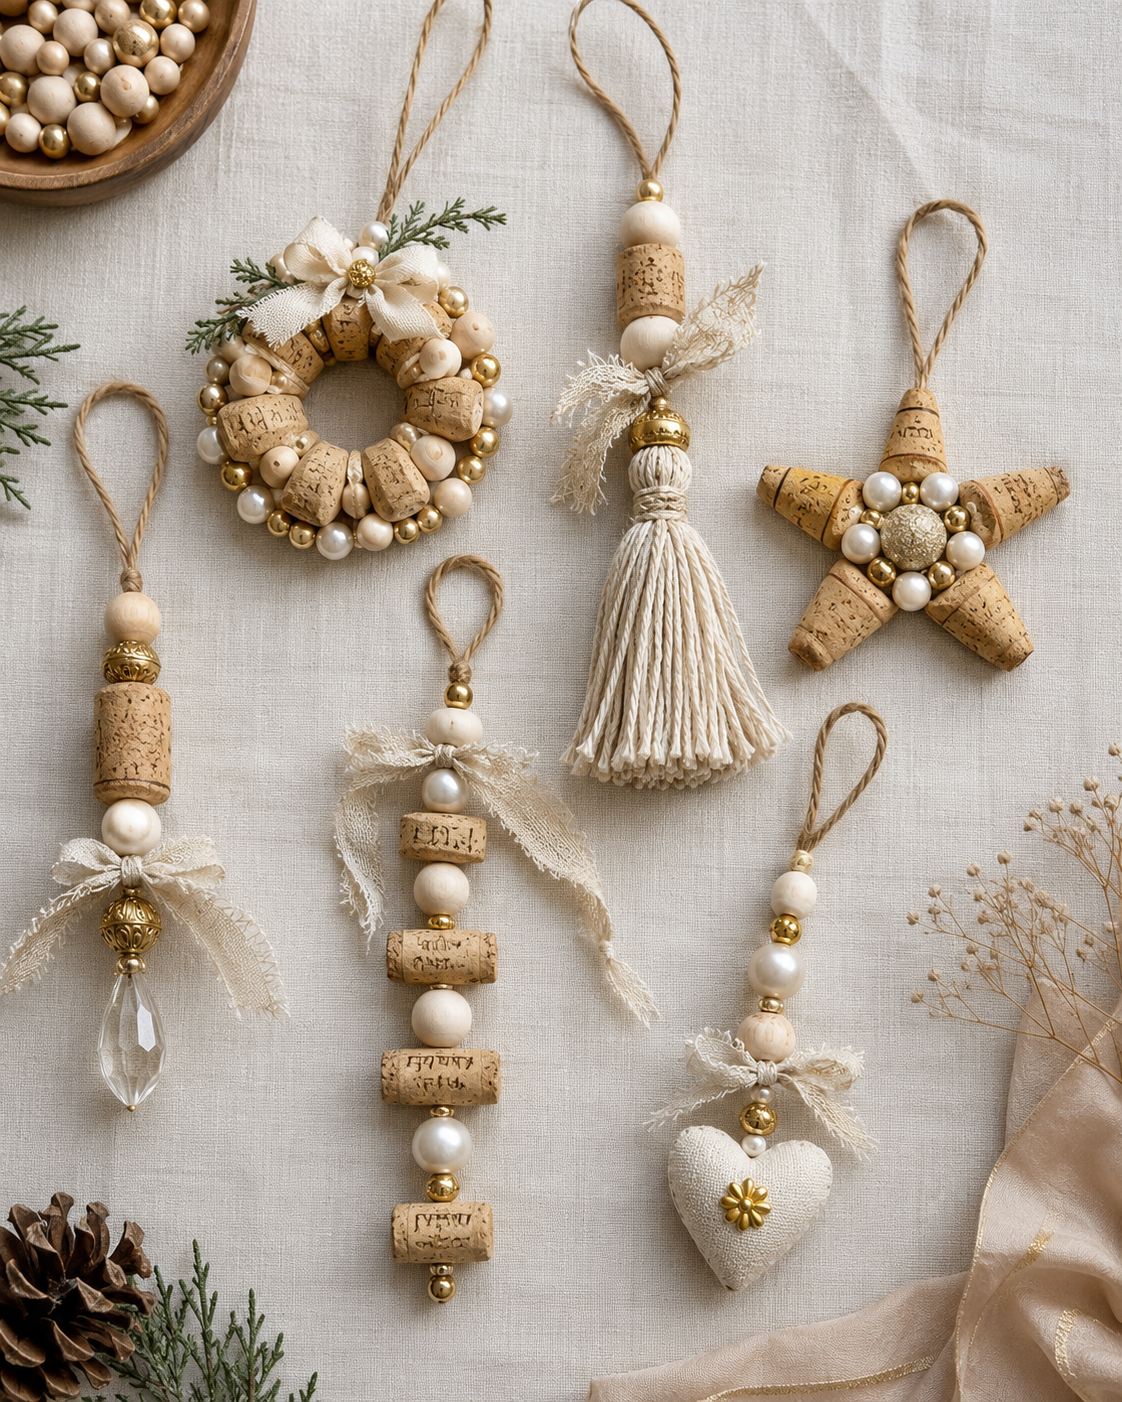
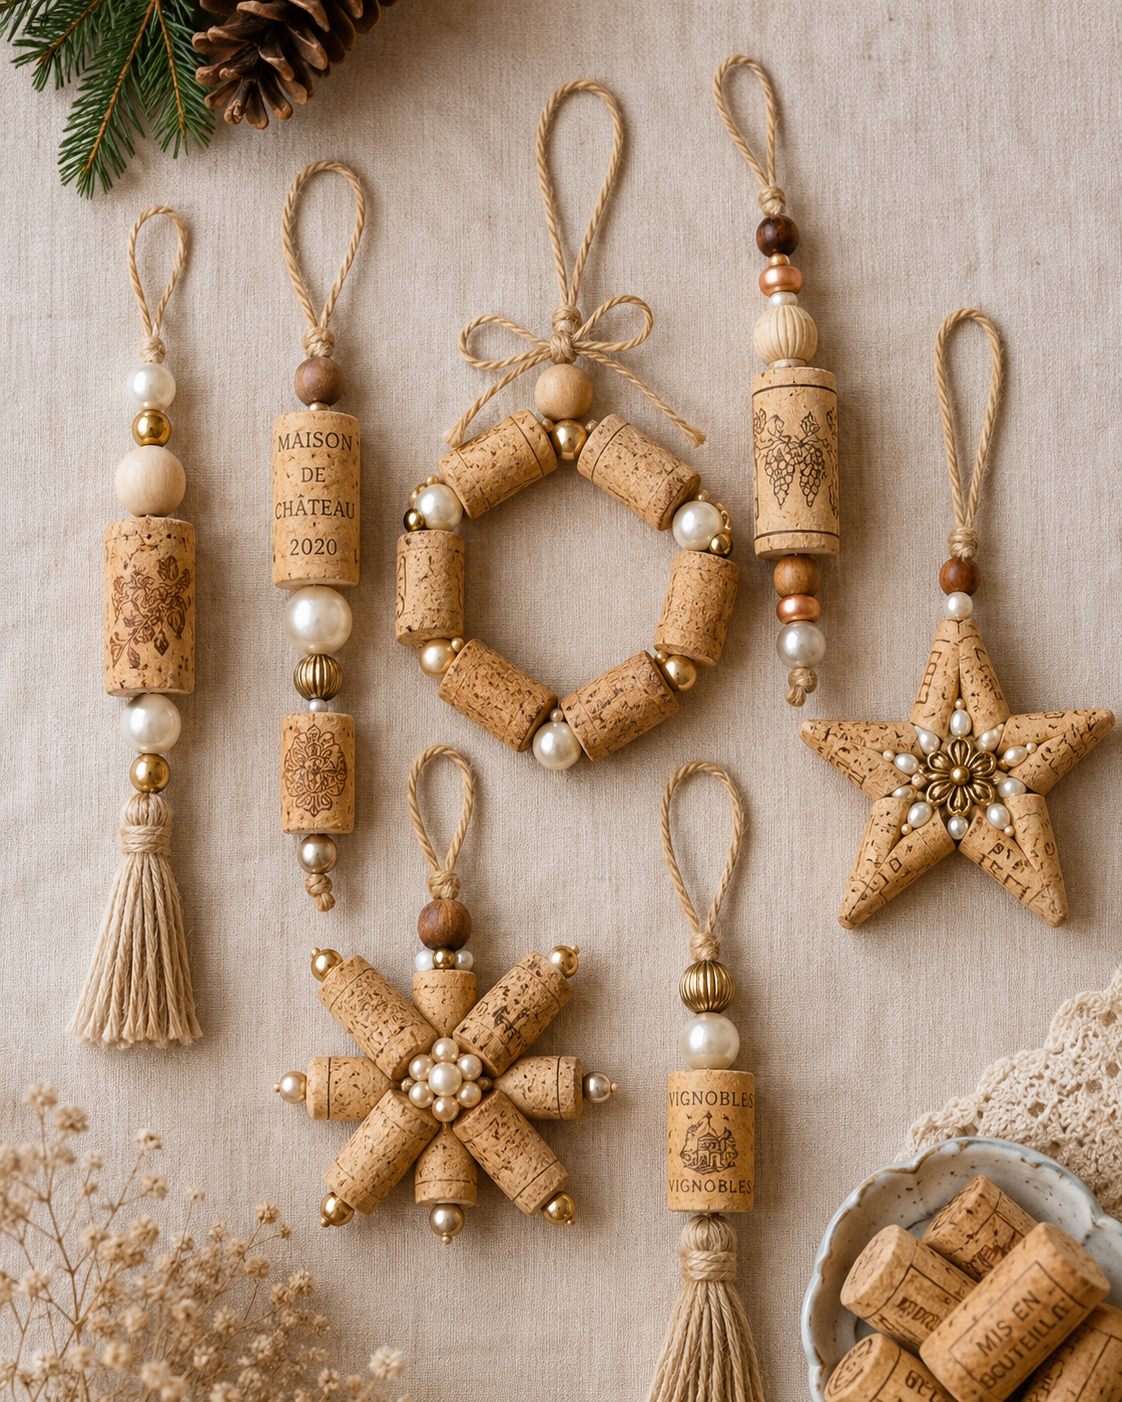
Cork Materials
Wine corks are the base of your ornament project. The right type of cork makes a big difference. Natural corks are best because they're easy to pierce and have a natural charm. They also hold pins and hardware better than synthetic corks.
You'll need 10 to 20 corks to get started, depending on how many ornaments you want to make. You can collect natural wine corks from your bottles or ask friends and family to save theirs. If you're in a hurry, you can buy bags of unused corks online or at craft stores.
Synthetic corks are denser and harder to work with. They don't absorb paint or stain as well, which might limit your decorating options. For the best results, always use natural cork.
Beads and Decorative Elements
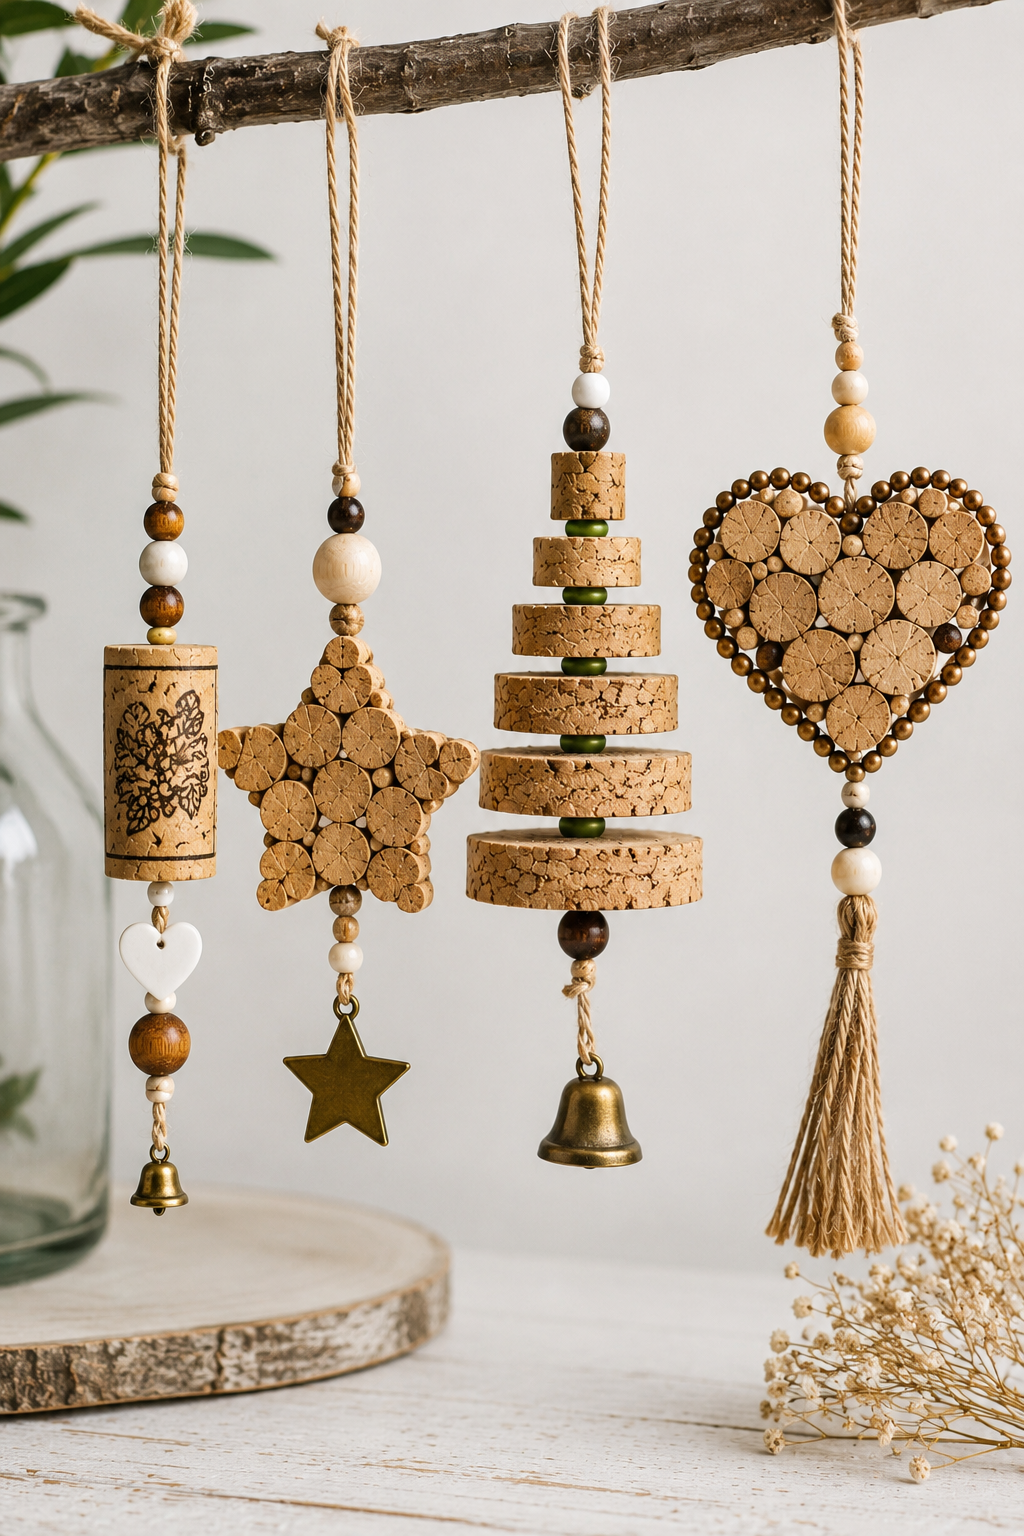
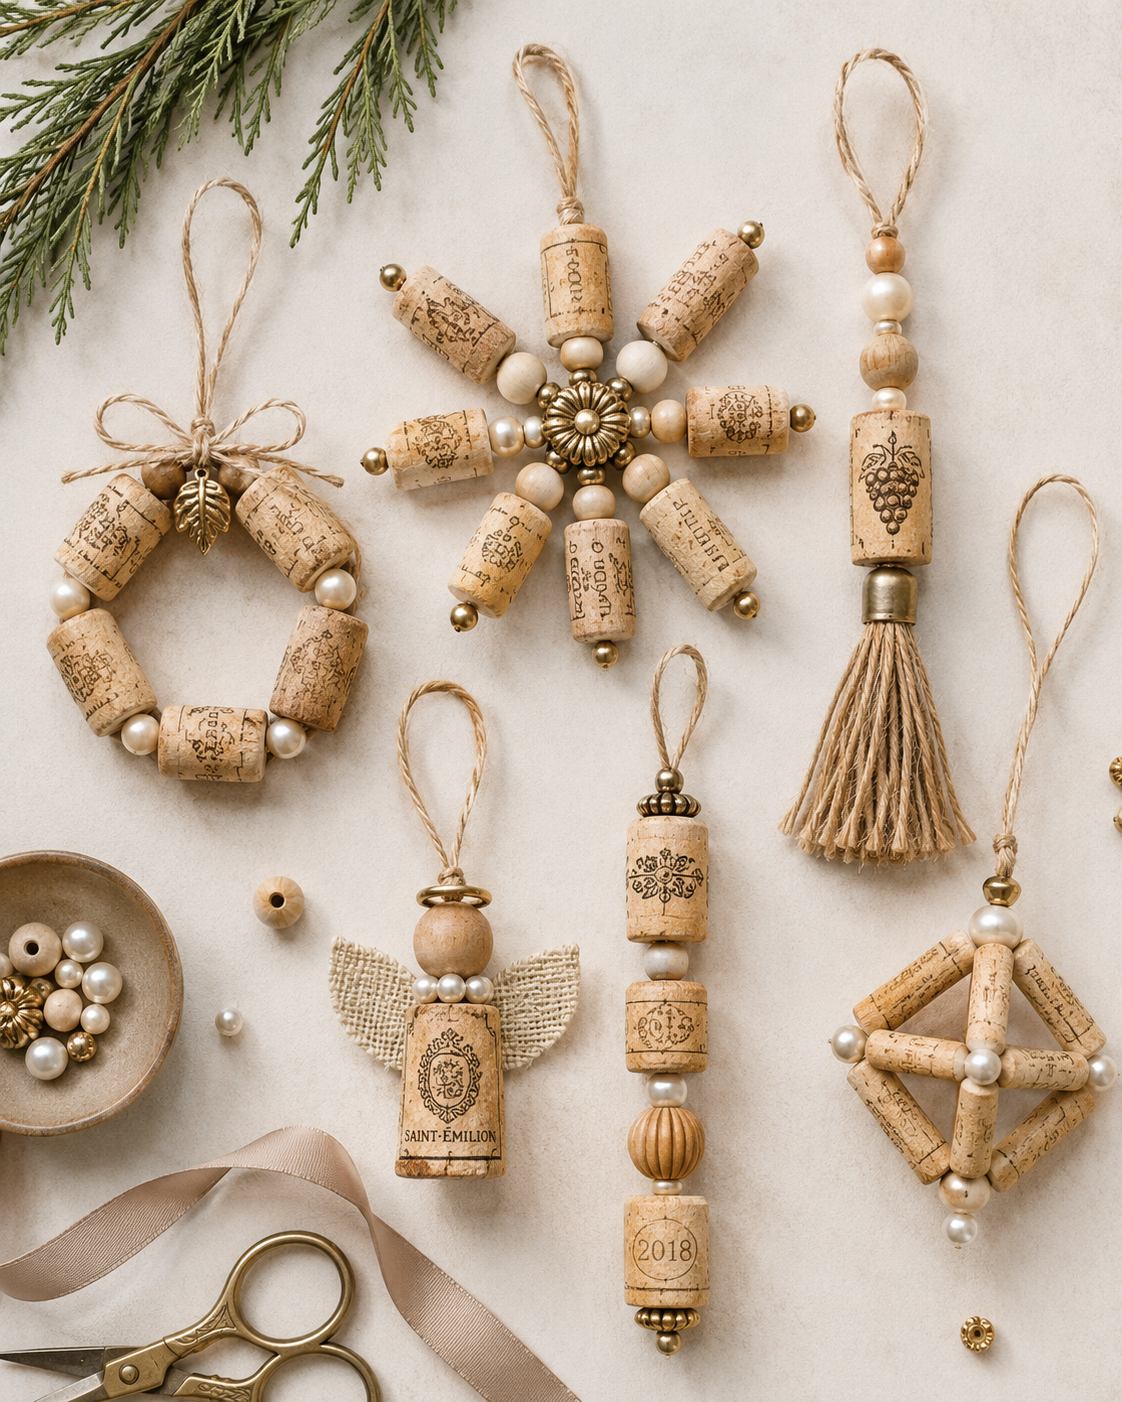
The bead selection is where you can really show off your creativity and make your handmade cork ornament ideas unique. Glass beads make elegant ornaments that catch the light. They come in many colors, from classic reds and greens to modern silvers and golds.
Wooden beads give a natural, rustic look that goes well with cork. They're light and easy to work with, perfect for beginners. You can leave them natural or paint them to match your holiday theme.
Pearl and crystal beads add a touch of class to your designs. These premium beads turn simple cork ornaments into special decorations. Mixing different bead sizes adds depth and interest to your designs.
Think about the finish of your beads too. Matte beads have a subtle look, while metallic or iridescent ones sparkle. Having a variety of beads lets you try out different styles all season long.
Optional Embellishments
Once you've got the basics down, you can add extra touches to your beaded cork decorations. Narrow ribbons in satin, velvet, or grosgrain add elegance. You can wrap them around the cork or tie tiny bows. Metallic ribbons add extra sparkle to your cork and bead holiday crafts.
Glitter and paint let you customize your ornaments even more. You can paint corks solid colors before adding beads, or add glitter accents. Acrylic craft paint works well on natural cork and dries quickly.
Miniature pine cones, artificial greenery, and tiny bells make charming accents for your holiday theme. Small fabric flowers, sequins, or rhinestones add glamour. These elements are great for Christmas table centerpieces made with cork, too, so you can match your ornaments with other holiday decor.
Don't hesitate to use unexpected treasures from your craft supplies. Buttons, charms, small feathers, or tiny photographs can be added to your designs. The beauty of handmade cork ornament ideas is that each one is a unique reflection of your style and creativity.
Create Elegant Cork Ornaments with Beads: Step-by-Step Instructions
Making stunning beaded cork ornaments is easy when you break it down. This guide will show you how to turn wine corks into beautiful decorations. You'll learn helpful tips and techniques to make crafting fun and easy.
Each step builds on the last to ensure your ornaments are perfect. Take your time with each step. The care you put in will show in your upcycled wine cork ornaments.
Step 1: Prepare Your Wine Corks
Before decorating, prepare your corks well. Clean corks help adhesives stick better and make your ornaments last longer. This first step is crucial for a great result.
Start by collecting all the wine corks you'll use. Check each cork for damage. Set aside any corks that are damaged.
Cleaning and Inspecting
Soak corks in warm water with a bit of dish soap. Use a soft brush to clean off wine stains and residue. Focus on the ends where wine touched the most.
Rinse the corks well and shake off water. Dry them with a clean towel. Let the corks dry completely for at least 24 hours before starting your project.
While drying, check the corks for any stains. A bit of staining can add charm to your ornaments. Deep stains can make your wine cork crafts look even more rustic.
Step 2: Add Hanging Hardware
Once the corks are dry, add the hardware to hang your ornaments. This step is important for a secure and balanced hang. The right hardware placement prevents your ornaments from tilting or falling.
Eye pins or small screw eyes work well for this. Choose hardware that fits your style—silver for modern or brass for vintage. The size should match your cork and the weight of your decorations.
Installing Eye Pins or Screws
Mark the cork's top center with a pencil. This ensures your ornament hangs straight. Use a small drill bit or awl to make a pilot hole about half an inch deep.
Twist the eye pin or screw eye into the hole by hand. Apply steady pressure as you rotate it clockwise. Stop when it sits flush against the cork top, creating a secure anchor point for hanging.
Test the hardware by gently tugging on it. It should feel firmly anchored without any wobbling. If it feels loose, remove it and try a slightly larger screw eye or add a tiny drop of super glue before reinserting.
Step 3: Design Your Bead Pattern
This stage lets your personality shine in your elegant cork bead designs. Planning your pattern prevents mistakes and saves materials. A well-planned design creates visual harmony and professional-looking results.
Think about the colors, sizes, and textures of your beads. Consider how they'll complement each other and create interest. Your pattern choices can reflect holidays, seasons, or personal style preferences.
Planning Your Layout
Sketch your ideas on paper before starting. Draw a simple cork outline and color in your planned bead placement. This visual guide helps you see how different patterns will look on the three-dimensional surface.
Try different arrangement styles to find what appeals most to you. Horizontal stripes create a classic look, while spiral patterns add dynamic movement. Random placement offers a playful, casual vibe perfect for eclectic decor.
Lay your corks flat and arrange loose beads on them to test your designs. Take photos from different angles to see how the patterns will appear when hanging. Adjust colors and spacing until you achieve the perfect balance.
Consider creating a theme across multiple ornaments for a coordinated set. Use the same color palette with varied patterns, or repeat one signature design element on each piece. This approach creates cohesion in your festive cork ornament tutorials.
Step 4: Attach Beads to the Cork
Now comes the most satisfying part—bringing your design to life with beads. This stage requires patience and attention to detail for best results. Working methodically ensures each bead stays exactly where you want it.
Two main techniques let you add beads to your cork ornaments. You can glue beads directly onto the cork surface, or create hanging garlands that drape around or dangle from your piece. Many beautiful ornaments combine both methods for added dimension and interest.
Gluing Techniques
Choose an adhesive appropriate for your bead materials. E6000 craft adhesive works excellently for glass and metal beads, while hot glue suits plastic and wooden varieties. Clear-drying glues prevent visible residue that could detract from your design.
Apply a small dot of glue to the back of each bead using a toothpick. This precision prevents excess adhesive from squeezing out around the edges. Press the bead firmly onto the cork and hold for several seconds until it grabs.
Work in small sections to keep the glue from drying before you place your beads. Complete one horizontal row or one section of your pattern before moving to the next. This methodical approach prevents rushed mistakes and maintains pattern accuracy.
Allow each section to dry completely before rotating the cork to work on another area. Patience during drying time prevents beads from sliding out of position. Most adhesives need at least an hour to set fully, though overnight curing provides maximum strength.
Creating Bead Garlands
Cut a length of thin jewelry wire or strong thread about 12 inches long. String beads onto it in your chosen pattern, leaving about 2 inches free at each end. These hanging elements add beautiful movement and dimensional interest to your ornaments.
Wrap the wire around the cork's middle or loop it through the eye pin at the top. Twist the ends together securely and trim any excess with wire cutters. Tuck the twisted portion discretely against the cork or hide it under a decorative element.
Create dangles by threading beads onto wire and forming a loop at the top. Attach these to the bottom of your cork through a second eye pin or by wrapping around the base. Multiple dangles at varying lengths create elegant, chandelier-style ornaments.
Step 5: Add Finishing Touches
Your ornament is nearly complete, but these final details transform it from handmade to professionally crafted. Finishing touches add polish and ensure everything stays secure during handling and display. These elements also provide opportunities to personalize your creations.
Consider what will make your ornament truly special. A beautiful ribbon, a tiny charm, or a delicate accent bead can elevate the entire piece. These details show thoughtfulness and care in your craftsmanship.
Adding Ribbons and Hangers
Cut a 10-inch length of decorative ribbon in a coordinating color. Thread it through the eye pin and bring both ends together to form a loop. Tie the ends in a secure knot about 3 inches from the top, creating the hanging loop.
Create a bow with a separate ribbon piece and glue it at the top of your ornament to hide the knot. Choose satin, grosgrain, or organza ribbon depending on your style preference. The bow adds a festive finishing touch perfect for holiday displays.
Add any final embellishments you desire, such as tiny artificial flowers, miniature pine sprigs, or metallic charms. Secure these with dabs of hot glue, positioning them to enhance your bead pattern. Small touches of glitter or metallic paint can highlight certain areas for extra sparkle.
Inspect your completed ornament from all angles. Check that all beads are firmly attached and the hanging hardware feels secure. Give everything a final 24-hour curing period before handling or packaging. Your beautiful handmade ornament is now ready to display or gift with pride!
Conclusion
You've learned how to turn simple wine corks into beautiful ornaments. Making elegant cork ornaments with beads is a fun way to decorate your home and give gifts.
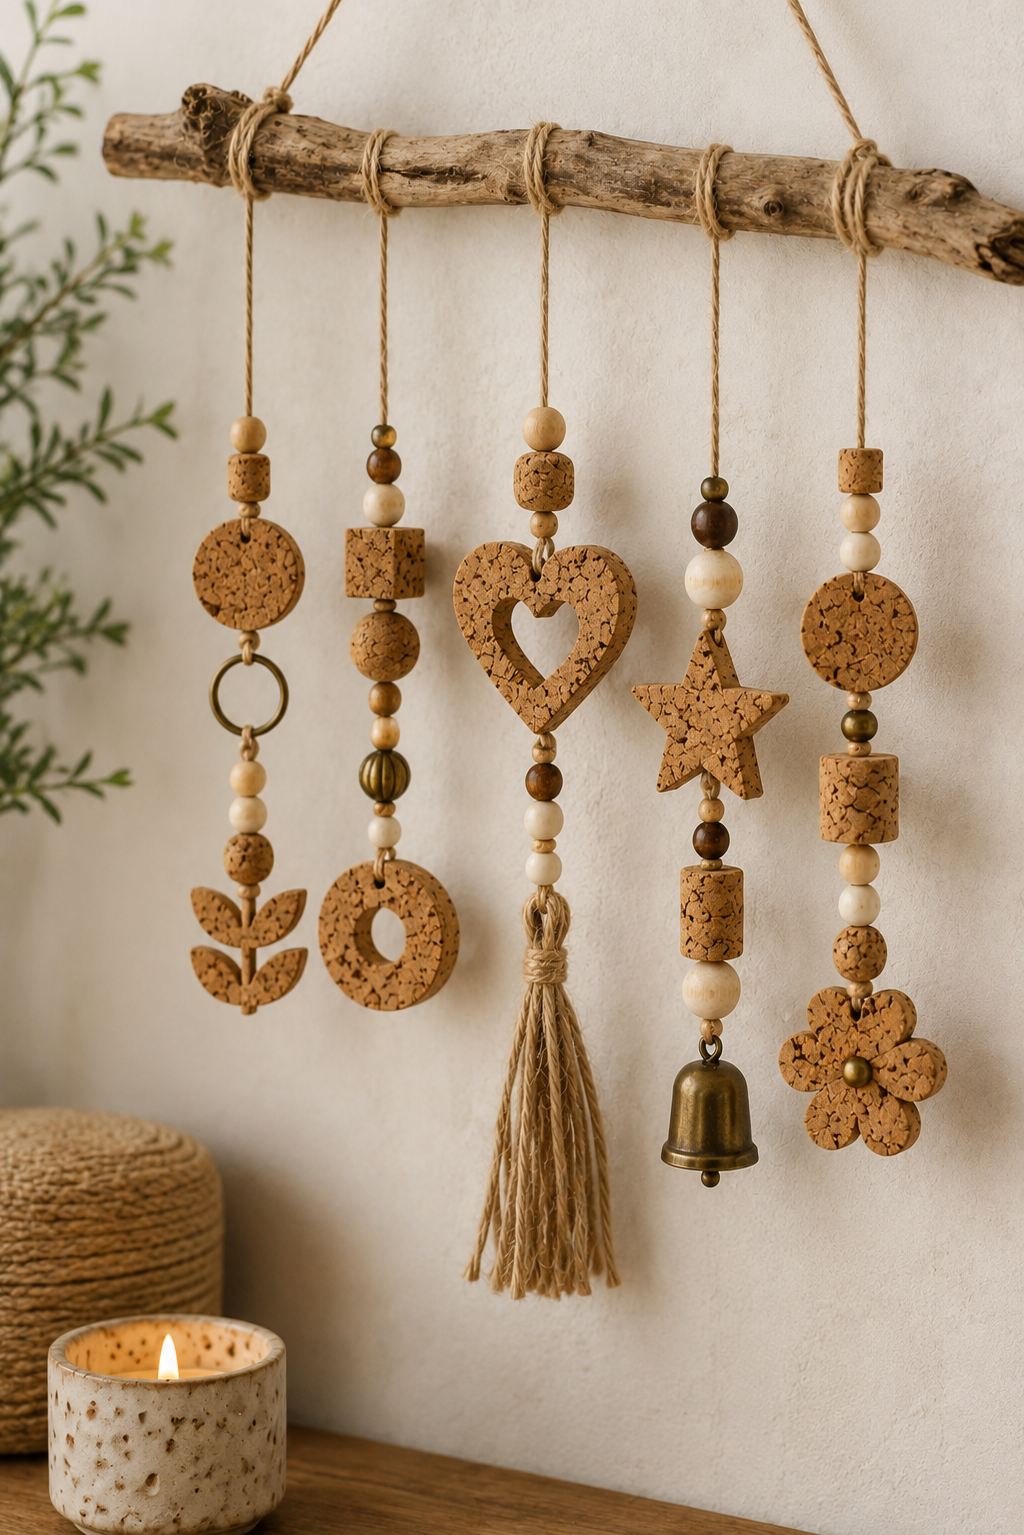
These ornaments are perfect for any time of year. You can hang them on your Christmas tree or use them as gift toppers. They also look great on decorative branches all year round. Each ornament is unique and full of handmade charm.
Don't be afraid to try different bead colors and patterns. You can make snowflakes or stars by combining multiple corks. Silver beads give a winter feel, while bright colors are great for spring and summer.
Having a crafting party with friends makes this project even more fun. Kids can help pick bead patterns and paint designs. It's a great way to make memories and beautiful keepsakes.
Your handmade cork ornaments with beads are thoughtful gifts that everyone will love. They show off your creativity and care for the environment. Start making more today and explore new designs that show off your style. The possibilities are endless when you mix natural materials with shiny embellishments.