Colorful Handmade Mobile with Pine Cones: A Charming DIY Nature Craft

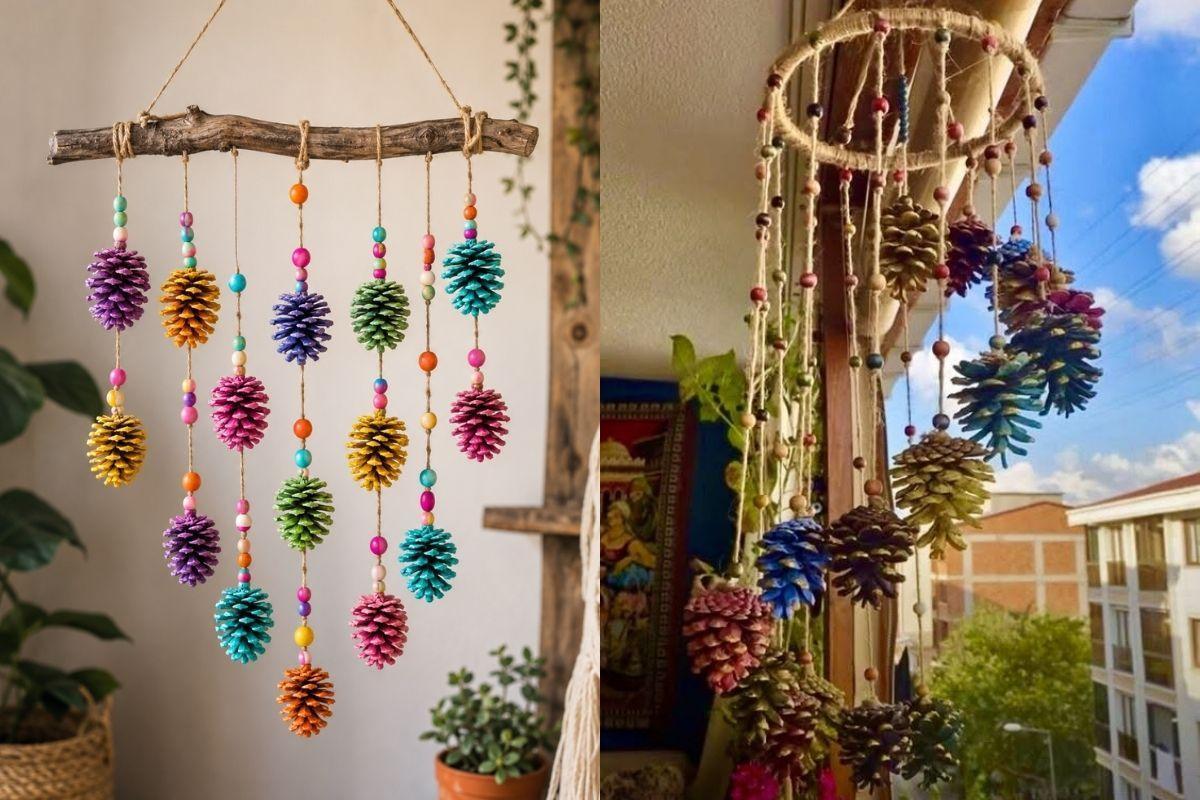
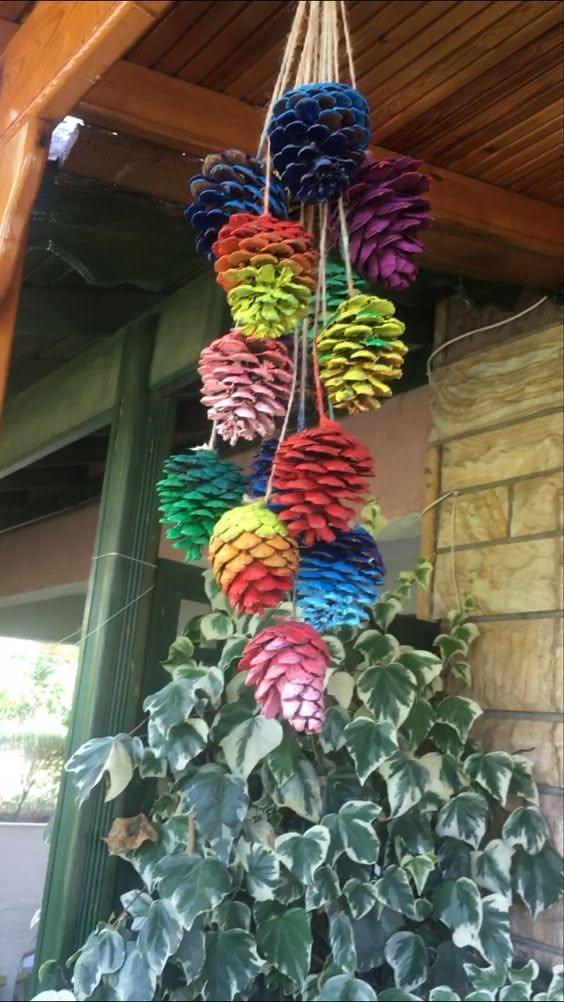
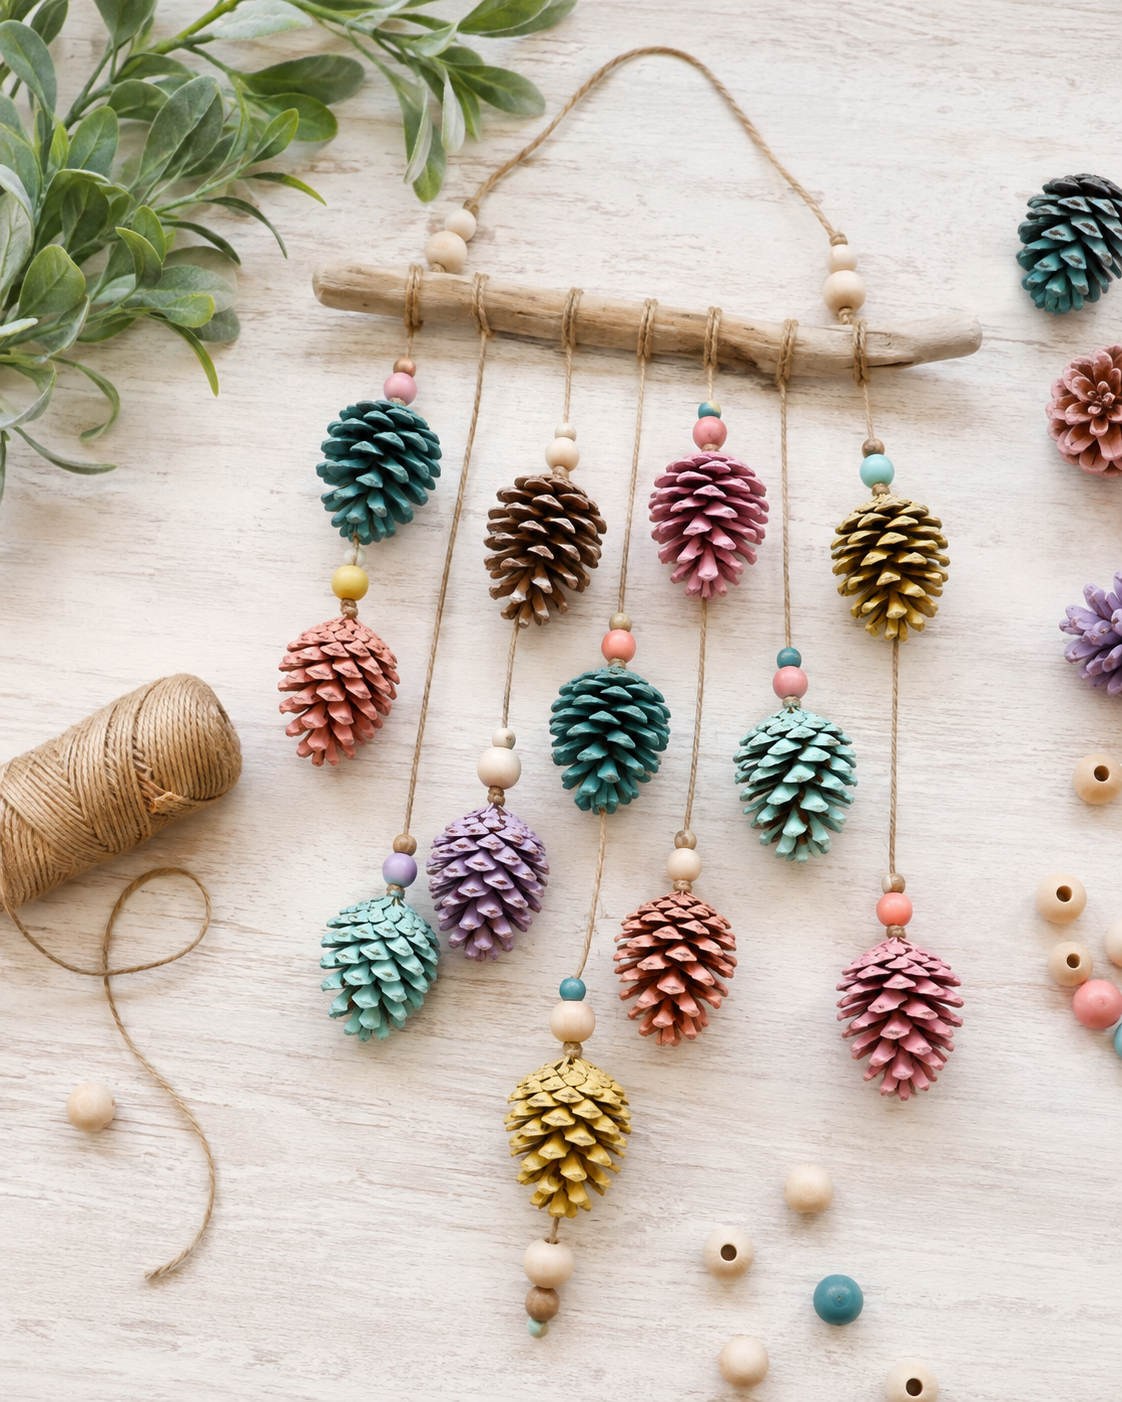
A colorful handmade mobile with pine cones is one of those crafts that proves beautiful home décor does not need expensive supplies or complicated techniques. A few pine cones, some paint, string, and a simple branch can become an eye-catching hanging decoration filled with texture, movement, and personality.
Unlike traditional seasonal ornaments that disappear into a storage box after a few weeks, a DIY pine cone mobile can work throughout the year. Bright colors make it playful enough for a child’s room, while earthy or muted shades can turn the same project into a stylish piece for a living room, porch, studio, or reading corner.
The beauty of handmade nature crafts often comes from combining irregular natural materials with simple, intentional design.
Why Make a Colorful Pine Cone Mobile?
Pine cones are inexpensive, easy to find, surprisingly durable, and wonderfully versatile.
Their layered texture immediately creates visual interest, even before paint or decoration is added. Once several painted pine cones are suspended together, the result becomes almost sculptural.
A handmade pine cone hanging decoration can also be customized in countless ways.
You might choose:
- bright rainbow colors;
- soft pastel shades;
- woodland greens and browns;
- white and gold;
- terracotta and mustard;
- blue, turquoise, and coral;
- autumn-inspired reds and oranges.
The project can therefore feel rustic, modern, whimsical, or minimalist depending entirely on your color palette.
Materials You Will Need
One of the best things about this craft is its simplicity.
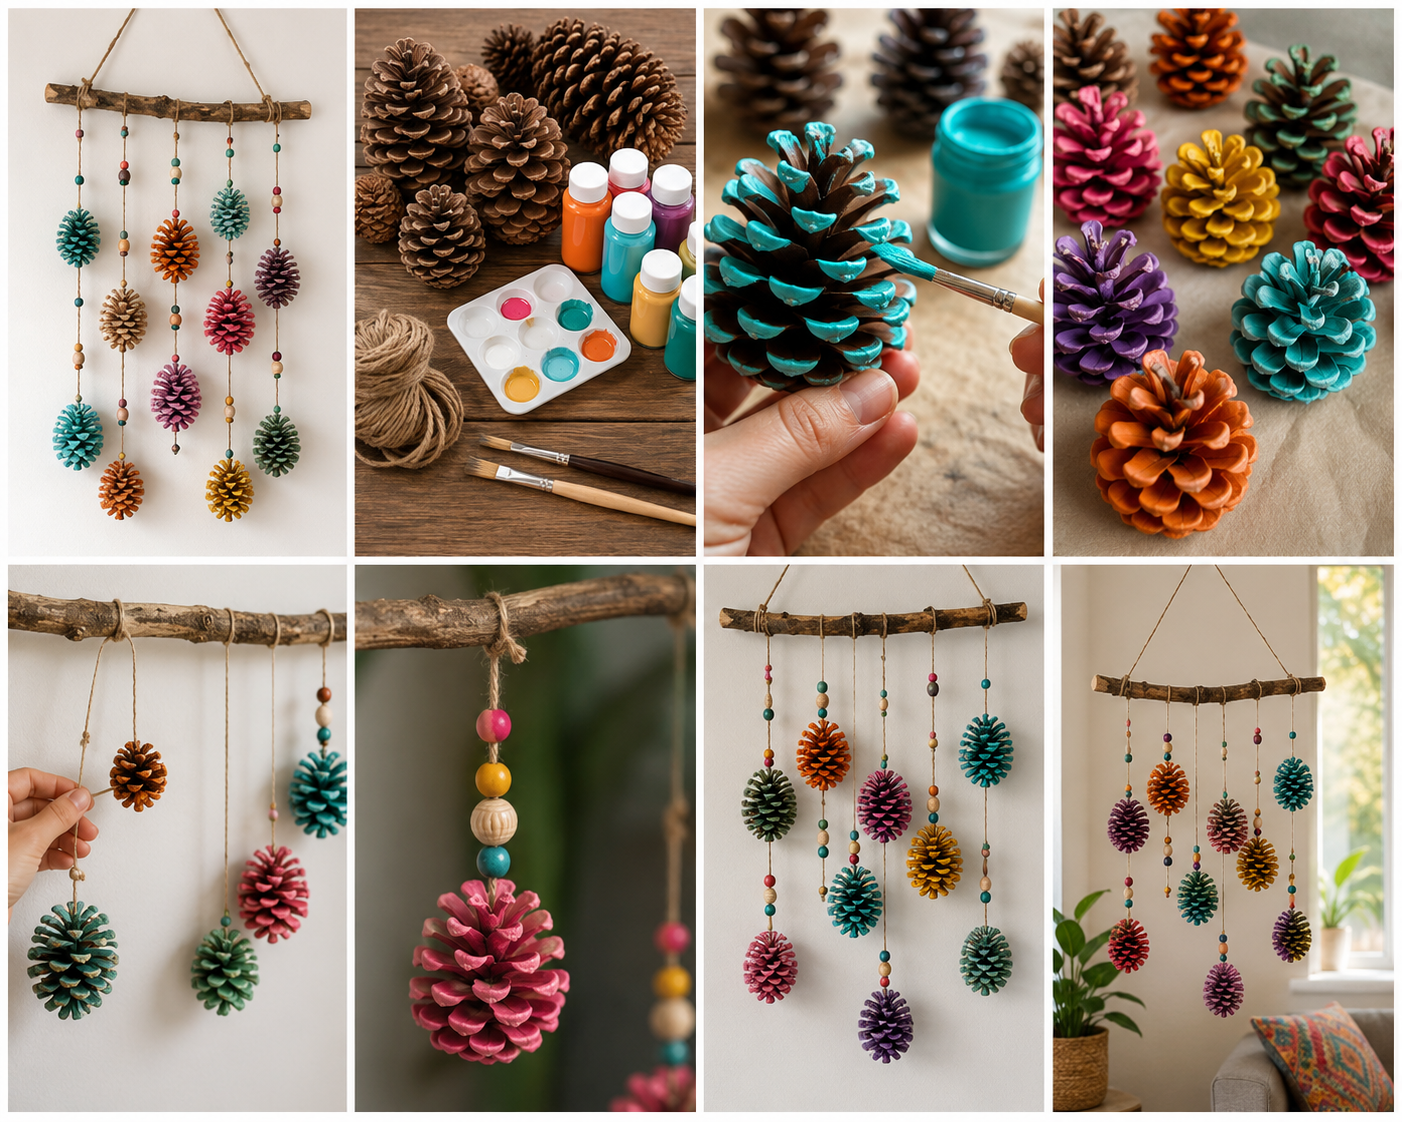
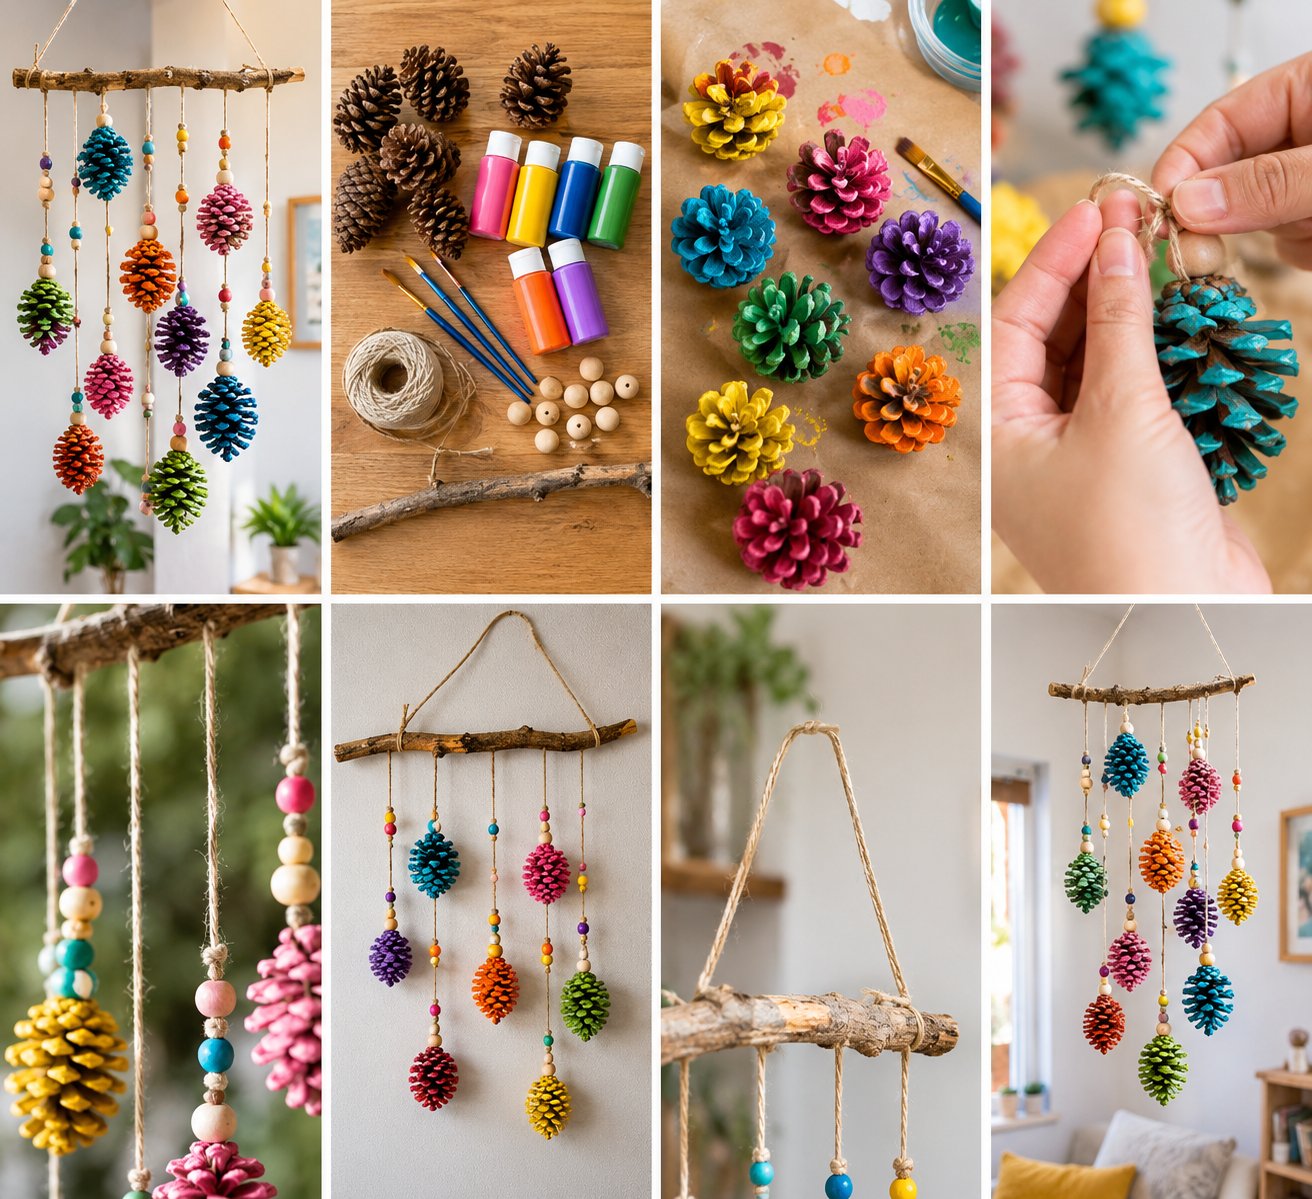
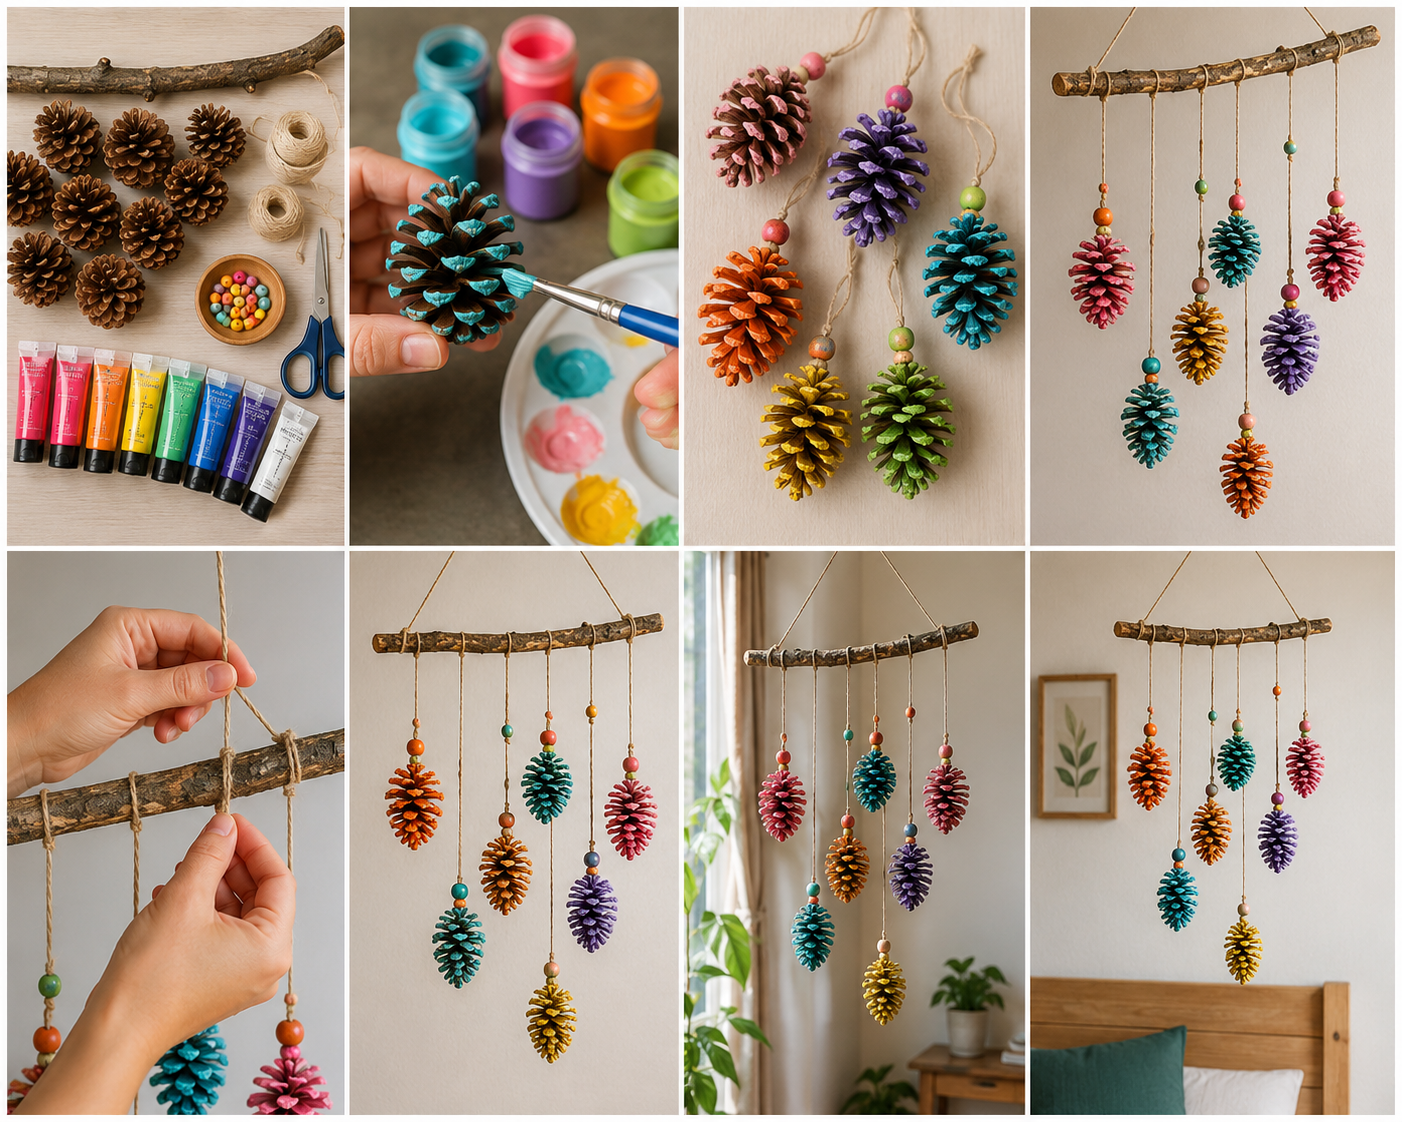
For a basic colorful pine cone mobile, gather:
- 6 to 12 pine cones;
- acrylic craft paints;
- several small paintbrushes;
- natural twine, cotton cord, or strong thread;
- one attractive dry branch;
- scissors;
- craft glue or a hot glue gun;
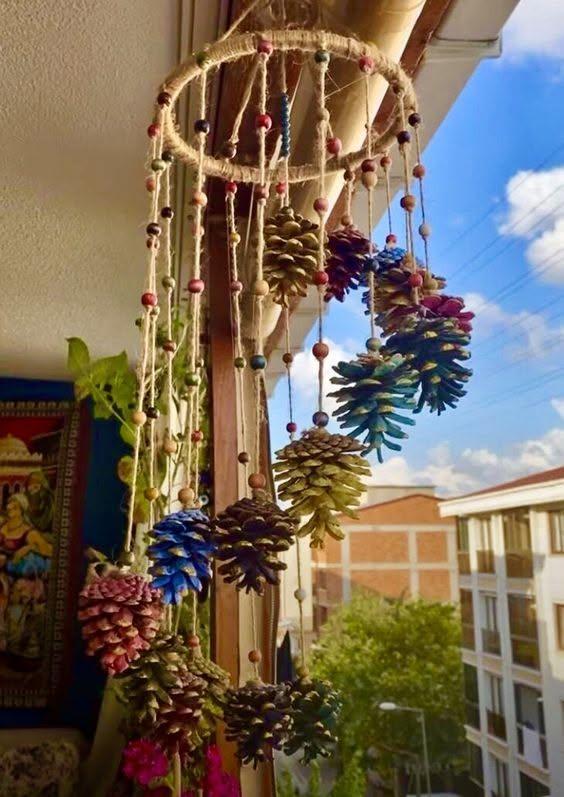
- small wooden beads, optional;
- ribbons, optional;
- protective paper for your work surface.
You can also add dried leaves, wooden shapes, felt balls, feathers, or small bells if you want a more decorative design.
Choosing the Right Pine Cones
Look for pine cones that are dry and fully opened.
Mixing different sizes usually produces a more interesting mobile. Larger pine cones create visual weight, while smaller ones help fill empty spaces.
If you collect them outdoors, gently remove dirt and loose debris before crafting.
Allow them to dry completely.
This is particularly important because damp pine cones may gradually change shape as they dry.
How to Paint Pine Cones
Painting the entire pine cone is possible, but it is not always necessary.
Sometimes the most attractive results come from painting only the tips of the scales.
For example, leave the pine cone naturally brown and apply:
- turquoise to the edges;
- pale pink to selected scales;
- mustard yellow around the tips;
- white paint for a frosted appearance.
This method keeps some of the natural texture visible.
For a much bolder colorful pine cone craft, paint each cone completely in a different shade.
Try alternating saturated and softer tones.
A combination such as coral, dusty pink, sage green, mustard, turquoise, and cream can feel colorful without becoming overwhelming.
Allow each pine cone to dry before attaching the string.
Step-by-Step: How to Make a Pine Cone Mobile
1. Prepare the Branch
Choose a dry branch approximately 30 to 50 centimeters long.
It does not need to be perfectly straight.
In fact, a slightly curved or irregular branch often gives the project a more organic appearance.
Remove loose bark or small broken twigs if necessary.
2. Paint the Pine Cones
Arrange your colors before beginning.
Paint each pine cone individually and leave them to dry on protective paper.
Consider repeating one or two colors throughout the design. Repetition makes the finished mobile feel intentional rather than random.
3. Attach the String
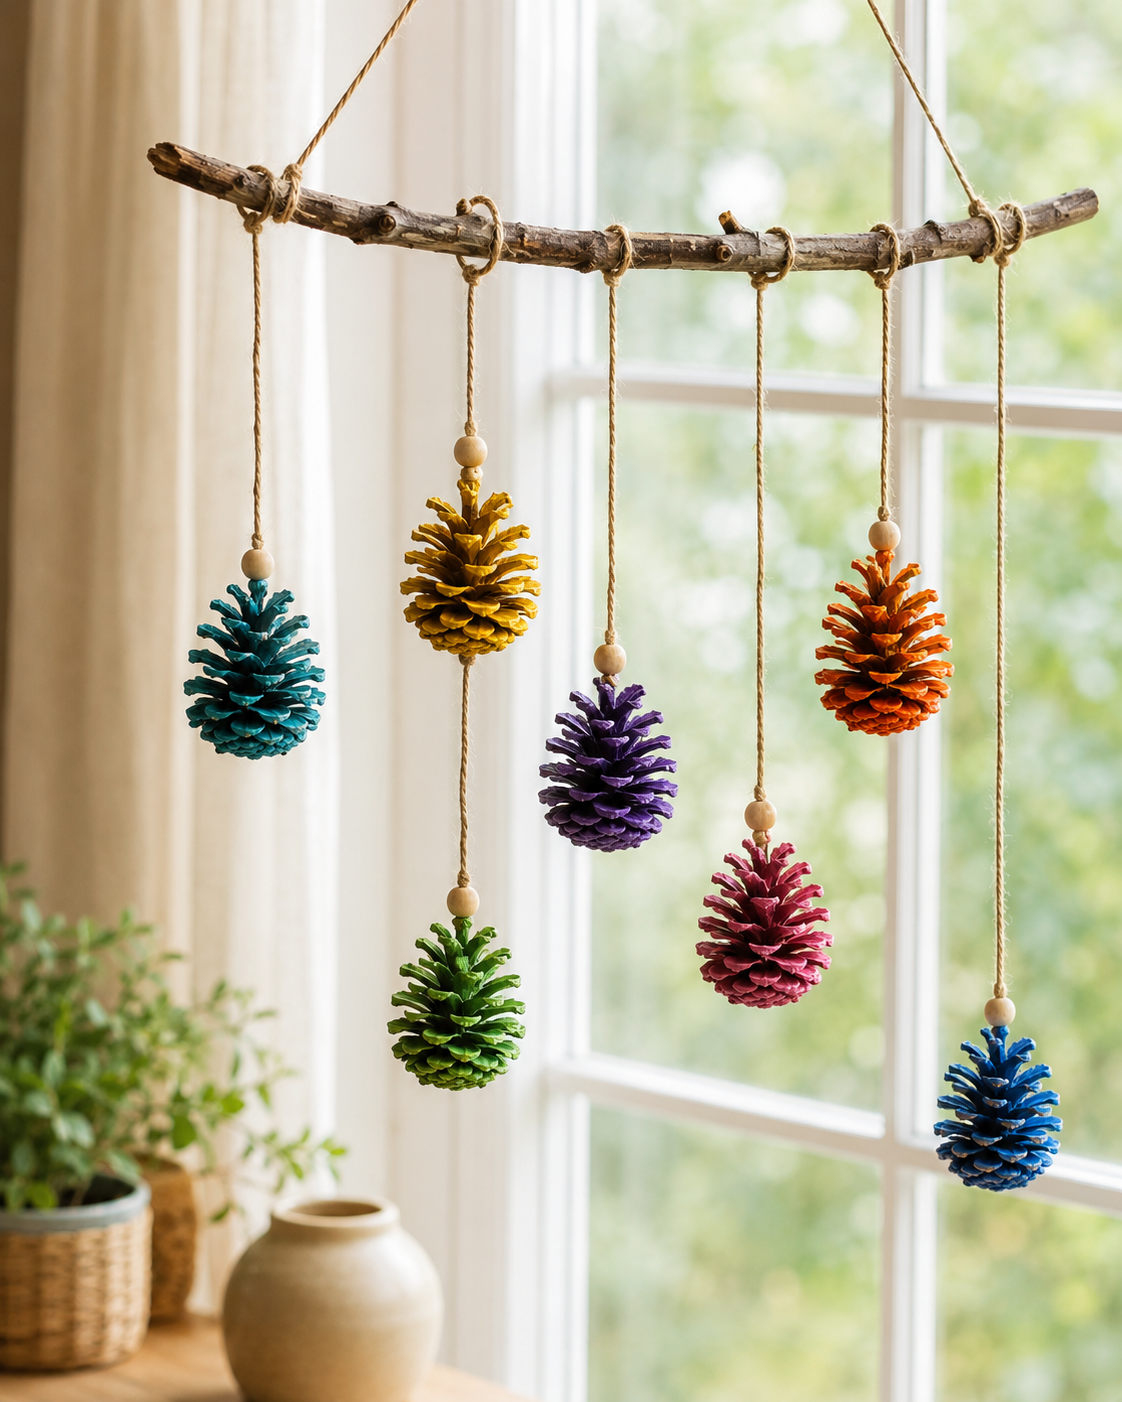
Cut several lengths of twine in different sizes.
Tie one end securely around the upper section of each pine cone.
If the string slips, add a small amount of craft glue.
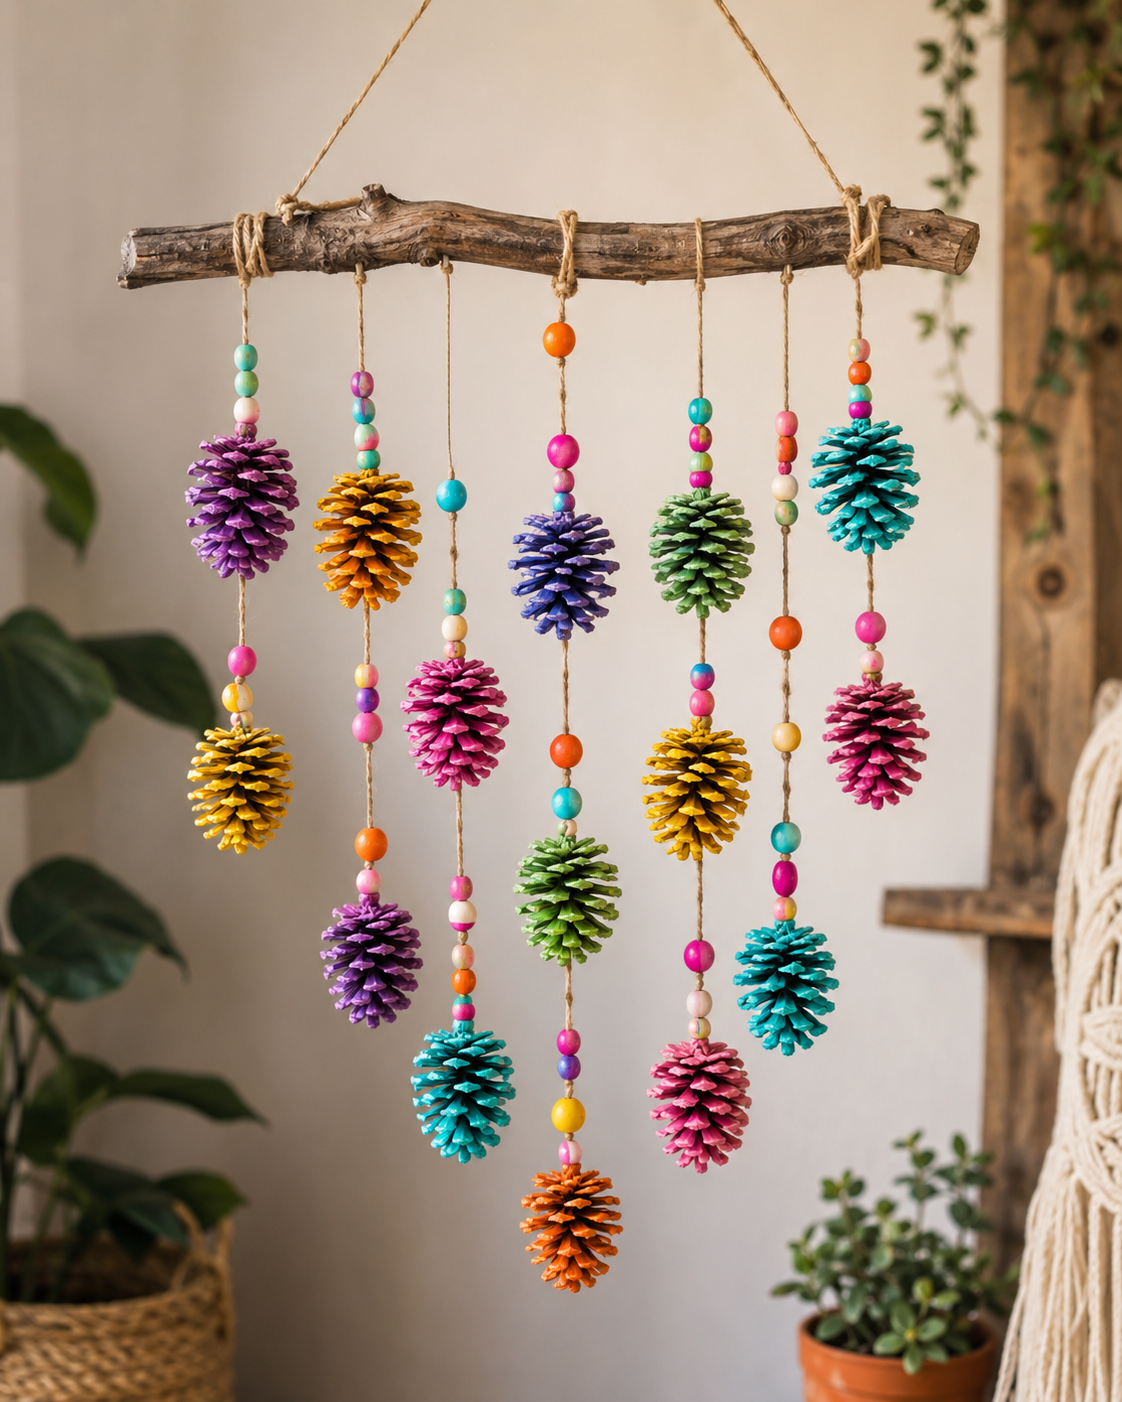
Different string lengths are essential. They create layers and prevent all the pine cones from hanging in one straight horizontal line.
4. Add Decorative Details
This is optional, but small details can completely change the appearance of your mobile.
Slide wooden beads onto the string before attaching it to the branch.
You might use one bead above each pine cone or alternate several beads along longer strings.
Small felt balls are another excellent option for creating a playful DIY nature mobile.
5. Arrange the Pine Cones
Before making permanent knots, experiment with the arrangement.
Place heavier pine cones closer to the center and lighter ones toward the ends.
Stand back occasionally.
A mobile needs balance both physically and visually.
You may discover that moving one pine cone only a few centimeters dramatically improves the composition.
6. Create the Hanging Loop
Tie a longer piece of strong cord to both ends of the branch.
Lift the mobile carefully and adjust the position of the cord until the branch hangs approximately level.
Your handmade pine cone mobile is now ready to display.
Creative Color Combinations to Try
Choosing colors can sometimes be harder than making the craft itself.
Instead of selecting shades randomly, start with a small palette.
Woodland Palette
Combine:
- forest green;
- cream;
- terracotta;
- natural brown.
This creates a calm decoration suitable for rustic interiors.
Playful Rainbow
Use different shades of:
red, orange, yellow, green, turquoise, blue, and purple.
It works especially well for bedrooms, playrooms, and creative spaces.
Soft Pastels
Try dusty pink, lavender, mint, pale blue, and warm white.
The final mobile feels delicate and surprisingly modern.
Autumn Colors
Burnt orange, burgundy, mustard, olive green, and brown create a warm seasonal decoration without relying on typical autumn ornaments.
Where to Hang Your Pine Cone Mobile
A colorful mobile naturally attracts attention because it moves gently whenever air circulates around it.
Good locations include:
- above a craft table;
- beside a bright window;
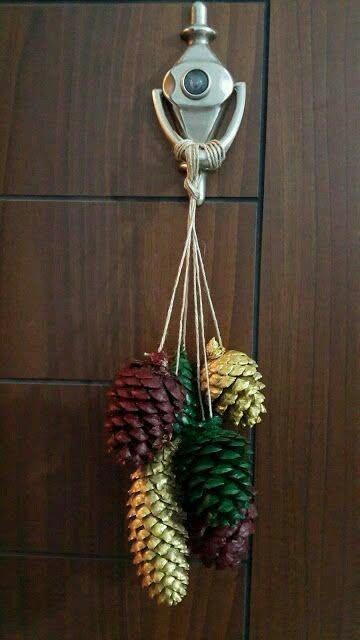
- in an entrance hall;
- above a reading corner;
- on a covered porch;
- inside a child’s bedroom;
- against a plain wall.
Avoid placing it directly above a bed or seating area unless every component is extremely secure.
For decorative purposes, the mobile often looks particularly effective against a white or neutral wall where the colorful pine cones can stand out.
Final Thoughts
A colorful handmade mobile with pine cones turns an ordinary natural material into something surprisingly decorative.
It is inexpensive, adaptable, and simple enough for beginners while still offering plenty of opportunities for creativity.
The real charm comes from contrast: rough pine cones against bright paint, natural branches beside colorful beads, carefully chosen colors arranged on objects that were never perfectly symmetrical to begin with.
It simply needs a few pine cones, a little imagination, and a place where they can gently move.