Bottle Cap Projects for a Jar of Colored Lids


Ever looked at those colorful drink tops and wondered what to do with them? Those small circles are full of potential. You can turn them into beautiful decorations, unique jewelry, and useful home items with a bit of creativity and basic tools.
This hobby is great for both newbies and seasoned crafters. You don't need to spend a lot or have fancy tools to start. Plus, you're giving old items a new life, making it eco-friendly and cost-effective.
You can make everything from simple magnets and colorful coasters to amazing wall art and personalized gifts. You'll learn how to make pieces that everyone will love. So, start saving those tops, grab some basic supplies, and dive into this fun upcycling journey.
Getting Started with Bottle Cap Crafting
Starting with bottle cap crafts means learning to collect, prepare, and work safely with them. Whether you want to decorate your home or make gifts, getting ready is key. A well-set-up crafting space ensures your projects look great and are fun to make.
Before starting, gather your supplies and learn the basics. This step might seem boring, but it saves time and trouble later. A tidy workspace and organized materials make a big difference when you're creating.
Collecting and Organizing Your Caps
Having a wide range of bottle caps opens up many creative paths. Start by saving caps from your drinks, like soda, beer, and sparkling water. Ask friends, family, and coworkers to add to your collection.
Local restaurants, bars, and cafes often throw away lots of bottle caps. Many places are happy to save them for crafters who ask nicely. You can also check with recycling centers or community programs for caps.
After collecting caps, clean them well. Soak them in warm soapy water for 15 minutes to remove dirt. Use a toothbrush or small brush to clean off sticky labels and grime from inside and outside.
Rinse the caps well and let them dry on a towel. Any leftover moisture can cause rust or mess up adhesives. Sort your dried caps by color, size, or brand in clear containers or labeled boxes for easy access.
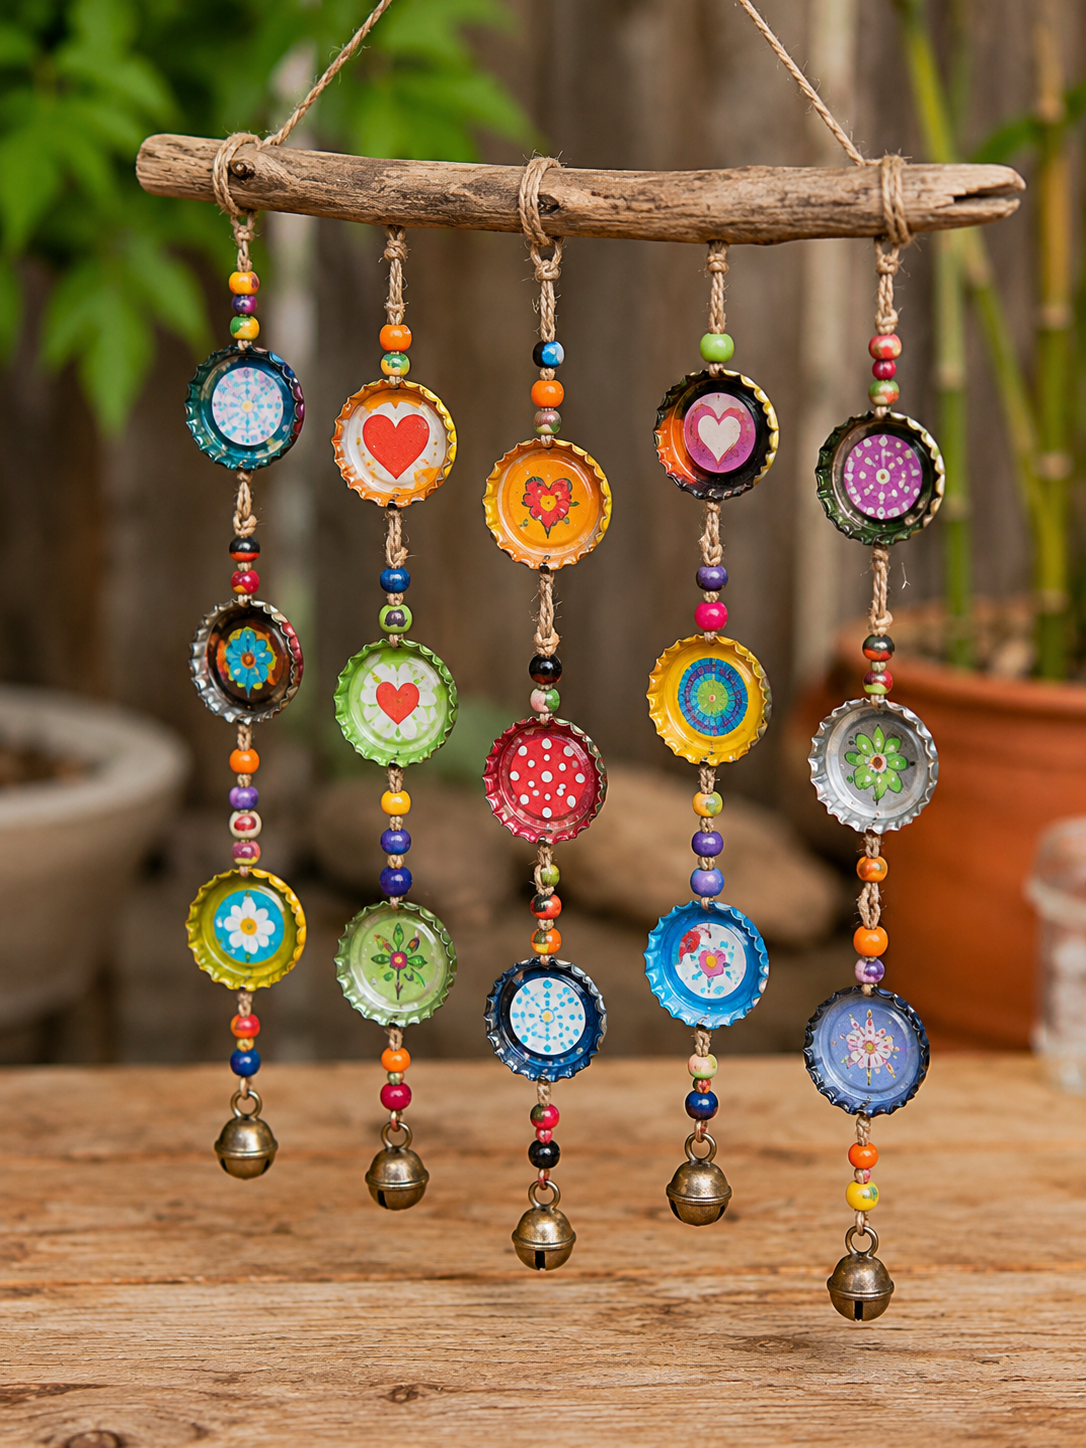
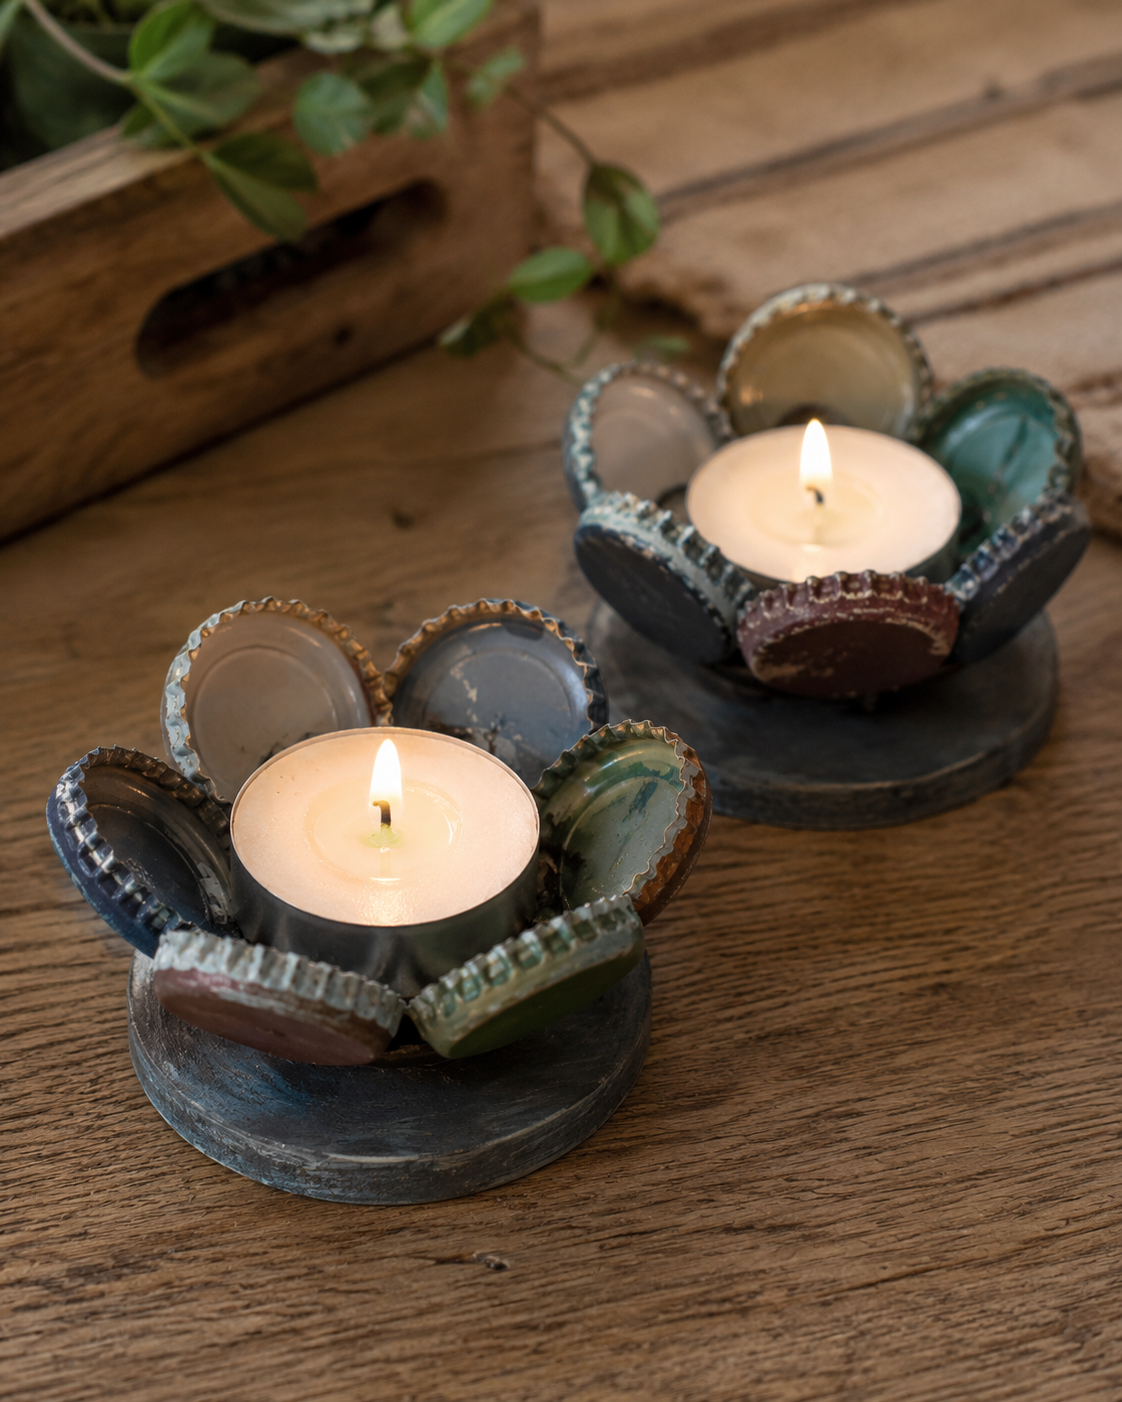
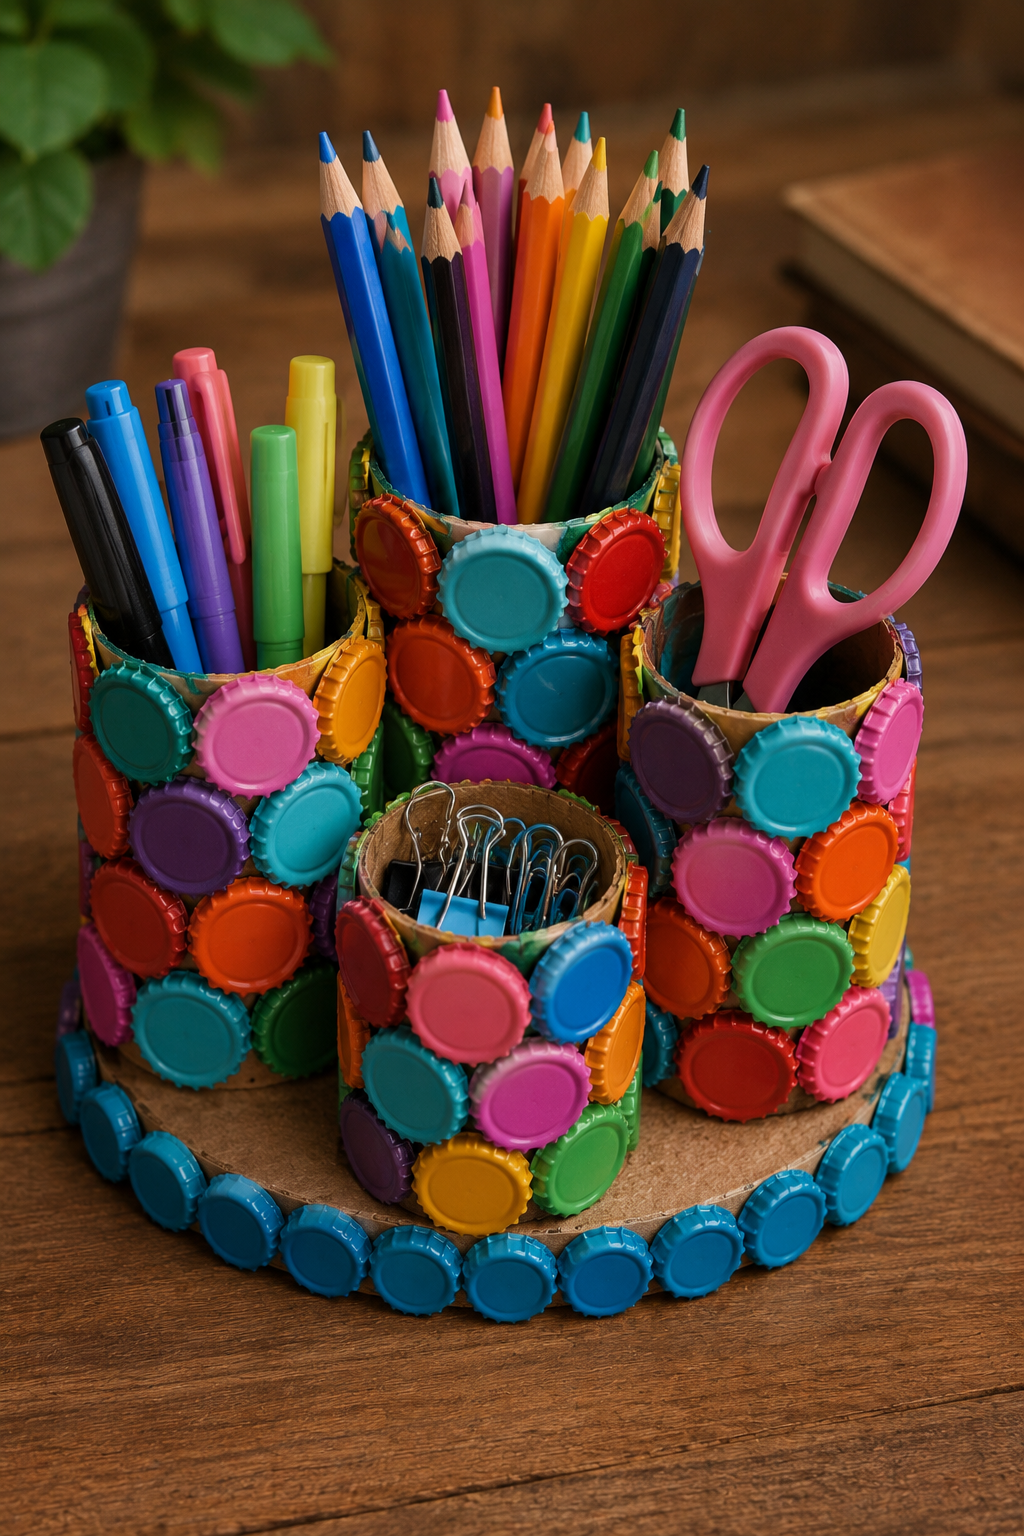
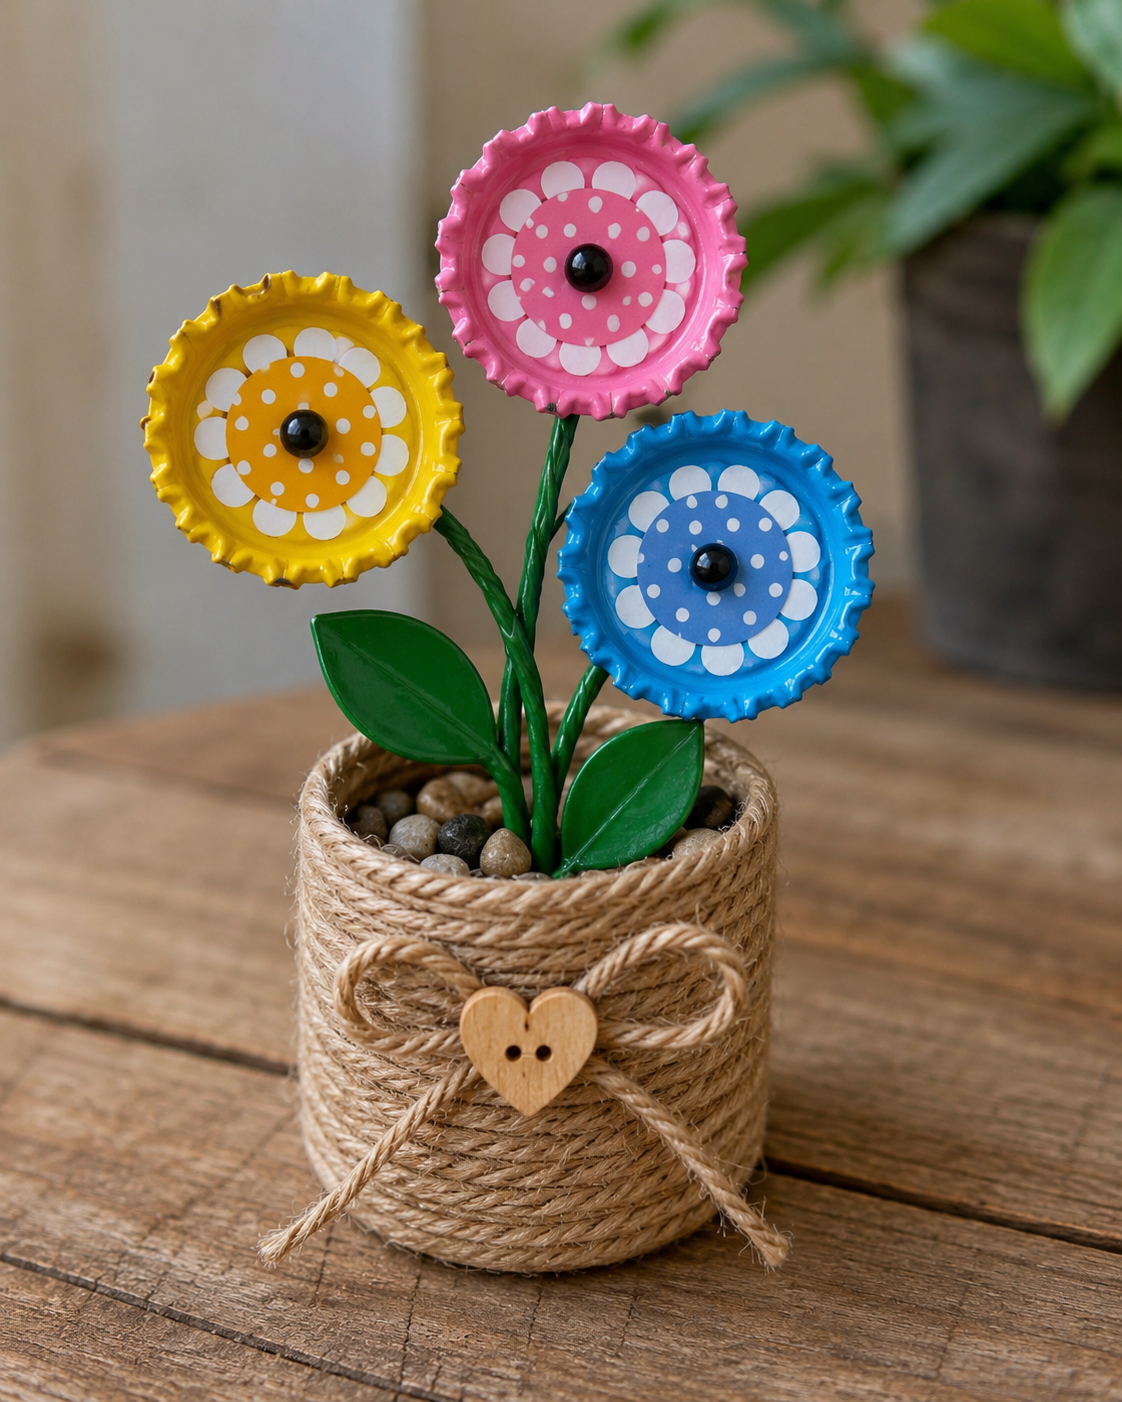
Easy Bottle Cap Crafts for Beginners
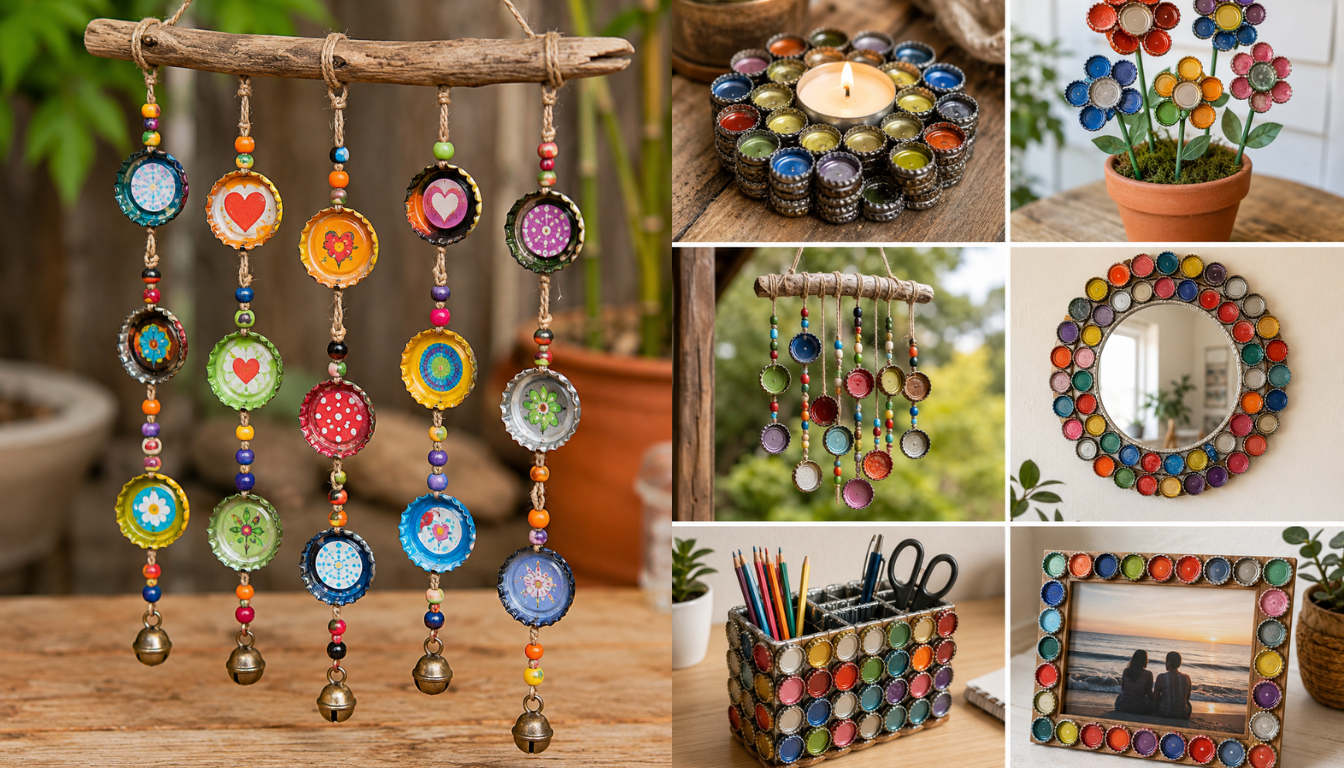
These easy bottle cap crafts are perfect for beginners. They need minimal supplies and are quick to make. You can create personalized gifts or decorations in under an hour using items you likely have at home.
Bottle cap projects are fun and easy to do. You don't need fancy tools or lots of experience. With basic supplies and simple steps, you can turn ordinary caps into beautiful art pieces that everyone will love.
Refrigerator Magnets with Photo Inserts
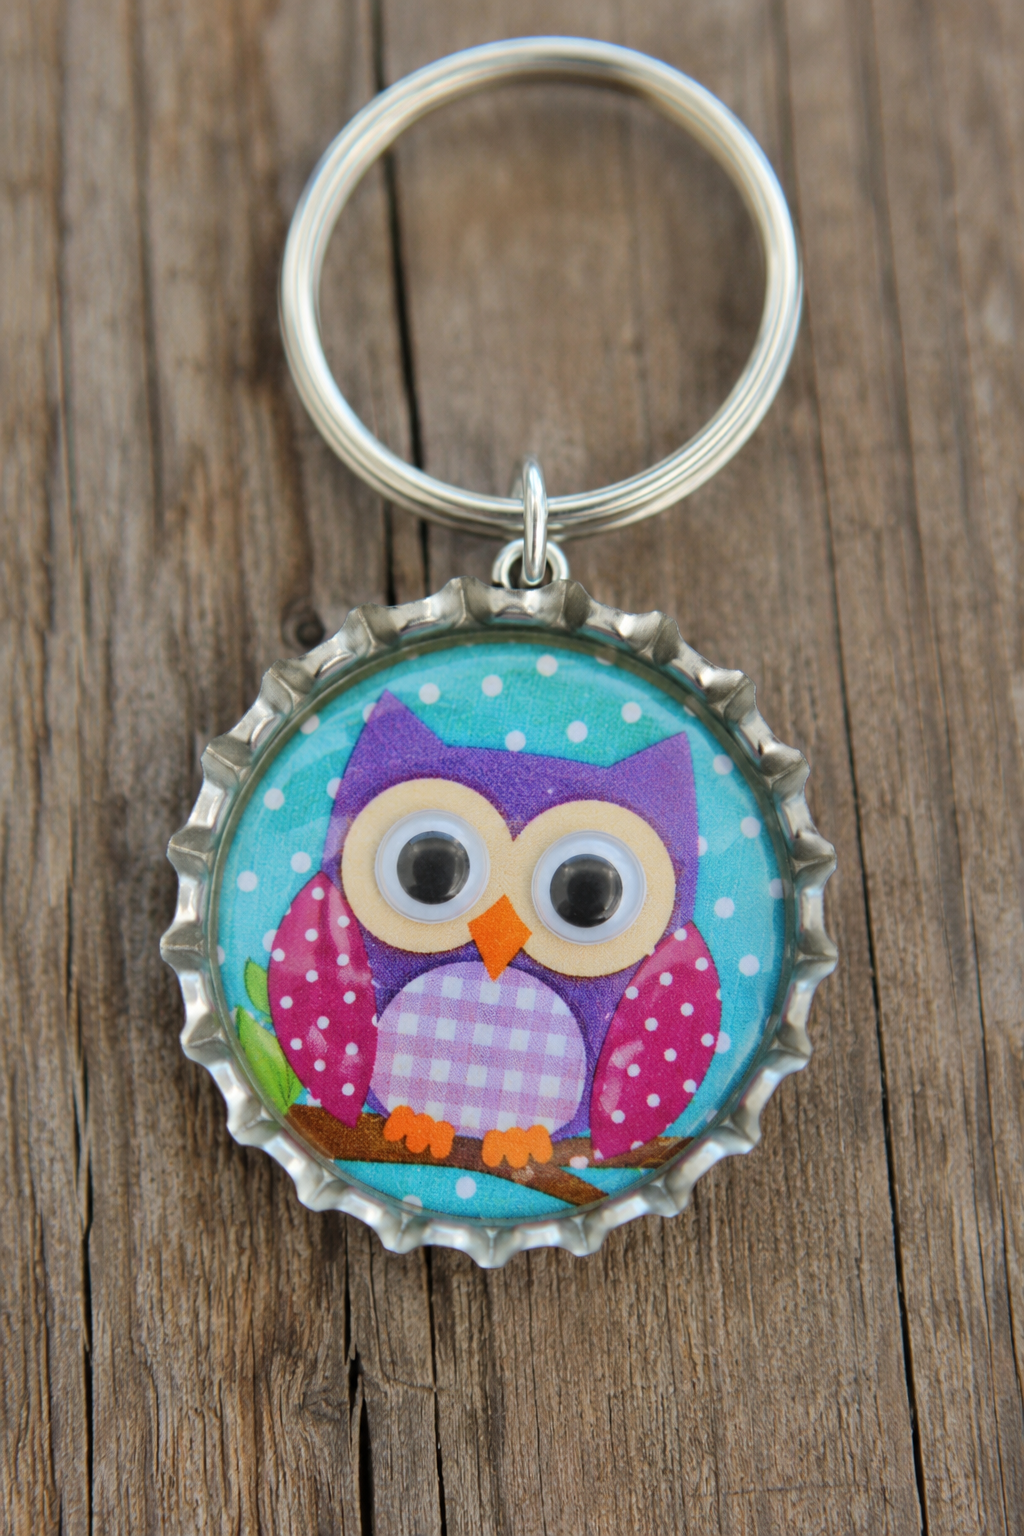
Make personalized refrigerator magnets for your kitchen. These homemade bottle cap decorations are great for birthdays, holidays, or housewarming gifts. You can add family photos, quotes, or colors that match your home.
You'll need clean bottle caps in different colors and styles. Use small images or decorative paper cut to fit inside the caps. Get dimensional glaze or clear epoxy stickers from a craft store to seal your designs.
Use strong adhesive magnets for this project. You can find them in craft stores or online. Add small rhinestones, glitter, or tiny stickers for extra sparkle.
Step-by-Step Instructions
Choose images that fit your bottle cap size. Print photos or use magazine cutouts, scrapbook paper, or decorative napkins. Trace the cap opening on your material and cut slightly inside the line.
Apply white glue or Mod Podge to the cap's inside. Press your image firmly into place, smoothing out air bubbles with your finger. Let it dry for about 15 minutes before moving on.
Use dimensional glaze or an epoxy sticker to add a glossy finish. The glaze will self-level as it dries, creating a smooth dome effect. Allow 24 hours for complete curing before adding the magnet.
This project takes 30-45 minutes of active work time, plus drying time. Make several magnets at once for themed sets.
Custom Bottle Cap Jewelry
Turn bottle caps into trendy jewelry that shows off your style. This project introduces you to basic jewelry-making techniques. You can make pendants or earrings for any occasion.
Materials Needed
Choose standard or flattened bottle caps based on your preference. Standard caps are more dimensional, while flattened caps sit closer to the body. Get jewelry findings like jump rings, chains, earring hooks, and pendant bails from craft stores or online.
For decorating, gather small images, decorative paper, nail polish, acrylic paint, or resin. Use clear-drying adhesive and clear nail polish or resin for sealing. A small hammer and flat surface are helpful if you choose to flatten your caps.
Step-by-Step Instructions
Decide if you want to flatten your bottle caps. Place the cap upside down on a protected surface and gently tap until it's flat. This step is optional based on your design preference.
Decorate the cap's inside with your chosen method. Paint with nail polish or acrylic paint for solid colors. Or, glue in small images, magazine cutouts, or scrapbook paper. Let everything dry completely before sealing.
Apply several thin coats of clear nail polish or dimensional glaze over your design. This seals the artwork and adds a glossy finish. For extra durability, use clear epoxy resin following the manufacturer's instructions.
Once dry, drill a small hole near the cap's edge. Attach a jump ring through the hole, then connect your chain for a necklace or earring hook for earrings. The entire process takes about one hour per piece, excluding drying time.
Classic Bottle Cap Checkers Set
Make a portable game that's fun anywhere. This craft combines creativity with practicality, making a custom game set perfect for travel or picnics. Kids love helping design and paint their own game pieces.
Materials Needed
Collect 24 clean bottle caps total—12 for each player. Use two contrasting colors of acrylic paint, like red and black or blue and gold. You'll need small paintbrushes for detailed work and a 12-inch square game board.
For the board, use fabric, cardboard, painted wood, or vinyl as your base material. Use permanent markers to create the checkerboard pattern if drawing it yourself. Or, print a template online or buy an inexpensive cloth game board.
Step-by-Step Instructions
Paint 12 bottle caps in your first chosen color, covering both the top and sides completely. Paint the remaining 12 caps in your second color. Apply two to three coats for solid coverage, allowing 20 minutes drying time between coats.
While the caps dry, create your checkerboard if you don't have one ready. Draw or paint an 8x8 grid of alternating squares on your chosen material. Each square should measure about 1.5 inches to fit the bottle cap pieces comfortably.
Once everything dries completely, add optional decorative touches to your game pieces. Paint crowns on four caps of each color to designate "king" pieces. You can also add numbers, letters, or small designs to personalize your set further.
Store your game pieces in a small drawstring bag for portability. This project takes roughly two hours to complete and provides countless hours of entertainment. The finished set makes an excellent handmade gift for game enthusiasts of all ages.
Creative DIY Bottle Cap Crafts for Home Decoration
Your home can have unique decorations that tell a story. Upcycled bottle cap crafts add both personality and eco-friendly charm. These projects turn simple crafts into stunning pieces that spark conversations.
Each decoration reflects your personal style and creativity. These crafts make great housewarming gifts or presents for craft-loving friends. You'll be amazed at how humble materials can become professional-looking home accents.
Mosaic Bottle Cap Wall Art
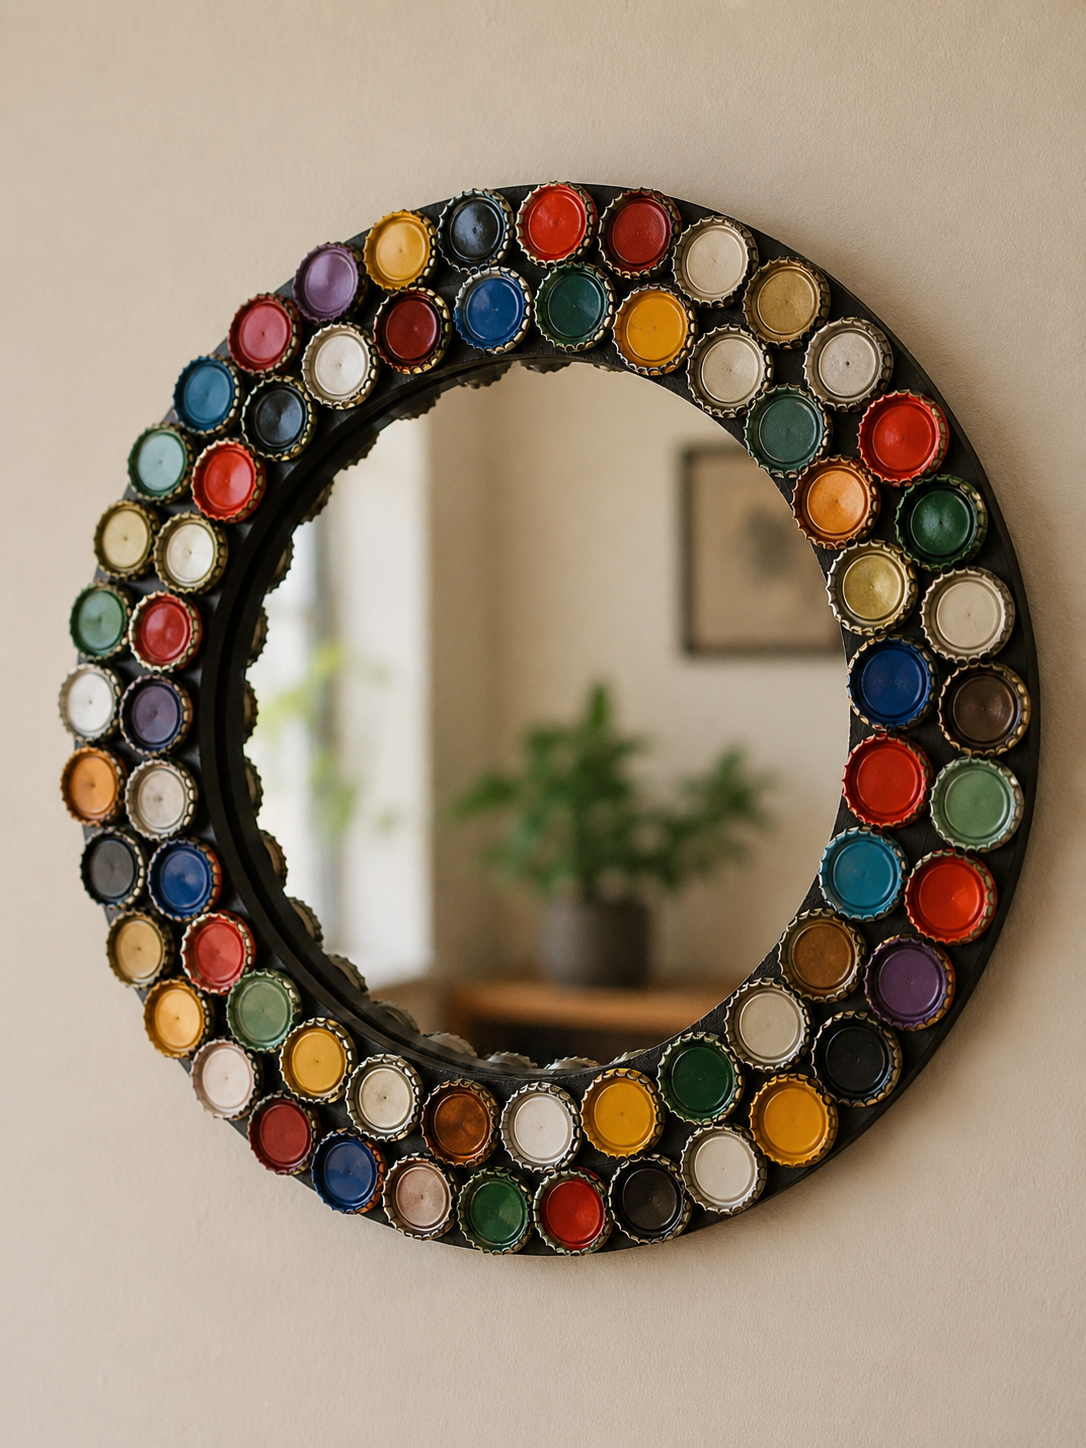
Creating a mosaic wall art piece with bottle caps turns your collection into a stunning focal point. This project lets you design large-scale artwork that rivals expensive store-bought pieces. You can arrange hundreds of caps into patterns, gradients, or recognizable images that reflect your interests.
The beauty of mosaic art lies in how you position each cap to create visual flow and interest. Many crafters create ombre color transitions, geometric patterns, or outline shapes like states, animals, or company logos. The possibilities are endless when planning your design.
Materials Needed
Gather these supplies before starting your mosaic masterpiece:
- 200-500 bottle caps (depending on your design size)
- Wooden board or stretched canvas (12x12 inches or larger)
- Strong adhesive (E6000 or hot glue gun)
- Acrylic paint for background (optional)
- Sanded grout in white or gray (optional)
- Painter's tape for design planning
- Hanging hardware for wall mounting
Step-by-Step Instructions
Start by painting your wooden board or canvas in a background color that complements your bottle cap palette. Let it dry completely before moving forward. Lay out your bottle caps on the surface to plan your design without gluing anything yet.
Take a photo of your layout so you can reference it during the gluing process. Apply adhesive to the back of each bottle cap and press firmly onto the board, working from one corner outward. Keep spacing consistent between caps for a professional look.
Once all caps are secured and the adhesive has dried overnight, you can optionally apply grout between the caps. Mix the grout according to package directions and spread it with a putty knife, pressing it into all gaps. Wipe away excess grout with a damp sponge before it fully dries.
Color theory plays a huge role in creating visually appealing bottle cap art projects. Sort your caps by color family before you begin designing. Group similar shades together to see what color schemes you can create with your collection.
Consider these popular design approaches for stunning results. Ombre gradients flow from light to dark in one color family, creating a soothing effect. Geometric patterns use repeating shapes and contrasting colors for modern appeal.
Random rainbow arrangements work beautifully for playful, eclectic spaces. You might also spell out words or create simple images by strategically placing specific colored caps. Test different arrangements until something feels just right.
Rustic Bottle Cap Coasters
Functional upcycled bottle cap crafts like coasters protect your furniture while adding a pop of personality to your coffee table. These coasters are surprisingly durable and waterproof when properly sealed. They make excellent gifts because everyone needs coasters, and handmade ones are extra special.
The rustic aesthetic comes from the variety of cap designs and colors working together. You can create a matching set of four or six coasters, or make each one completely unique. Either approach looks fantastic and shows off your creative vision.
Materials Needed
Collect these items to create your coaster set:
- 28-32 bottle caps (7-8 per coaster for a standard size)
- Cork sheets or wooden coaster blanks (4-inch diameter)
- Clear epoxy resin or waterproof sealant
- Strong craft adhesive
- Self-adhesive felt pads
- Disposable mixing cups and stir sticks (for resin)
Step-by-Step Instructions
Start by arranging seven or eight bottle caps face-up on your cork or wooden base in a circular pattern. The caps should fit snugly together with minimal gaps. Once you're happy with the arrangement, glue each cap in place and let the adhesive cure completely.
Mix your epoxy resin according to the manufacturer's instructions in a well-ventilated area. Pour the resin slowly over the caps, allowing it to flow into all the gaps. Use a toothpick to pop any air bubbles that form on the surface.
Let the resin cure for at least 24 hours until it's completely hard and clear. Apply felt pads to the bottom of each coaster to protect your furniture surfaces. Your coasters are now ready to use and will withstand condensation from cold drinks beautifully.
Decorative Bottle Cap Picture Frames
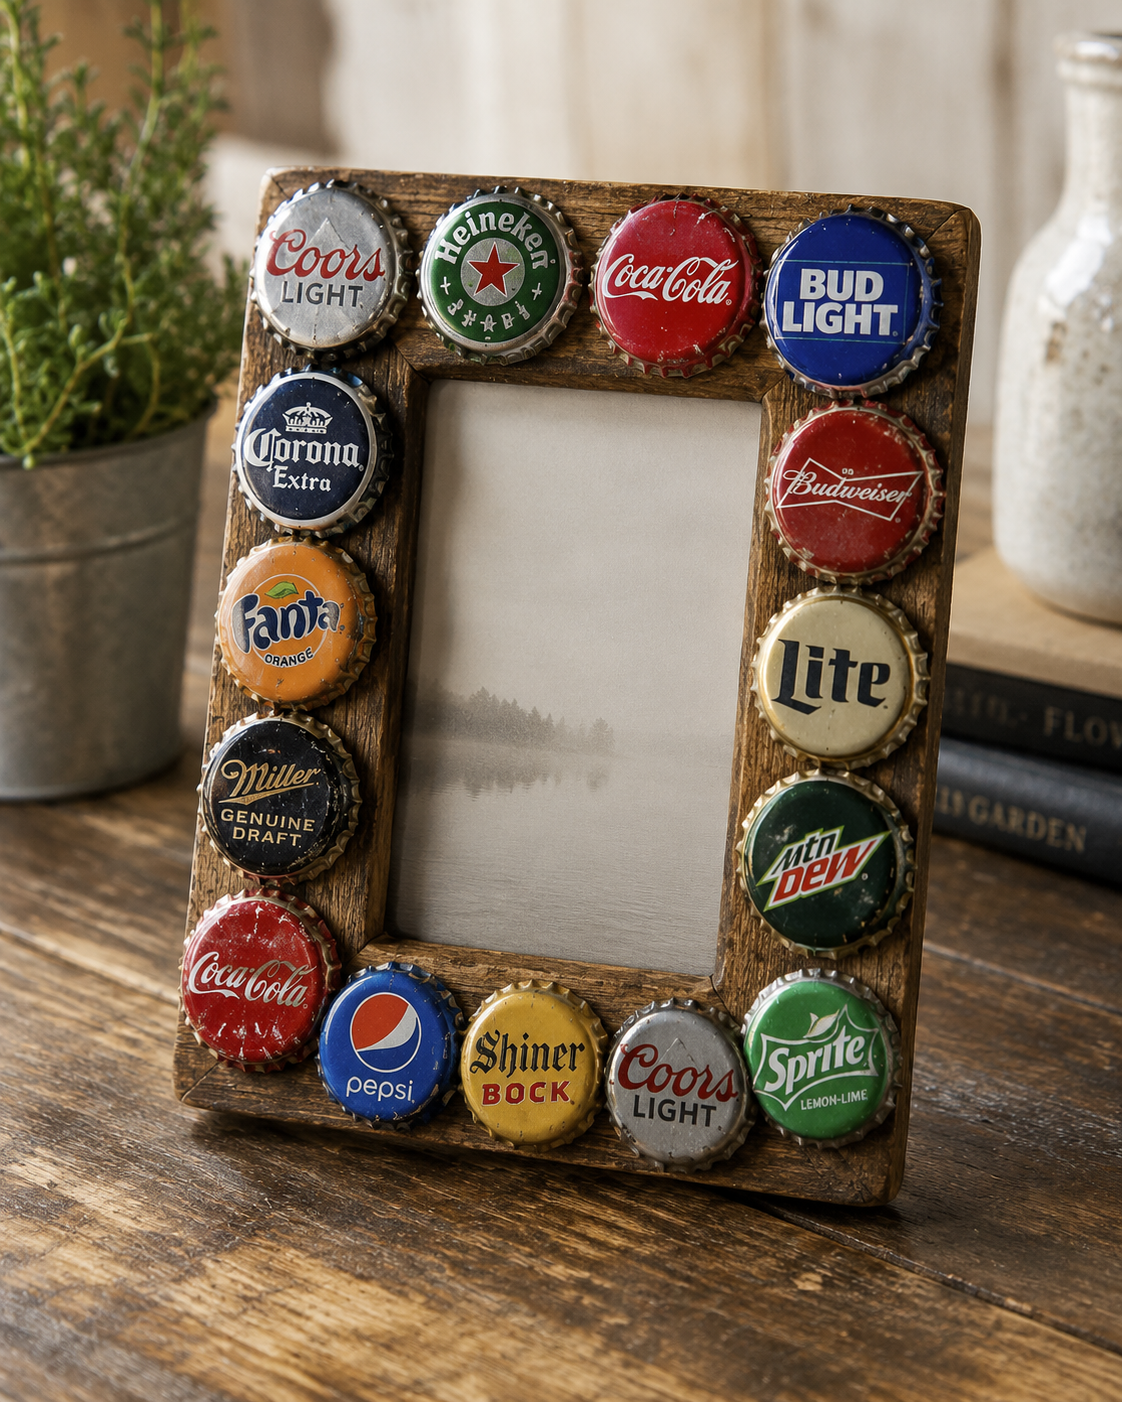
Transform plain frames into eye-catching displays that make your favorite photos shine even brighter. This project works with wooden frames, cardboard frames, or even thrift store finds that need a refresh. The bottle cap border adds texture and visual interest that draws attention to your cherished memories.
You can match the cap colors to the photo inside or choose contrasting colors for maximum impact. Some crafters paint all the caps in coordinating colors for a cohesive look. Others embrace the mismatched rainbow effect for a fun, eclectic vibe.
Materials Needed
Prepare these supplies for your frame project:
- 30-50 bottle caps (depending on frame size)
- Plain wooden or cardboard picture frame
- Strong craft glue or hot glue gun
- Acrylic paint in your chosen colors (optional)
- Clear acrylic sealer spray
- Ribbon, buttons, or other embellishments (optional)
Step-by-Step Instructions
Start by removing the glass and backing from your frame. If you're painting the caps, do this first and let them dry completely before assembly. Lay your frame face-up on your work surface.
Begin gluing bottle caps around the outer edge of the frame, working your way around the perimeter. Place them close together so minimal frame shows through. You can overlap caps slightly or keep them edge-to-edge depending on your preferred look.
Continue adding caps until the entire frame border is covered. Fill in any gaps with smaller embellishments like buttons or beads if desired. Once the glue has dried, spray the entire frame with clear acrylic sealer to protect it and add shine.
Outdoor Bottle Cap Garden Markers
These weatherproof plant labels add colorful personality to your herb garden or vegetable patch. Creating custom garden markers from bottle caps combines functionality with creative expression. They're perfect for identifying plants throughout the growing season.
Materials Needed
Collect clean bottle caps (one per plant you want to label). Gather acrylic paint or permanent markers in various colors, clear waterproof sealant or mod podge, and small paintbrushes. You'll need wooden craft sticks, bamboo skewers, or wire stems for stakes.
Strong outdoor adhesive like E6000 bonds caps to stakes. Optional supplies include letter stamps, stencils, or printed labels for professional-looking text. Sandpaper helps roughen cap surfaces for better paint adhesion.
Step-by-Step Instructions
Lightly sand the inside of each bottle cap to create texture for paint. Write or paint plant names on the inside of caps using permanent markers or acrylic paint. Use contrasting colors for easy readability from a distance.
For a polished look, print plant names on paper, cut to fit inside caps, and glue in place. This method works well for longer plant names or when you want uniform text.
Apply 2-3 coats of clear waterproof sealant over the painted or labeled surface, allowing each coat to dry completely. This protection keeps your markers legible through rain and sun exposure.
Attach bottle caps to wooden stakes or wire stems using outdoor adhesive. Position caps at the top of stakes so labels face outward. Let adhesive cure for 24 hours before placing markers in your garden.
Conclusion
Turning simple bottle caps into beautiful crafts is a mix of creativity and caring for the planet. DIY Bottle Cap Crafts are fun for everyone, from quick projects to big artistic pieces. You can start today with things you already have at home.
Start with easy projects to get better and feel more confident. Every expert began with simple steps. Each project teaches you something new. Plus, using recycled bottle caps is good for the environment.
Join online communities to learn more and get inspired. Teaching these projects to kids teaches them about recycling and creativity. Your handmade items make great gifts for any occasion. Some even make money by selling their crafts at fairs or online.
The best part is the joy of creating. Seeing bottle caps turn into magnets, wall art, or coasters is very rewarding. So, grab your bottle caps, pick a project, and let your creativity shine. Your first piece is waiting, and each one will be special.