Salt Dough Ornaments: the Recipe That Doesn't Puff and 12 Ways to Finish Them


Flour, salt, and water are all you need to start making salt dough ornaments. The salt dough ornament recipe below uses a low oven and a thin, even roll to help keep the shapes flat. Then choose from twelve finishes, grouped by how you decorate them: painted, pressed and stamped, natural or scented, and keepsakes for the family tree.
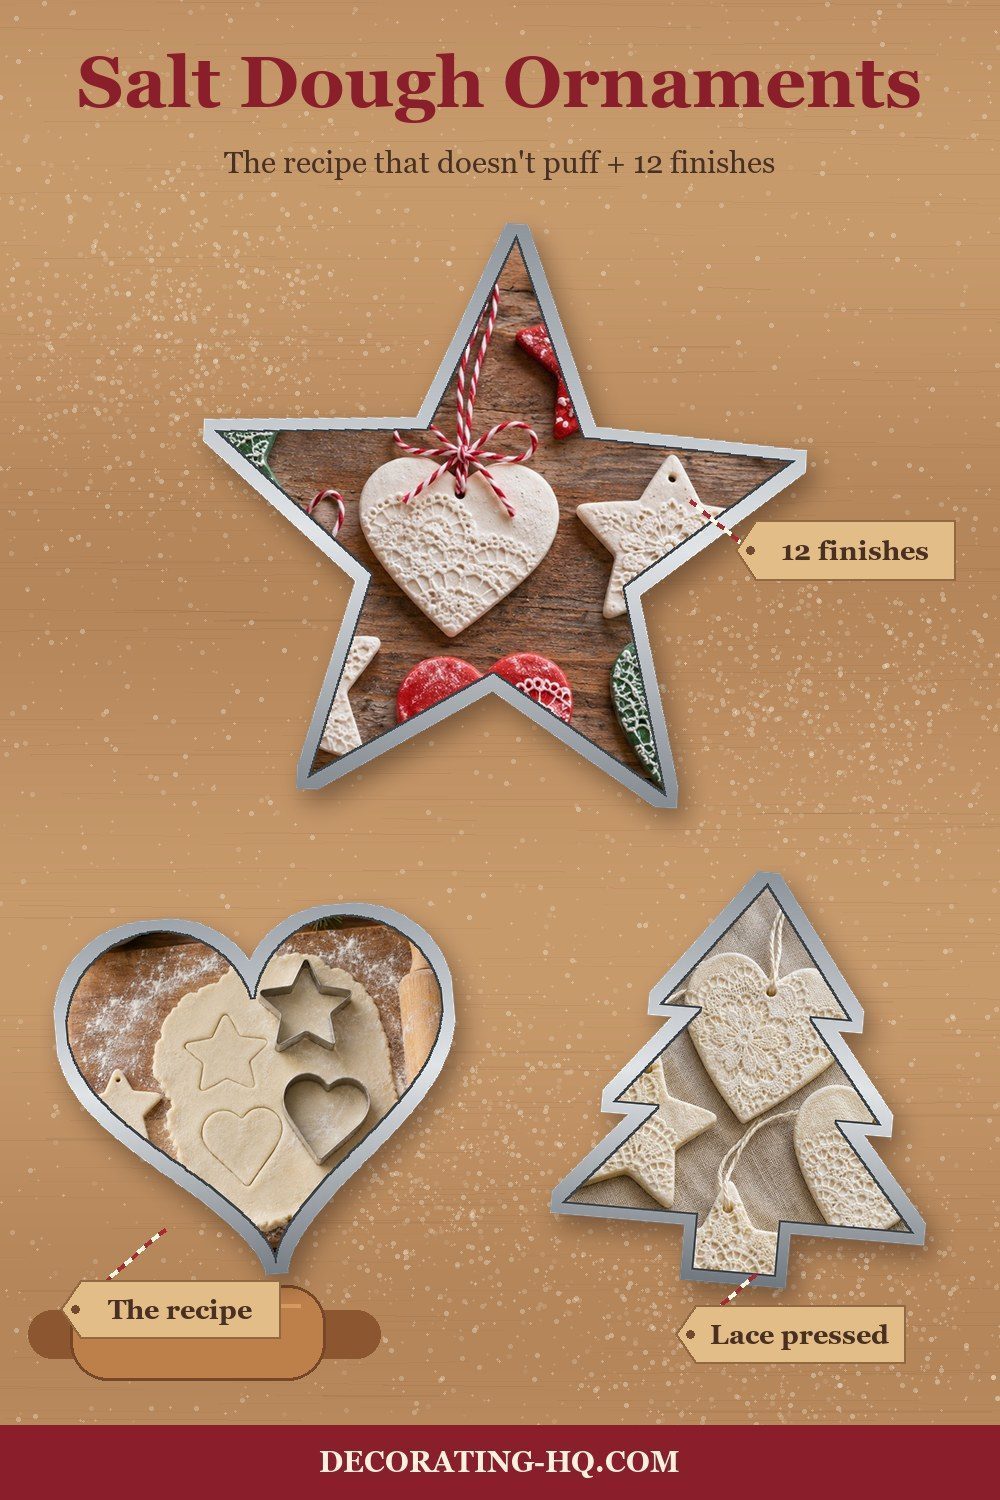
The salt dough recipe
This recipe and method come from Cassie Johnston, Wholefully.
- 4 cups all-purpose flour (about 946 mL by volume)
- 1 cup table salt (about 237 mL by volume)
- 1 ½ cups warm water (about 355 mL)
Making them, step by step



- Whisk flour and salt together, then slowly stir in the warm water.
- Finish mixing by hand; knead until soft, about five minutes.
- Heat the oven to 200°F (93°C). Roll half the dough between parchment sheets to ⅛ inch (0.3 cm); remove the top sheet.
- Cut shapes, peel away excess dough, and transfer the parchment to a baking sheet.
- Poke hanging holes with a straw or toothpick before drying.
- Bake until hard, checking after one hour; allow up to two hours. Alternatively, air-dry for several days, flipping several times to prevent curling.
- Cool, decorate, let decorations dry, then seal with polyurethane spray or a thin coat of Mod Podge; thread with ribbon.
Johnston, Wholefully links puffing to thick or uneven dough and trapped air bubbles.
For a visual introduction to how to make salt dough ornaments, watch Crissy from First Day of Home make and decorate them in her three-ingredient tutorial. The video is on her First Day of Home YouTube channel.

Painted
Acrylic-painted shapes. Acrylic craft paint gives your cut shapes a solid wash of color, with a brush doing the decorating once the ornaments have dried. Use the paint undiluted, as Crissy does in her tutorial, and let each coat dry completely before adding another. Repeated brushing over wet paint can lift it back off the surface. This is a family craft option for anyone who enjoys choosing colors and painting simple shapes. Crissy, First Day of Home

Watercolor washes. Let the dried dough's absorbent surface take up watercolor for a softer, more transparent finish. Pam Ash suggests one or two layers for a light wash; allow them to dry, then build more layers if you want a darker result. Smooth rough areas with sandpaper or a nail file before painting. Watercolor is one of several options in her tutorial, suited to exploring layered color. Pam Ash, Pam Ash Designs
Raised white “icing.” Flat house shapes become little gingerbread-style cottages when you draw their decorations with white puffy paint. Ellen uses a bottle with a small tip to add the designs after the dough is dry, then follows the bottle's instructions for complete drying before hanging. Black-and-white baker's twine finishes her examples. The white paint gives these salt dough Christmas ornaments the neutral farmhouse look she wanted, suited to a tree with a quiet palette. Ellen, Bellewood Cottage
Pressed and stamped
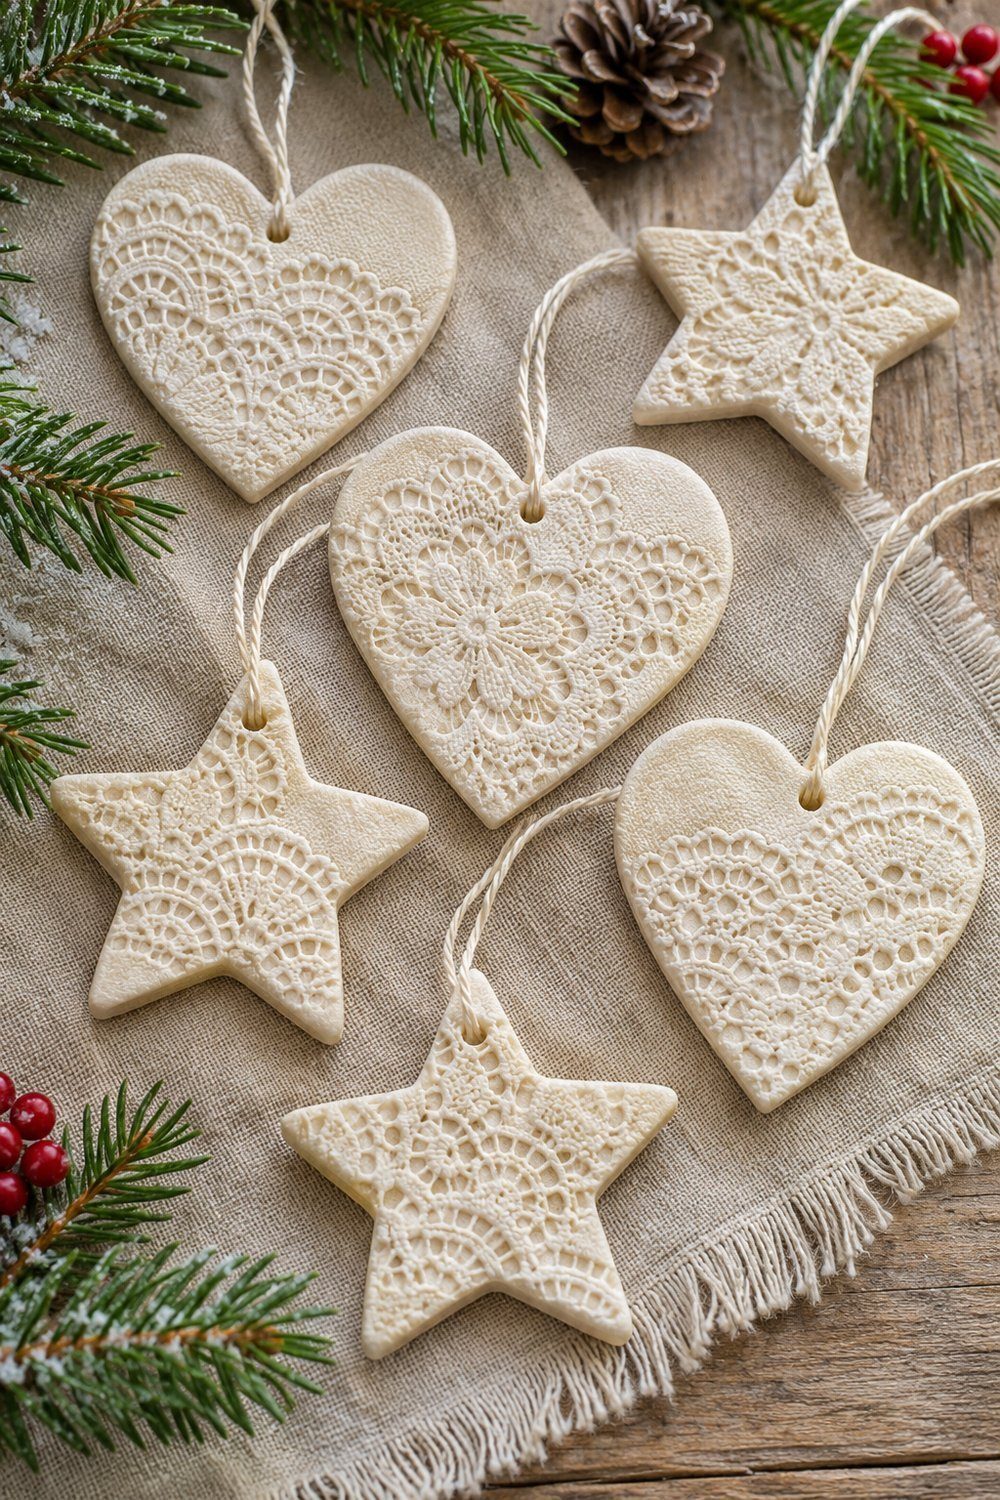
Lace-pressed shapes. A doily supplies the pattern here: lay it over soft dough and roll across it so its lace texture leaves an impression. Cut the patterned dough with cookie cutters and make the hanging holes before baking. The Shabby Tree lets the shapes cool on a rack, then takes them outside for polyurethane spray. The doily does the detailed work for you; string turns the shapes into tree ornaments. blewis, The Shabby Tree
Botanical impressions. Fresh leaves leave fossil-like traces in soft salt dough in the WheatonArts family workshop. Arrange the leaves, press dough onto them, then turn it over and gently peel away the plant material. Tweezers help lift smaller pieces. The workshop lets the impressions dry overnight before adding acrylic paint, removing excess paint with tissue or a cotton ball and letting the color dry. This family activity lets the plant provide the decoration. WheatonArts Family Art Workshop, WheatonArts
Inked holiday stamps. Use holiday-themed stamps with ink to put an image on your cut shapes while the dough is soft. Mosswood Connections rolls directly on parchment, cuts with cookie cutters, stamps the image, and makes the hanging hole with a straw. After drying and cooling, you can add paint and thread ribbon through the hole. The activity emphasizes sensory and fine-motor skills and gift giving, suiting family crafting. Mosswood Connections team, Mosswood Connections
Left natural or scented
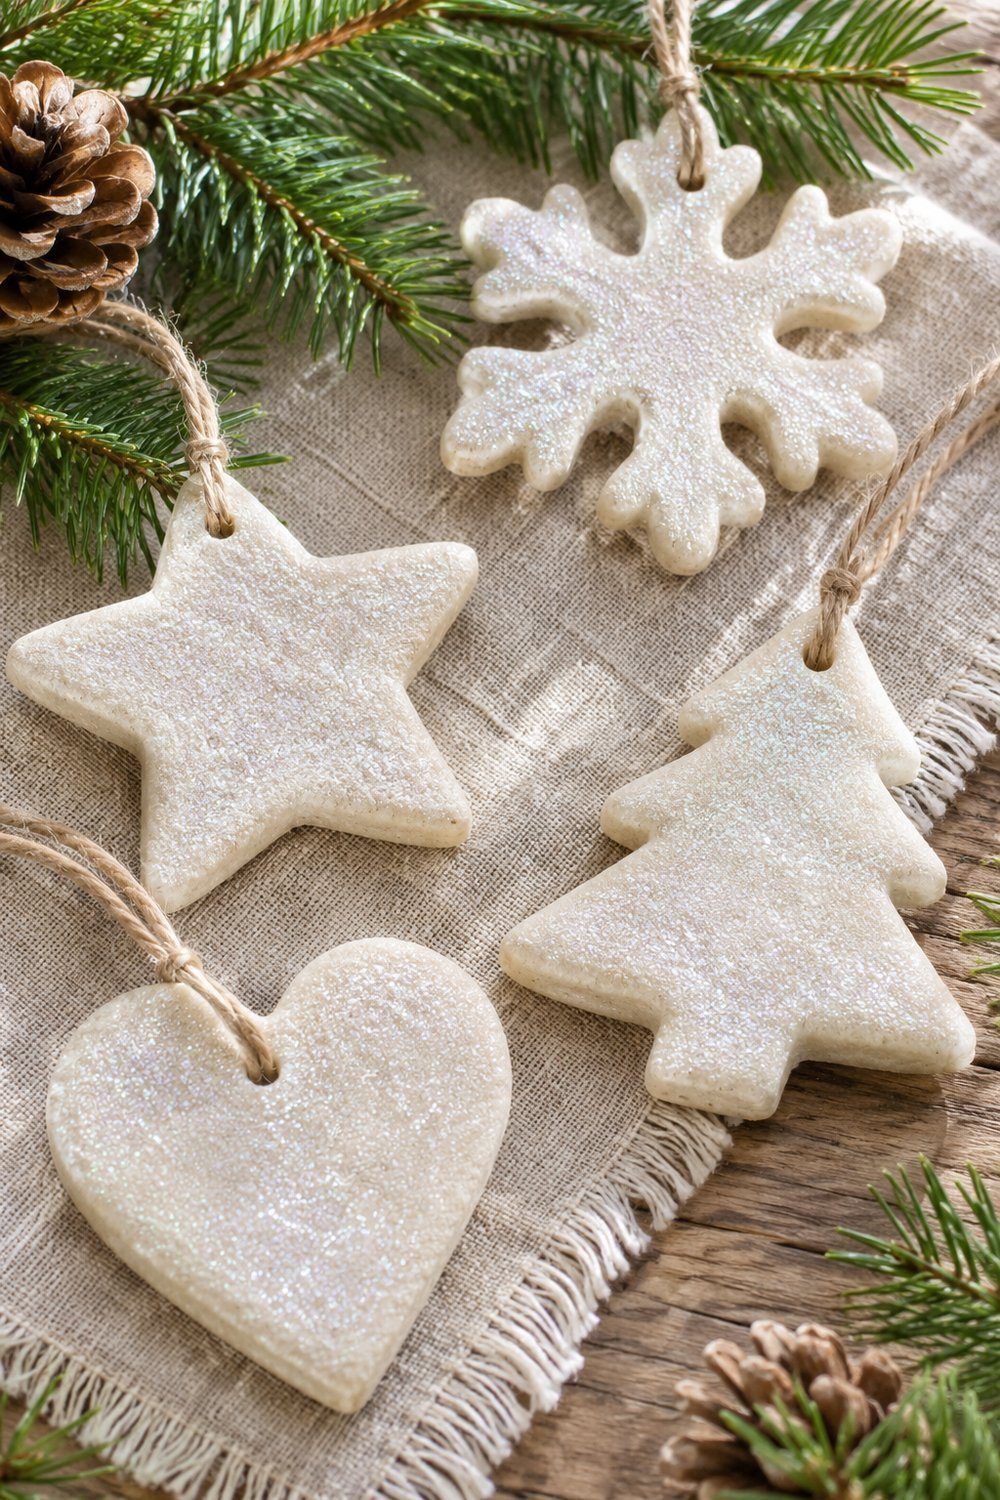
White-on-white shimmer. Keep the pale dough visible and add extra-fine white glitter for a finish that catches the light. Heather Smoke first brushes matte Mod Podge over the tops, bottoms, and sides, letting each side dry before turning. Once that coating is dry, she adds another thin layer on top and immediately sprinkles on glitter, then lets it dry completely. This finish, one of several in her tutorial, suits a simple white tree. Heather Smoke, Curly Girl Kitchen
Cinnamon-scented cutouts. For cinnamon-scented brown ornaments, use Mischka's separate dough: 1 cup each of ground cinnamon, salt, flour, and water (about 237 mL each by volume). Roll to ¼ inch (0.6 cm), cut shapes, and make holes before baking at 300°F (149°C) for about one hour, then cool. Her baked tops become lighter while the undersides stay darker. This family project suits anyone drawn to the rustic appearance and scent of cinnamon ornaments. Mischka, Love Mischka
Plain shapes with rustic twine. Leave the dough's own surface as the decoration and let the hanger bring in the Christmas color. Mary Woita uses rustic-looking red, green, and white twine for her ornaments, cutting familiar cookie-cutter shapes and letting them cool before hanging. Make the hole before baking with a kitchen skewer or small screwdriver, allowing room for the twine because the hole shrinks a little. Her family project centers on making Christmas memories. Mary Woita, Boots & Hooves Homestead
Keepsakes
A handwritten name and year. Turn a finished ornament into a dated keepsake by writing its name and adding the year on the back. Kimberly McLeod recommends recording the year to keep track of successive ornaments; in her reader replies, she confirms permanent marker can go beneath Mod Podge and suggests an acrylic paint marker if it writes more neatly. This option in her handprint tutorial suits a family collection recording each Christmas. Kimberly McLeod, The Best Ideas for Kids

A painted handprint. Capture a handprint in soft dough, then paint the print while leaving the surrounding ornament plain, or paint a white base and color the print after that base dries. McLeod cuts hearts or circles around the impression and decorates only when the dough is fully dry. Let the paint dry before sealing with Mod Podge or clear glaze. Made for family memories; keep dough and ornaments out of pets' reach. Kimberly McLeod, The Best Ideas for Kids
A decoupaged photograph. Give a salt dough ornament a personal face with a photograph attached to its surface. Julie Blanner brushes the ornament with Mod Podge, places the photo on top, then brushes more over it for a glossy finish. She also offers polyurethane spray over the photograph as an alternative. Photo decoupage, one of several variations in her family tutorial, turns a photograph into a keepsake. Julie Blanner, Julie Blanner
Storing them for next year
Seal the finished ornaments and keep them cool and dry, away from moisture, as Kimberly McLeod, The Best Ideas for Kids advises. Once fully dry, wrap them in tissue or packing paper and store in a low-humidity location, following Crissy, First Day of Home.
Continue your homemade Christmas with Christmas Decorations to Make at Home: 20 Easy DIY Ideas and DIY Lace Christmas Decorations.