Driftwood Fairy Houses Built from Beach Finds


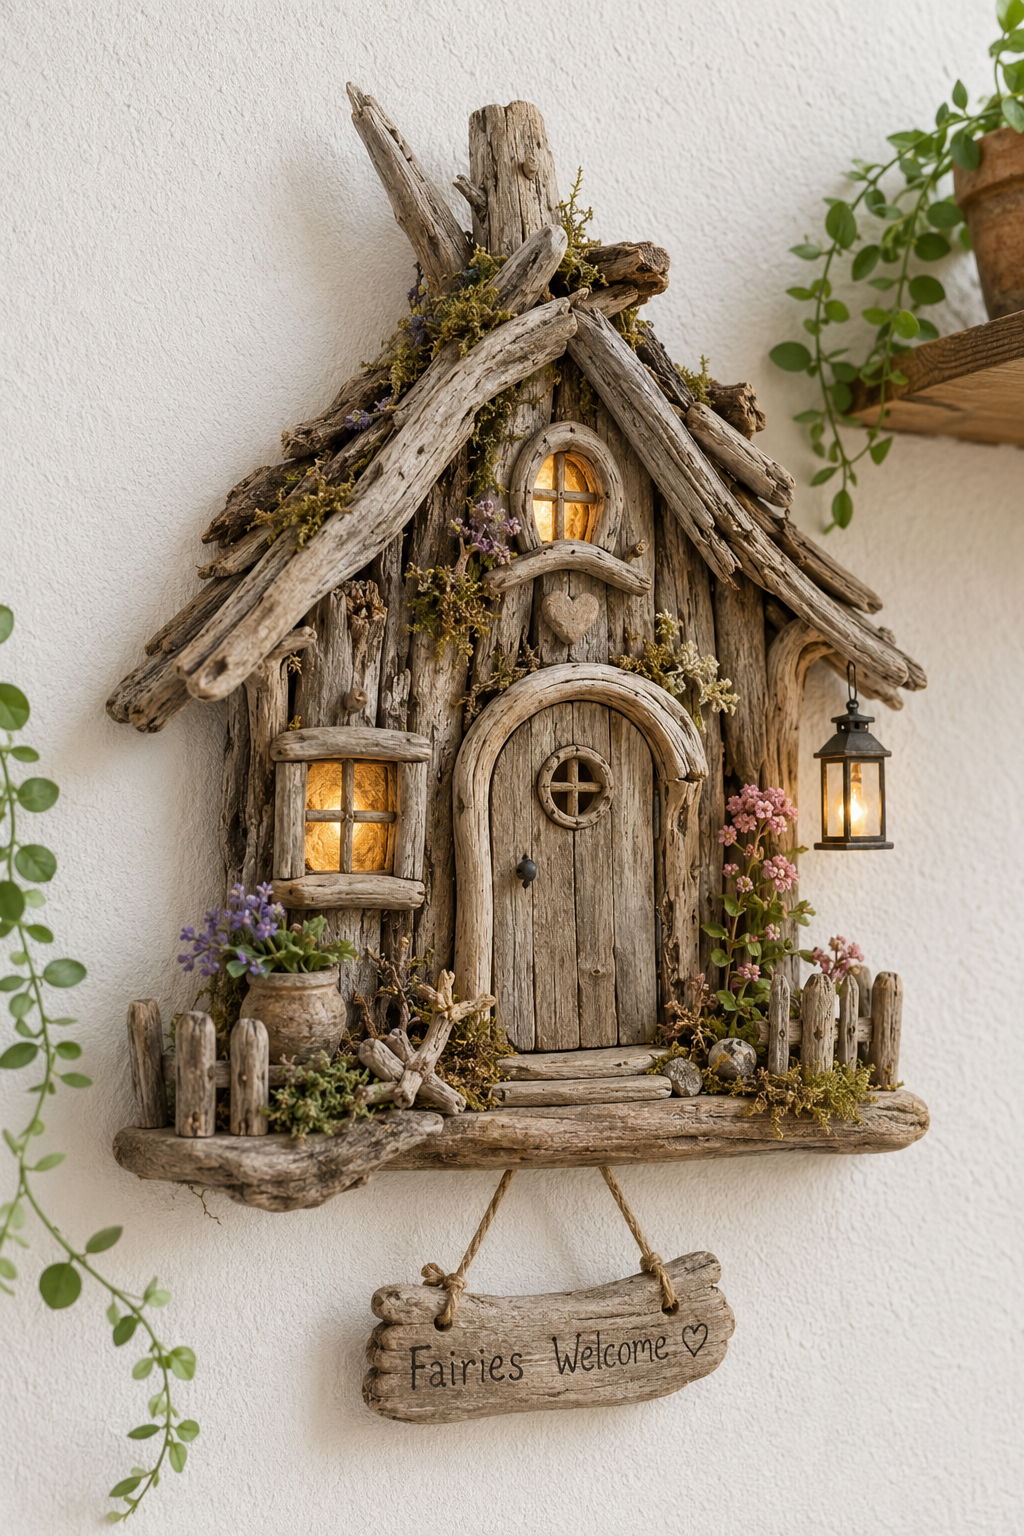
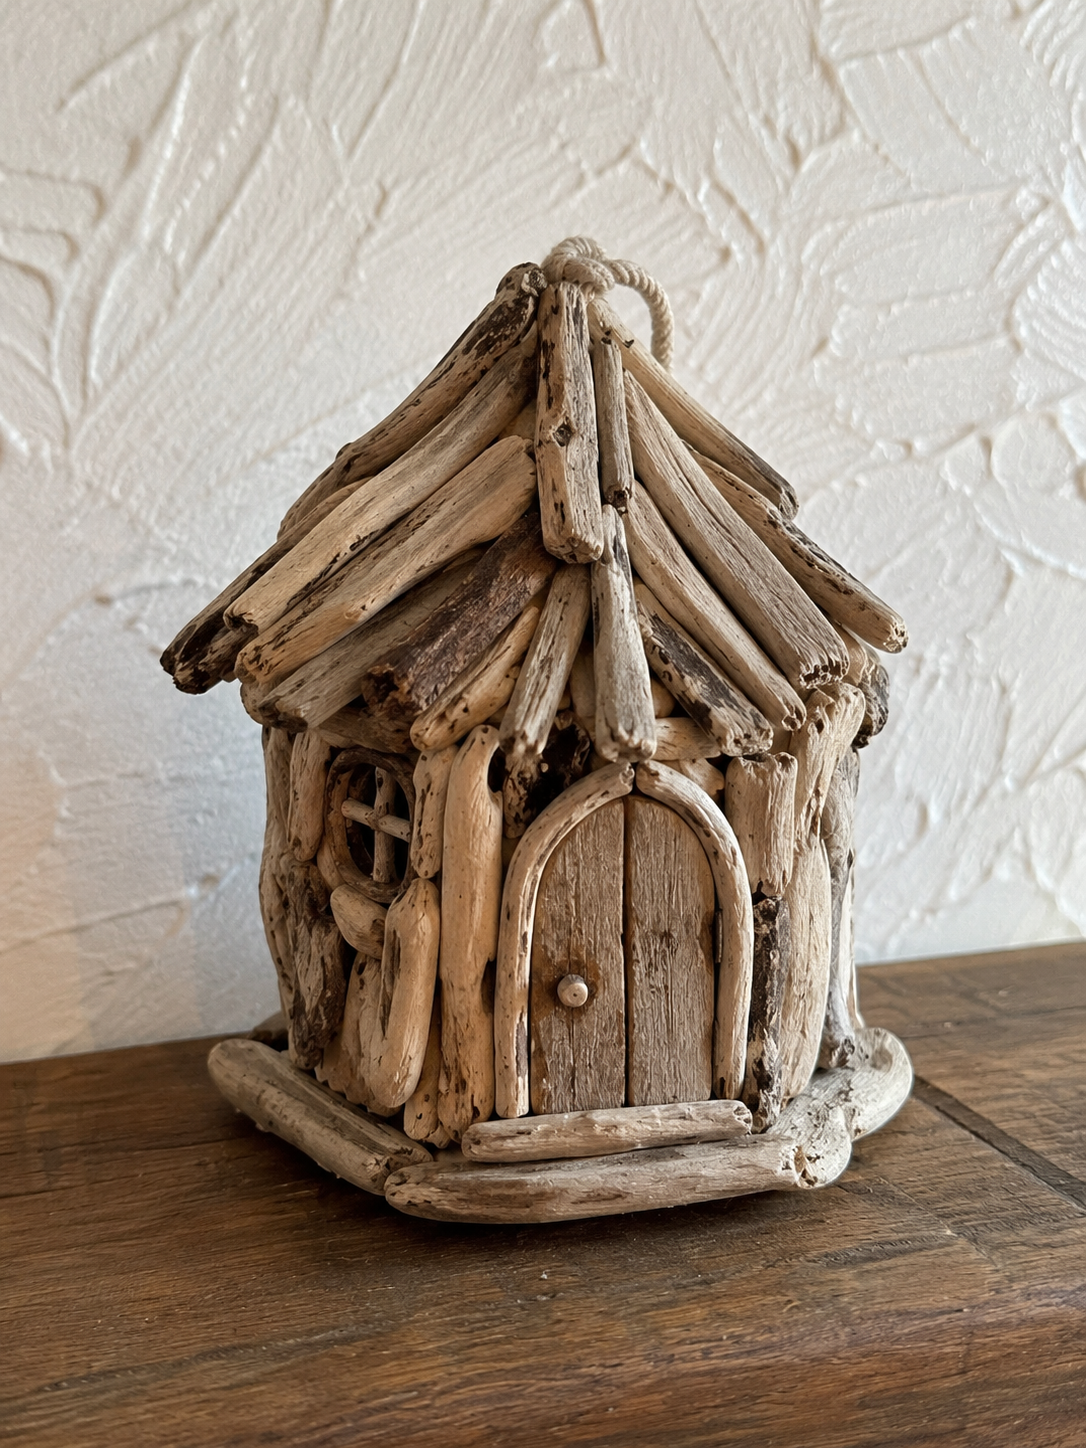
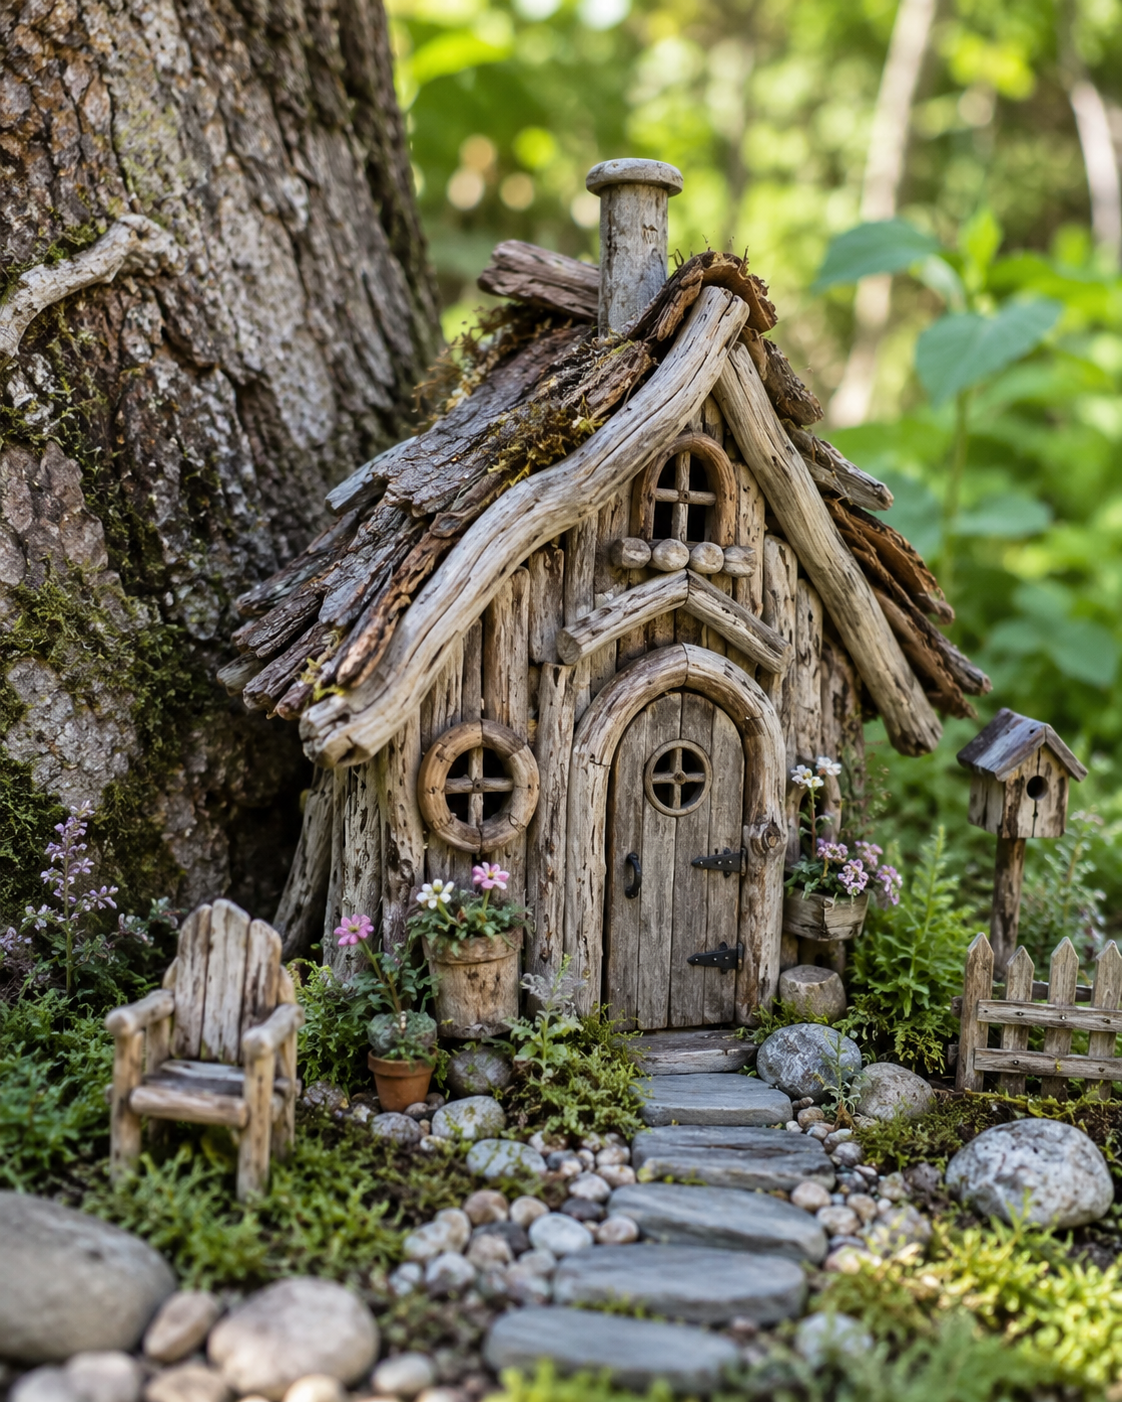
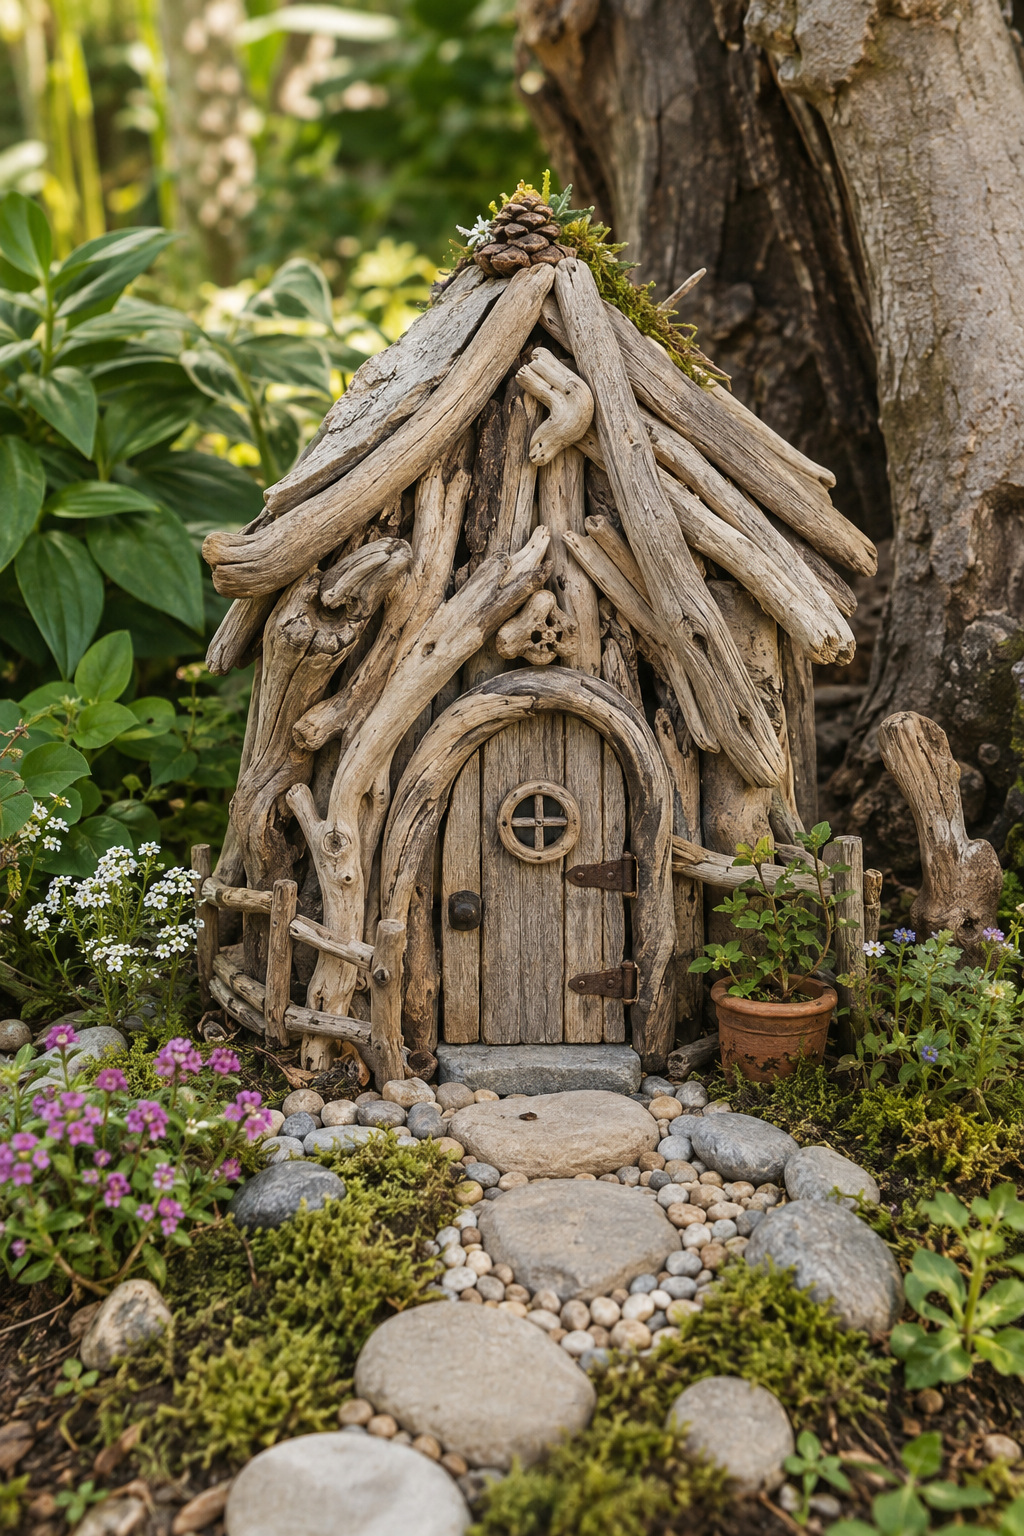
A crooked roof, a tiny round door and a chimney no taller than a thumb can turn a handful of weathered wood into something unexpectedly magical. Driftwood fairy houses are not polished miniature buildings. Their charm comes from irregular shapes, uneven walls and the suggestion that they were built quietly by woodland creatures while nobody was watching.
Driftwood is especially suitable for this kind of project because the sea, rivers and weather have already softened its edges. Twisted branches become roof beams. Flat pieces resemble old doors. Pale fragments look like timber that has survived decades of storms.
A fairy house can remain simple: four pieces of wood, a bark roof and one tiny window. It can also become an elaborate miniature cottage surrounded by moss, pebble paths, fences, lanterns and a complete fairy garden. bed instead of appearing like a brightly coloured plastic ornament.
- Collect Driftwood Responsibly
- Materials for a Driftwood Fairy House
- How to Prepare Driftwood
- 1. Simple Woodland Driftwood Cottage
- 2. Tall Fairy Tower
- 3. Driftwood Mushroom House
- 4. Crooked Seaside Fairy Cottage
- 5. Fairy House Built into a Tree Stump
- Step-by-Step: Building a Basic Driftwood Fairy House
- Creative Roof Ideas
- Making Tiny Doors and Windows
- Where to Display the Fairy House
- Conclusion
Collect Driftwood Responsibly
Before removing wood from a beach, riverbank, forest or protected landscape, check the rules for that specific location. Regulations differ, and some parks prohibit collecting natural materials, including wood.
When collection is not allowed, suitable alternatives include:
- Craft-store driftwood;
- Reclaimed timber;
- Weathered branches from your own garden;
- Broken wooden decorations;
- Offcuts from woodworking projects;
- Pieces purchased from responsible suppliers;
- Old untreated fence boards;
- Naturally fallen branches collected with permission.
Avoid taking wood that is being used as shelter by insects or other wildlife. Never cut living branches merely to create an aged-looking craft material.
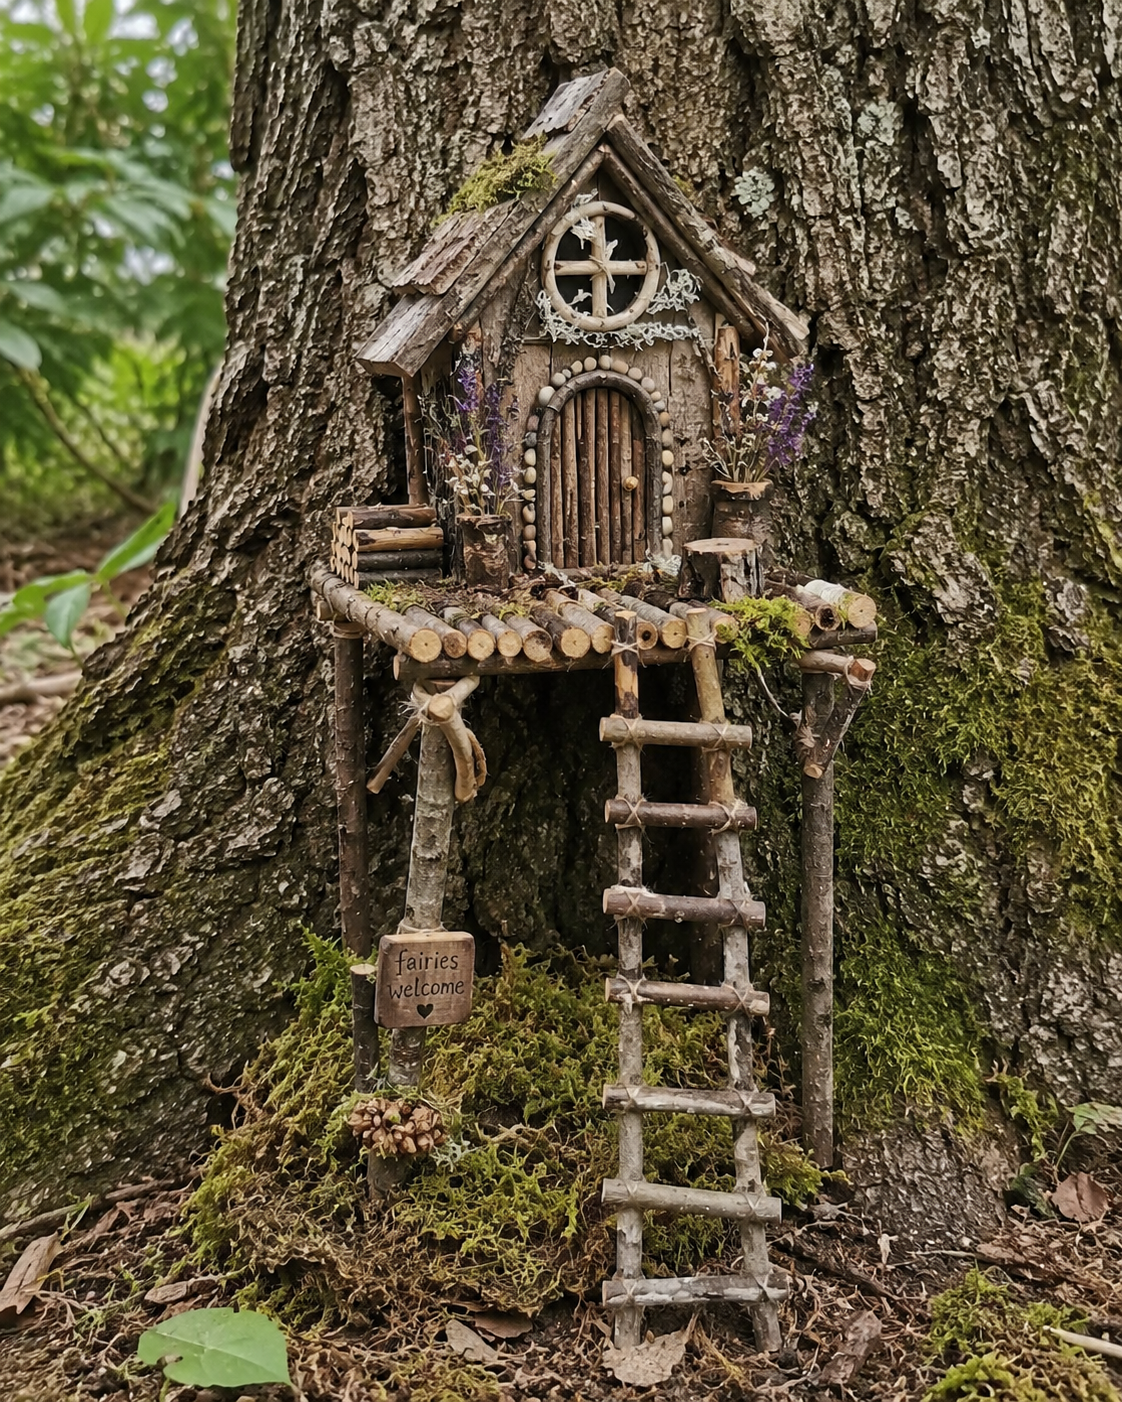
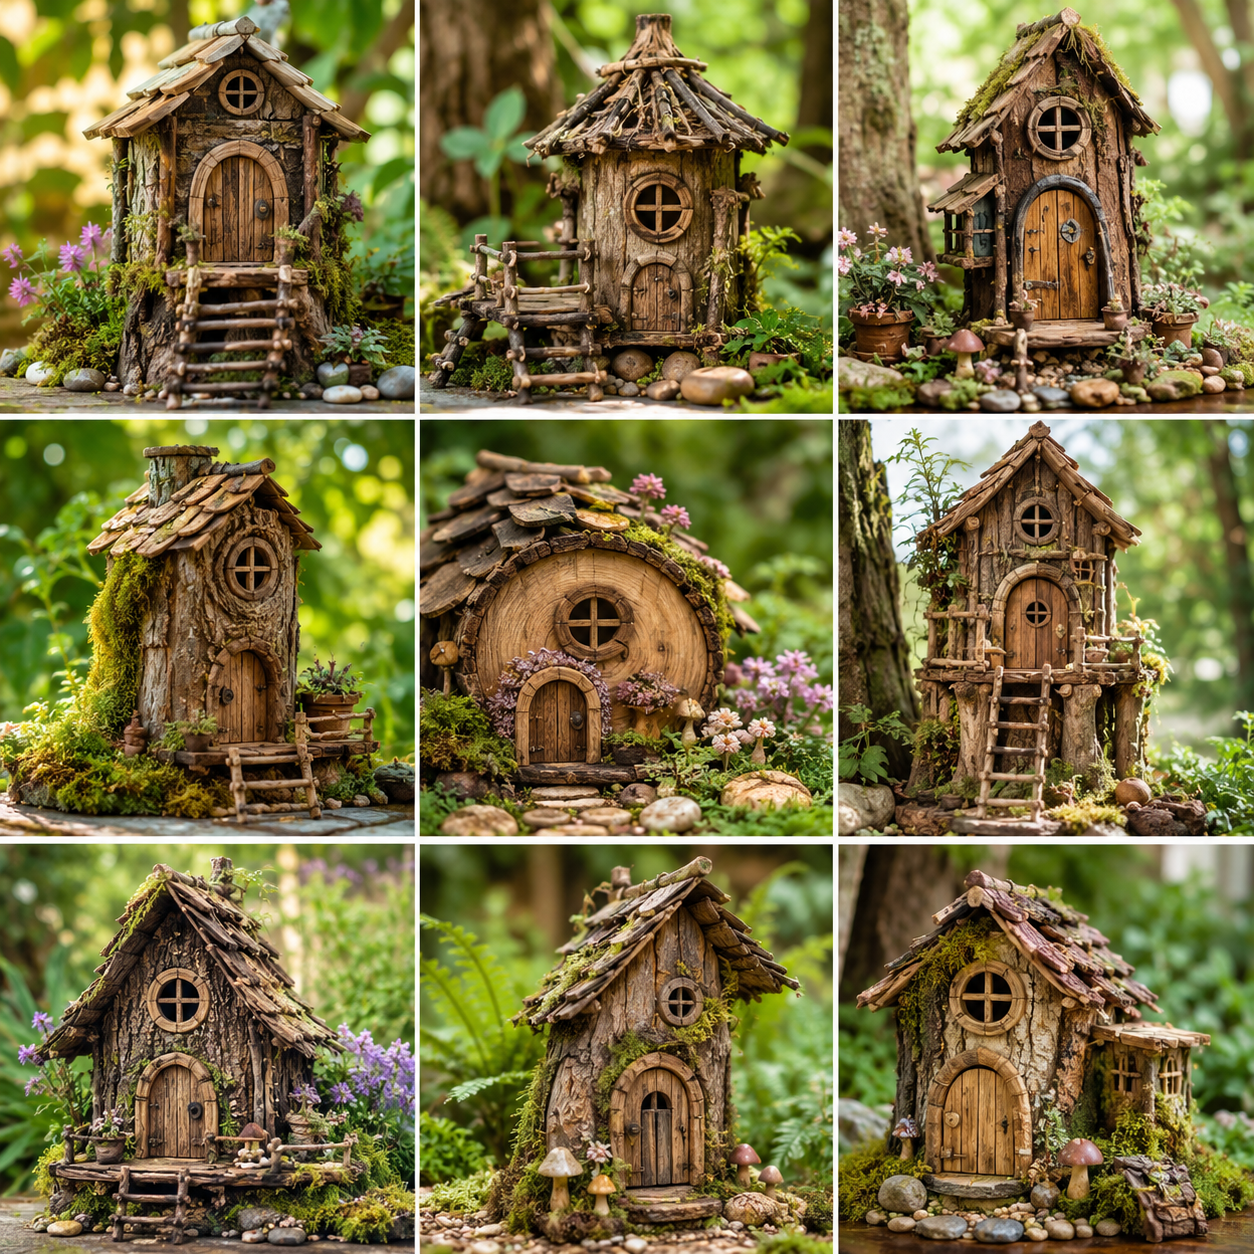
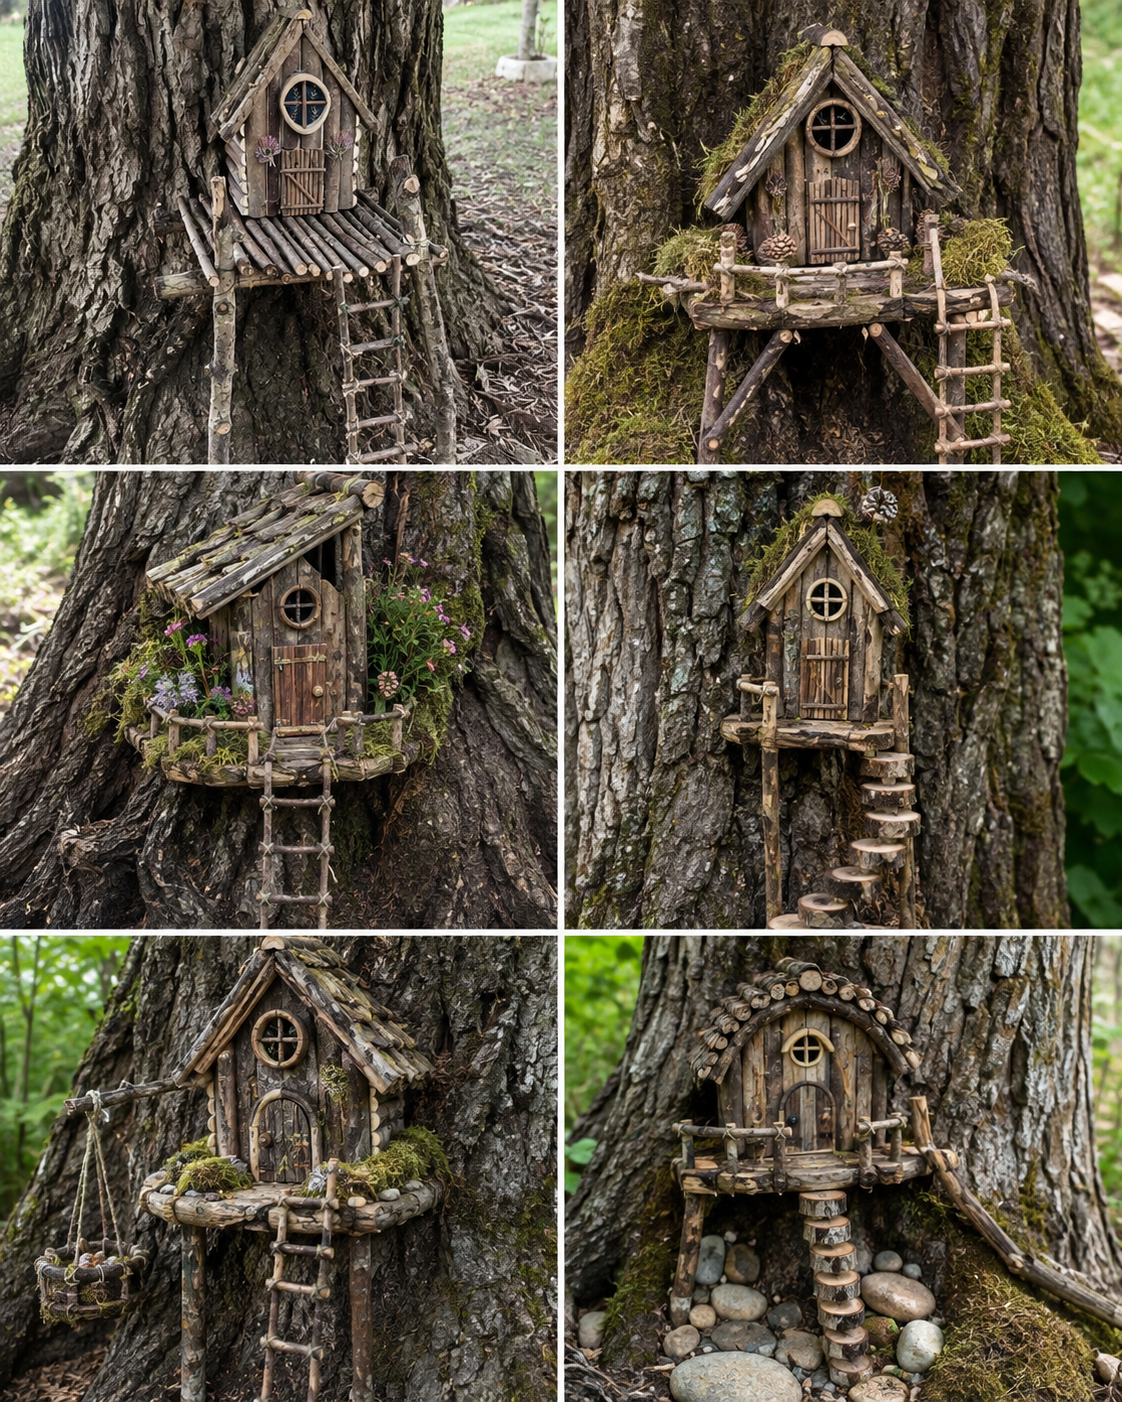
Materials for a Driftwood Fairy House
You do not need every item listed below. Begin with a basic structure, then add details gradually.
Essential materials
- Clean, completely dry driftwood;
- A strong adhesive suitable for wood;
- A small wooden base, bark slab or flat stone;
- Pruning shears or a small hand saw;
- Sandpaper;
- Protective gloves;
- A ruler and pencil.
Optional decorative materials
- Sheet moss or preserved moss;
- Small stones and gravel;
- Bark fragments;
- Pinecone scales;
- Acorn caps;
- Wooden beads;
- Twine or fine natural cord;
- Thin craft wire;
- Small shells;
- Dried flowers;
- Air-dry clay;
- Miniature LED lights;
- Outdoor wood sealant;
- Acrylic paint;
- Tiny hinges, handles or decorative nails.
Choose decorations according to where the house will be displayed. An indoor fairy house can include delicate dried flowers and paper details. A house placed outside needs stronger materials and fewer fragile embellishments.
How to Prepare Driftwood
Driftwood may look ready to use, but preparing it properly helps the structure remain cleaner and more stable.
1. Inspect every piece
Discard wood that feels excessively soft, crumbles when pressed or has deep rotten areas. Small cracks are attractive. Structural weakness is not.
Check holes and crevices before bringing the wood indoors.
2. Brush away loose material
Use a dry, stiff brush to remove sand, soil and flaking fibres. A toothbrush is useful for narrow grooves.
3. Wash only when necessary
If the wood is dirty, rinse or scrub it gently with water and mild soap. Avoid soaking delicate pieces for long periods.
5. Smooth dangerous edges
Retain the natural texture, but sand any sharp splinters that could injure someone handling the house.
6. Sort the pieces
Arrange the wood into groups:
- Long pieces for walls;
- Flat pieces for roofing;
- Narrow sticks for frames;
- Curved pieces for doors;
- Small fragments for decorative details.
This simple step often reveals several possible designs before construction begins.
1. Simple Woodland Driftwood Cottage
A basic woodland cottage is the best project for beginners.
Create two side walls from short driftwood pieces and use taller sticks for the front and back. Leave an opening in the front for the door.
Place two slightly angled pieces across the top to support the roof. Cover them with overlapping bark or flat driftwood fragments.
Add a small round door made from a wood slice. A tiny bead, seed or acorn cap can serve as the handle.
Finish the cottage with moss around the base and a short pebble path leading to the entrance.
The building does not need to be perfectly square. A slightly leaning wall makes the cottage feel older and more believable.
2. Tall Fairy Tower
A tower works well when you have several narrow, vertical pieces of driftwood.
Arrange the pieces around a cardboard tube, wooden cylinder or small jar used temporarily as a guide. Once the walls are secure, remove the guide when possible.
Create a pointed roof from bark triangles or overlapping pinecone scales. Add small windows at different heights rather than arranging them in a straight line.
A spiral staircase can be suggested with:
- Tiny wood slices;
- Pebbles;
- Short twigs;
- Pieces of bark attached around one side.
Place the tower beside a tree root, where it will appear to rise naturally from the landscape.
3. Driftwood Mushroom House
For a whimsical variation, combine driftwood walls with a rounded mushroom-style roof.
Build a short cylindrical base from vertical sticks. Form the roof with air-dry clay, a wooden bowl, a large seed pod or a suitable piece of bark.
Paint the roof deep red, mustard, sage green or dusty pink. Small pale dots can create the familiar mushroom appearance without making the house overly bright.
Add an arched door, one circular window and moss around the roof edge.
A mushroom house looks particularly effective among ferns, hostas and other low-growing plants.
4. Crooked Seaside Fairy Cottage
Combine driftwood with shells to create a house that feels as though it belongs near the coast.
Use pale, salt-worn wood for the walls. Decorate the roof with tiny shells or thin pieces of weathered wood layered like shingles.
Possible seaside details include:
- A shell above the doorway;
- A rope-style fence made with twine;
- Blue-grey painted shutters;
- A path of white pebbles;
- A miniature fishing net;
- A small wooden boat;
- Sea-glass-style beads.
Use shells sparingly. A few carefully placed pieces will preserve the natural appearance of the driftwood.
5. Fairy House Built into a Tree Stump
A tree stump provides an instant foundation and makes the structure look integrated into the garden.
Instead of constructing four complete walls, build only the façade:
- Create a small door from vertical sticks.
- Add a frame made from thin twigs.
- Place one or two windows beside it.
- Add a miniature roof above the entrance.
- Surround the façade with moss.
Do not drill deeply into a living tree. When decorating around a living trunk, use removable supports or position the house at the base without damaging the bark.
An old detached log or stump is easier to work with and offers more creative freedom.
Step-by-Step: Building a Basic Driftwood Fairy House
Step 1: Choose a base
Select a flat piece of timber, bark or stone. The base should be wider than the finished house and stable enough to support it.
Step 2: Arrange the front wall
Lay out the entrance and windows before gluing anything. Position vertical sticks around the openings.
Step 3: Build the remaining walls
Construct each wall flat on the work surface when possible. Allow the adhesive to cure before joining the walls together.
Step 4: Strengthen the corners
Glue narrow sticks inside the corners. These supports will not be visible but will make the house more durable.
Step 5: Add the roof frame
Attach a ridge beam across the top. Place angled supports from the ridge to the side walls.
Step 6: Cover the roof
Layer bark, pinecone scales or flat driftwood from the bottom upward. Each new row should overlap the one below it.
Step 7: Create the door
Use a flat wood fragment or join several narrow sticks. Add a frame and a tiny handle.
Step 8: Add windows
Make frames from twigs, wire or narrow strips of wood. The window interior can remain dark or contain a piece of translucent material.
Step 9: Decorate the base
Add moss, stones, plants and a pathway. Avoid hiding the building beneath too many decorations.
Step 10: Let everything cure
Do not move the structure until the adhesive has reached its recommended curing time.
Creative Roof Ideas
The roof strongly influences the personality of a fairy house.
Bark roof
Rough bark creates a woodland appearance and works well with simple walls.
Pinecone roof
Remove individual pinecone scales and overlap them like tiles.
Driftwood shingle roof
Cut or select flat fragments of similar thickness. Arrange them in irregular rows.
Moss roof
Cover a solid roof with preserved moss for a soft, aged effect.
Pebble roof
Use only very small, lightweight stones and ensure that the underlying structure is strong.
Twisted branch roof
A naturally curved piece of wood can become a dramatic roof with almost no alteration.
Making Tiny Doors and Windows
The entrance should be one of the strongest visual features.
Try a door that is:
- Round;
- Arched;
- Tall and narrow;
- Made from several vertical planks;
- Painted in a muted colour;
- Framed by pebbles;
- Partly hidden beneath moss.
For windows, avoid making every frame identical. Fairy architecture benefits from gentle irregularity.
A dark window suggests mystery. A softly glowing window suggests warmth.
Where to Display the Fairy House
Good placement is just as important as construction.
Consider placing it:
- At the base of a mature tree;
- Among ferns;
- Inside a large planter;
- Beside a pond;
- Under a shrub;
- Along a garden path;
- In a sheltered rock garden;
- On a tree stump;
- Beneath a bench;
- Near a child’s outdoor play area.
Partly conceal the house with plants instead of displaying it in the centre of an empty lawn. Discovery is part of the experience.
Conclusion
Learning how to build cozy driftwood fairy houses begins with looking at ordinary pieces of wood differently. A bent branch becomes a roof. A knot becomes a window. A cracked fragment becomes an ancient door.
Start with a small cottage and a stable base. Let the shapes of the driftwood guide the design rather than forcing every piece into a rigid plan. Add an arched doorway, a weathered roof and one carefully placed path. Then stop and look before adding anything else.
The best fairy houses balance detail with mystery. They suggest a story without explaining everything.
Placed beneath a tree, among ferns or beside a garden path, a handmade driftwood cottage can turn an overlooked corner into a place that invites closer attention. It does not need to be perfect. It only needs to look as though someone very small might return to it after dark.