DIY Christmas Centerpiece Using Wooden Boxes That Wows

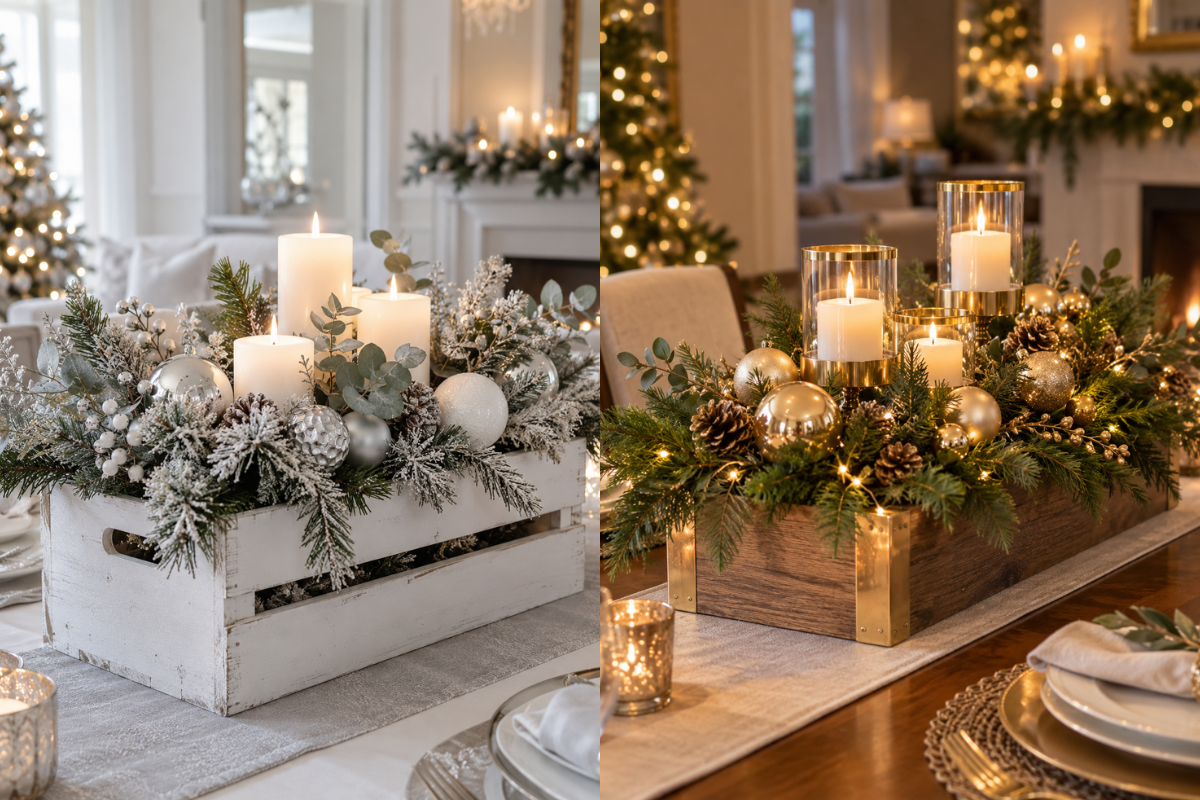
Picture your holiday table glowing with candlelight, greenery, and farmhouse charm. You can smell pine, feel flickering warmth, and hear laughter fill the room.
A simple Christmas centerpiece using wooden boxes can turn any dinner table into a cozy gathering spot. Wood grain textures pair beautifully with pinecones, ribbon, and twinkling lights.
These rustic Christmas table decorations have become a favorite among home decorators nationwide. They're affordable, easy to find, and endlessly customizable for your style.
This project fits any budget and skill level. It works for a big family dinner or a quiet evening with loved ones. You need no fancy tools or crafting experience, just creativity and warmth.
Ready to create something your guests will remember? Let's walk through the steps together, one cozy detail at a time.

- Why Wooden Boxes Make the Perfect Christmas Centerpiece Base
- How to Create a Christmas Centerpiece Using Wooden Boxes
- Step 1: Gather Your Materials and Wooden Boxes
- Step 2: Prep the Wood with Distressing and Finishing Techniques
- Step 3: Arrange Your Wooden Boxes for a Balanced Layout
- Step 4: Add Festive Greenery and Floral Displays
- Step 5: Layer in Candles, Lights, and Ornaments
- Step 6: Personalize with Rustic and Vintage Accents
- Conclusion
Why Wooden Boxes Make the Perfect Christmas Centerpiece Base
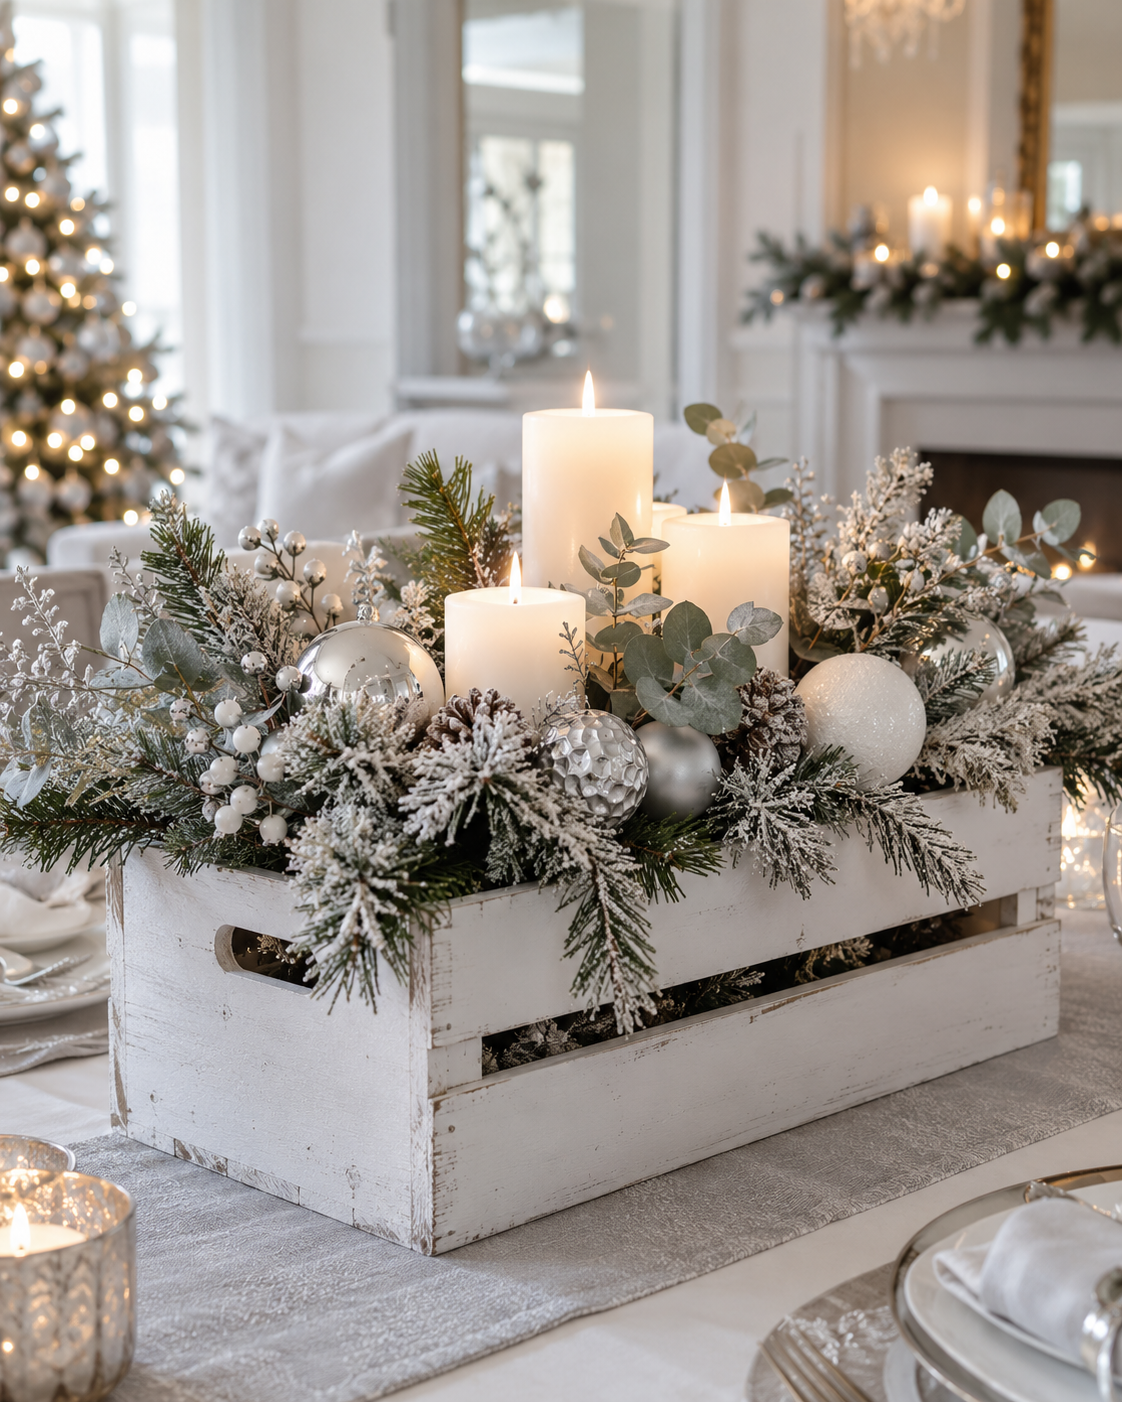
A simple wooden crate can turn an ordinary holiday table into something special. Wooden boxes add warmth, texture, and character that plastic or glossy decor cannot match. They suit many styles, from cozy cabin retreats to modern farmhouse dining rooms.
These boxes are budget-friendly and easy to find. You may already have one in your garage or basement. That easy access helps explain why farmhouse Christmas centerpiece ideas built around wooden crates have grown popular this season.
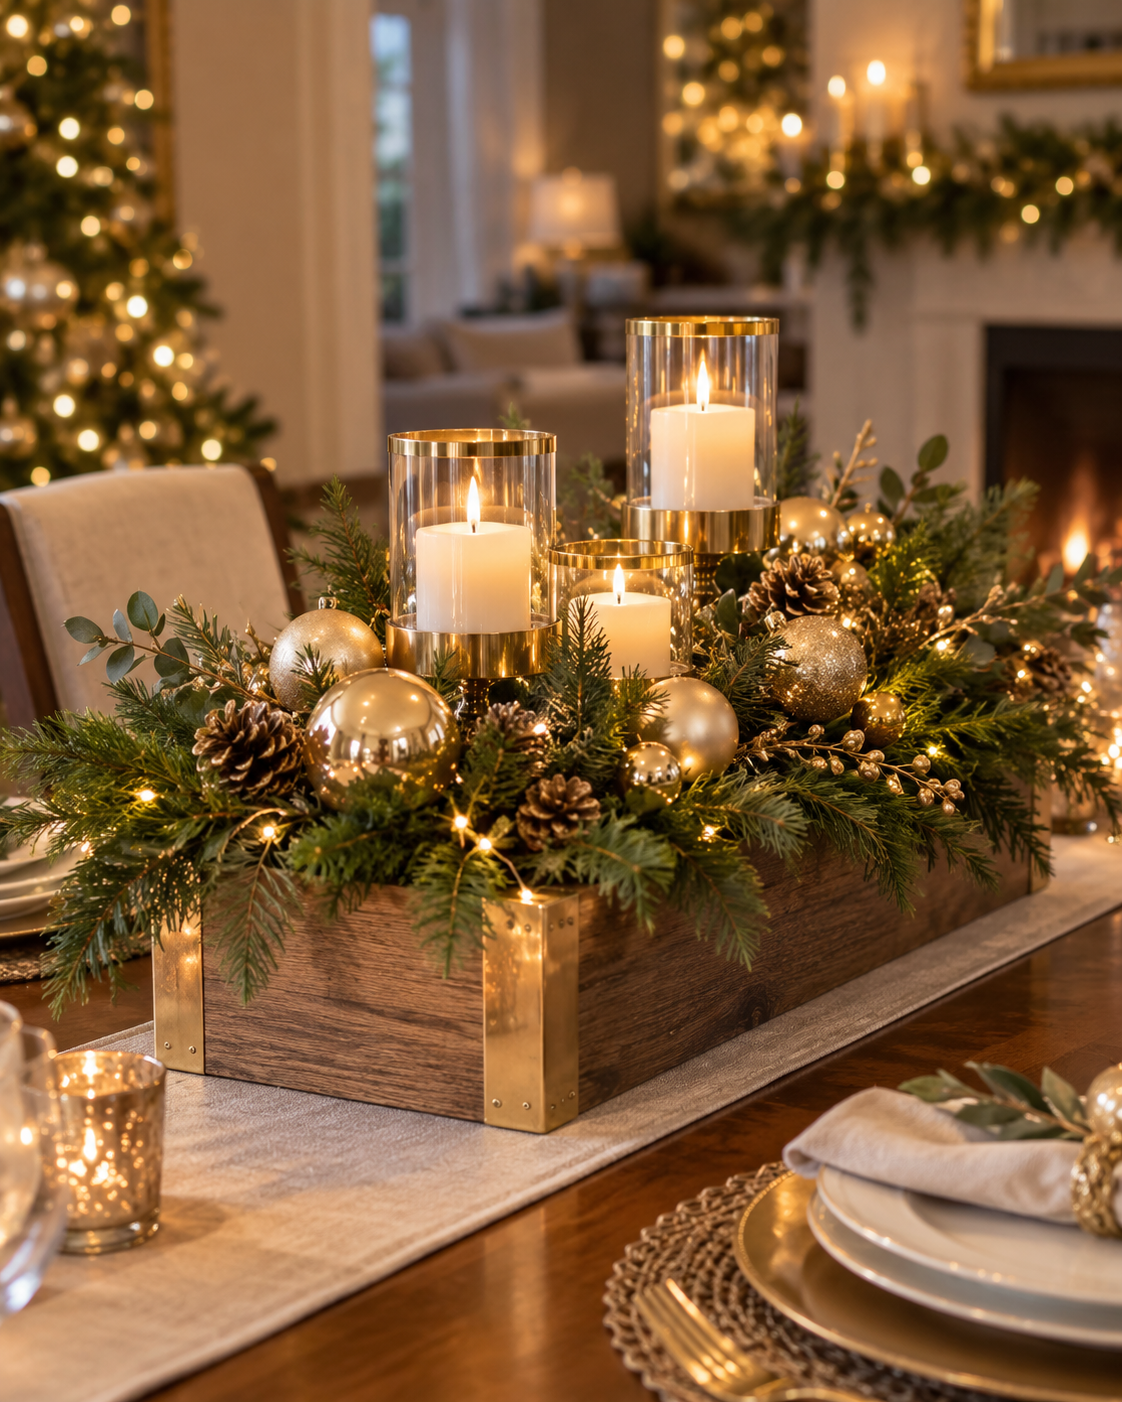
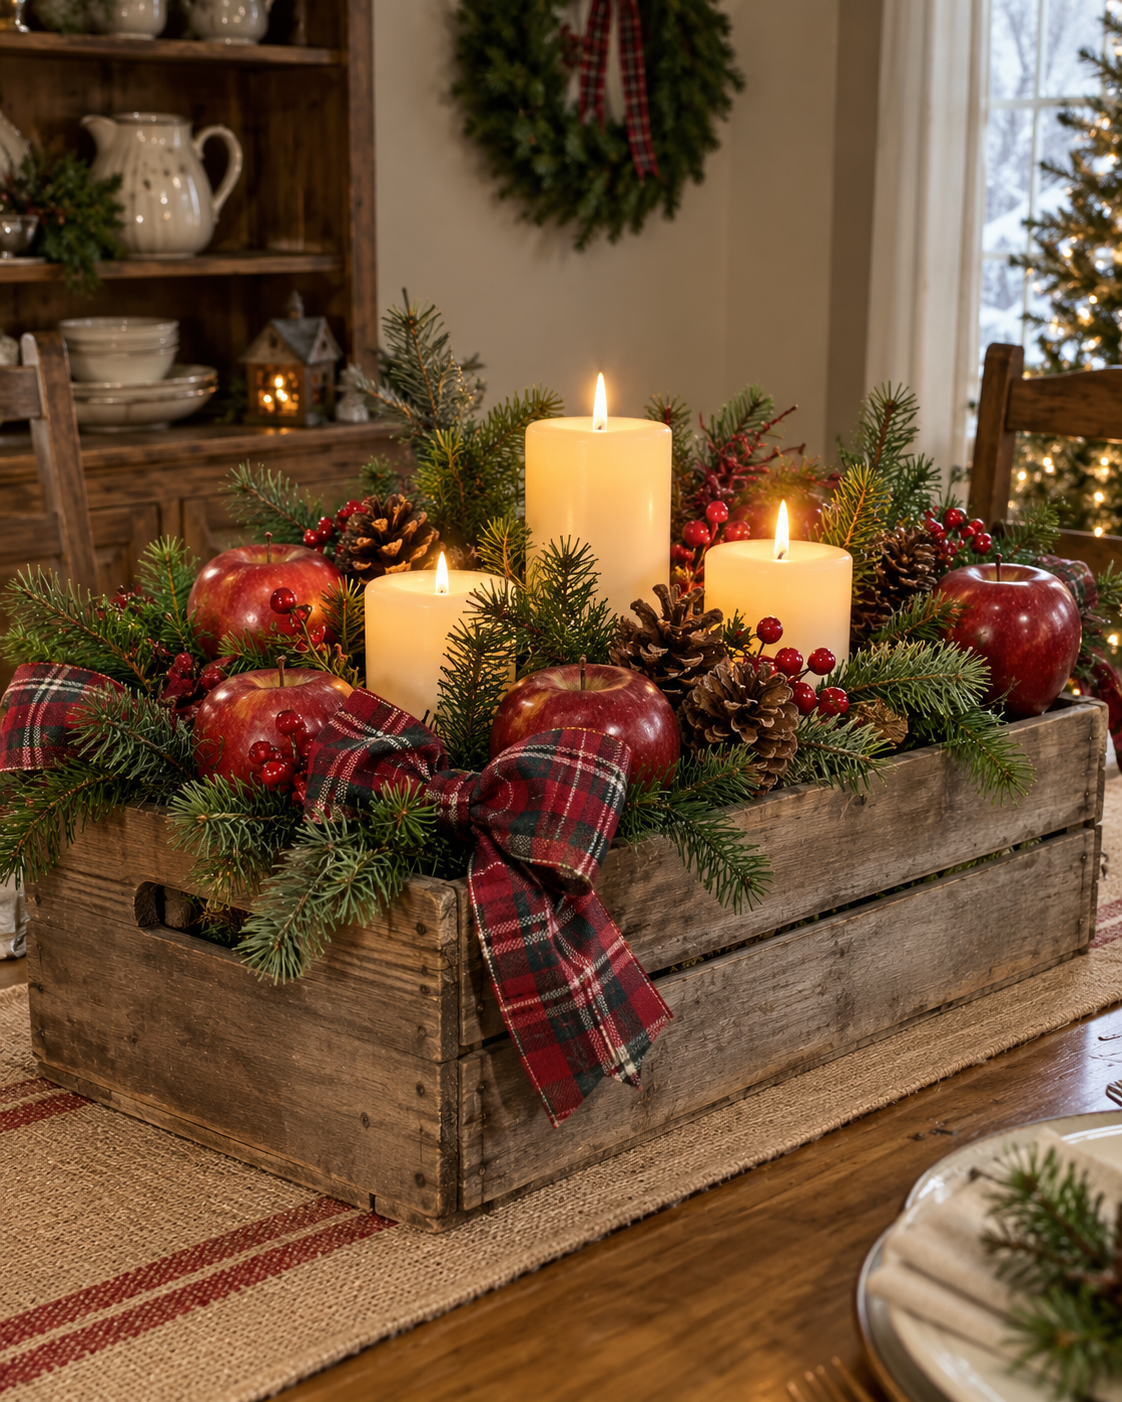
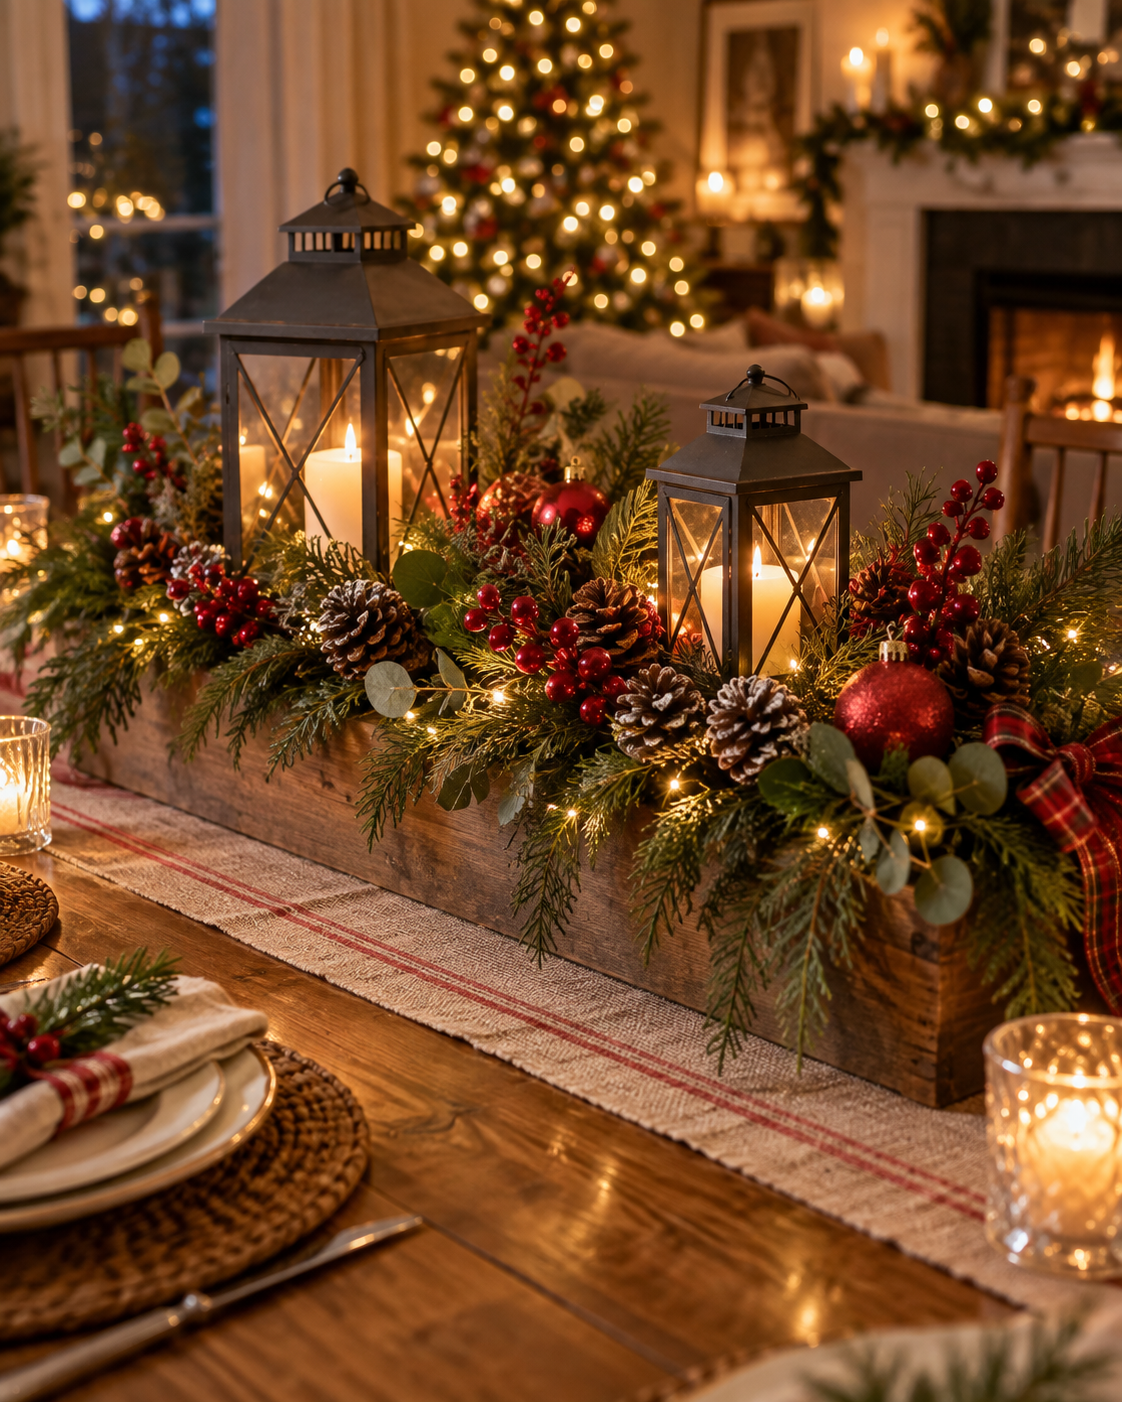
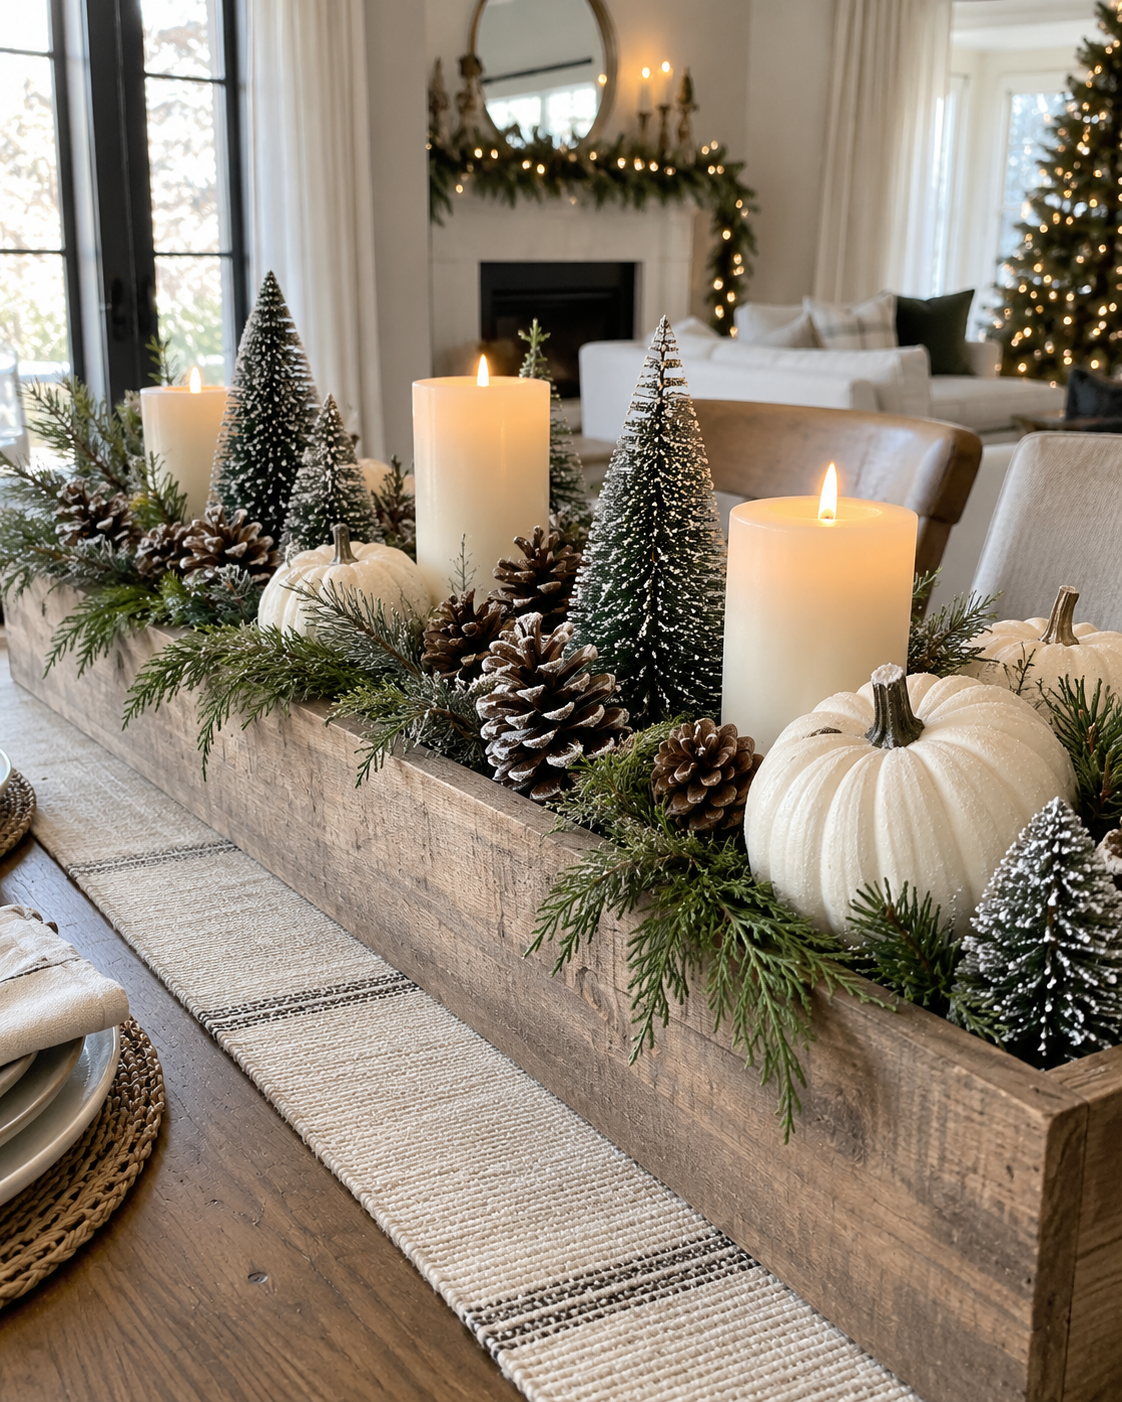
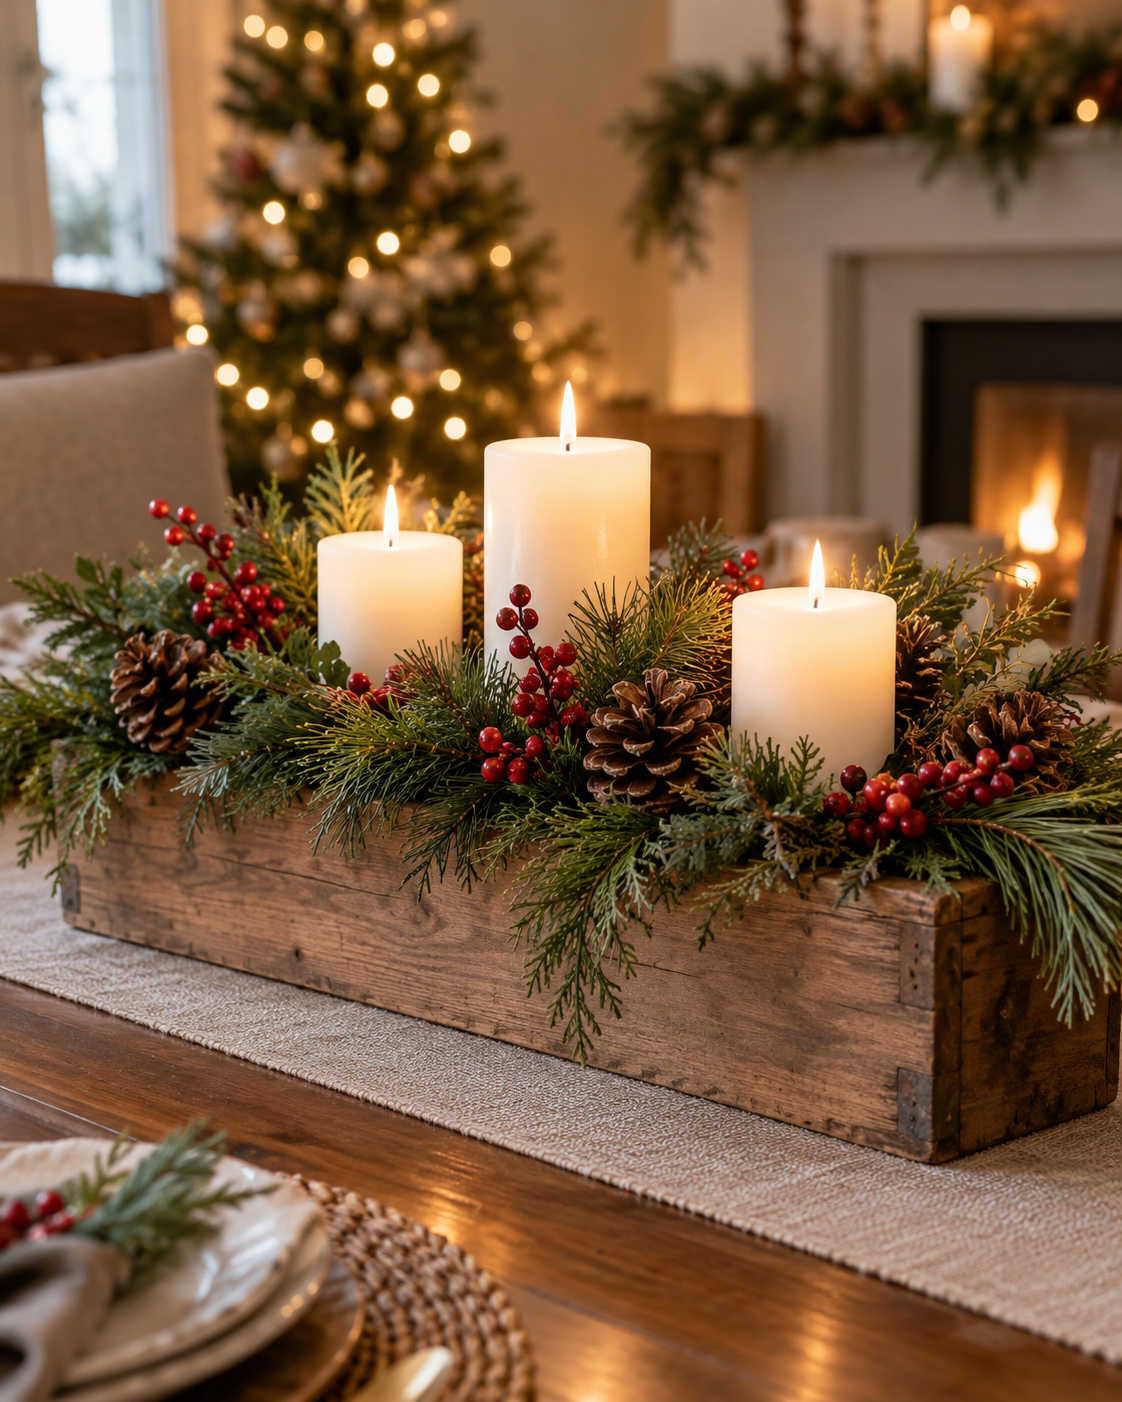
The Rustic Charm of Farmhouse Christmas Decor
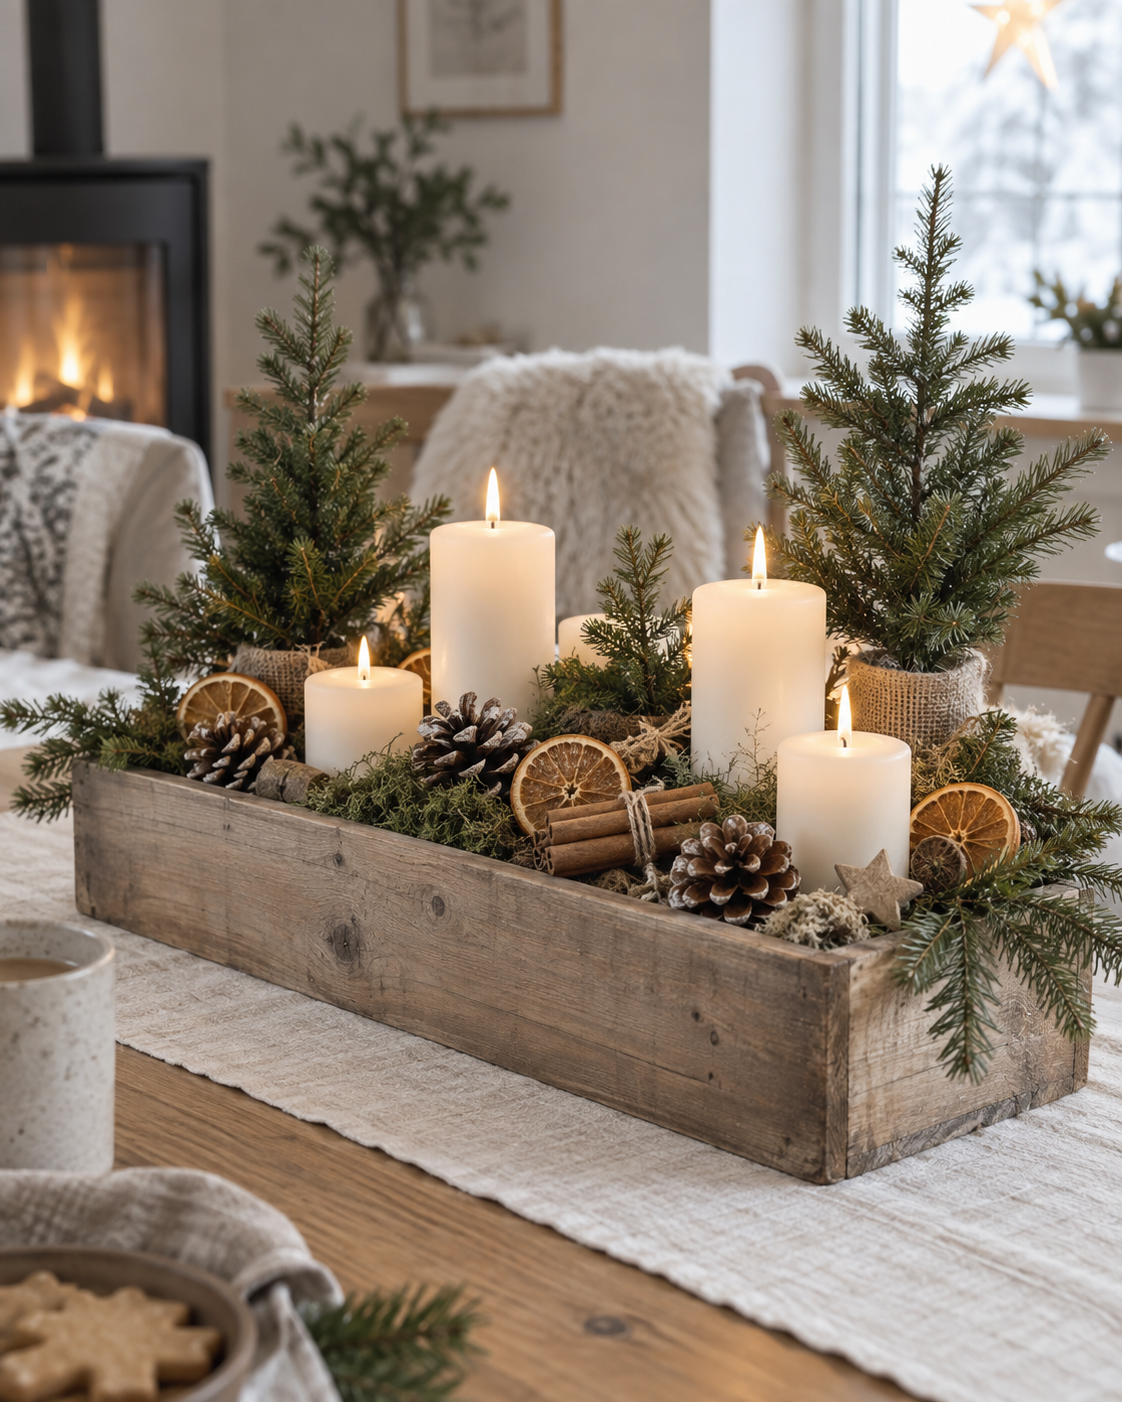
Farmhouse style reflects a wish for simpler times. Natural wood grain, muted colors, and handmade touches create comfort that shiny decorations rarely offer. Home shows and social media influencers made this cozy look a household favorite, with wooden boxes at its heart.
A weathered crate filled with pine branches feels lived-in and welcoming. It tells a story before you add one ornament and sets the room's tone.
Versatility of Vintage Crates and Reclaimed Wood
Flea markets, thrift stores, and old shipping pallets offer useful reclaimed wood. Each crate has its own history, from faded stamps to worn edges. That history gives your table personality that no mass-produced item can copy.
This flexibility makes vintage wooden crate centerpieces ideal for tables of any size. Stack them, nest them, or line them up on your buffet. When added, a wooden box Christmas tree display ties rooms together; DIY wooden box centerpieces are practical and charming.
How to Create a Christmas Centerpiece Using Wooden Boxes
Ready to turn simple crates into a centerpiece everyone will admire? This tutorial covers six easy steps, from supplies to final personal touches.
Grab some cocoa, clear your table, and start your holiday centerpiece wooden containers project.
Step 1: Gather Your Materials and Wooden Boxes
Collect wooden boxes or crates in several sizes. Vintage produce crates, wine boxes, and unfinished pine boxes from craft stores all work well.
Gather sandpaper, wood stain or paint, greenery, floral picks, candles, string lights, and personal keepsakes. Find budget-friendly supplies at hardware stores, Michaels, Etsy, and Facebook Marketplace.
Many thrift shops sell old crates for a few dollars. This project can fit many budgets.
Step 2: Prep the Wood with Distressing and Finishing Techniques
Before decorating, give your boxes character. Lightly sand the edges and corners to soften sharp lines and reveal the wood grain.
For a weathered look, apply light whitewash or diluted stain with a rag, then wipe off excess. Some crafters tap the wood with a hammer or drag a chain across it for authentic dents.
These simple distressed wood box arrangements techniques give new crates an aged, farmhouse feel.
Step 3: Arrange Your Wooden Boxes for a Balanced Layout
After prepping the boxes, plan the layout. Stack boxes at different heights, then place taller ones near the table's center or ends.
Symmetry creates a formal, polished look. An asymmetrical arrangement feels relaxed and natural.
Seek visual balance so no area feels too heavy or empty. Step back often to view your Christmas table decor with wood boxes from a distance.
Step 4: Add Festive Greenery and Floral Displays
Now fill your boxes with greenery. Add fresh pine, eucalyptus, or holly for texture and a classic holiday scent.
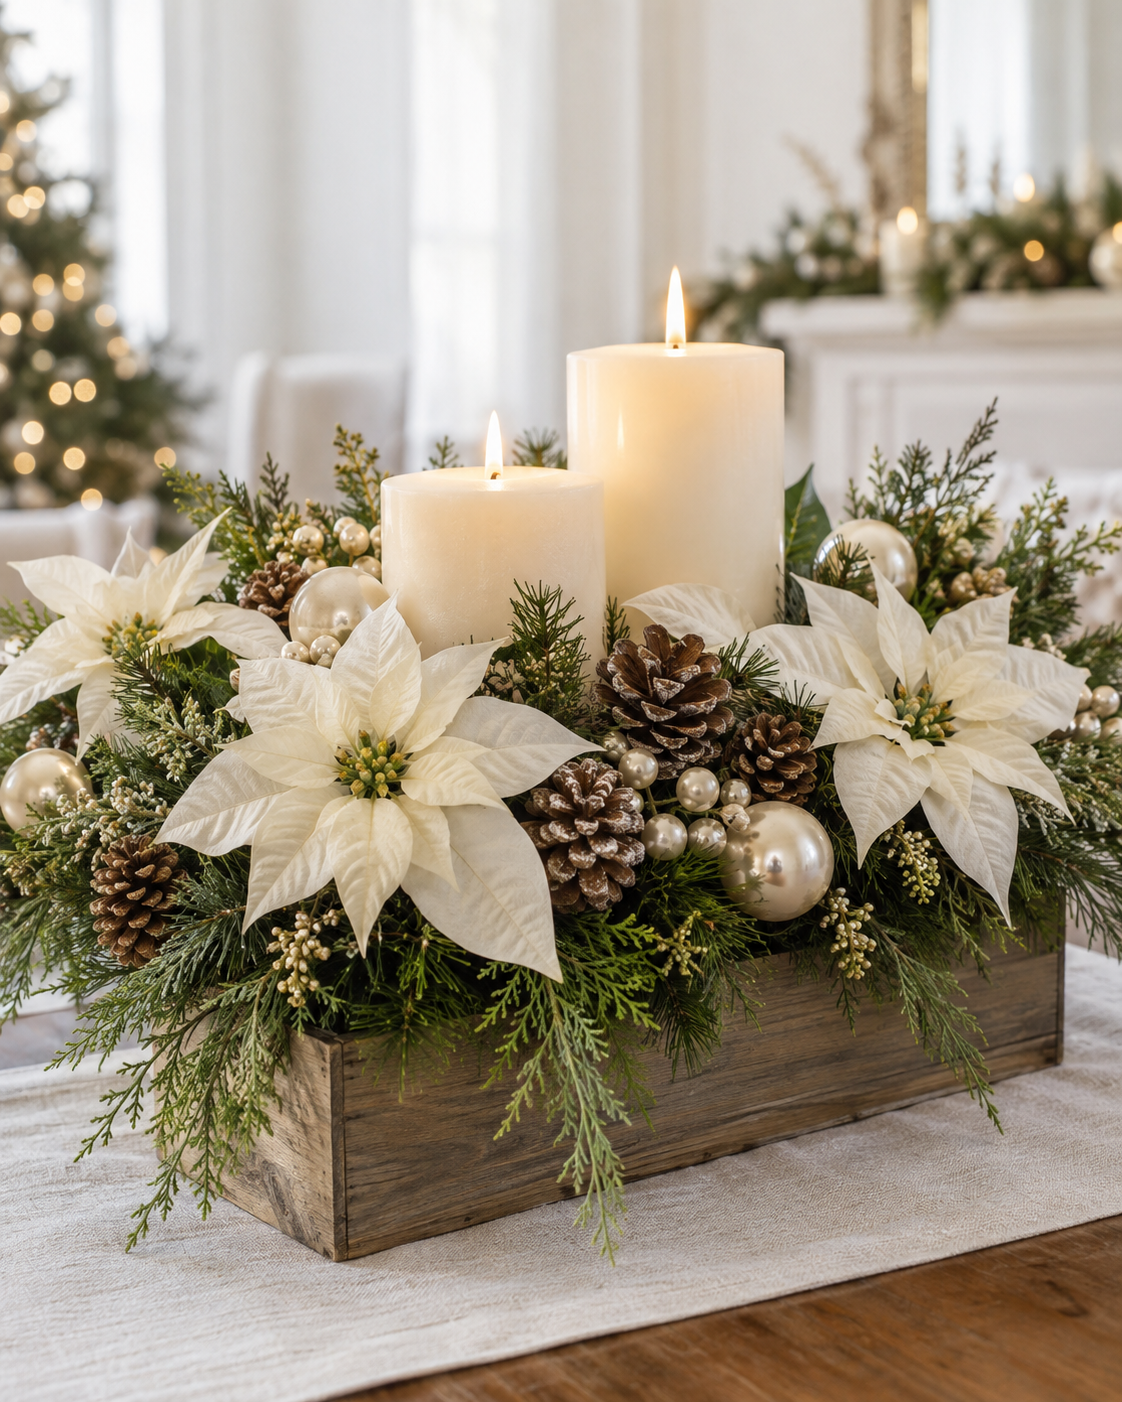
Add color with poinsettias, dried hydrangeas, or red winterberries. Mixing fresh and faux greenery saves money while keeping the display full.
These Christmas floral wooden box displays bring warmth and color to your table setting.
Step 5: Layer in Candles, Lights, and Ornaments
Candles add warmth and a cozy glow to any tablescape. Place pillar candles inside taller boxes and votives among the greenery.
Weave string lights through the branches for soft light after dark. Scatter glass or wooden ornaments around the base to catch the light and add shimmer.
Together, these elements turn your holiday centerpiece wooden containers into a glowing focal point for evening gatherings.
Step 6: Personalize with Rustic and Vintage Accents
Finally, make the display your own. Wrap burlap ribbon around a box or tuck in pinecones for extra texture.
Plaid ribbon adds farmhouse charm. Vintage ornaments and old family keepsakes give the display sentimental value. These small touches create a meaningful centerpiece.
Your finished creation will feel warm, personal, and ready for holiday memories.
Conclusion
A wooden crate, fresh greenery, and a handful of candles can turn an ordinary table into a holiday showstopper. Reclaimed wood holiday centerpieces show that beautiful decor needs neither a big budget nor fancy materials.
Every scratch, knot, and weathered edge on your crates tells a story. That story grows richer with pine sprigs, twinkling lights, and a few cherished ornaments. Your finished piece will not look like anything from a store shelf, and that is the point.
Grab the old boxes sitting in the garage, then gather ribbon and candles. Try this project before the season slips by. Take pride in the process, adjust the design until it feels like yours, and let your dining table tell its own holiday story this year.