Frosted Mason Jars for Christmas: 3 Ways to Frost the Glass and What to Put on Top


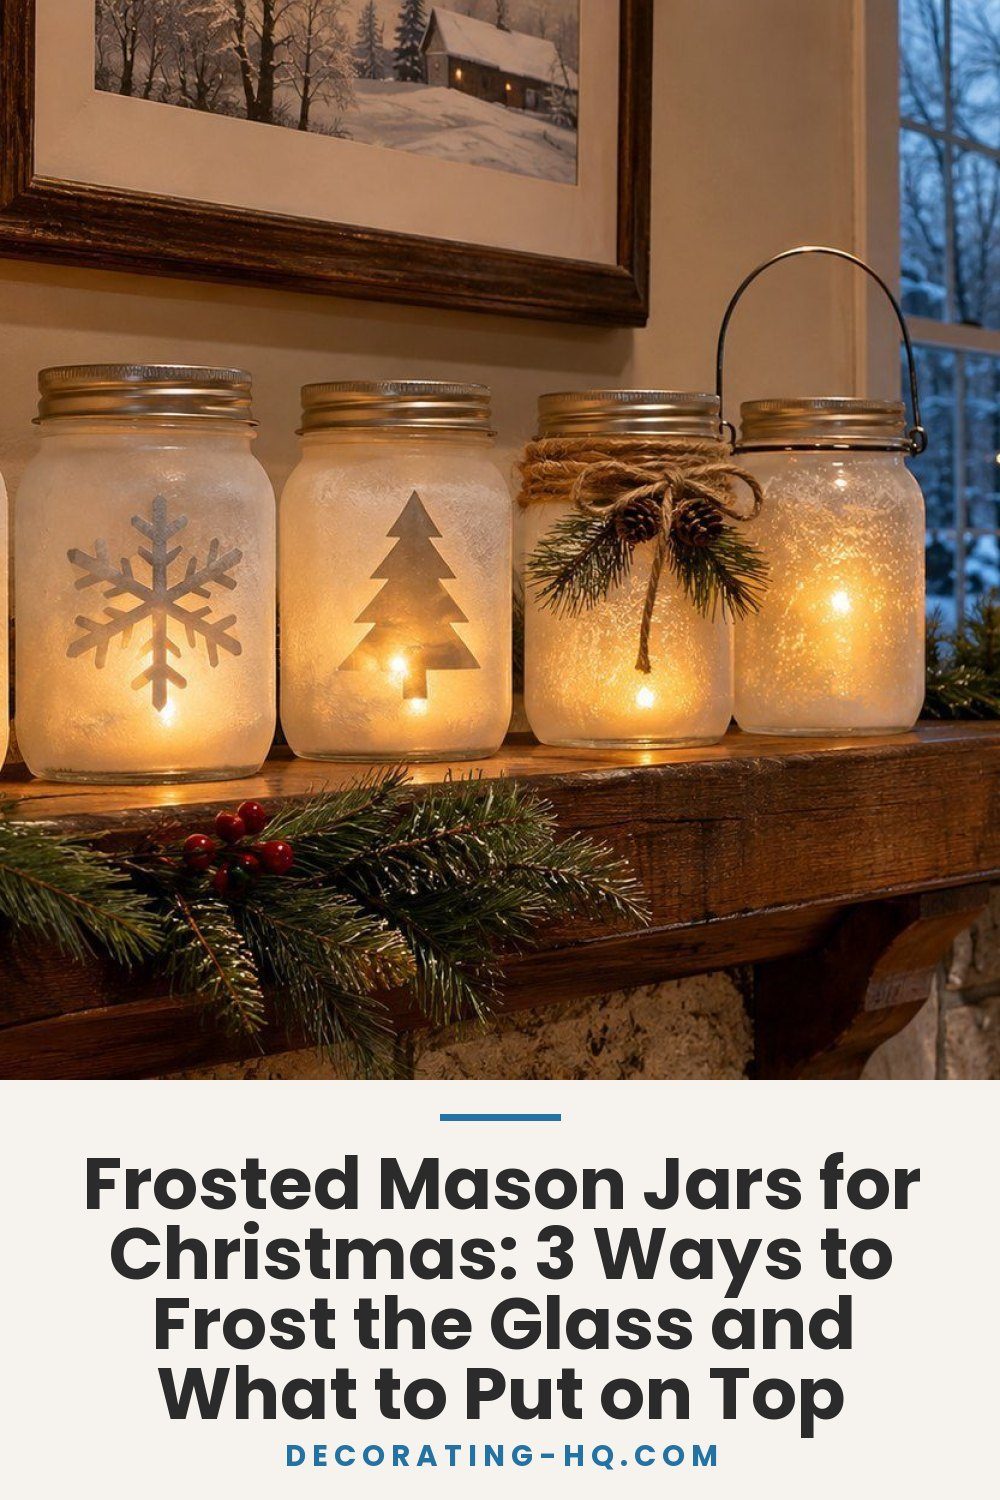
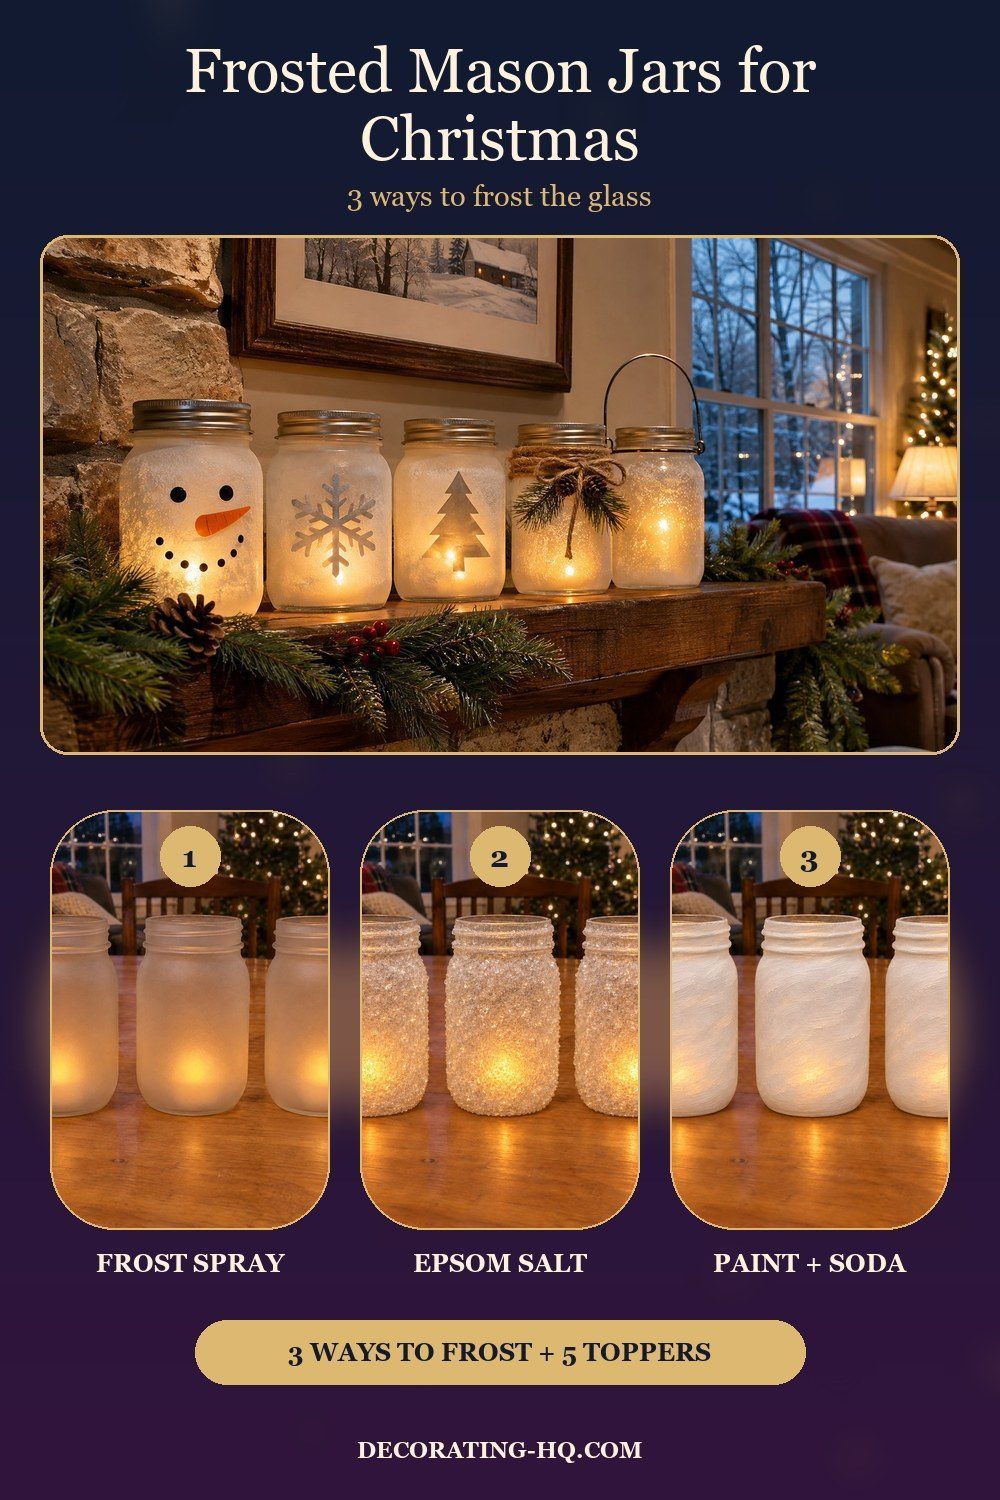
Frosted mason jars can have a smooth spray finish, a sparkling Epsom salt crust, or a chalky coat of paint and baking soda. Spray is the quickest drying option in the instructions below and the best choice for a translucent glow; salt adds snowy sparkle, while paint gives the most opaque finish. Choose the glass treatment first, then add a snowman face, a clear snowflake, a tree cut-out, twine and pine, or a lantern handle.
Three ways to frost the glass
Choose how to frost mason jars by the finish you want, keeping each recipe's drying schedule with its own materials.
Frosted glass spray
- Wash the glass with soap and water to remove dirt, grease, and residue, then let it dry. Give the jar its own protected work area before opening the can.
- Protect the surrounding work area from overspray. Use the spray outdoors or in a well-ventilated open garage, at 50–90°F [10–32°C] with humidity below 65%. Keep the aerosol away from open flames throughout the job.
- Shake the can for 2 minutes after its mixing ball starts rattling. Hold it upright, 10–12 inches [25–30 cm] from the glass, and move steadily back and forth, overlapping the passes instead of stopping in one spot.
- Apply at least 2 wet coats a few minutes apart. Give the finish 10 minutes to develop its frosted appearance before judging the coverage. The manufacturer lists complete drying in 5–10 minutes at 70°F [21°C] and 50% relative humidity; cooler conditions take longer.
Method from Rust-Oleum.
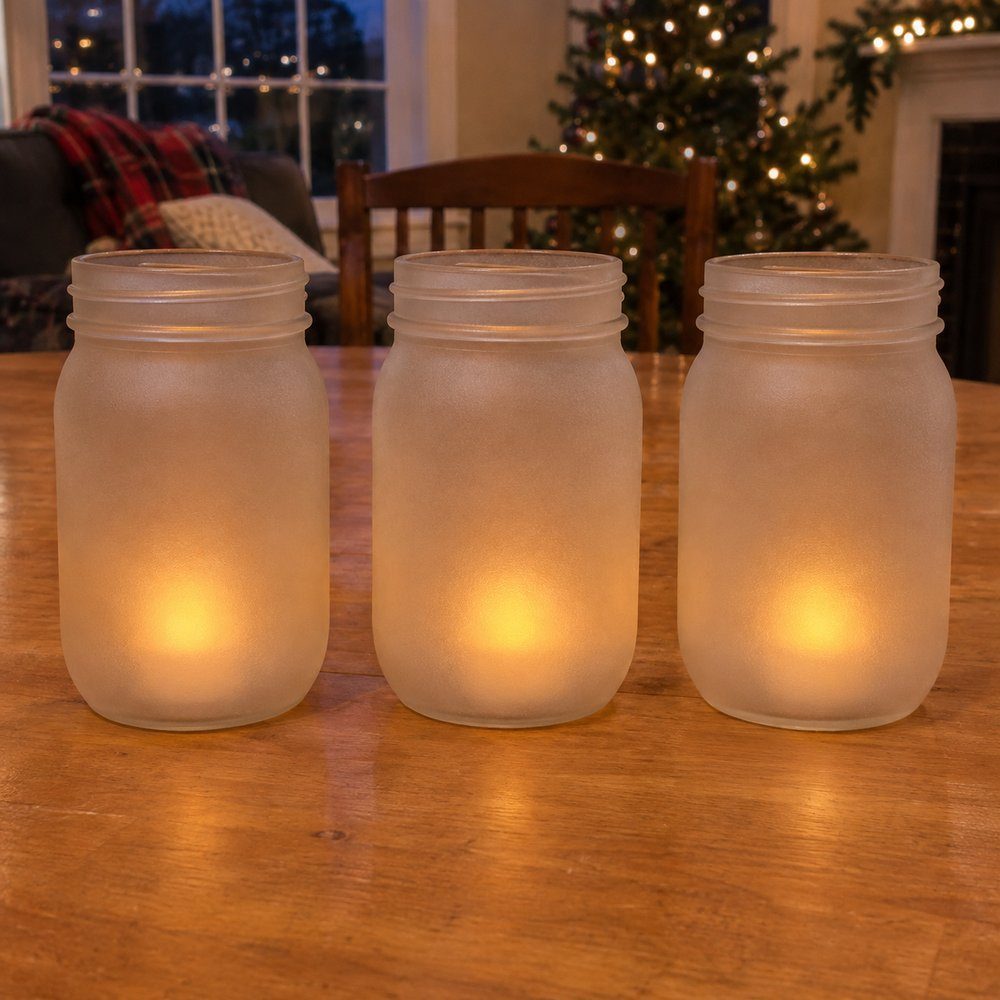
How it looks: Smooth, translucent frost softens the view through the jar while allowing light through. The finished surface reads as cloudy glass rather than a layer of snow crystals. In Julie’s examples at Craft Knife, clear glass keeps its translucency, while an already colored bottle becomes muted beneath the spray. For a mantel where the glow is the main attraction, choose the clear-glass starting point. A ribbon or small evergreen accent can sit at the neck without covering the softly lit body. Keep this finish in mind for delicate shapes, too: a masked area becomes a clear window against an otherwise even background. It gives a snowflake's narrow branches somewhere to stand out, whereas a thick crust makes the outline visually busier.
Epsom salt and Mod Podge
- Clean and dry the jar. Set a tray beneath it to catch loose Epsom salt, and have the Mod Podge, brush, and sealer ready.
- Brush an even glue layer around the sides, stopping below the lid grooves to leave room for ribbon, twine, or a lid.
- Sprinkle salt generously over the wet glue, turning the jar above the tray until all sides are evenly coated.
- Let it dry overnight. The project card lists 5 minutes of preparation, 15 minutes of active work, and 1 day of drying.
- Once dry, apply spray sealer outdoors or in a well-ventilated area, protecting the surrounding space. Once it dries, add the decorations; for long-term storage, keep the jars away from humidity and strong sunlight.
Method from Jolly Festive.
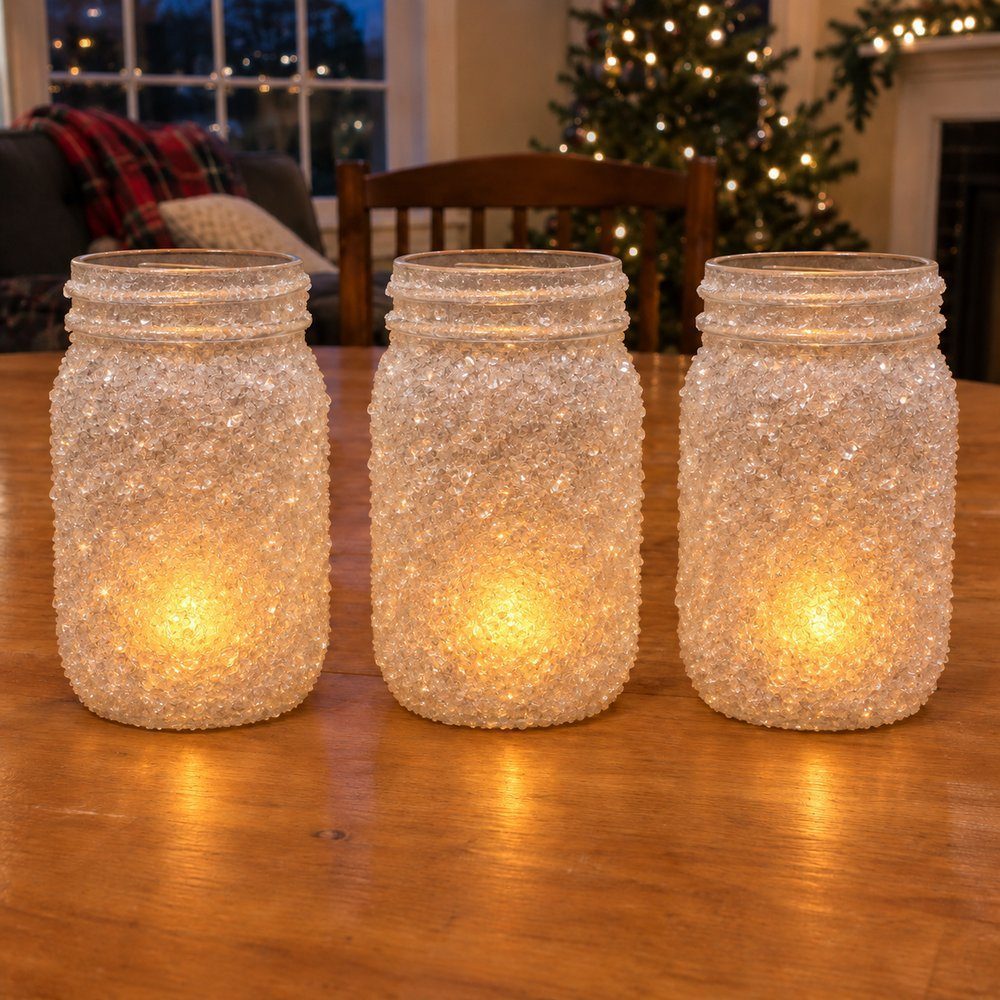
How it looks: The surface is visibly grainy, with separate crystals catching the light, and the illuminated jar has a snowy, sparkling glow. The Epsom Salt Council describes light shining through the crystals for a soft effect. Choose this treatment when the texture matters as much as the light: it brings a wintery surface to an otherwise plain glass container. Keep the brightest sparkle seasonal rather than treating it as a permanent glass finish. Amanda Davis, Crafts by Amanda, explains that the crystals eventually become white and recommends making her luminaries within 1 week of an event. Her alternative finishing schedule uses 3 clear gloss sealer coats, about 20 minutes apart. Those are her sealer instructions, separate from the overnight method above; the distinctive crystal texture is the reason to choose Epsom salt mason jars. The decorated examples at Oh! You’re Lovely include an Epsom salt version with greenery and small wood flowers tied at the mouth, which keeps the plant material distinct from the snowy surface. Use that balance when choosing a topper: a small accent leaves room for the jar itself to be part of the decoration, whether it is switched on or sitting in daylight.
Paint and baking soda
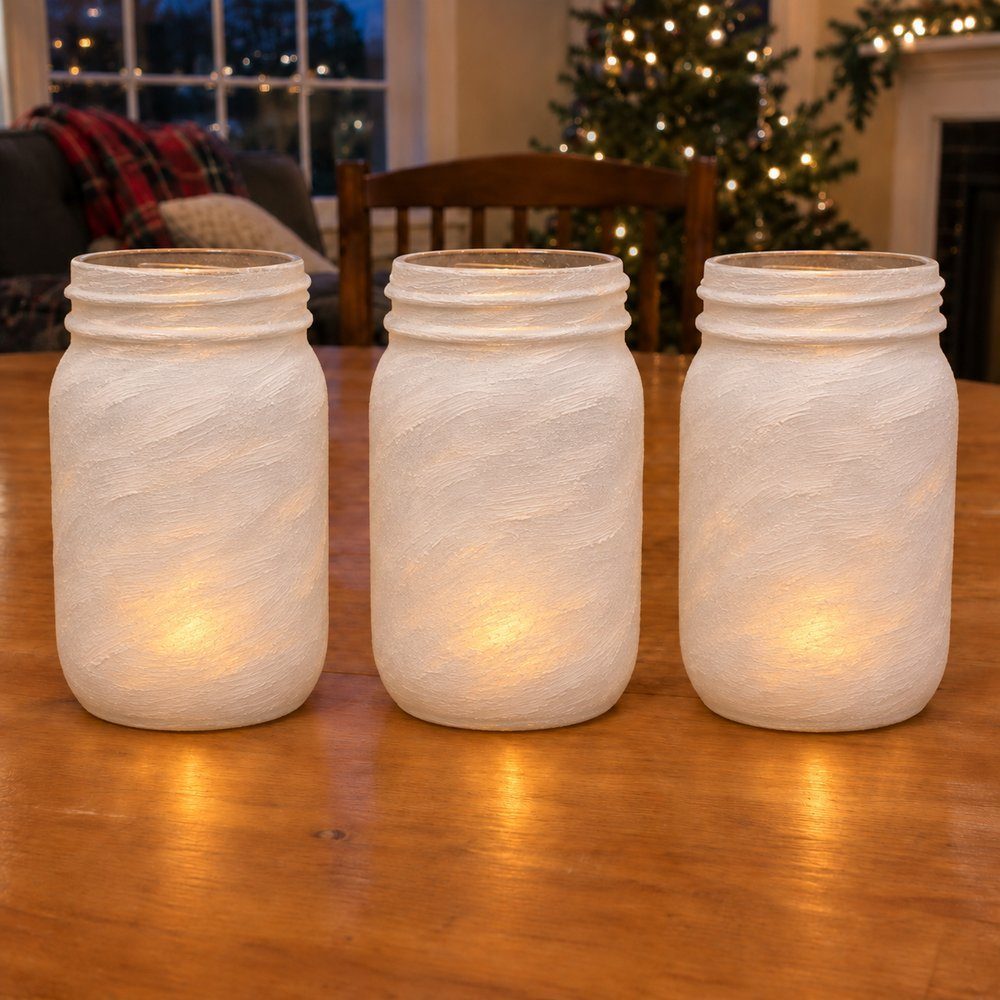
- Wash the jar with soap and water and dry with a lint-free towel. Remove sticky residue with rubbing alcohol.
- Stir 1 tablespoon [15 mL] of baking soda into 1 cup [237 mL] of water-based acrylic or latex paint until fluffy. Apply promptly.
- Protect the table and brush on the mixture. Horizontal strokes suggest thrown pottery; leave wet areas alone to avoid lifting the paint.
- Let it dry to the touch for 30–40 minutes. An optional second coat increases coverage and opacity; keep the mixture covered between coats.
- Cure overnight before use. A matte spray sealer is optional. Keep the finished jar for decoration rather than food or drinks.
Method from ARM & HAMMER.
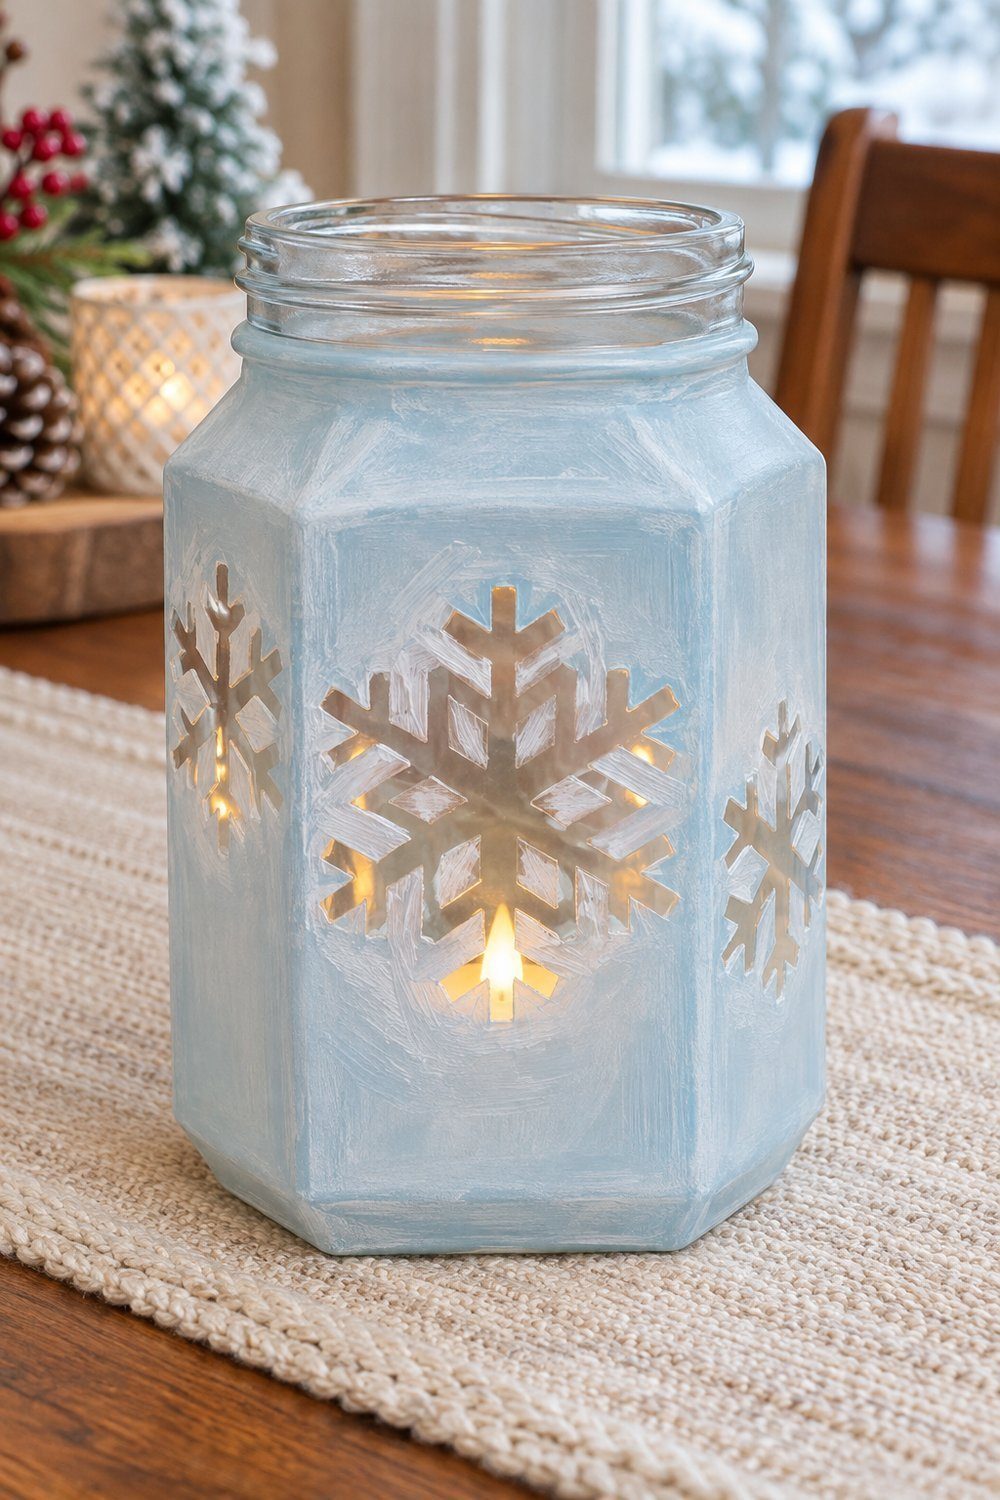
How it looks: Matte, chalky, and closer to ceramic than etched glass, with brush texture remaining visible. Extra coats make the surface more opaque, so this is the choice for a snowy white object whose decoration should read clearly in daylight. For an illuminated version, expect light mainly at thinner areas rather than an even glow through heavy paint. Let that difference guide the design: an opaque face or a deliberately clear window has more visual purpose here than a promise of all-over translucency. The masked snowflakes in Mandy Beyeler’s Sugar Bee Crafts project show how exposed glass can become the focal point of a painted jar. Choose this method for the matte texture first; choose spray when softly glowing glass is the priority.
What to put on the frosted jar
Choose one main decoration for each jar so the frosting remains visible around it.
Snowman face with a plaid hat
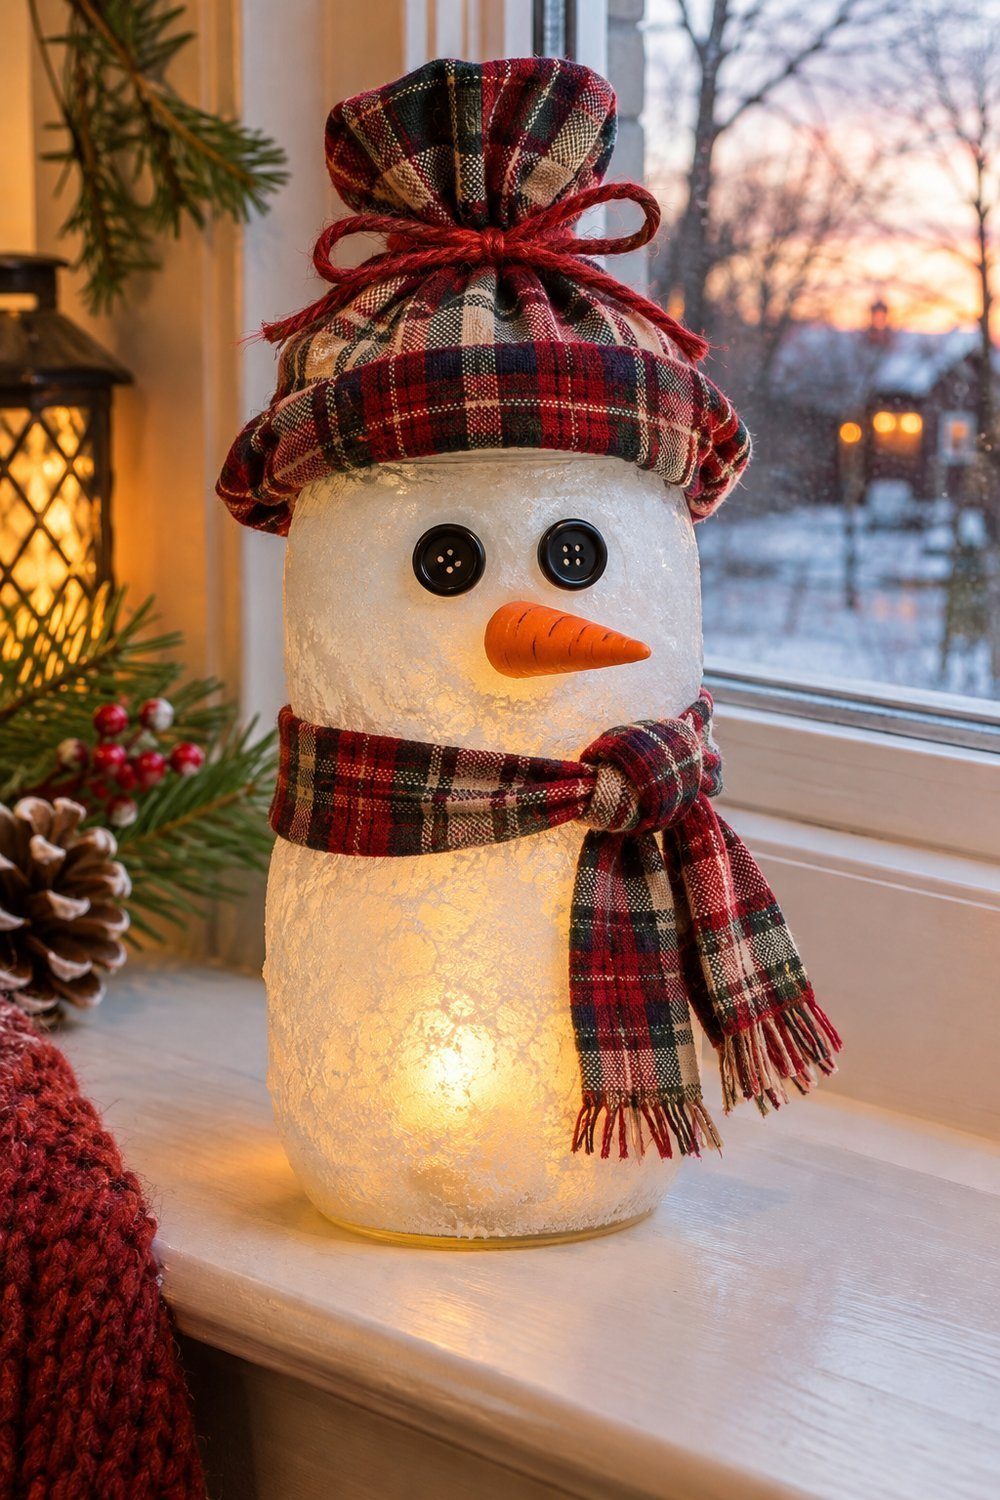
Hot-glue black button eyes and a carrot nose to a smooth-sided jar, then add a plaid ribbon scarf and a fabric-covered lid hat. Pair the face with spray frost for glow or matte paint for a whiter body; the original uses 2 frost-enamel coats, with the second sponge-pounced, from Angie Holden, The Country Chic Cottage.
Snowflake stencil left clear
Press a snowflake sticker onto clean glass before frosting, then remove it carefully after the coating dries to reveal the window. Spray gives this idea the most translucent background. The painted version uses 1 white coat and 2 color coats, drying between layers, with the clear snowflake providing the contrast in Mandy Beyeler’s Sugar Bee Crafts tutorial.
Tree or star cut-out
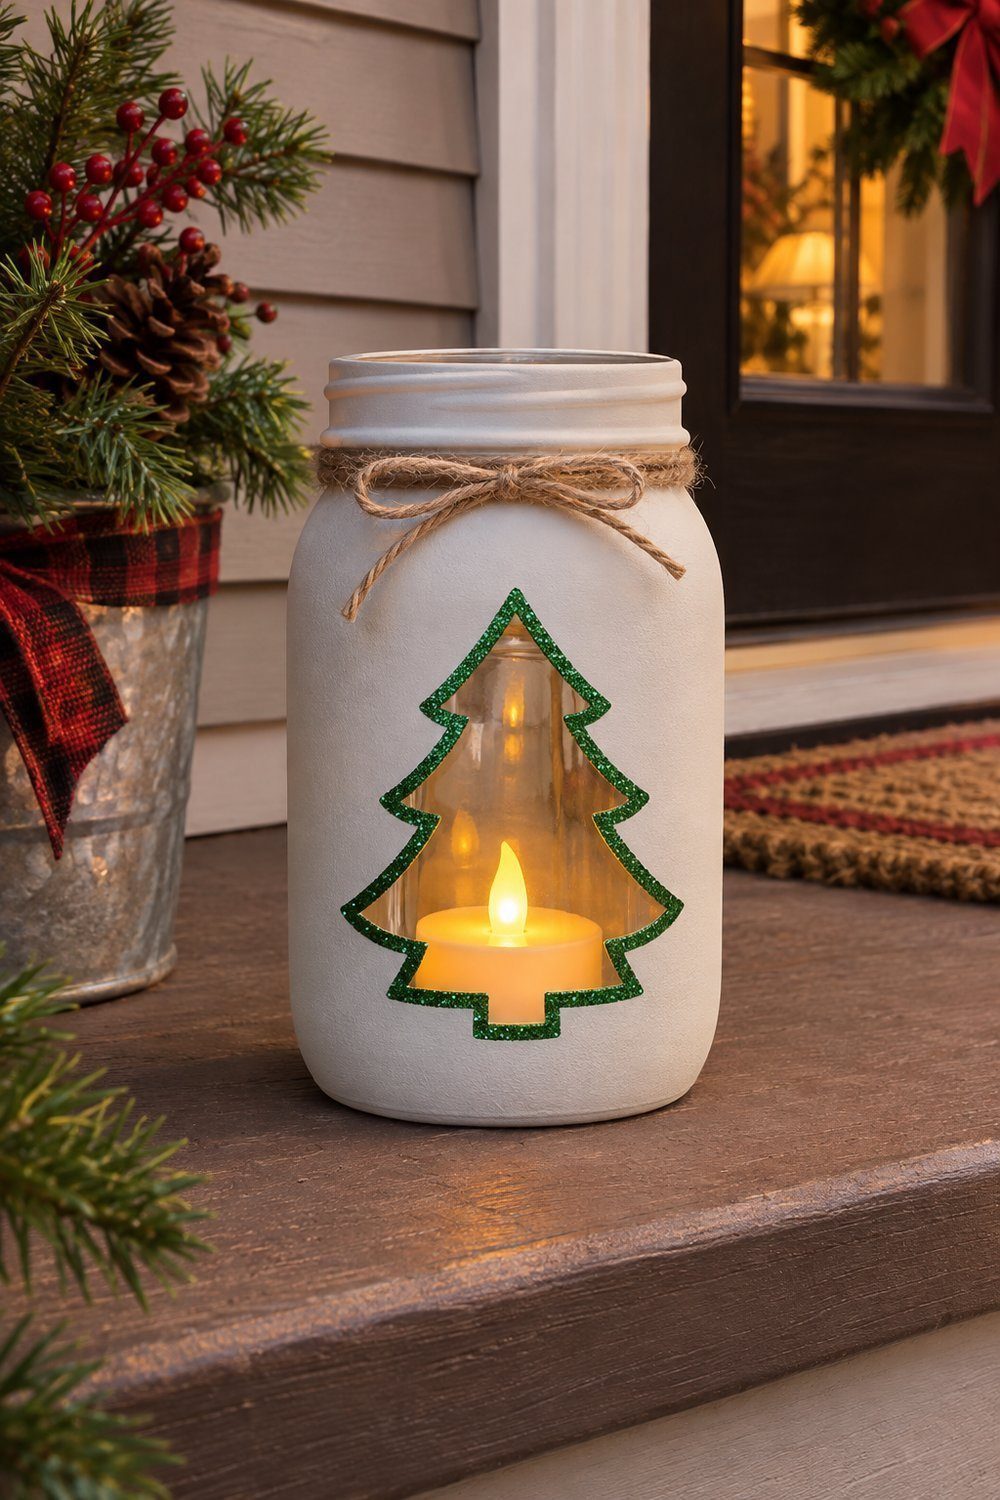
Mask a tree or star, coat the jar, and remove the mask to leave a clear opening; finish with a glitter-vinyl outline. Pair this idea with a chalk-finish background. The original uses smooth chalked spray rather than textured baking soda paint, with a design 3 inches [7.6 cm] tall on a pint jar, from Angie, Burton Avenue.
Crafters Autonomous demonstrates a frosted snowman mason jar using paint, glue, and Epsom salt. Watch how those materials become a winter character before choosing the face and finishing details for your own Christmas jars; the creator also discusses adding a light.

Twine and a pine sprig
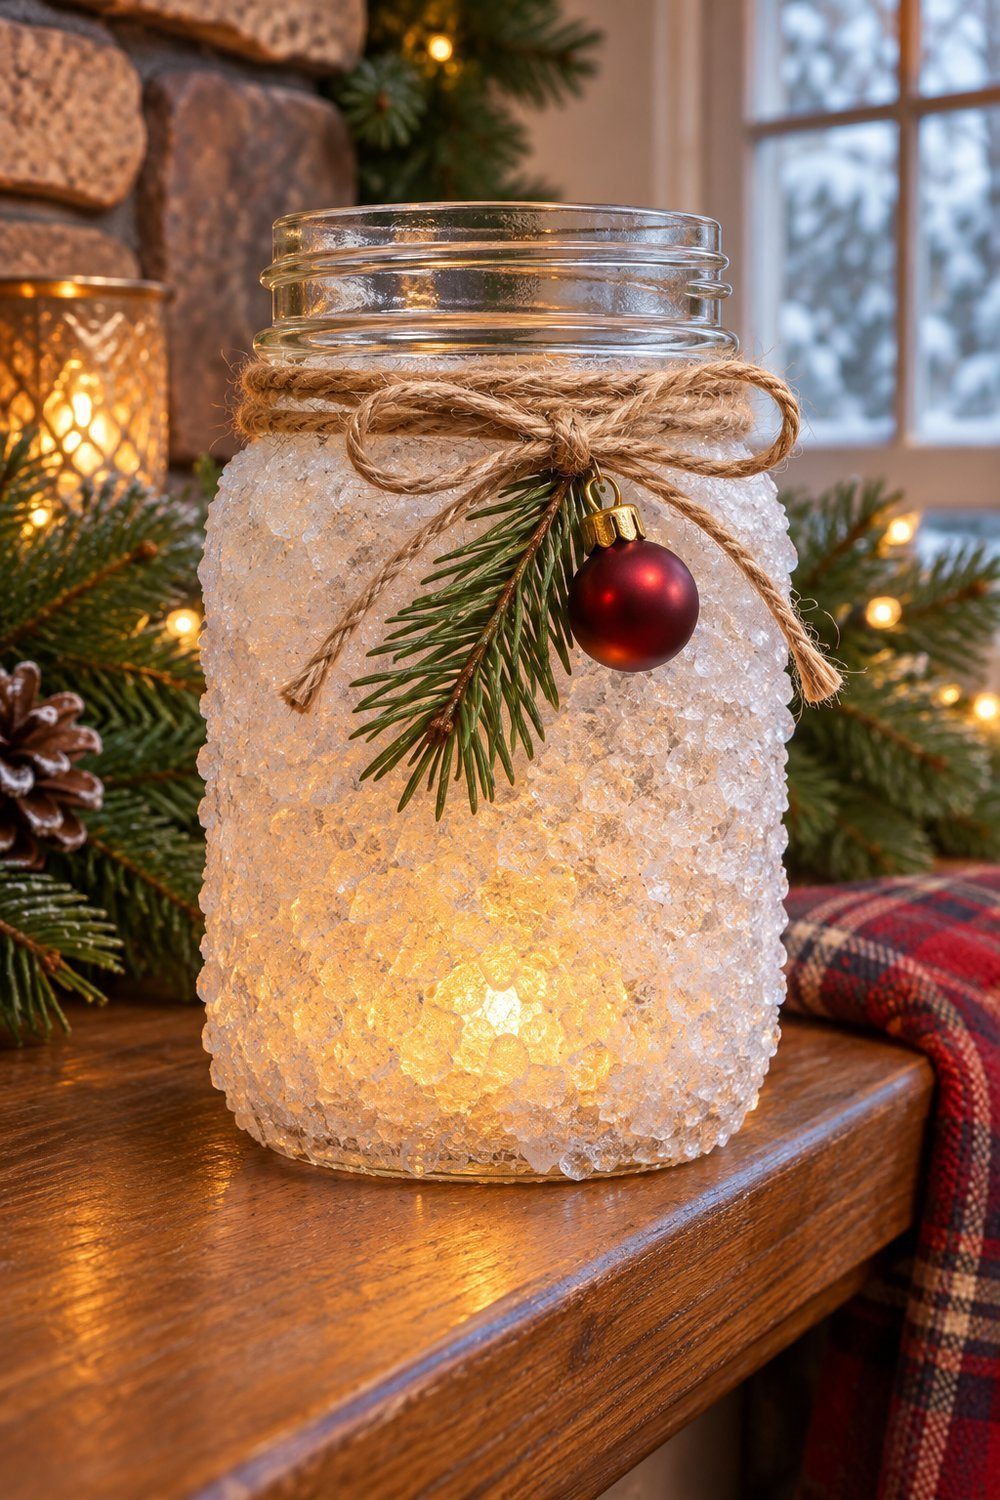
Wrap twine around the bare neck several times and finish with a bow, then add a small pine sprig and a mini bauble. Pair these simple details with Epsom salt frosting so the rough twine sits above sparkling crystals; the sprig and bauble are an optional finish in Jolly Festive's tutorial, which lights the jar with a battery candle or a tea light that stays attended.
Hanging lantern handle
Use about 32 inches [81 cm] of 22-gauge wire: wrap it once around the neck, twist securely, then arch the remaining wire into a handle and secure its end opposite. Pair it with spray frost, leaving the jar for 1 hour after mask removal before fitting the wire, as shown by Amy Dangelico, Biltmore.
Lighting them safely
Use 1 battery tea light in each decorated jar, or battery fairy lights for a scattered glow through salt frosting. For Christmas mason jar lanterns beside greenery, Biltmore specifically calls for battery candles; its tutorial secures a tea light with a small square of double-sided mounting tape. The Epsom Salt Council permits candles in its own glue-and-salt project but always specifies battery candles with children and says real flames must stay attended. That permission applies to that project, not every painted or Mod Podge finish. Complete the overnight drying or curing in the salt and paint methods above before adding battery lighting. Keep aerosol work separate from lighting: Rust-Oleum explicitly prohibits use near open flame.
More frosted mason jar ideas
Use these frosted mason jar luminaries and winter arrangements to compare faces, clear motifs, and greenery against different snowy finishes.


Carry the winter display into Christmas cloche ideas and echo the lanterns’ simple shapes with paper Christmas stars.