DIY Colorful Earrings & Bracelets: Your Guide to Handmade Jewelry Fashion

Delving into the world of DIY jewelry can be both an enjoyable hobby and a creative outlet. Making your own earrings and bracelets allows for personalization and the expression of unique style. With a few basic materials like beads, wire, and clasps, along with simple tools such as pliers and glue, anyone can start crafting colorful and trendy pieces. These custom adornments can range from simple and chic to intricate and bold, catering to a variety of fashion tastes.
The process of creating DIY earrings and bracelets involves several steps that are easy to learn. It begins with selecting the right materials that fit the envisioned design, followed by cutting, bending, and assembling to bring the pieces to life. Whether it's the elegance of glass beads or the rustic charm of wooden elements, the materials chosen will set the tone for the finished products. Those new to jewelry making will find that, with practice, they can quickly advance from basic designs to more complex ones.
Key Takeaways
- Personalized jewelry making is an accessible and fulfilling hobby.
- Basic tools and materials are all that's needed to start crafting earrings and bracelets.
- The creation process allows for a variety of designs, suitable for different styles.
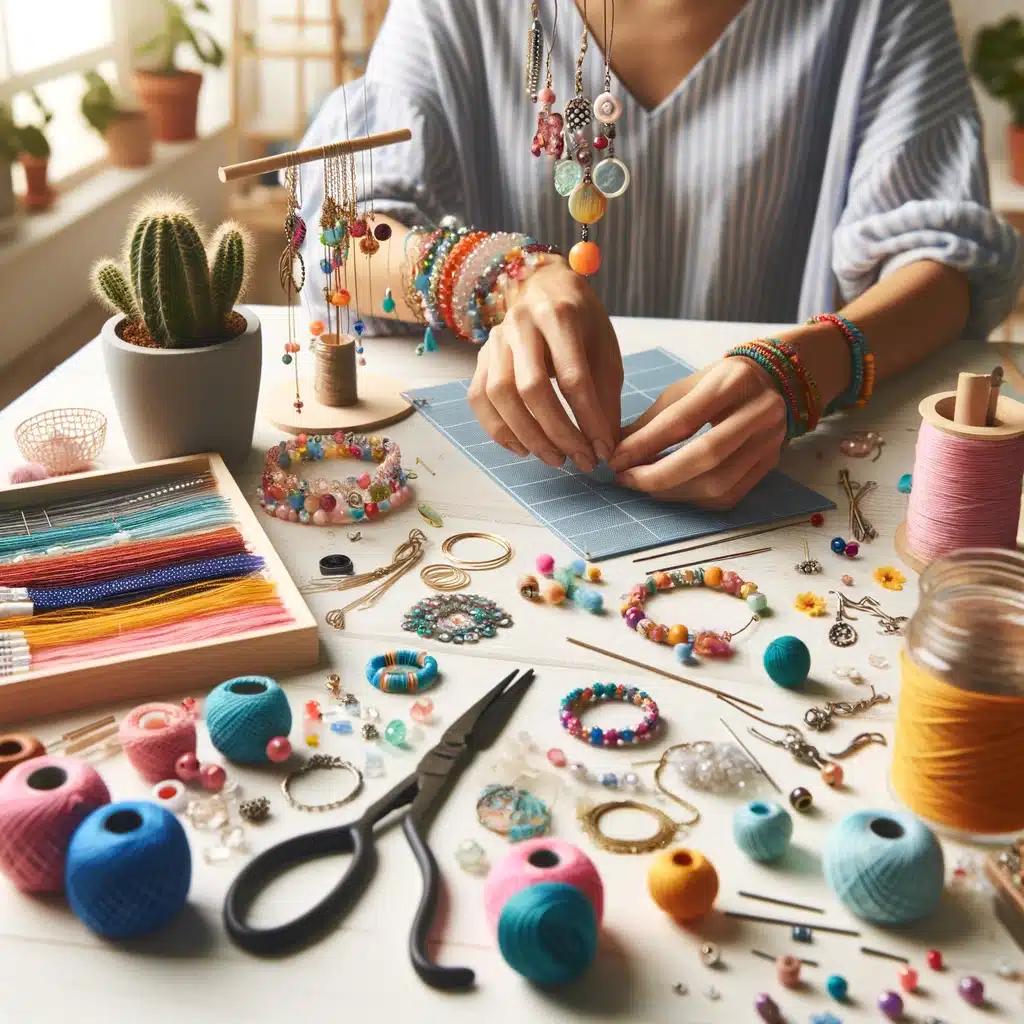
Basic Materials and Tools

Crafting DIY colorful earrings and bracelets is both an art and a science, requiring a selection of materials and tools specific to jewelry making. The foundation of any good piece of jewelry starts with understanding the components used to create it and the equipment required to assemble them.
Understanding Beads and Their Varieties
Beads are the heart of any beaded earring or bracelet. They come in a vast array of colors, shapes, and sizes, offering endless possibilities for customization and style. Common materials include glass, wood, stone, and polymer clay. Beads can range from simple spherical designs to intricately patterned shapes. For those seeking a bohemian look, wooden beads or tassels might be a good choice, whereas glass beads or crystals add a touch of elegance.
Essential Tools for Getting Started
To begin, one will need several key tools that are the mainstay of any jewelry maker's kit:
- Pliers: A set of pliers is indispensable. Round nose pliers are perfect for creating loops, while flat nose pliers can grip flat objects and wire cutters are necessary for cutting wire or pins.
- Earring Hooks and Wires: Earring hooks (for drop or dangle earrings) and earring wires (for hoop earrings or adding charms) are fundamental findings.
- Scissors: A pair of scissors is essential for cutting ribbon or threading materials.
- Findings: This includes jump rings, clasps, and other metal components that are used to connect different parts of jewelry.
For someone venturing into the world of stud earrings, having posts and backs are crucial as well. In any case, a visit to a craft store or browsing online should provide one with all the findings and tools required for their first jewelry making project.
Step-by-Step Earring Creation
In this section, you will learn the process of making your own colorful and unique DIY earrings, starting from basic techniques to more advanced methods, including how to apply finishing touches and embellishments for that extra flair.
Making Your First Pair of Earrings
The journey into handmade jewelry begins with some simple, easy DIY earring ideas. A new craftsperson can start by creating tassel earrings, which involve wrapping embroidery thread around a piece of cardboard, securing it with a jump ring, and attaching it to an earring hook. These earrings are not only straightforward to make but also offer an opportunity to experiment with a wide array of colors.
Advanced Earring Techniques
Once comfortable with basic earring making, one might explore more intricate designs such as beachy boho beaded hoop earrings. The process typically involves stringing beads onto a wire to form a hoop, then attaching this hoop to an ear wire. For those looking to create a more modern piece, druzy earrings provide an elegant yet easy way to craft statement jewelry by affixing faux druzy cabochons to earring posts.
Finishing Touches and Embellishments
The final step in DIY earring creation is applying finishing touches and embellishments. This can range from attaching small charms and pendants for an extra layer of interest to using jump rings to add additional components to an earring design. These personal touches transform simple components into unique jewelry that showcases the maker's individual style and creativity.
Designing and Crafting Bracelets
Crafting bracelets can range from creating simple stretch bracelets ideal for beginners to more complex handmade jewelry like woven friendship bracelets. An enthusiast can start with basic materials such as colorful beads, elastic cords, and progress to integrating charms and tassels for a personalized touch.
Creating Simple Stretch Bracelets
Simple stretch bracelets are a gateway into the world of DIY jewelry making. They require:
- Beads: Choice of colorful beads can reflect personal style or seasonal trends.
- Elastic cord: A durable, stretchy material that allows the bracelet to fit snugly on the wrist.
One starts by measuring the wrist and cutting the elastic cord to size, allowing extra room to knot. Next, the beads are threaded onto the cord. Once the desired length is reached, they secure the ends with a strong knot. Some crafters recommend using a bead reamer to enlarge the holes of the beads if they're too small for the cord.
Weaving Friendship Bracelets
Friendship bracelets are a symbol of connection and are often more intricate. The basic braided bracelet is created using:
- Embroidery floss: Available in a wide range of colors to create vibrant patterns.
- Knots and braids: These are the foundation of the bracelet's design and structure.
Crafting a friendship bracelet involves cutting several strands of embroidery floss to length before tying them together at the top. The crafter then uses various knotting techniques to weave the strands into a bracelet. Patterns can range from simple stripes to complex shapes and letters. The finished bracelet can be adorned with tassels or charms to add a personal flair. Handmade gifts like these convey a meaningful gesture when shared among friends.
Additional DIY Jewelry Projects
Exploring further DIY jewelry projects allows enthusiasts to extend their creativity beyond just colorful earrings and bracelets. These ventures can be exciting and rewarding, opening up opportunities to craft unique pieces that truly make a statement. Whether one is a hobbyist or a mom with a flare for modern designs, the following subsections delve into necklaces and other jewelry items tailored from a variety of materials.
Necklaces and More
For individuals seeking to add an eclectic range of bohemian style jewelry to their collection, DIY tassel necklaces stand out. These can easily be fashioned using embroidery floss, creating a rainbow of colors to choose from. Copper wire can be manipulated with the aid of jewelry pliers to form artistic necklaces that exude an air of handmade sophistication. Stores often carry a range of supplies such as wooden beads, which can be used to make floral wooden mod podge earrings or fruit slice earrings, enhancing the repertoire of a jewelry maker. Crafting DIY clay rainbow earrings or suede fringe earrings provides an outlet for those drawn to colorful, playful designs.
- Floral Wooden Mod Podge Earrings: Apply mod podge to wooden shapes and adhere floral fabric or paper, then seal and attach earring hooks.
- Fruit Slice Earrings: Sculpt fruit shapes from polymer clay, bake, and attach to earring findings for a fresh look.
- Suede Fringe Earrings: Cut suede into fringe, attach to earring hooks, and add beads for a boho touch.
DIY Jewelry Organizers
Keeping one's growing jewelry collection organized is as important as creating it. DIY jewelry organizers can range from simple designs to more elaborate setups depending on one's needs. Leather diffuser earrings can hang neatly on a homemade earring holder fashioned from resin or wrapped in attractive fabric. For a rustic edge, create organizers from driftwood or reclaimed wood, adding hooks and fabric hangs to store statement earrings and necklaces. For those who prefer a sleek, modern aesthetic, clear acrylic racks can be crafted to showcase their unique jewelry, ensuring pieces are easy to find and properly displayed.
- Modern DIY Earring Holder: Construct with clear acrylic for a sleek look, add holes or hooks for hanging earrings.
- Bohemian Style Organizer: Use driftwood and attach hooks or knobs to hold necklaces and bracelets.